Here is my curvy contribution to the Boston Modern Quilt Guild Block of the Month.
Be brave! Try curved piecing. With this block you can practice curved piecing and make your curves as gentle as you want to avoid the need to curse (reverse the curse!).
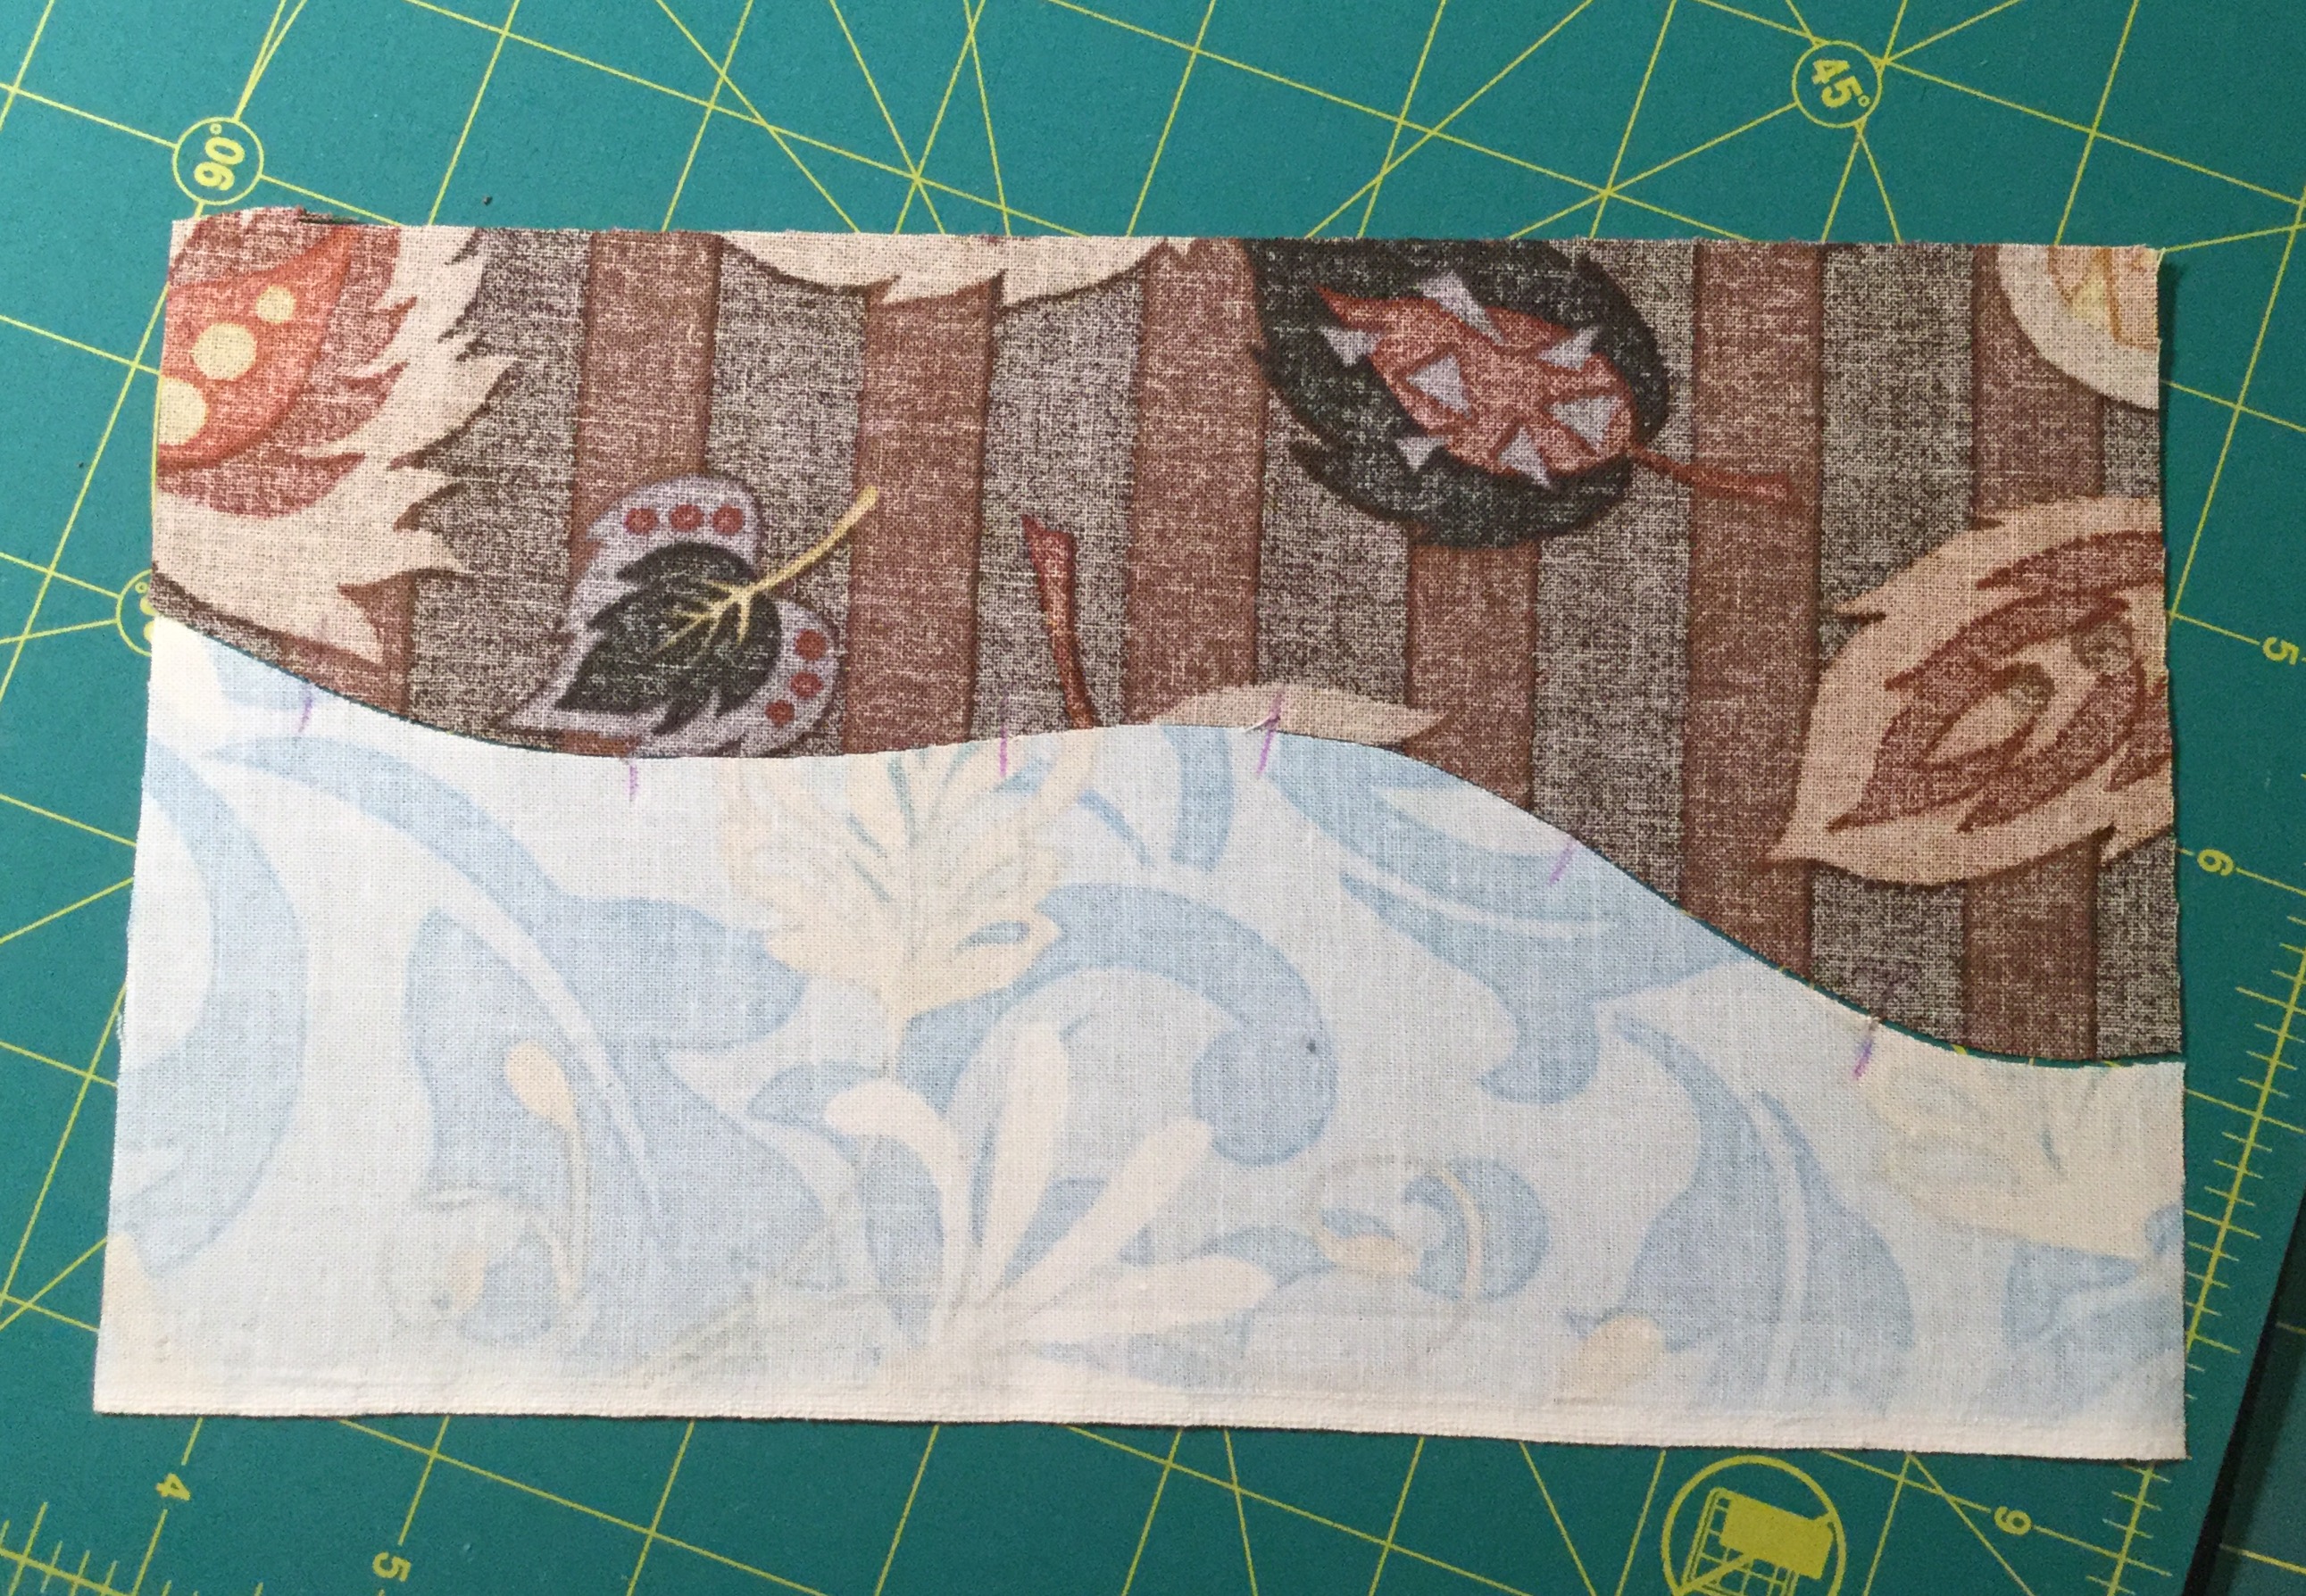
For an 8″ finished block start with two pieces of fabric that are 5″ x 9″. Place one piece on top of the other. Both with right sides up, NOT right sides together! If you do this with a piece of fabric you have been hoarding for years you will be very sad!


Now you can cut your curve. If you have a rotary cutter with a smaller blade use that. The smaller the better. I received a cutter specifically for cutting curves as a gift and so I am using that. If you are trying curved piecing for the first time just cut a gentle curve. The tighter the curve the more difficult it will be to sew with the machine.

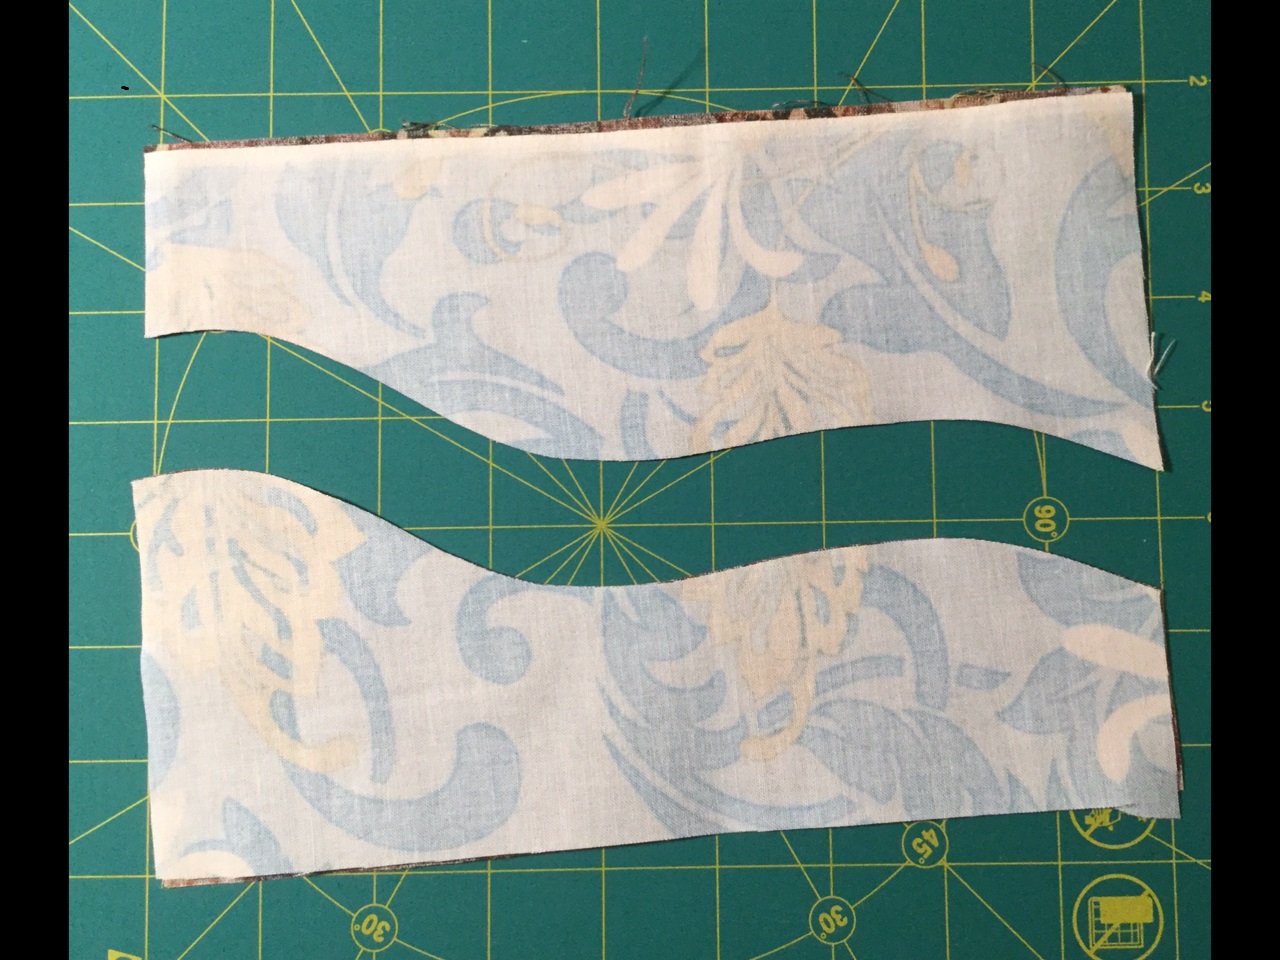
Next switch the fabric around to match one fabric with the other.
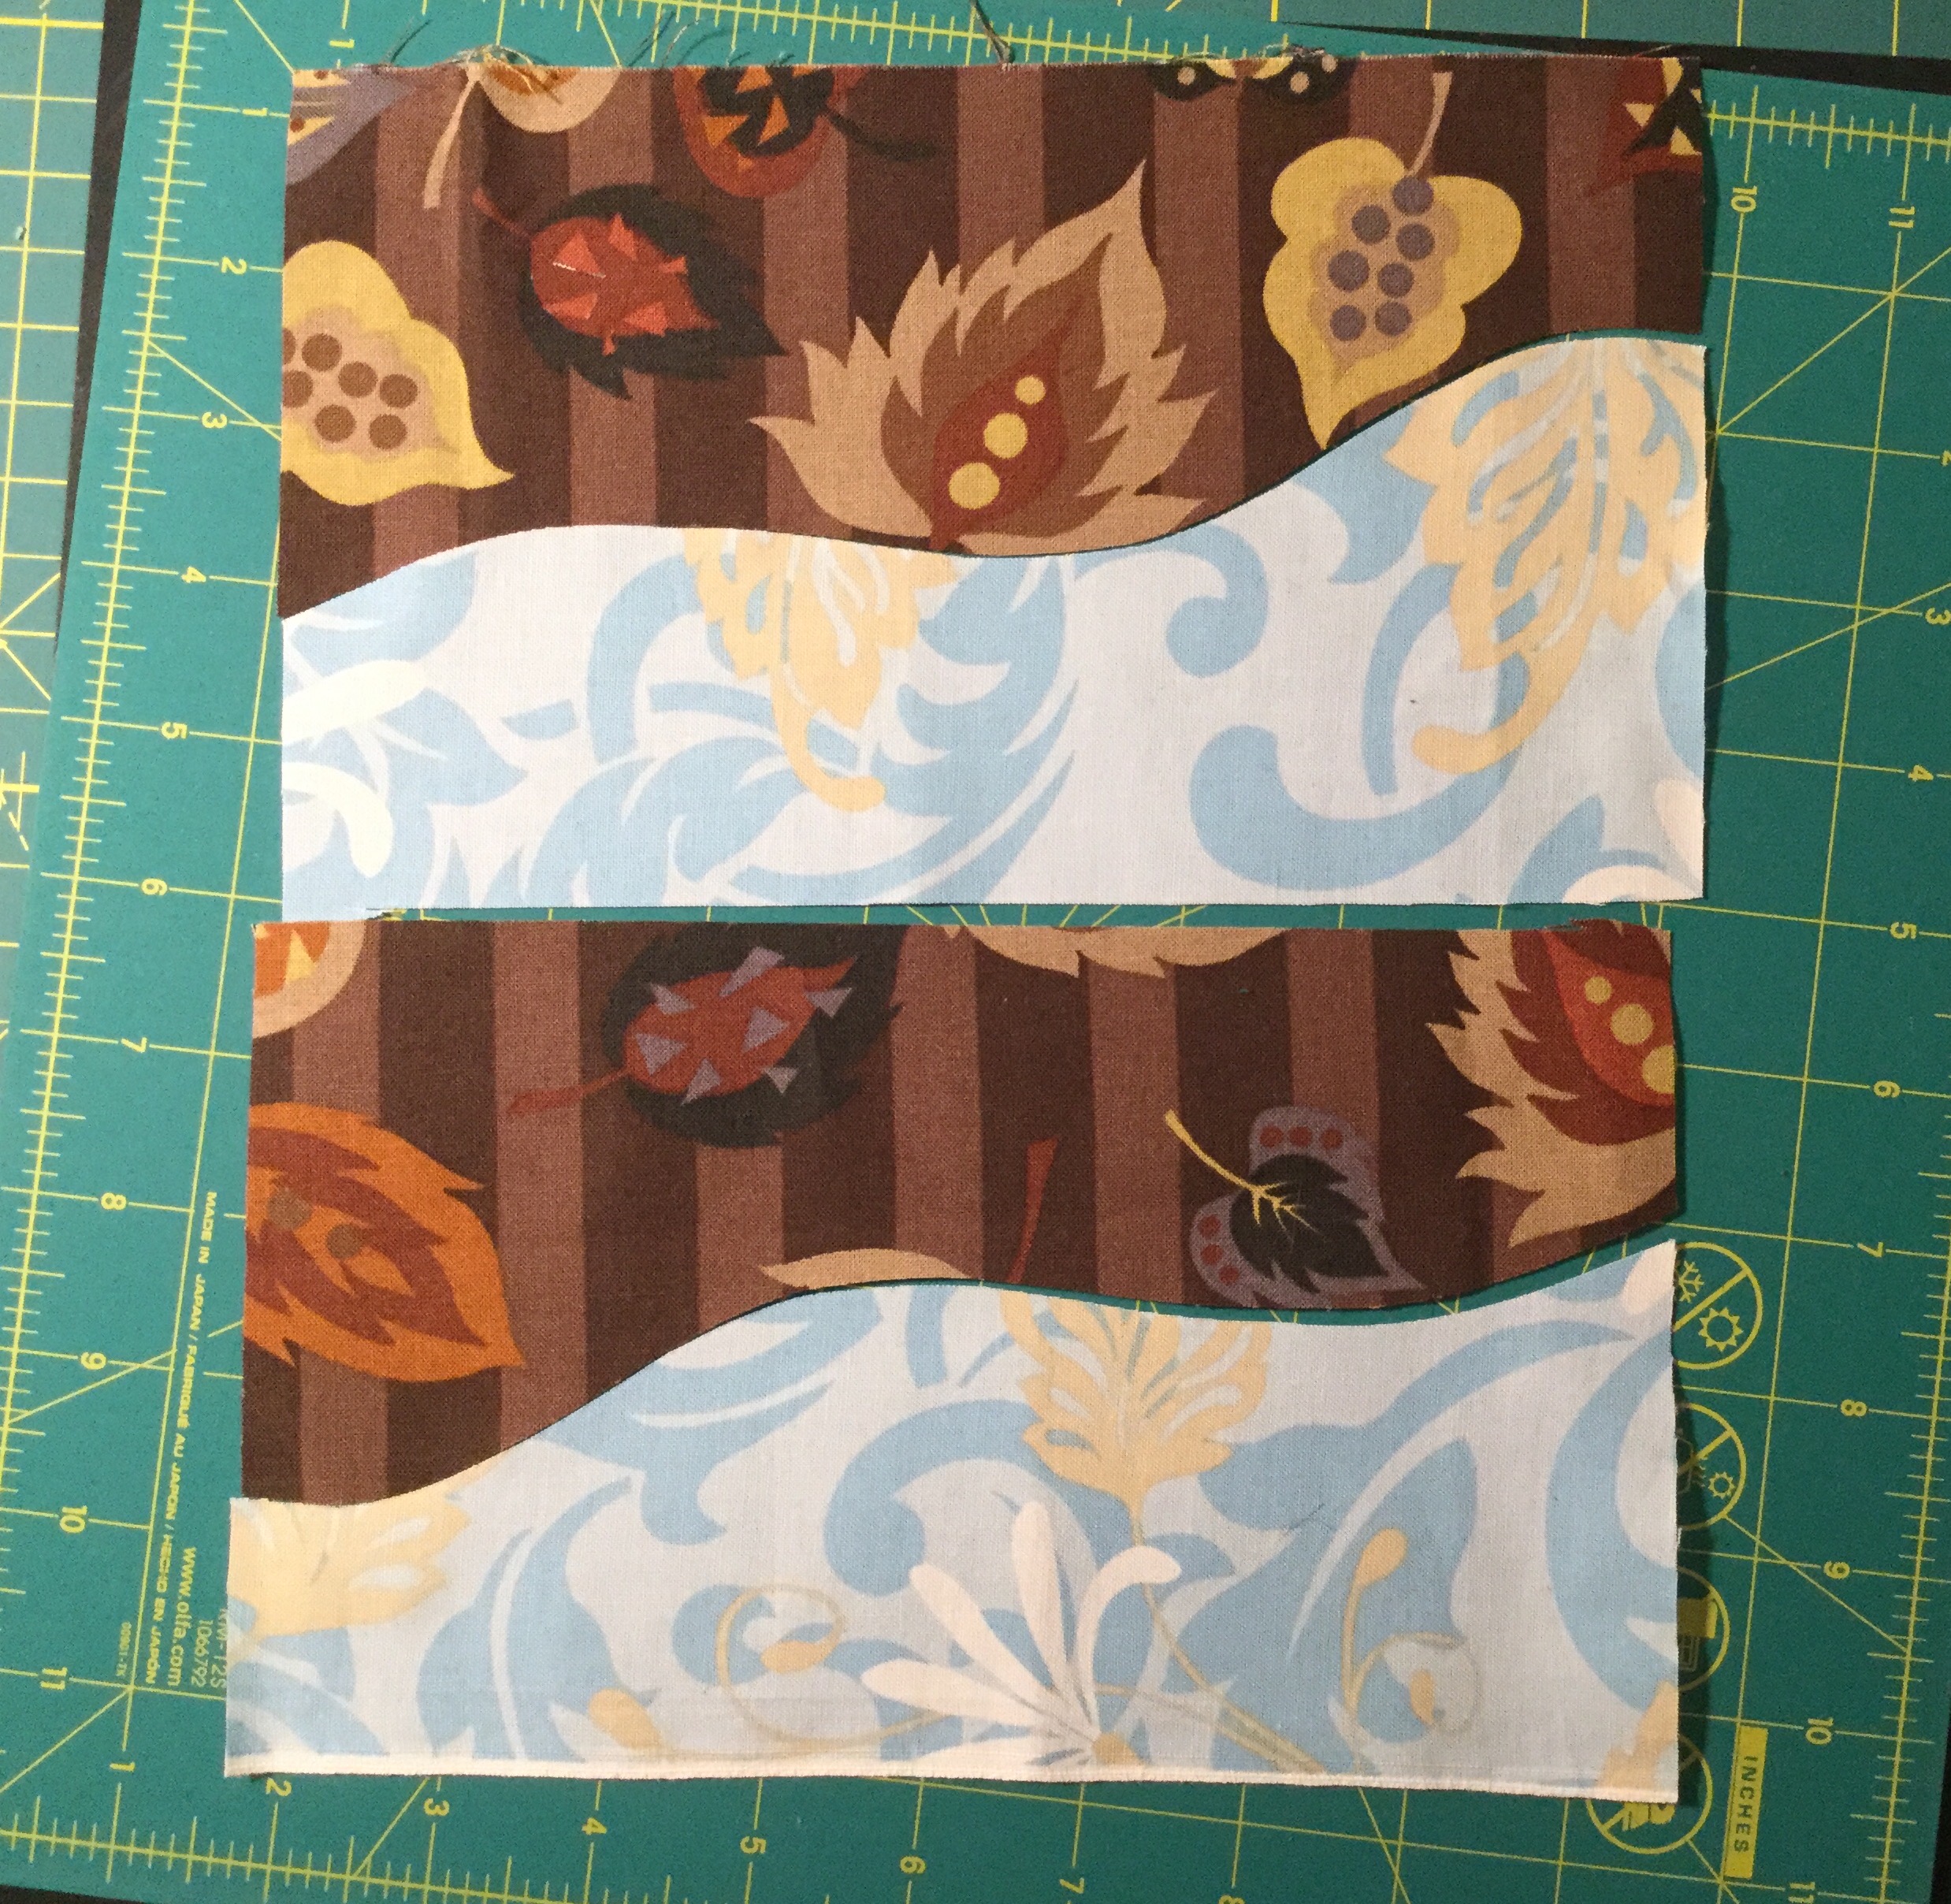
Then draw marks on the reverse side of the fabric as shown in the photo. These will be used to line everything up when pinning.
I wish I had a picture to show this, but when you place the right sides together you will see how important these marks are for lining the two sides up for pinning!
The curvier your lines the more marks and pins you will need.
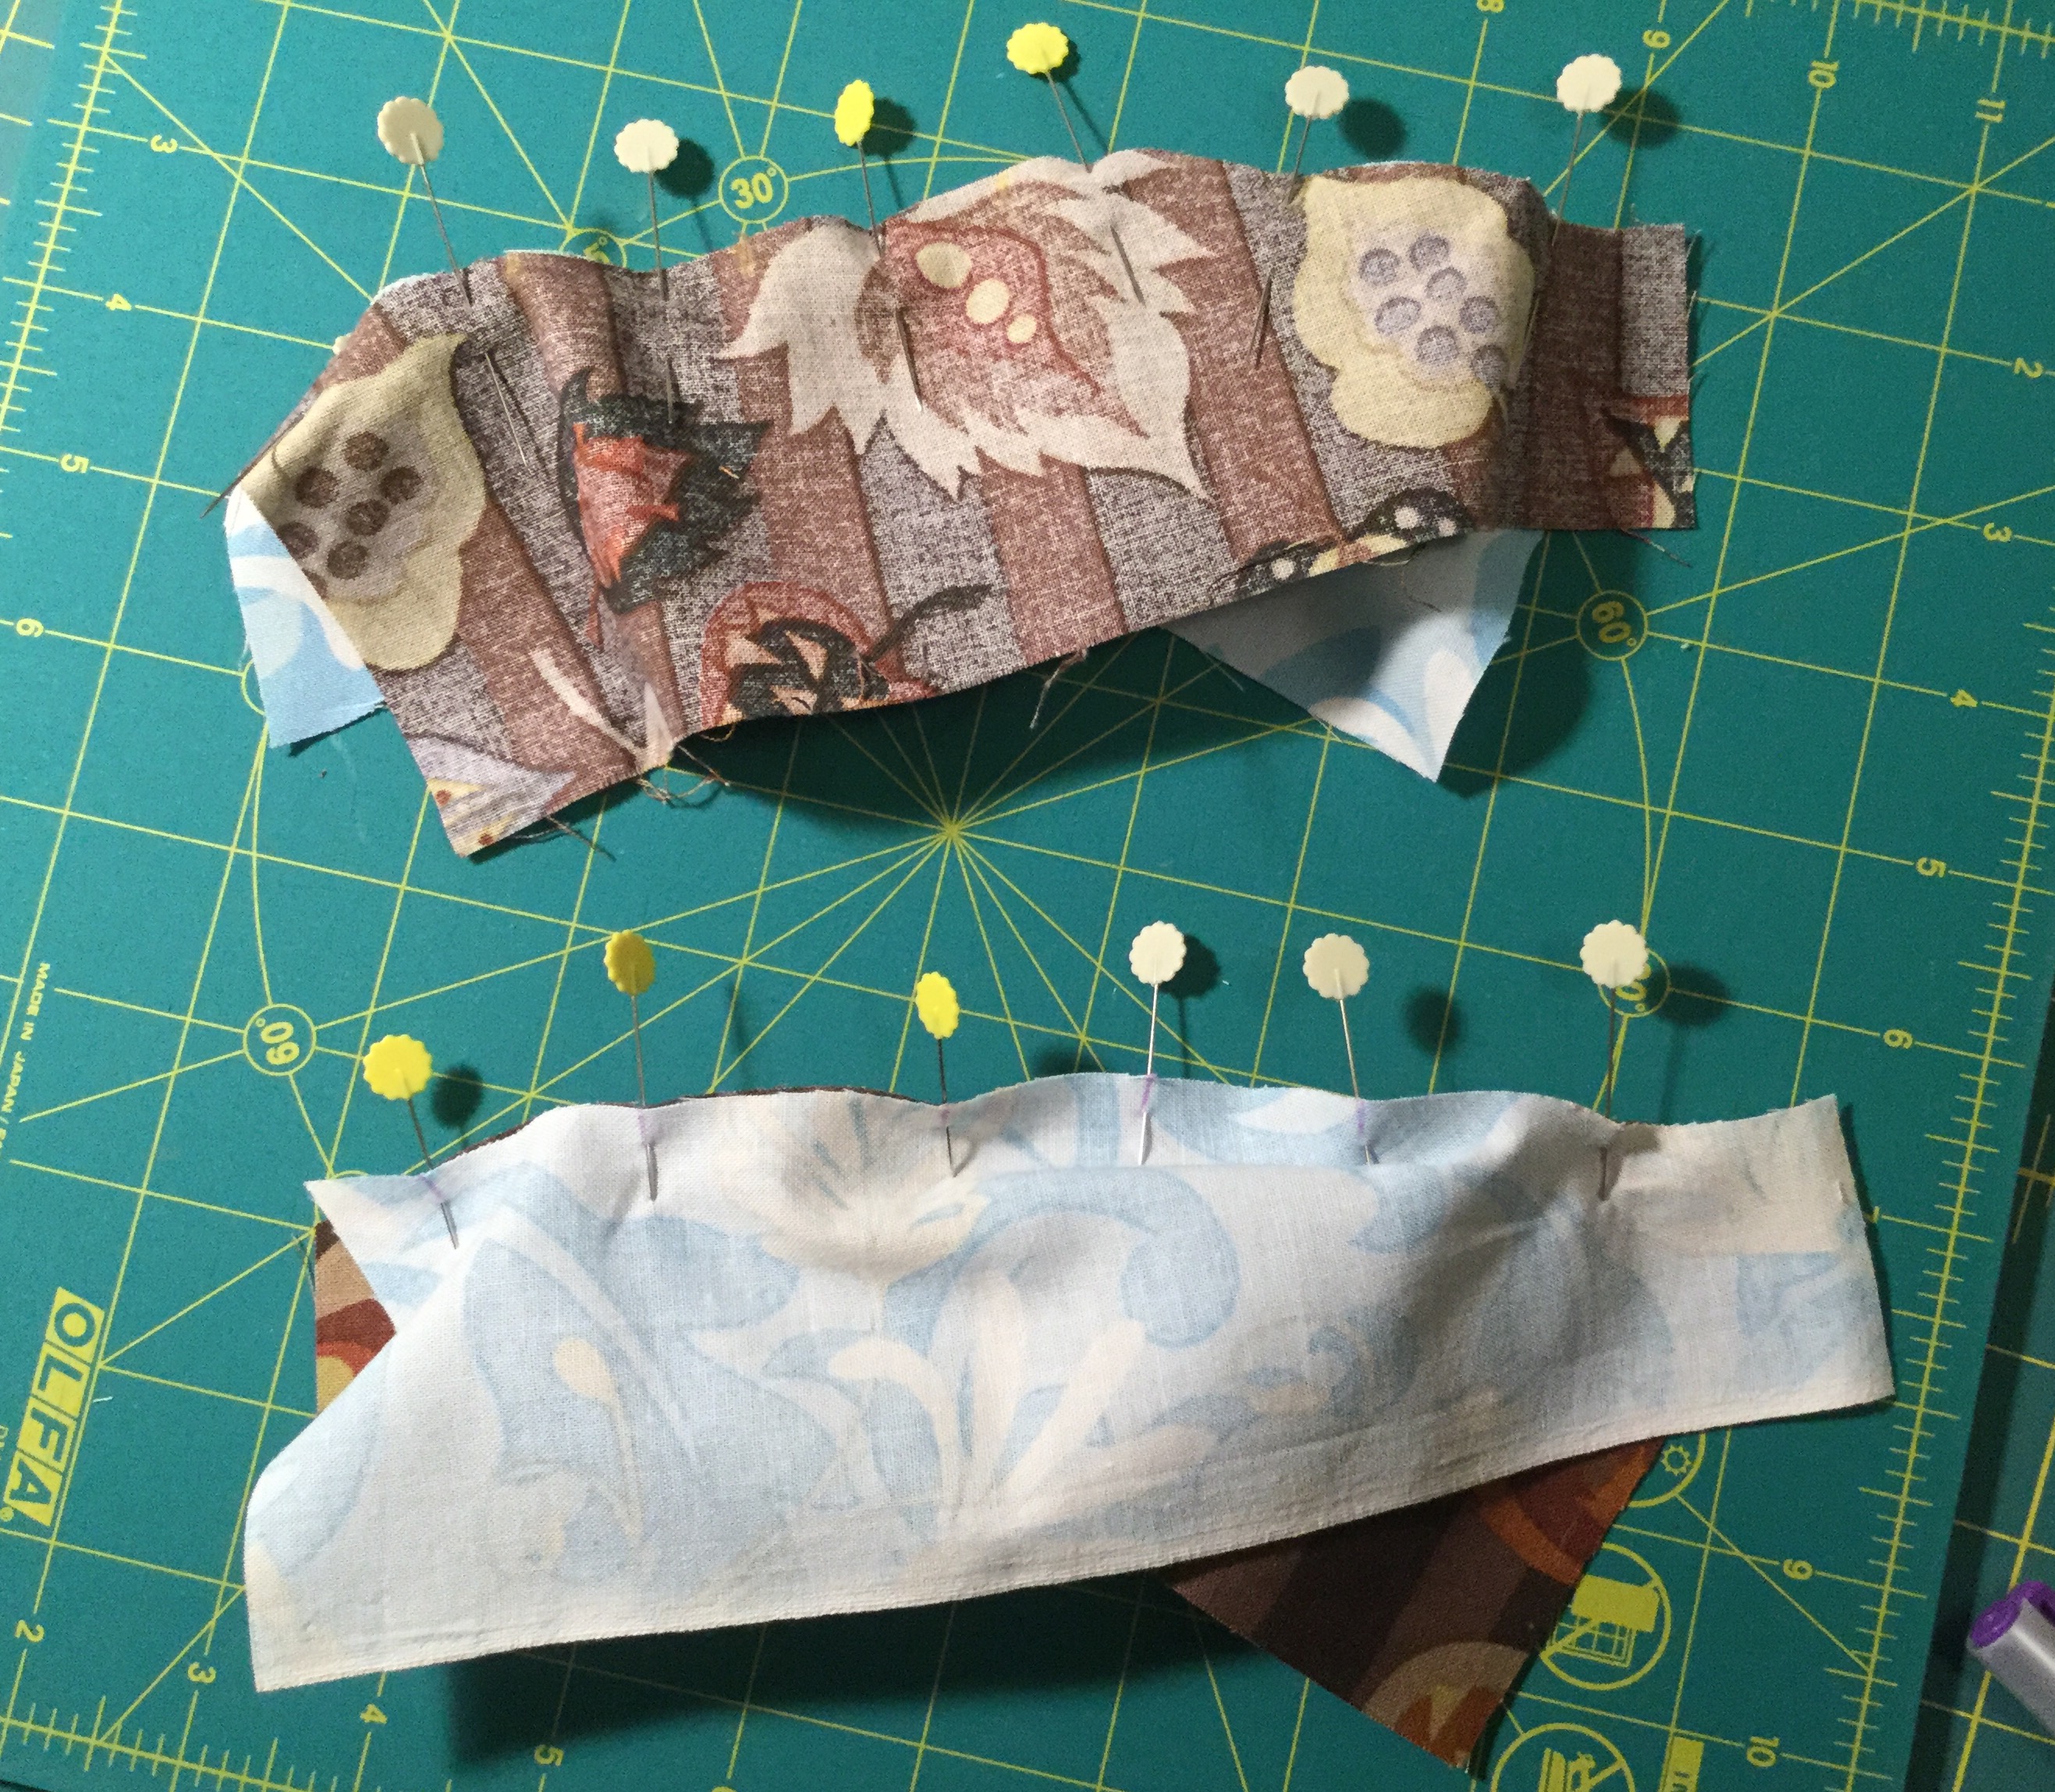
Once everything is pinned sew the seams for both sections. Go slowly and adjust the fabric as you go to remove puckers on BOTH sides. If you have a very curvy piece with puckers on both sides try stitching part of the seam on one side, then turn the pieces over and stitch with the other side on top. Just remember to secure your stitching when you stop and start.

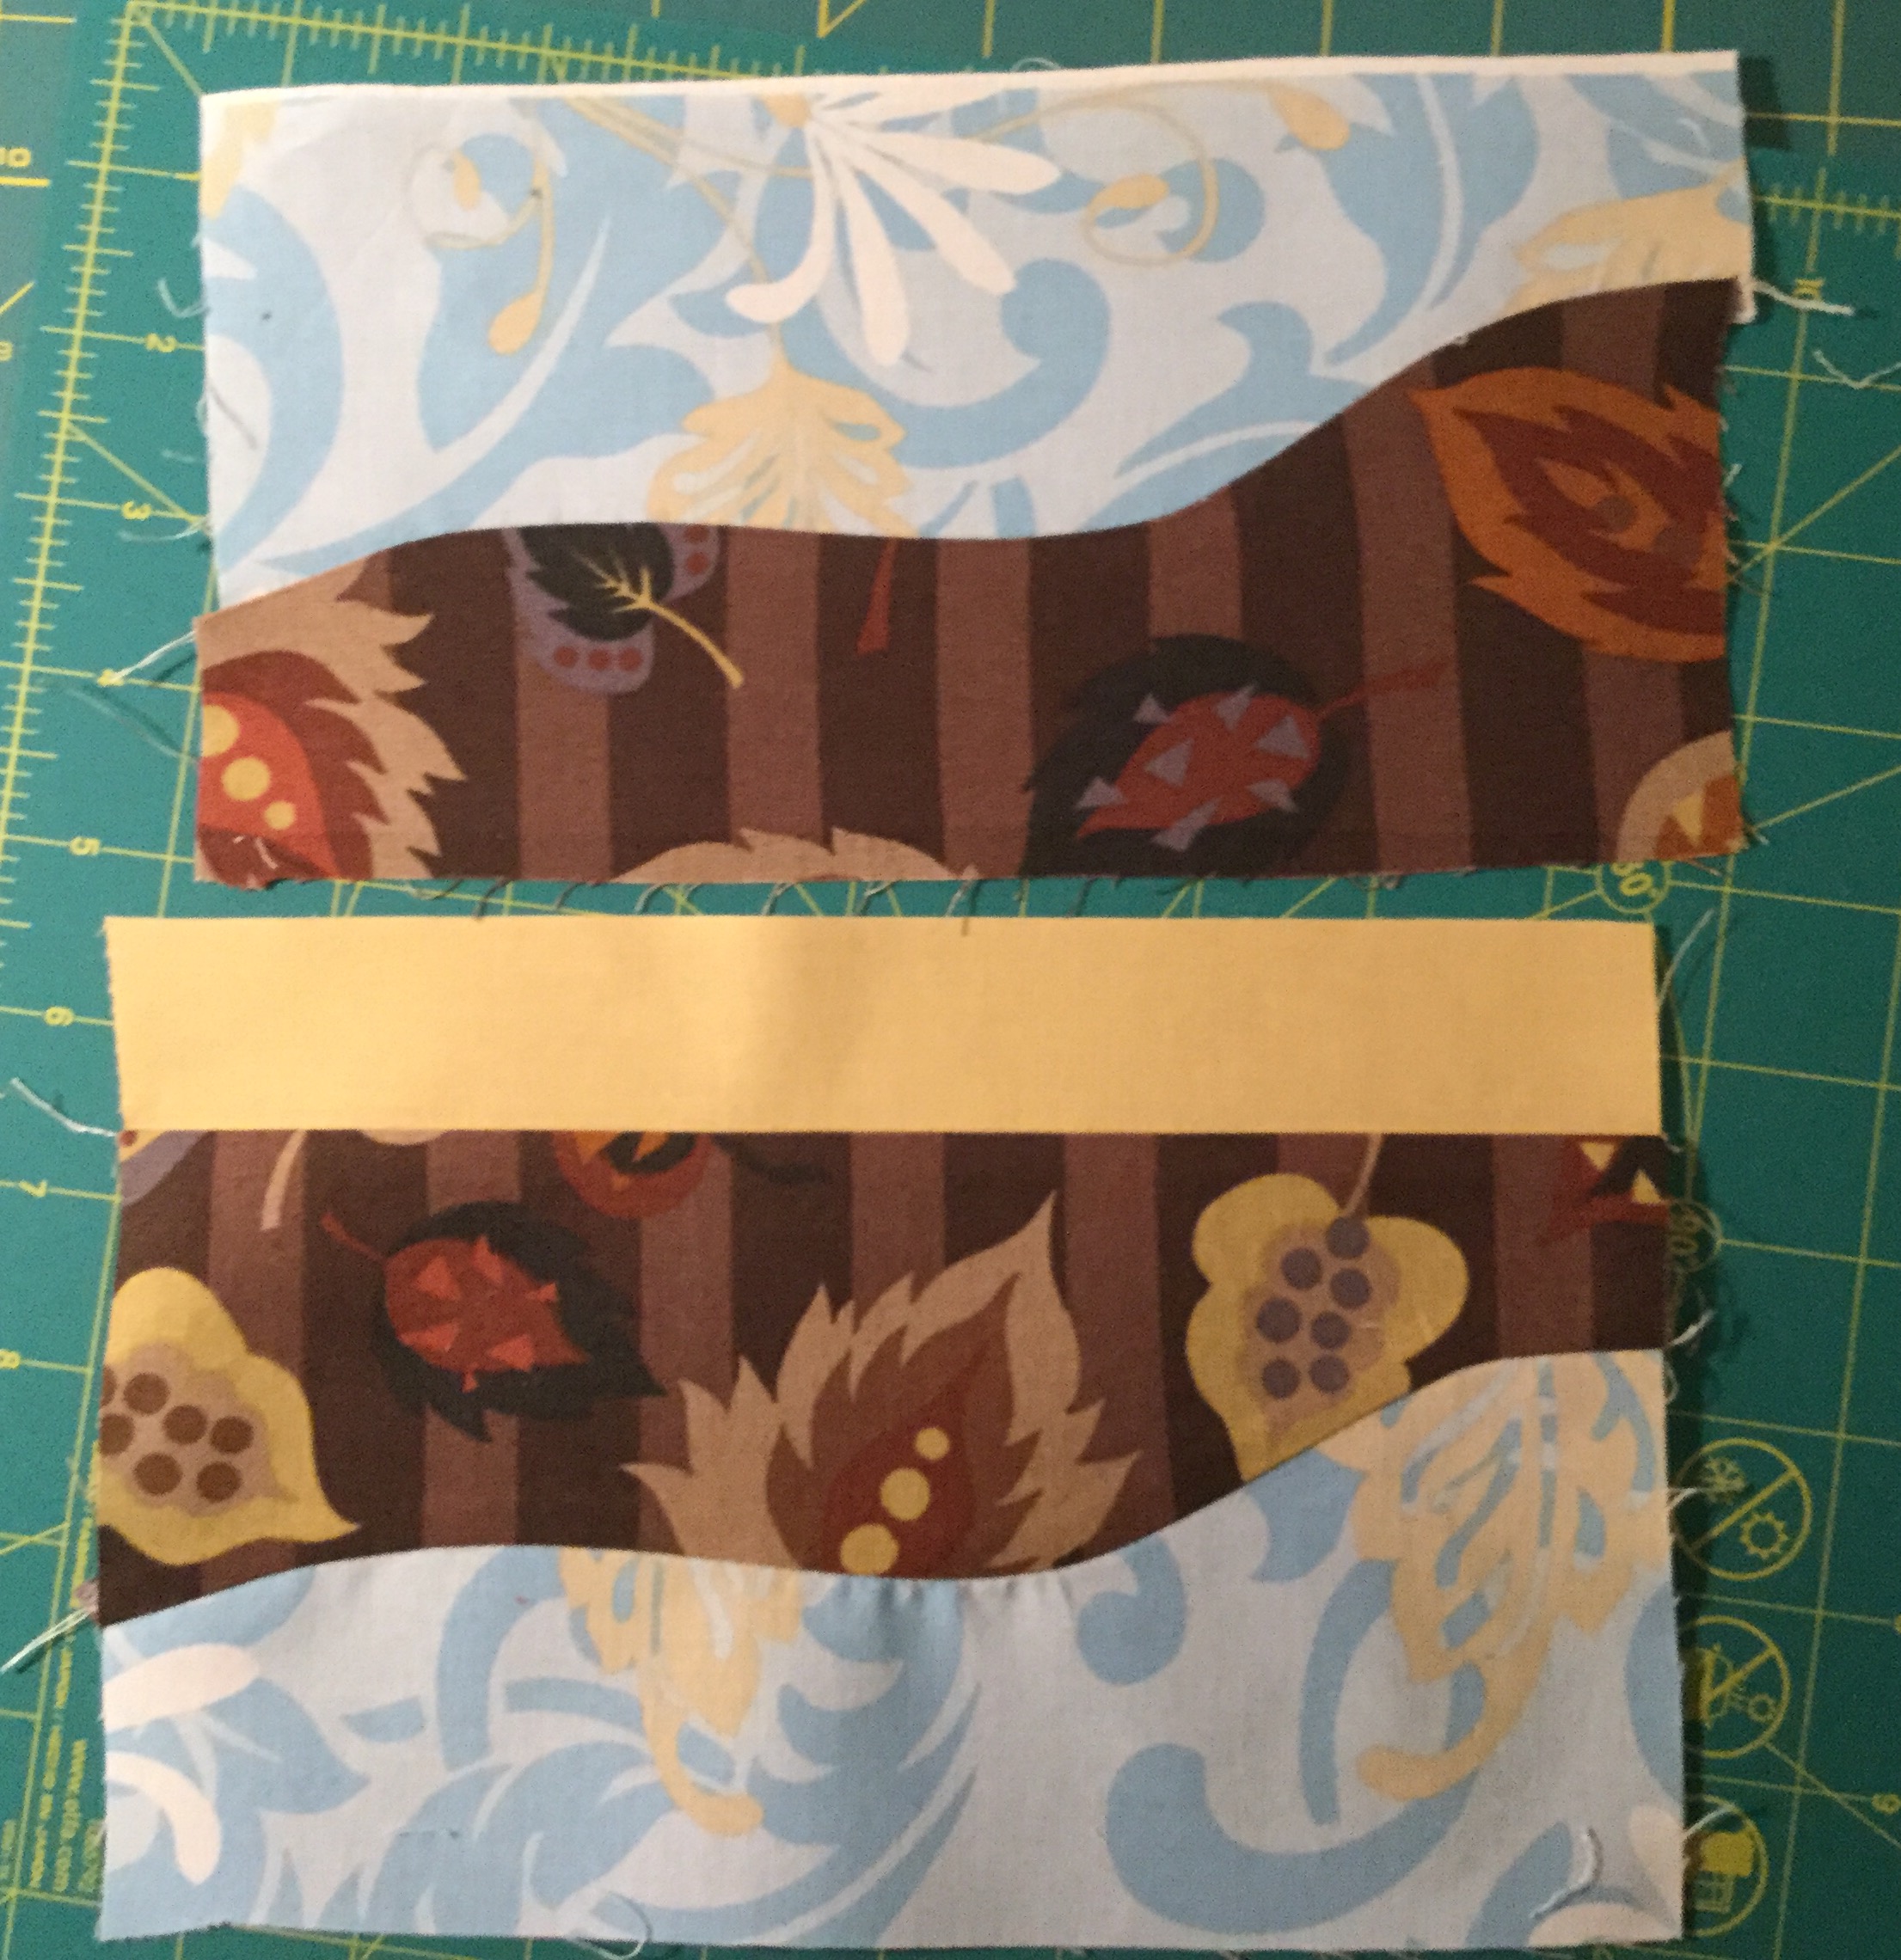
When you have both sections sewn press them flat. I used Best Press to flatten these pieces. You can also snip the seams at the curves to smooth the seams out.

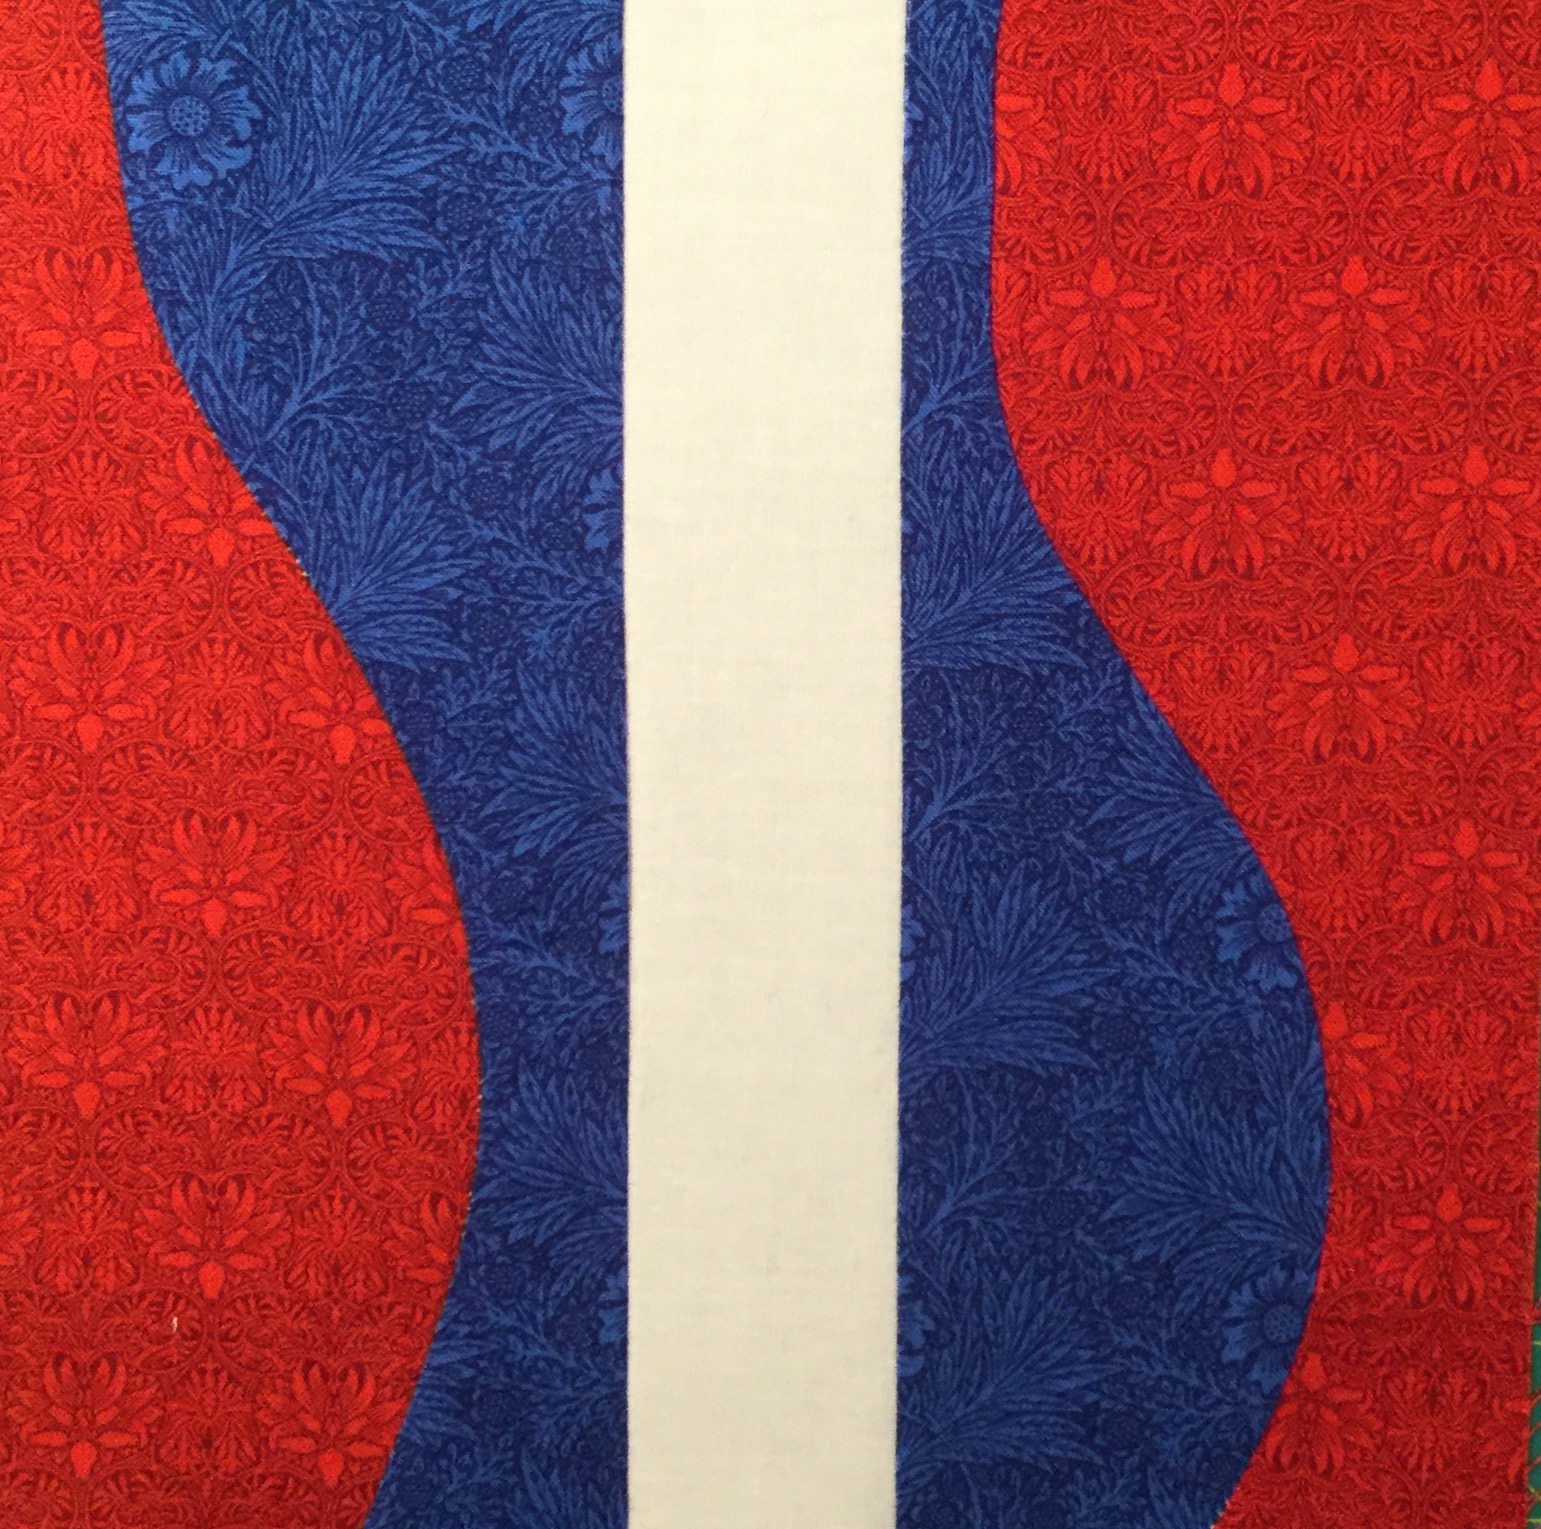
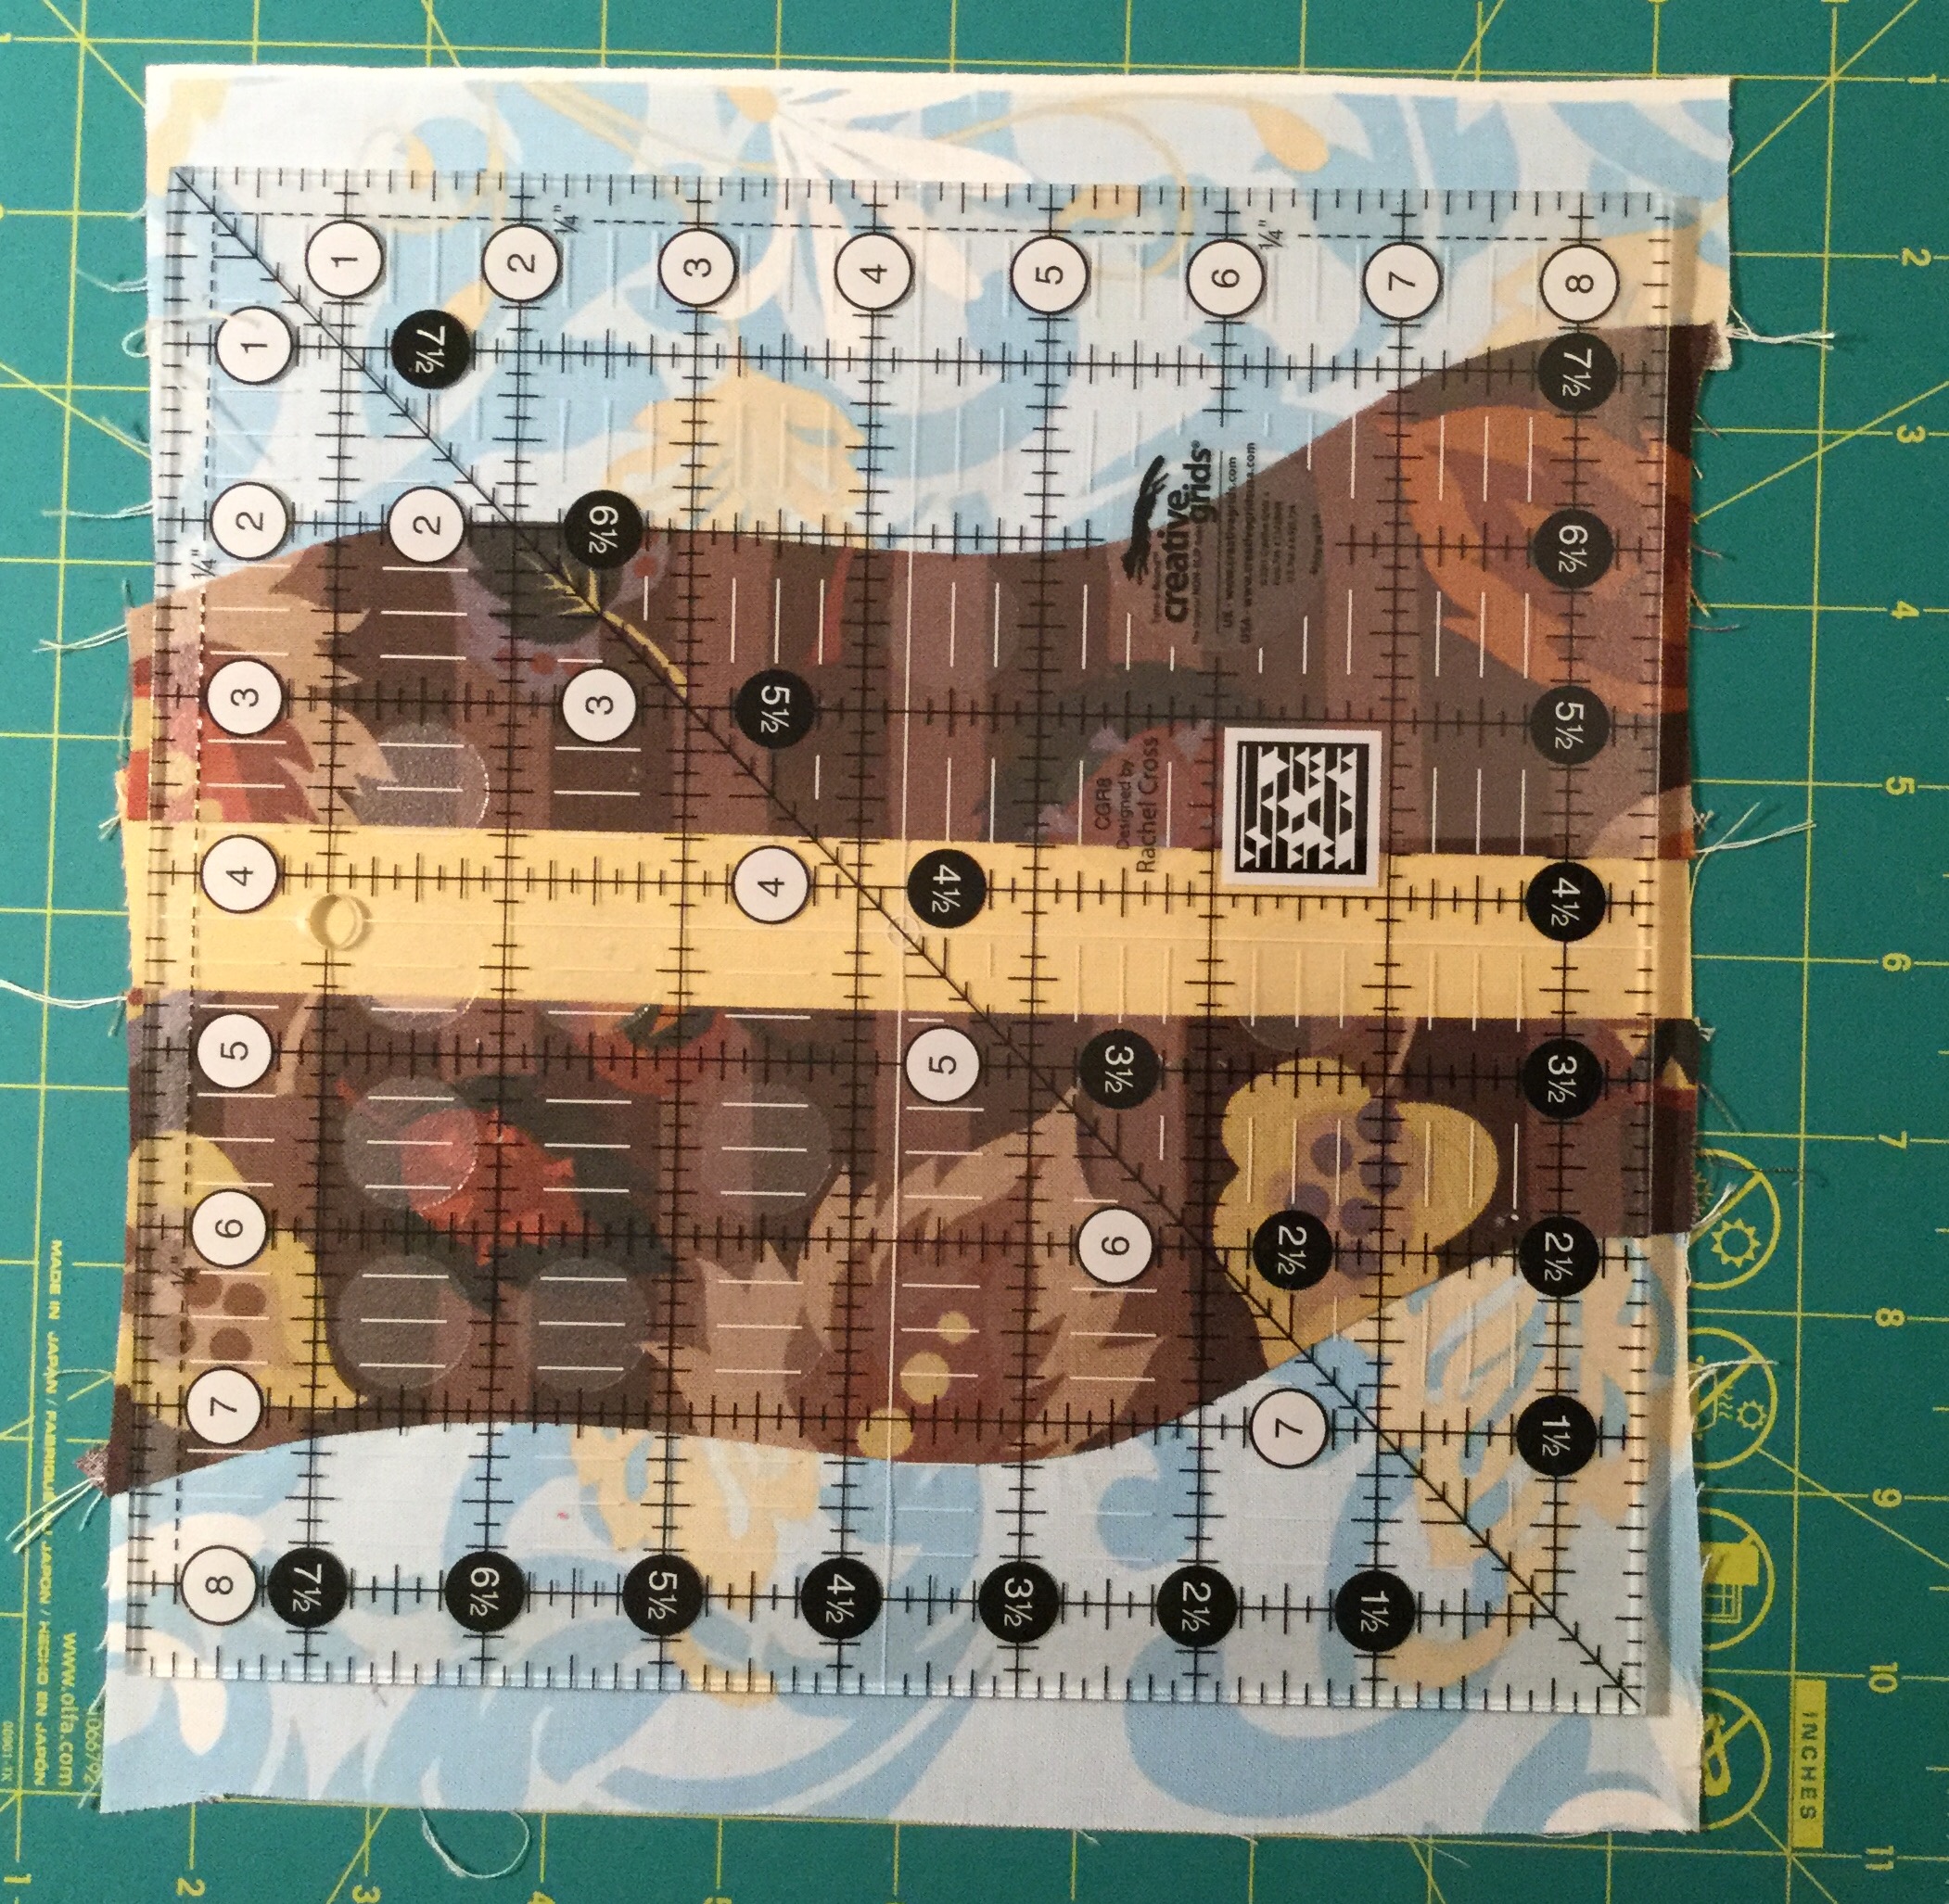
To finish the block cut a strip of fabric that is 9″ x 1.5″ or 9″ x 2″. Sew this strip to a long edge of one of the curved sections and then to a long edge on the other one. You decide which edges to have in the middle. I used the same fabric on either side of the strip. Then trim your block, keeping in mind that you will want the curves to stay inside the 1/4″ seam lines.
Here are the three blocks that I made: curvy, curvier and curviest!
-

- Curvy
-

- Curvier
-

- Curviest
