Tag Archives: #quiltingwithpatrice

Visiting Judy in Arabia

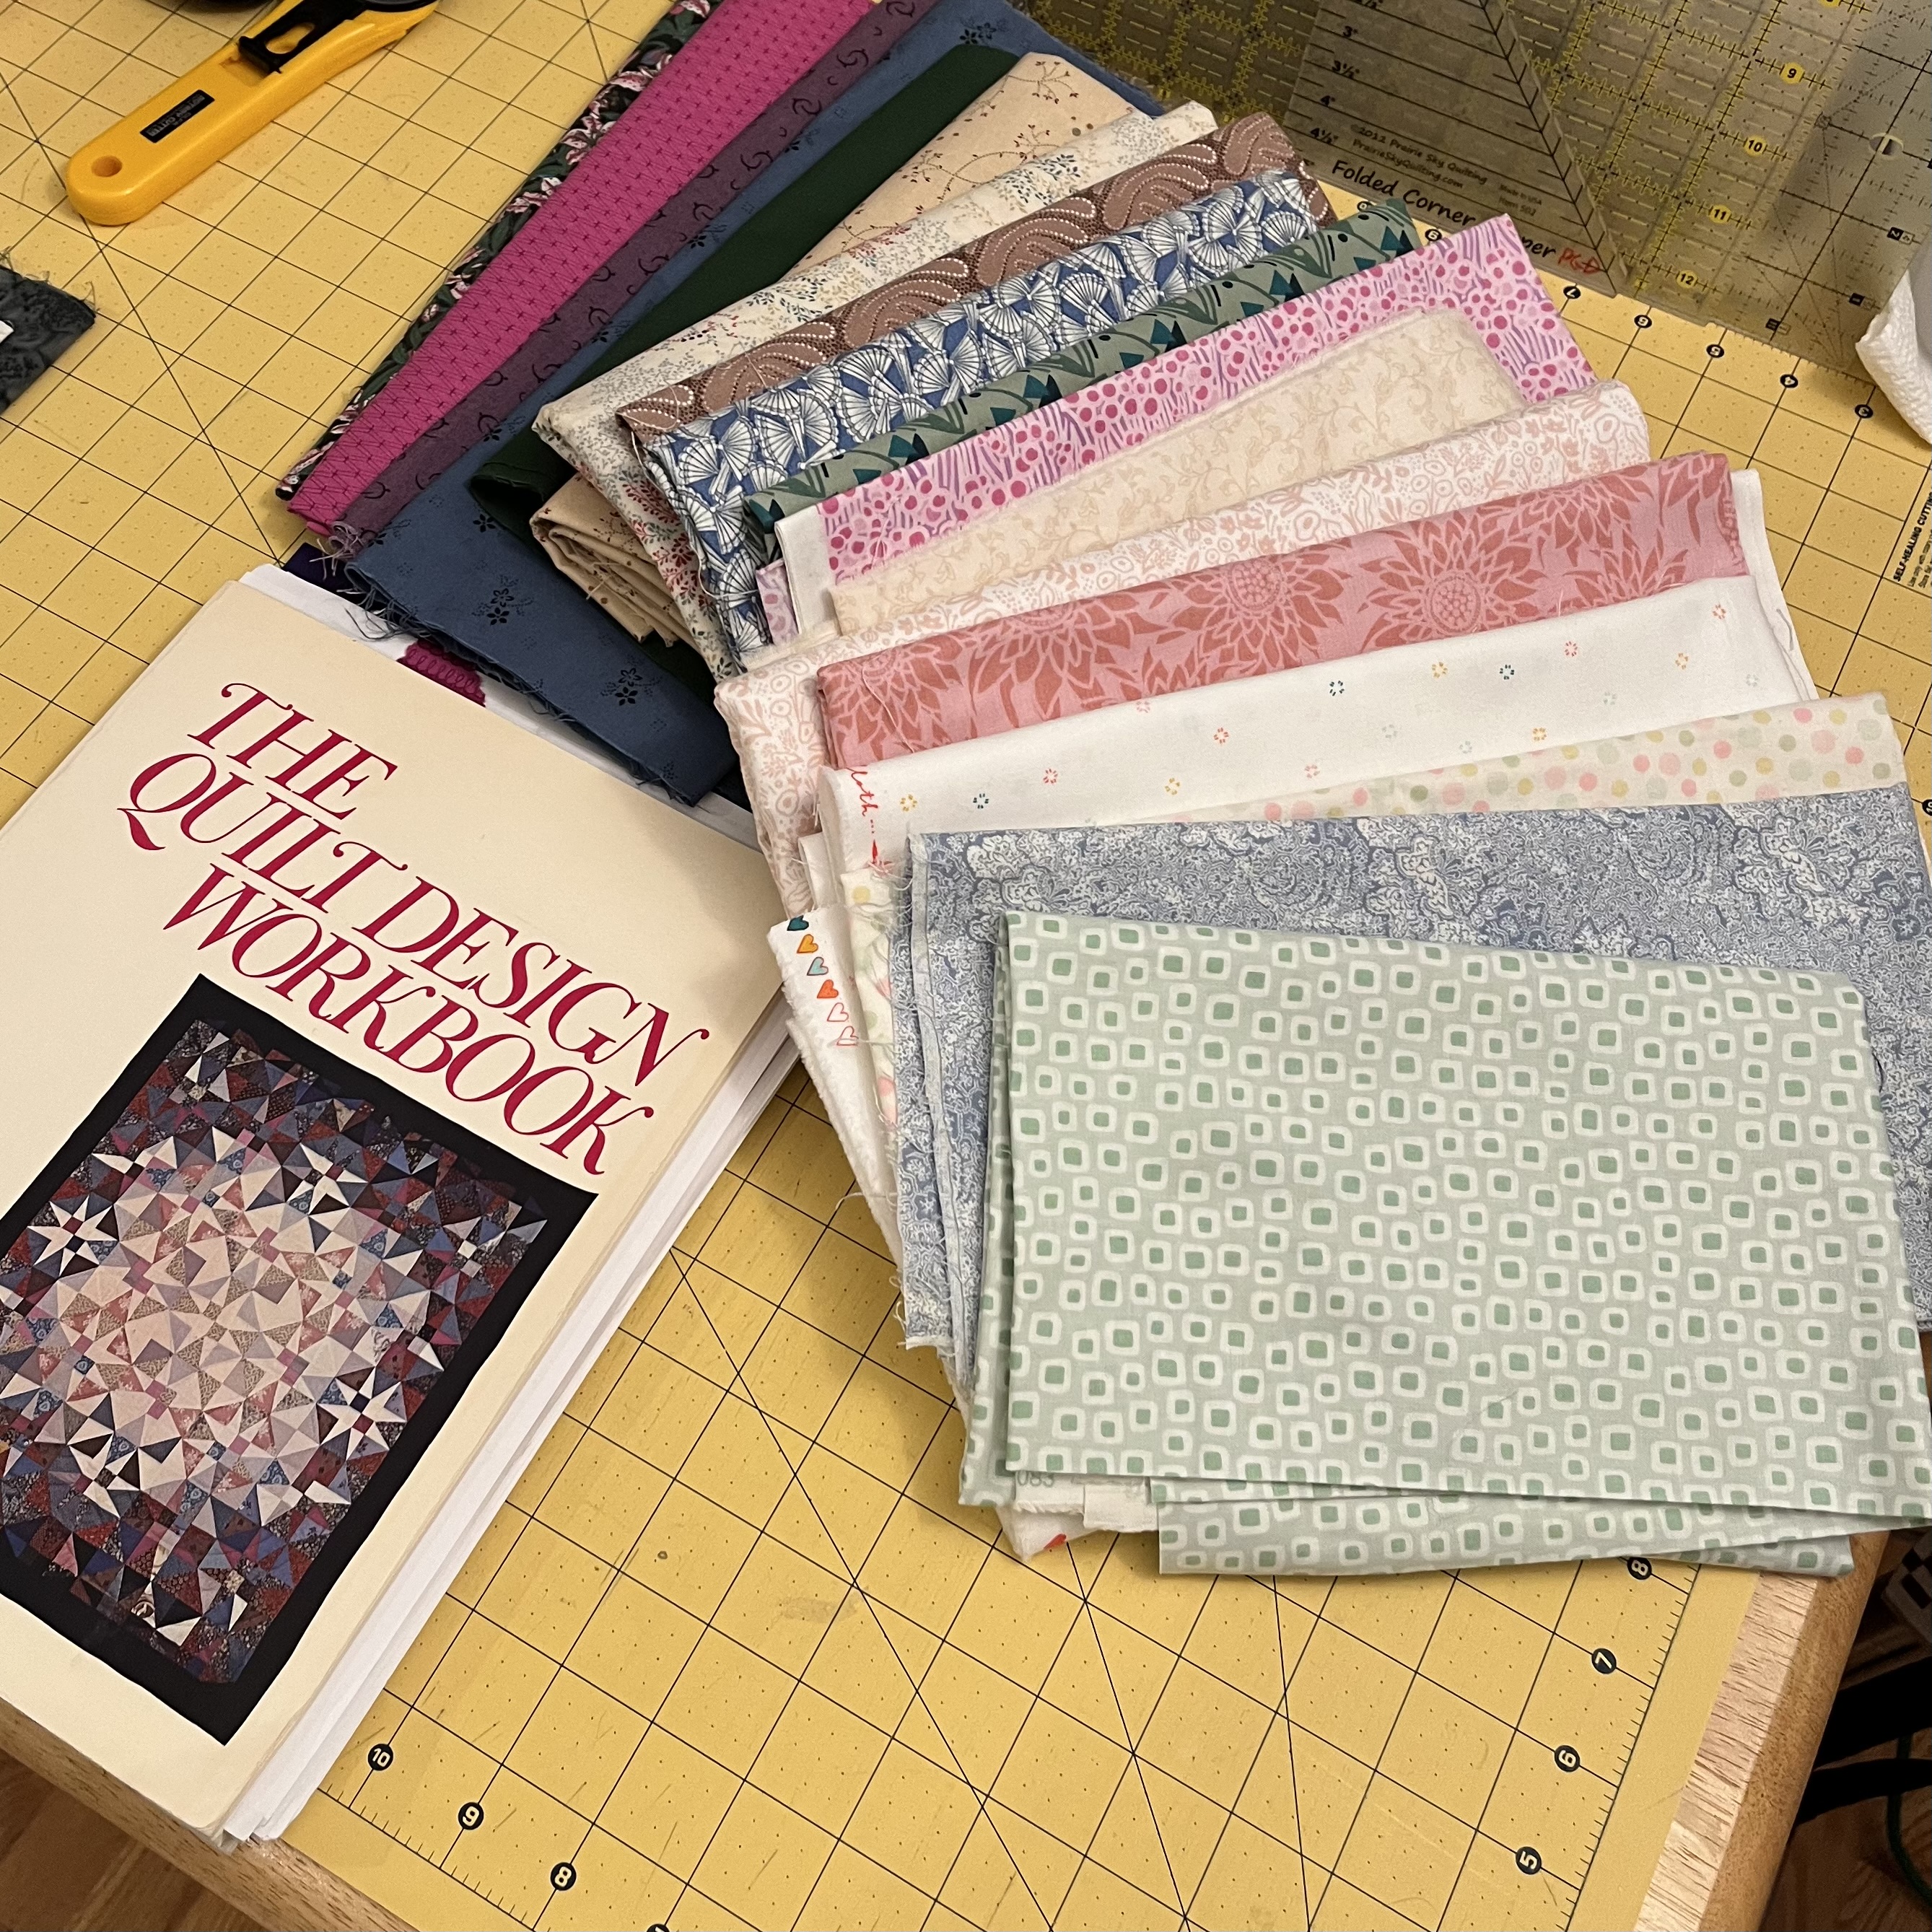
In 2018 Jeffrey Gutcheon’s quilt “Judy in Arabia” was exhibited at the New England Quilt Museum. His quilt caught my eye because of the use of color, from light in the center to dark at the edges and, also, the movement of the overall design. I discovered that Jeff had done all the drawings in his wife Beth’s book “The Perfect Patchwork Primer”. Jeff and Beth went on to write a second book together, “The Quilt Design Workbook”. This quilt and the block “Judy in Arabia” are included in that book. These are vintage 1970’s books and Jeff’s quilt was made in the midn1970’s.

Jeffrey Gutcheon

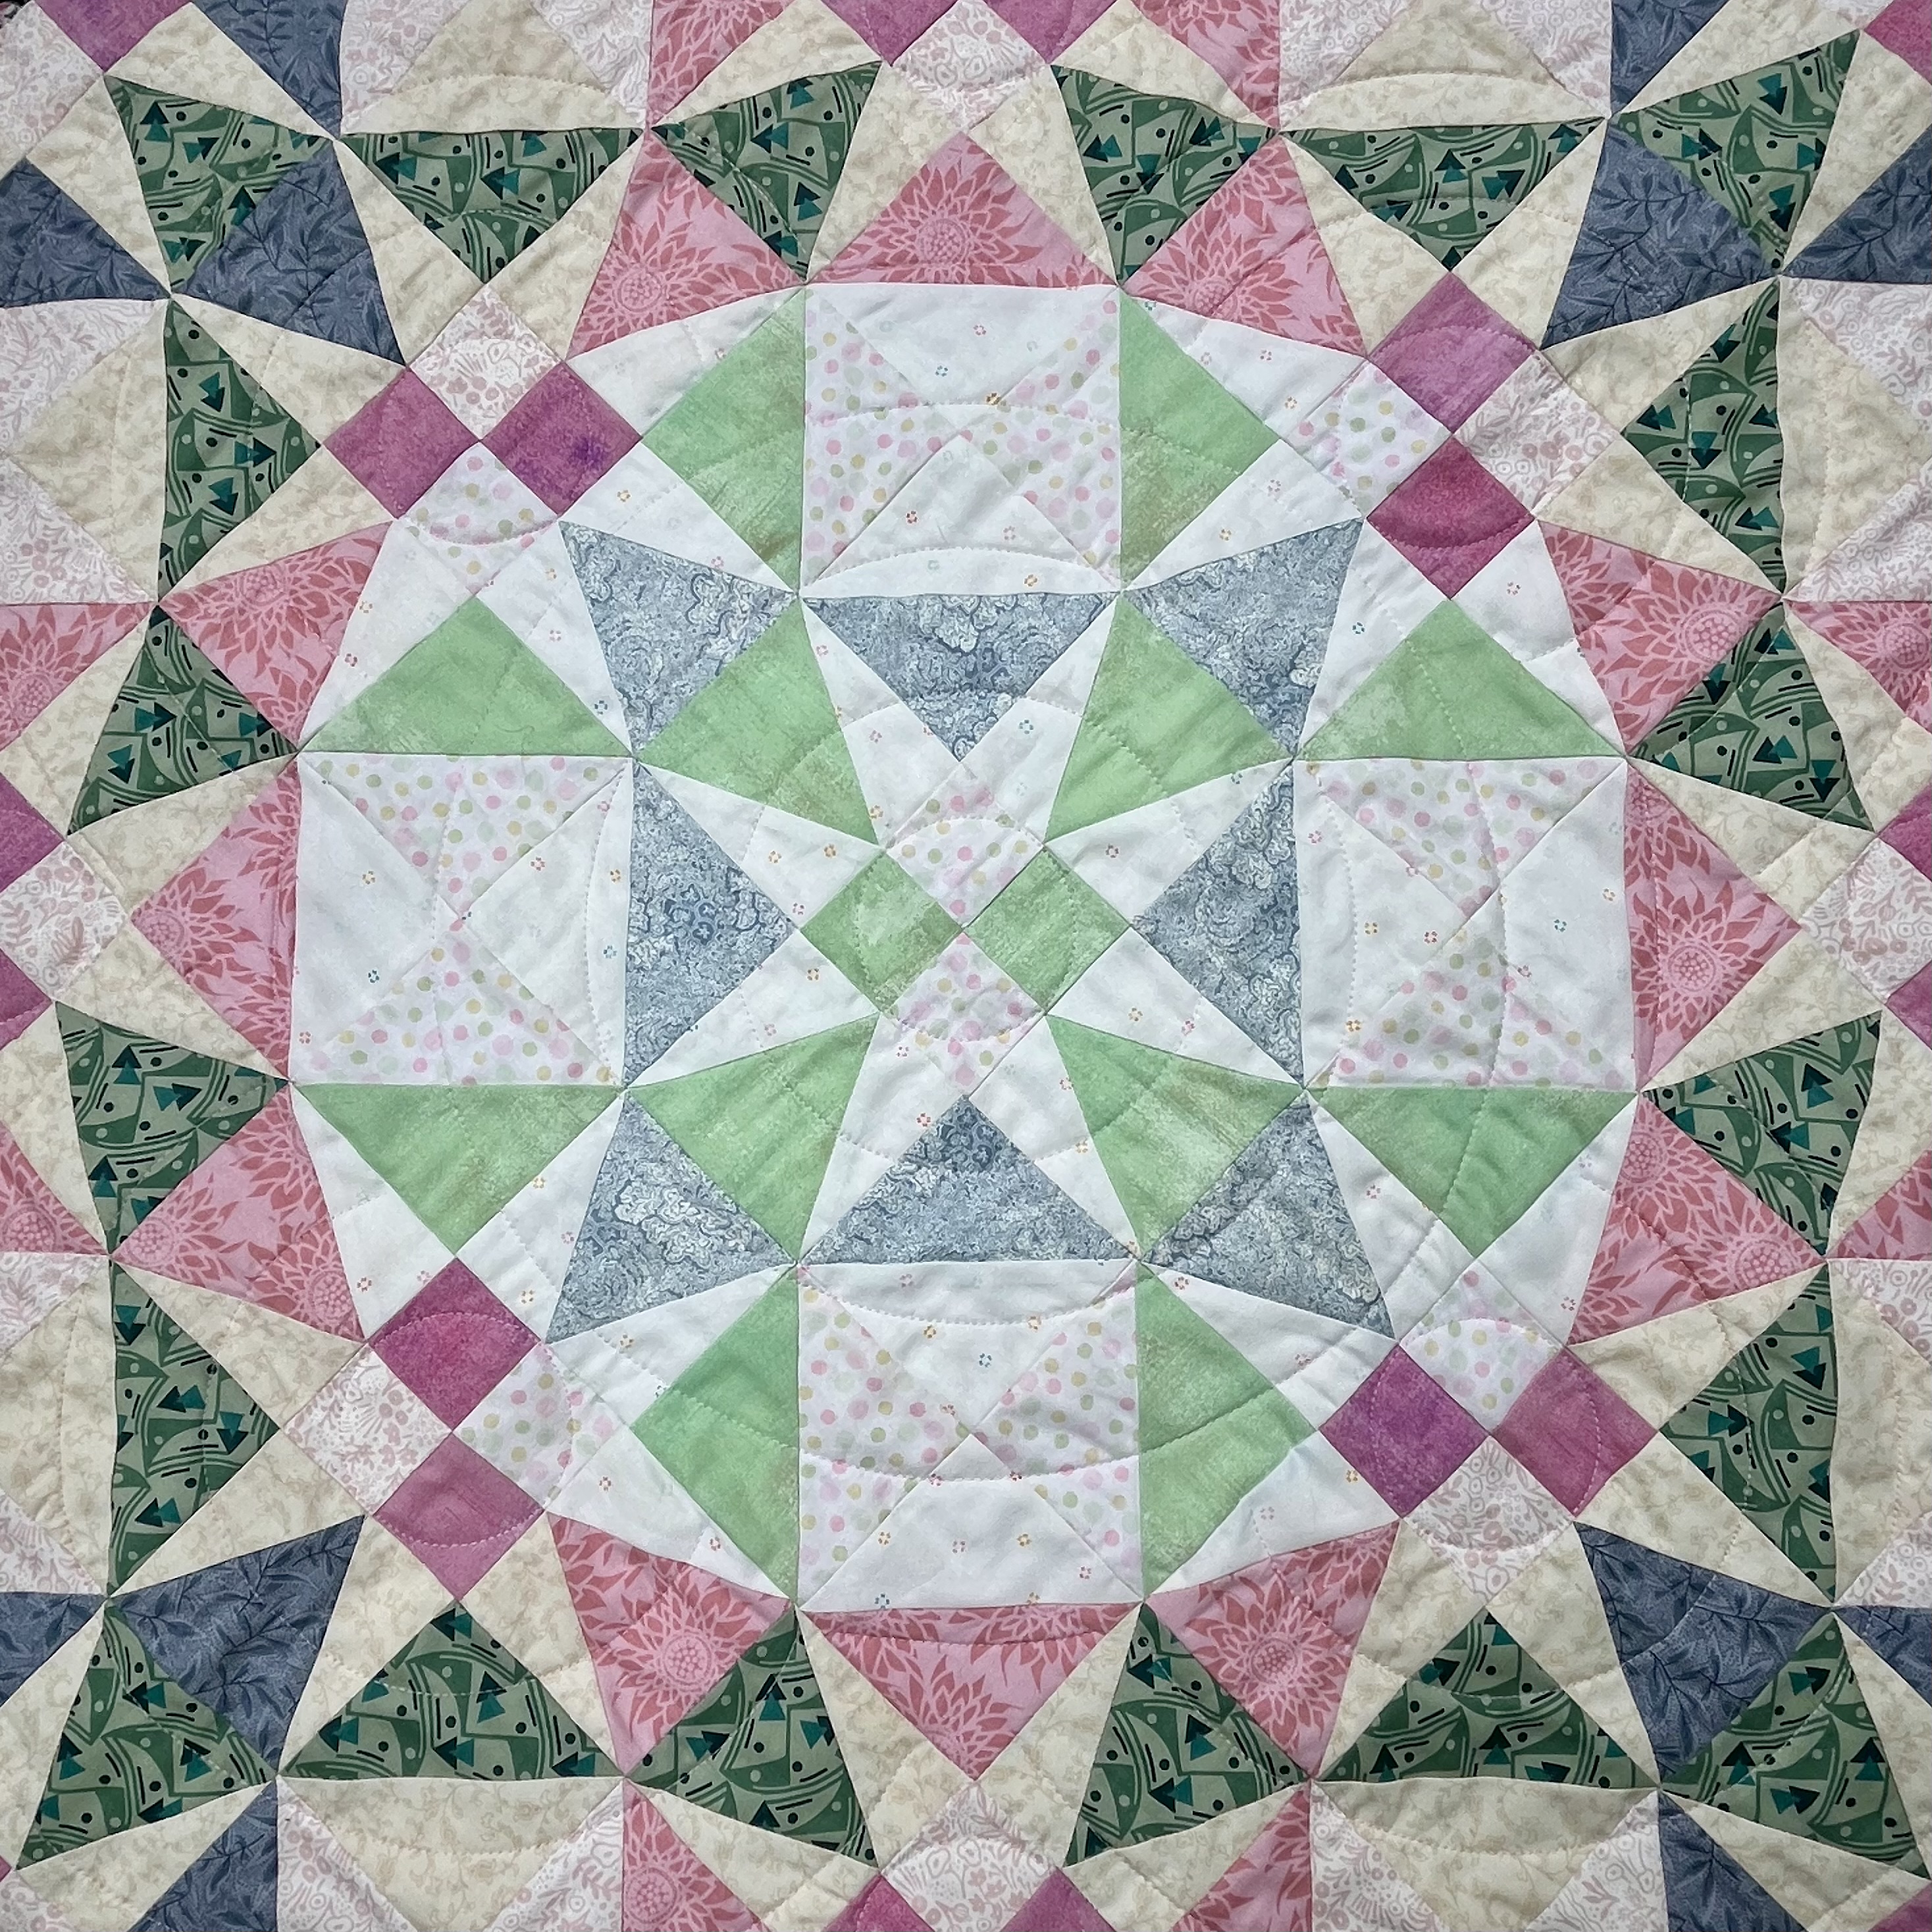
I chose to study Jeff’s quilt when I was given an opportunity to participate in the American Quilt Study Group 2025 Quilt Study. My quilt was exhibited at their Study Seminar in Portland, Maine, and although it was not chosen for their touring exhibit, it is included in the book documenting the study. My quilt is 42” x 42”. Jeff’s quilt is 72” x 84”.
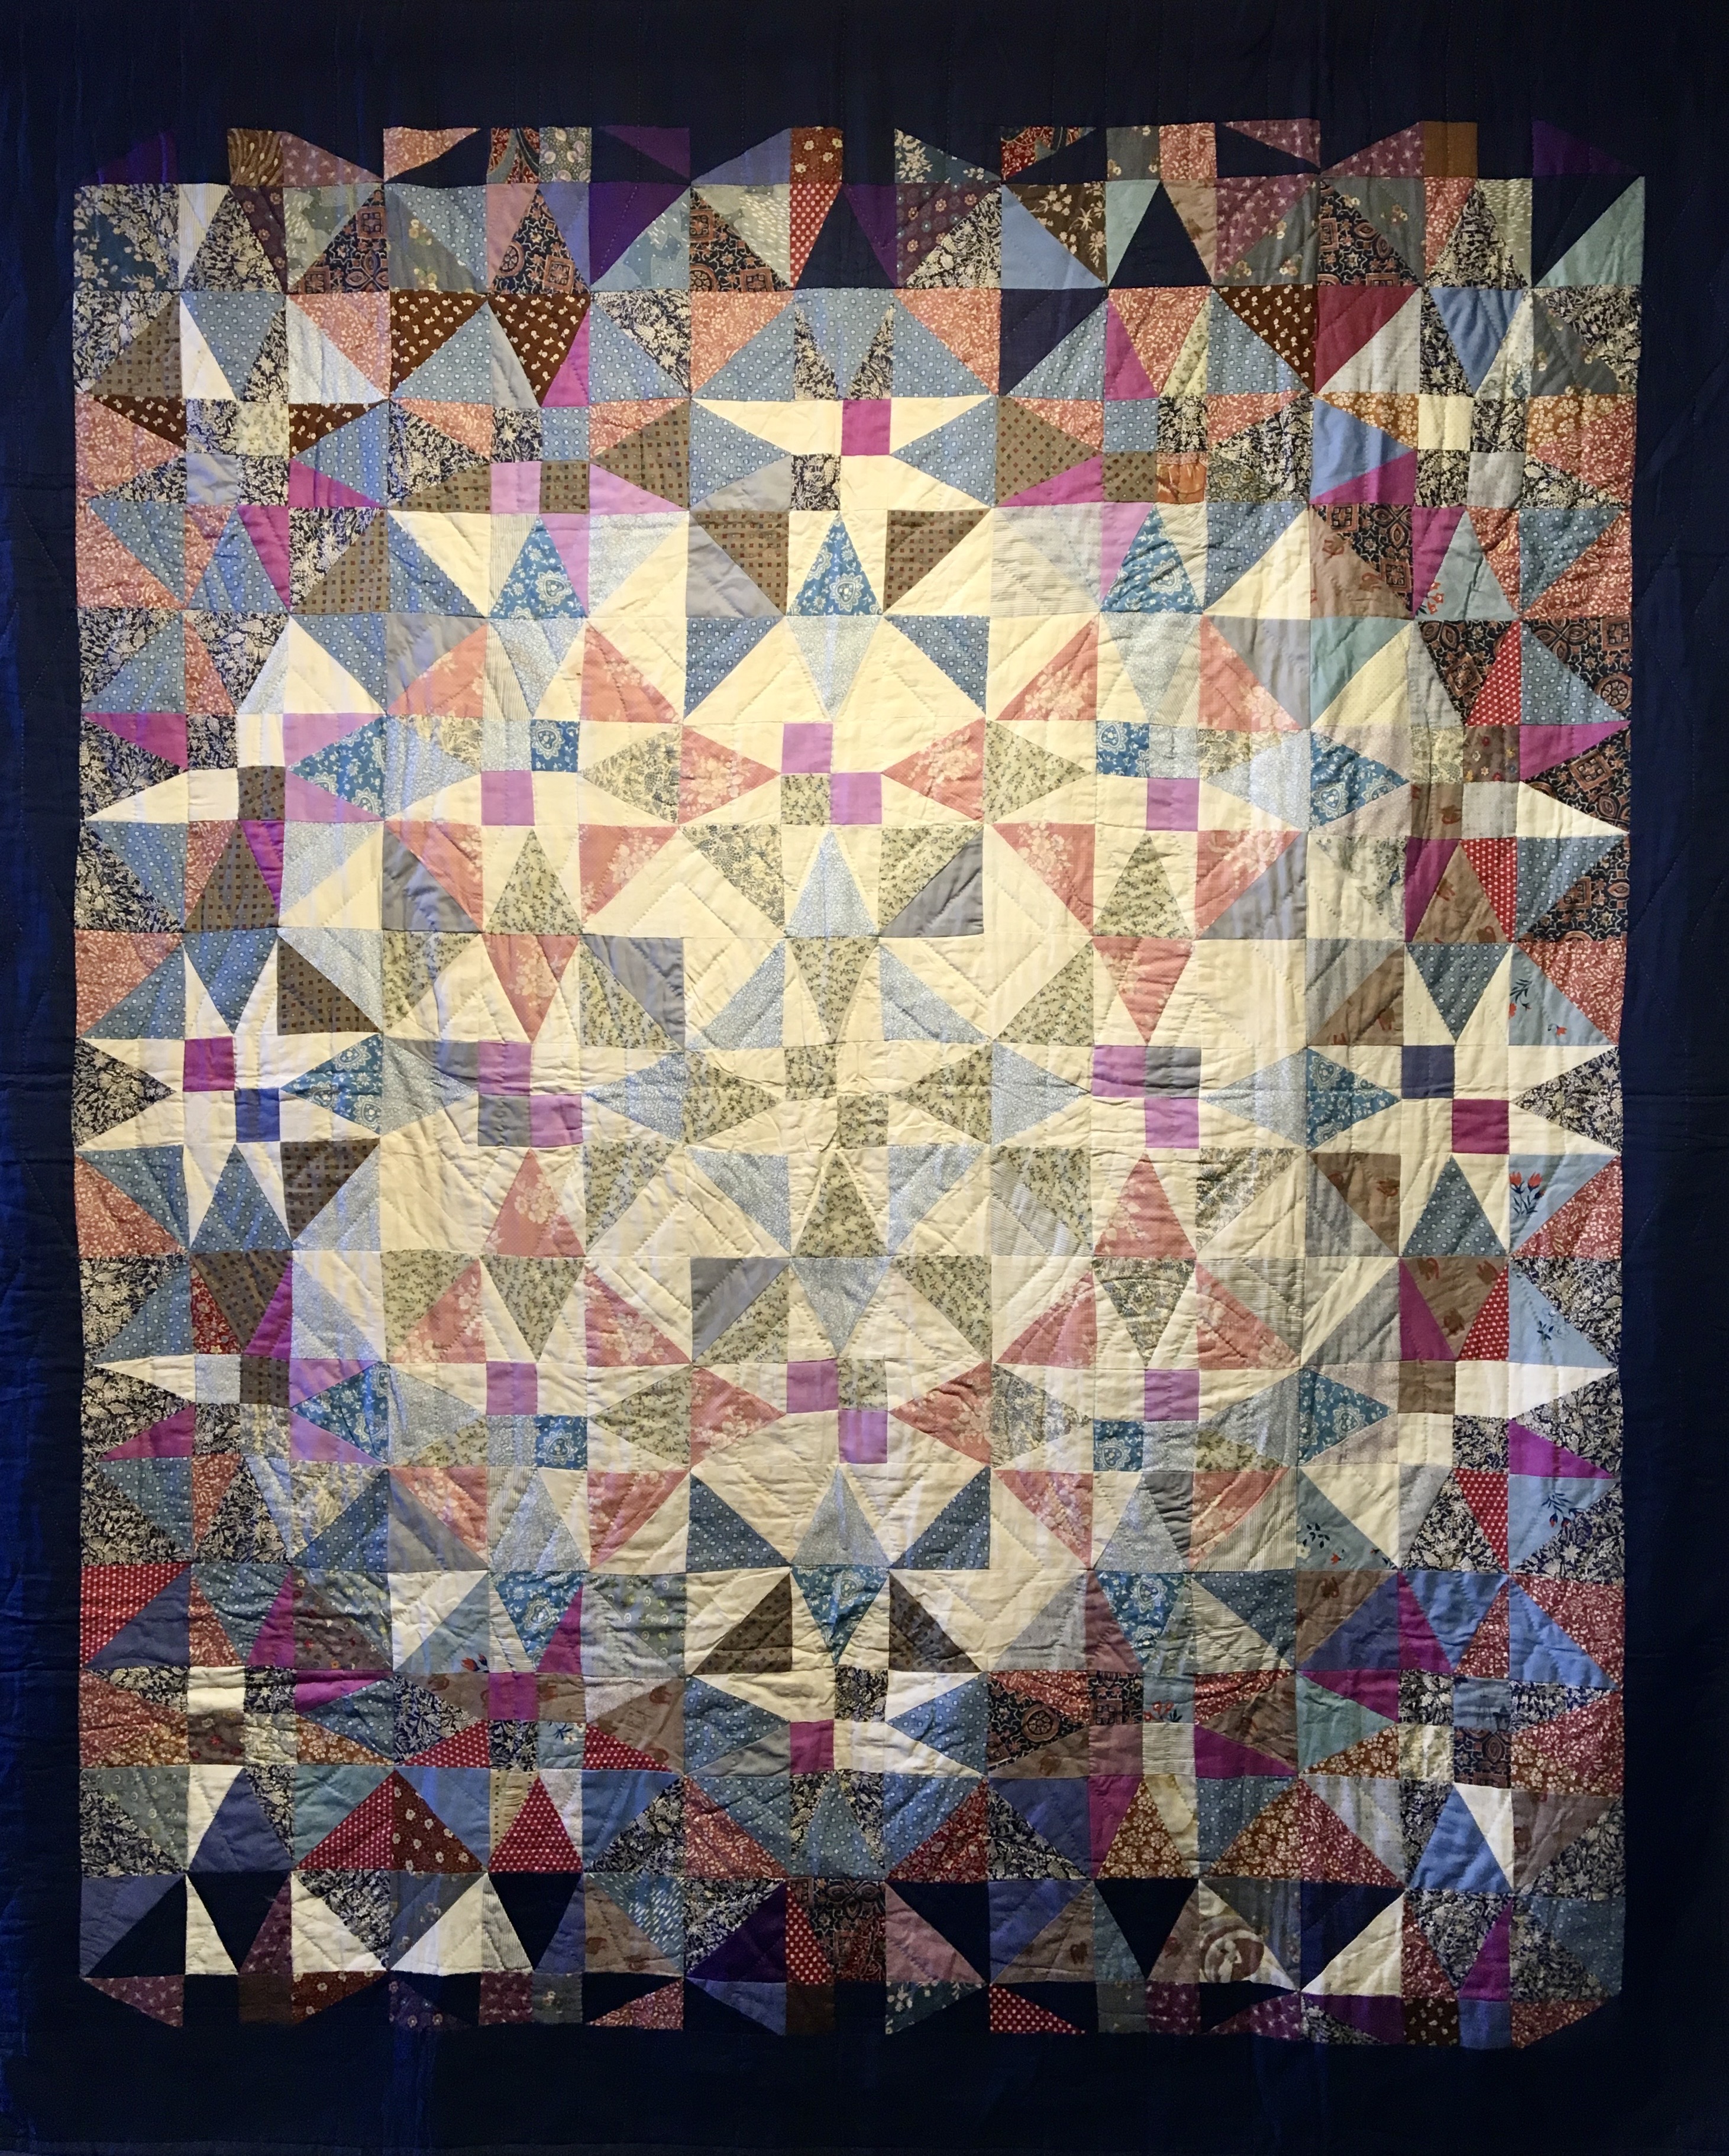
Visiting Judy in Arabia by Patrice Denault

I took advantage of Electric Quilt to design my quilt. The block Judy in Arabia is in Barbara Brackman’s Encyclopedia of Pieced Quilt Patterns, and I have that add on, BlockBase+, in my EQ8 software.

My process involved studying Jeff’s quilt and then finding fabrics to get the right values from light to dark with an overall vibrant look. I ended up redoing the center of the quilt, because I did not think the green fabric was dramatic enough

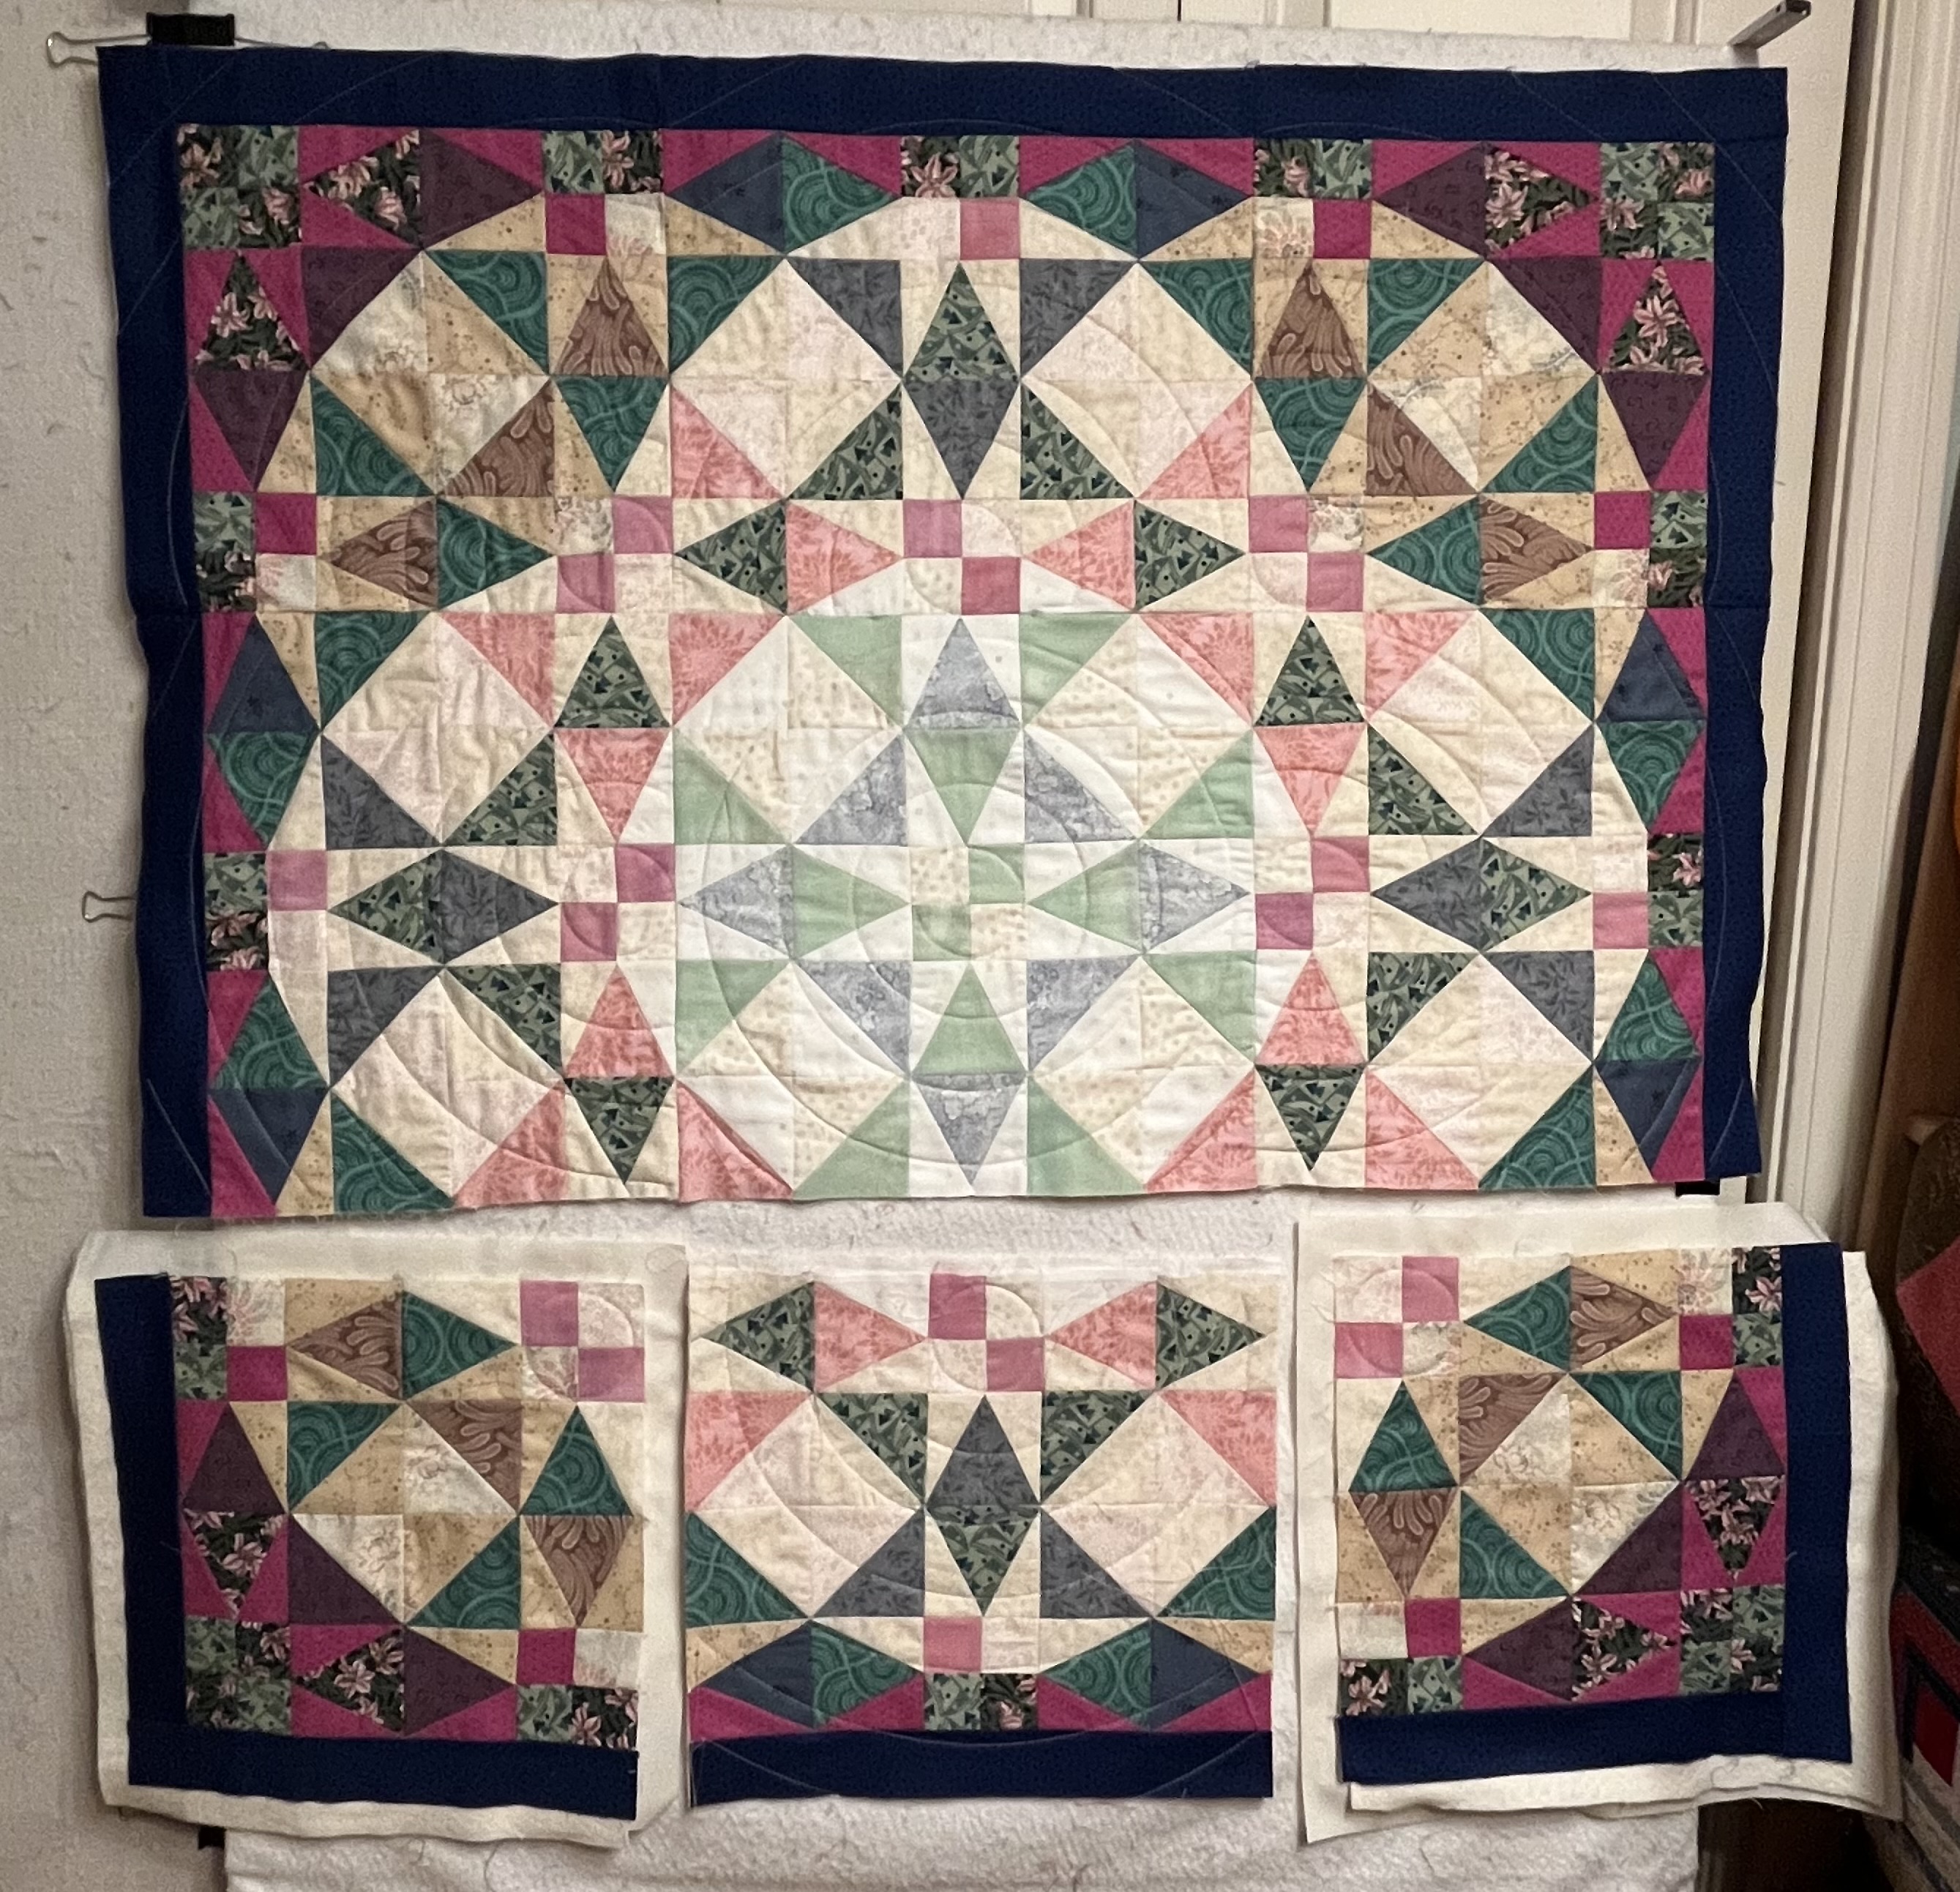
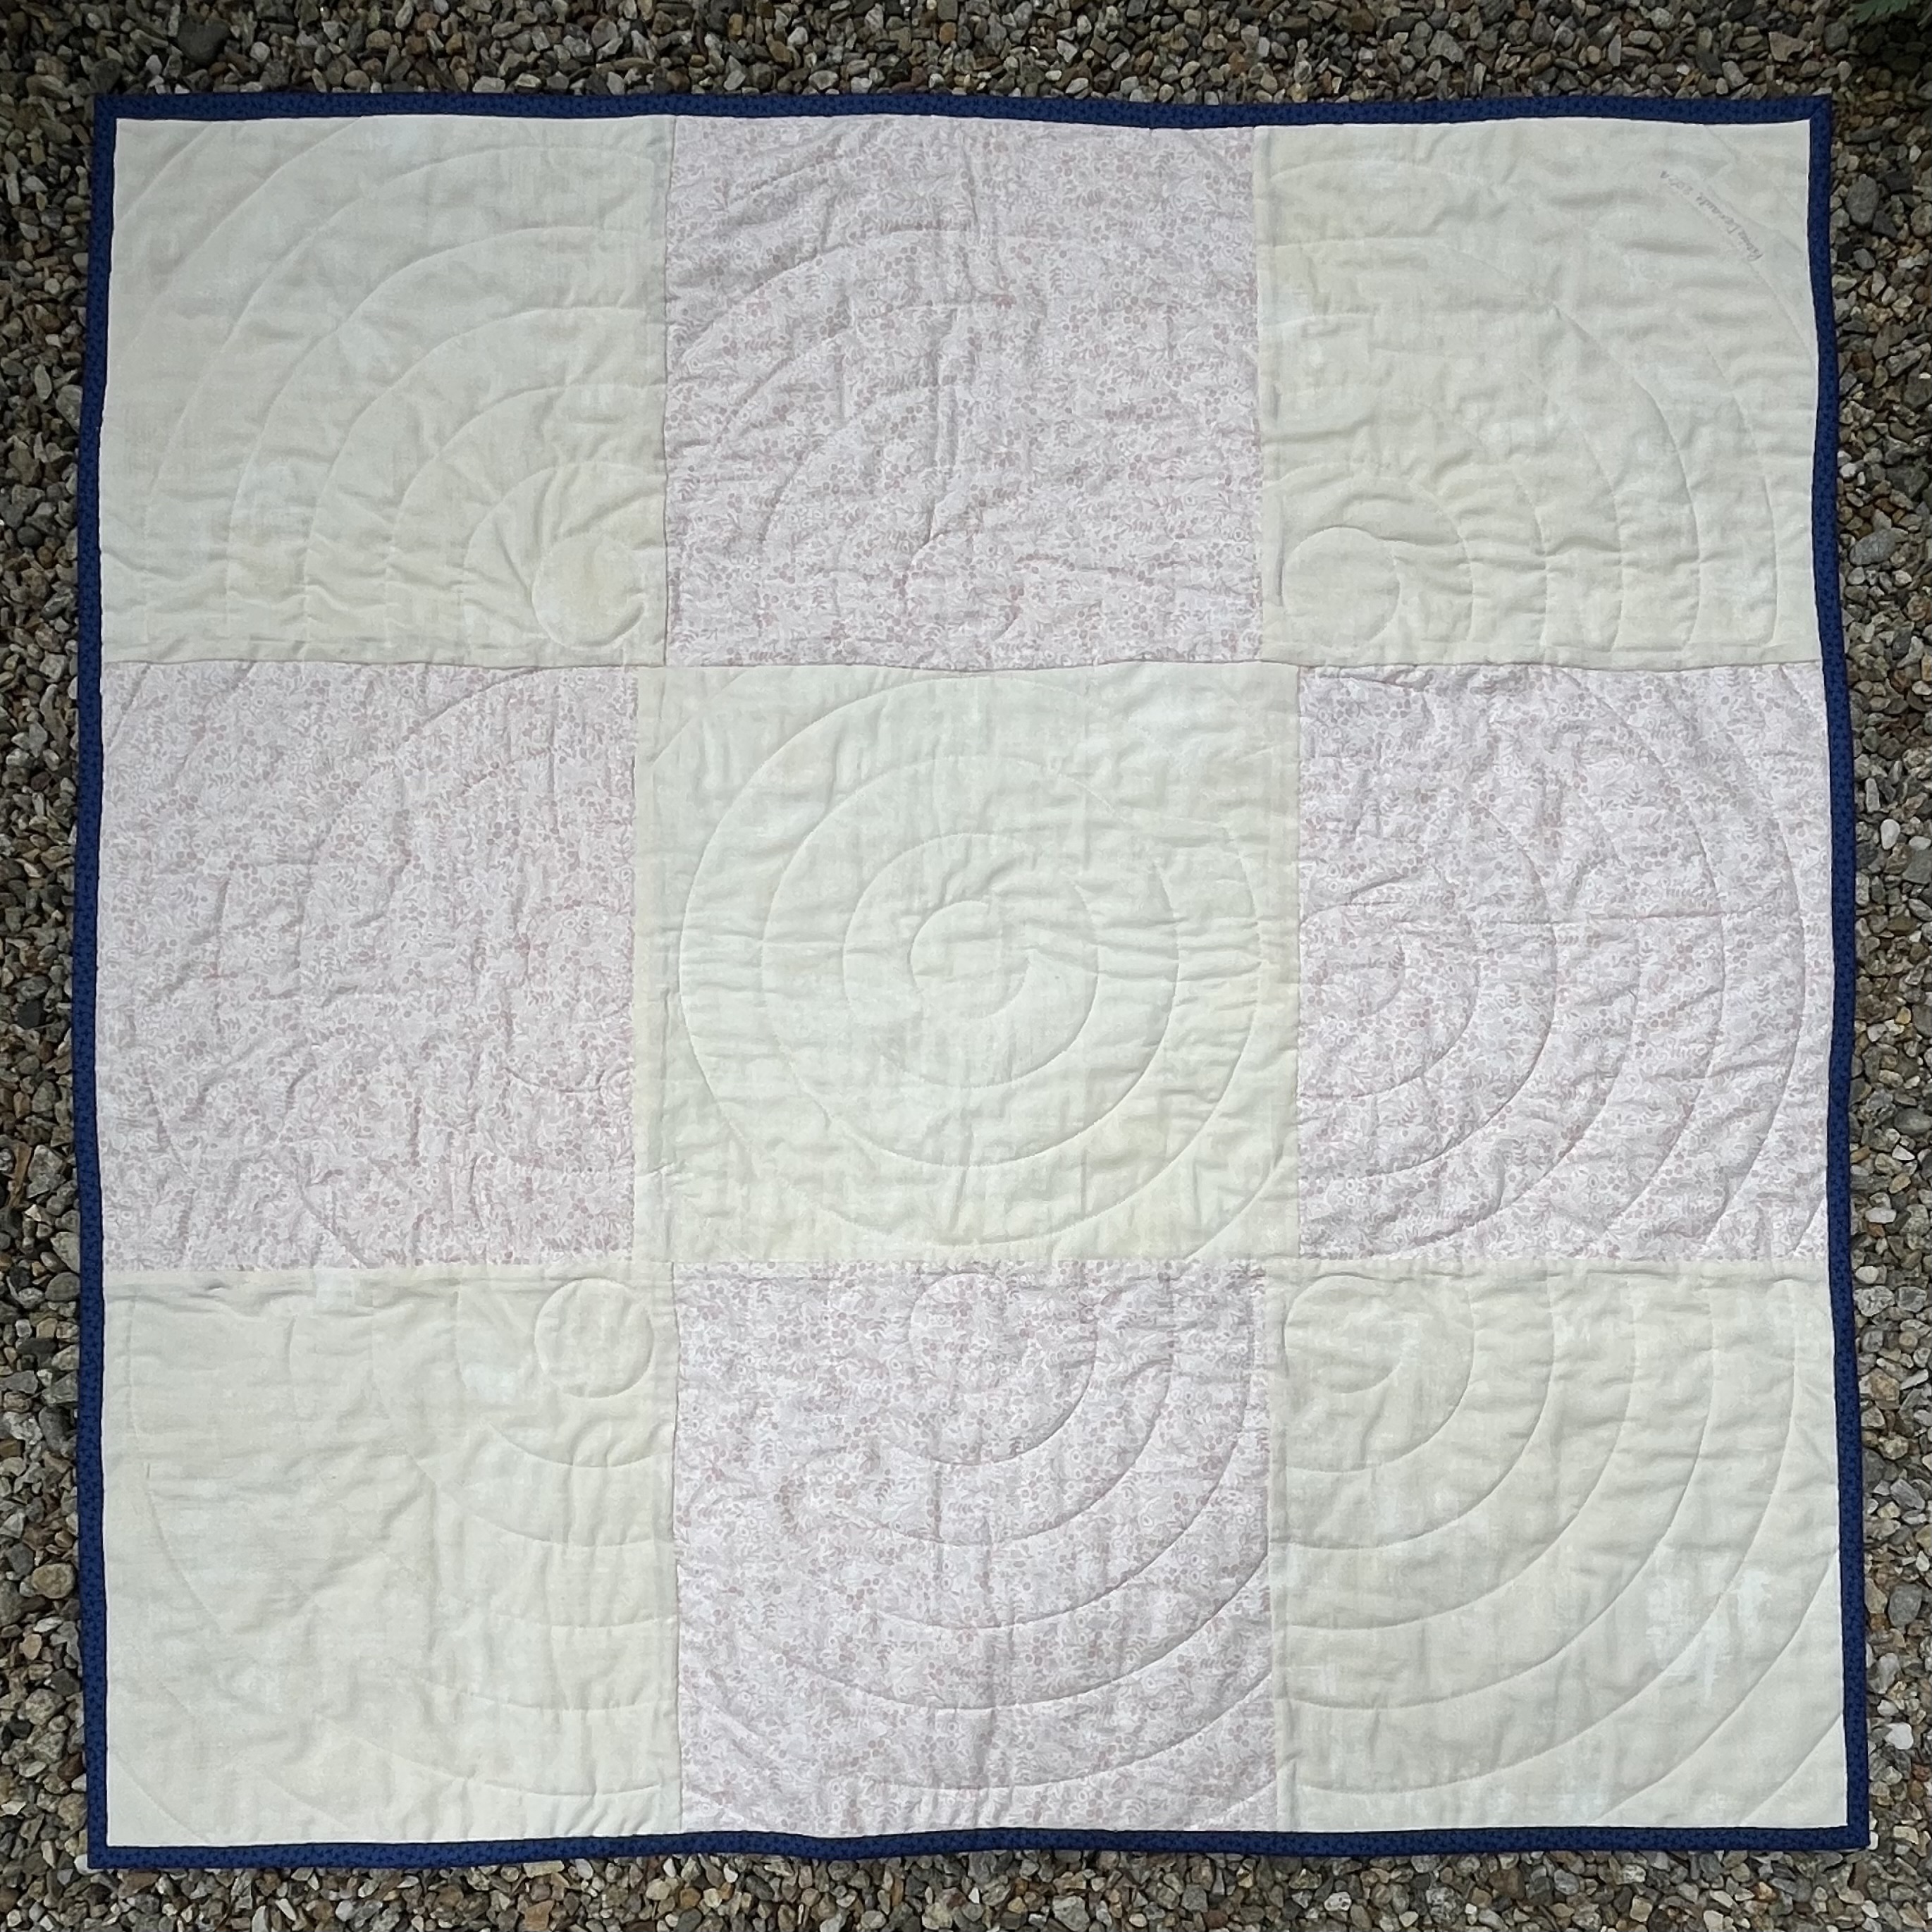
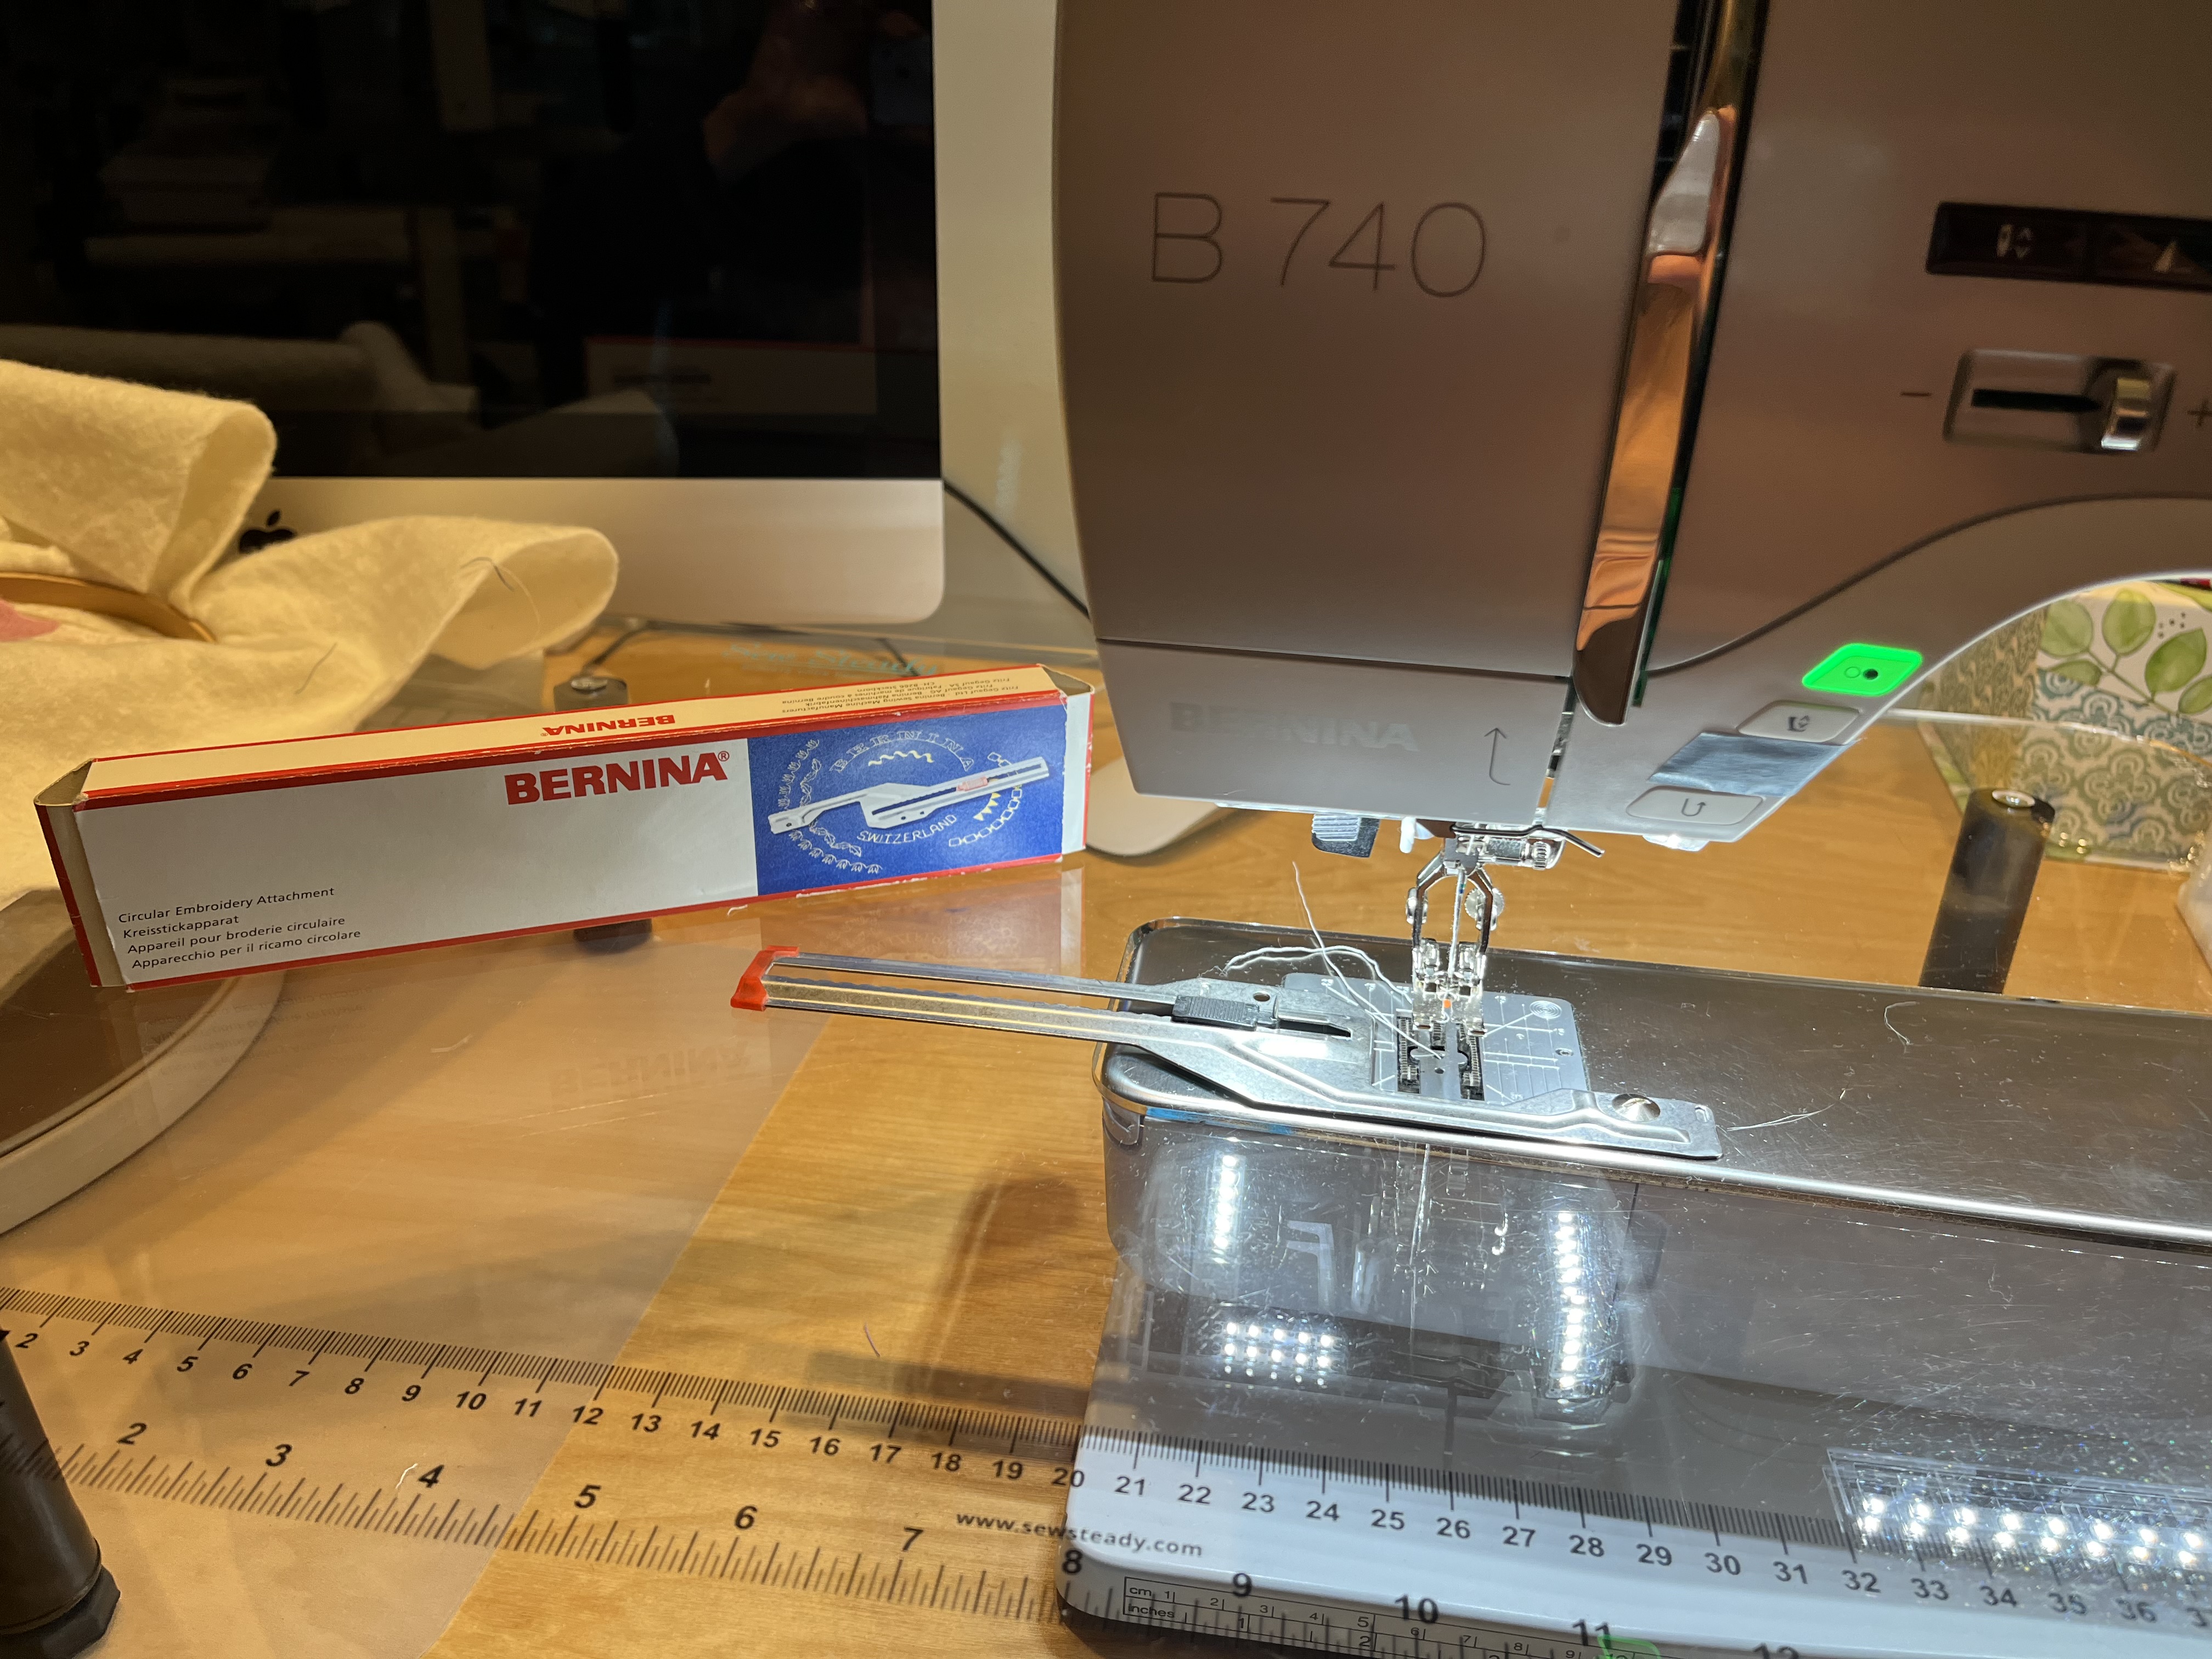
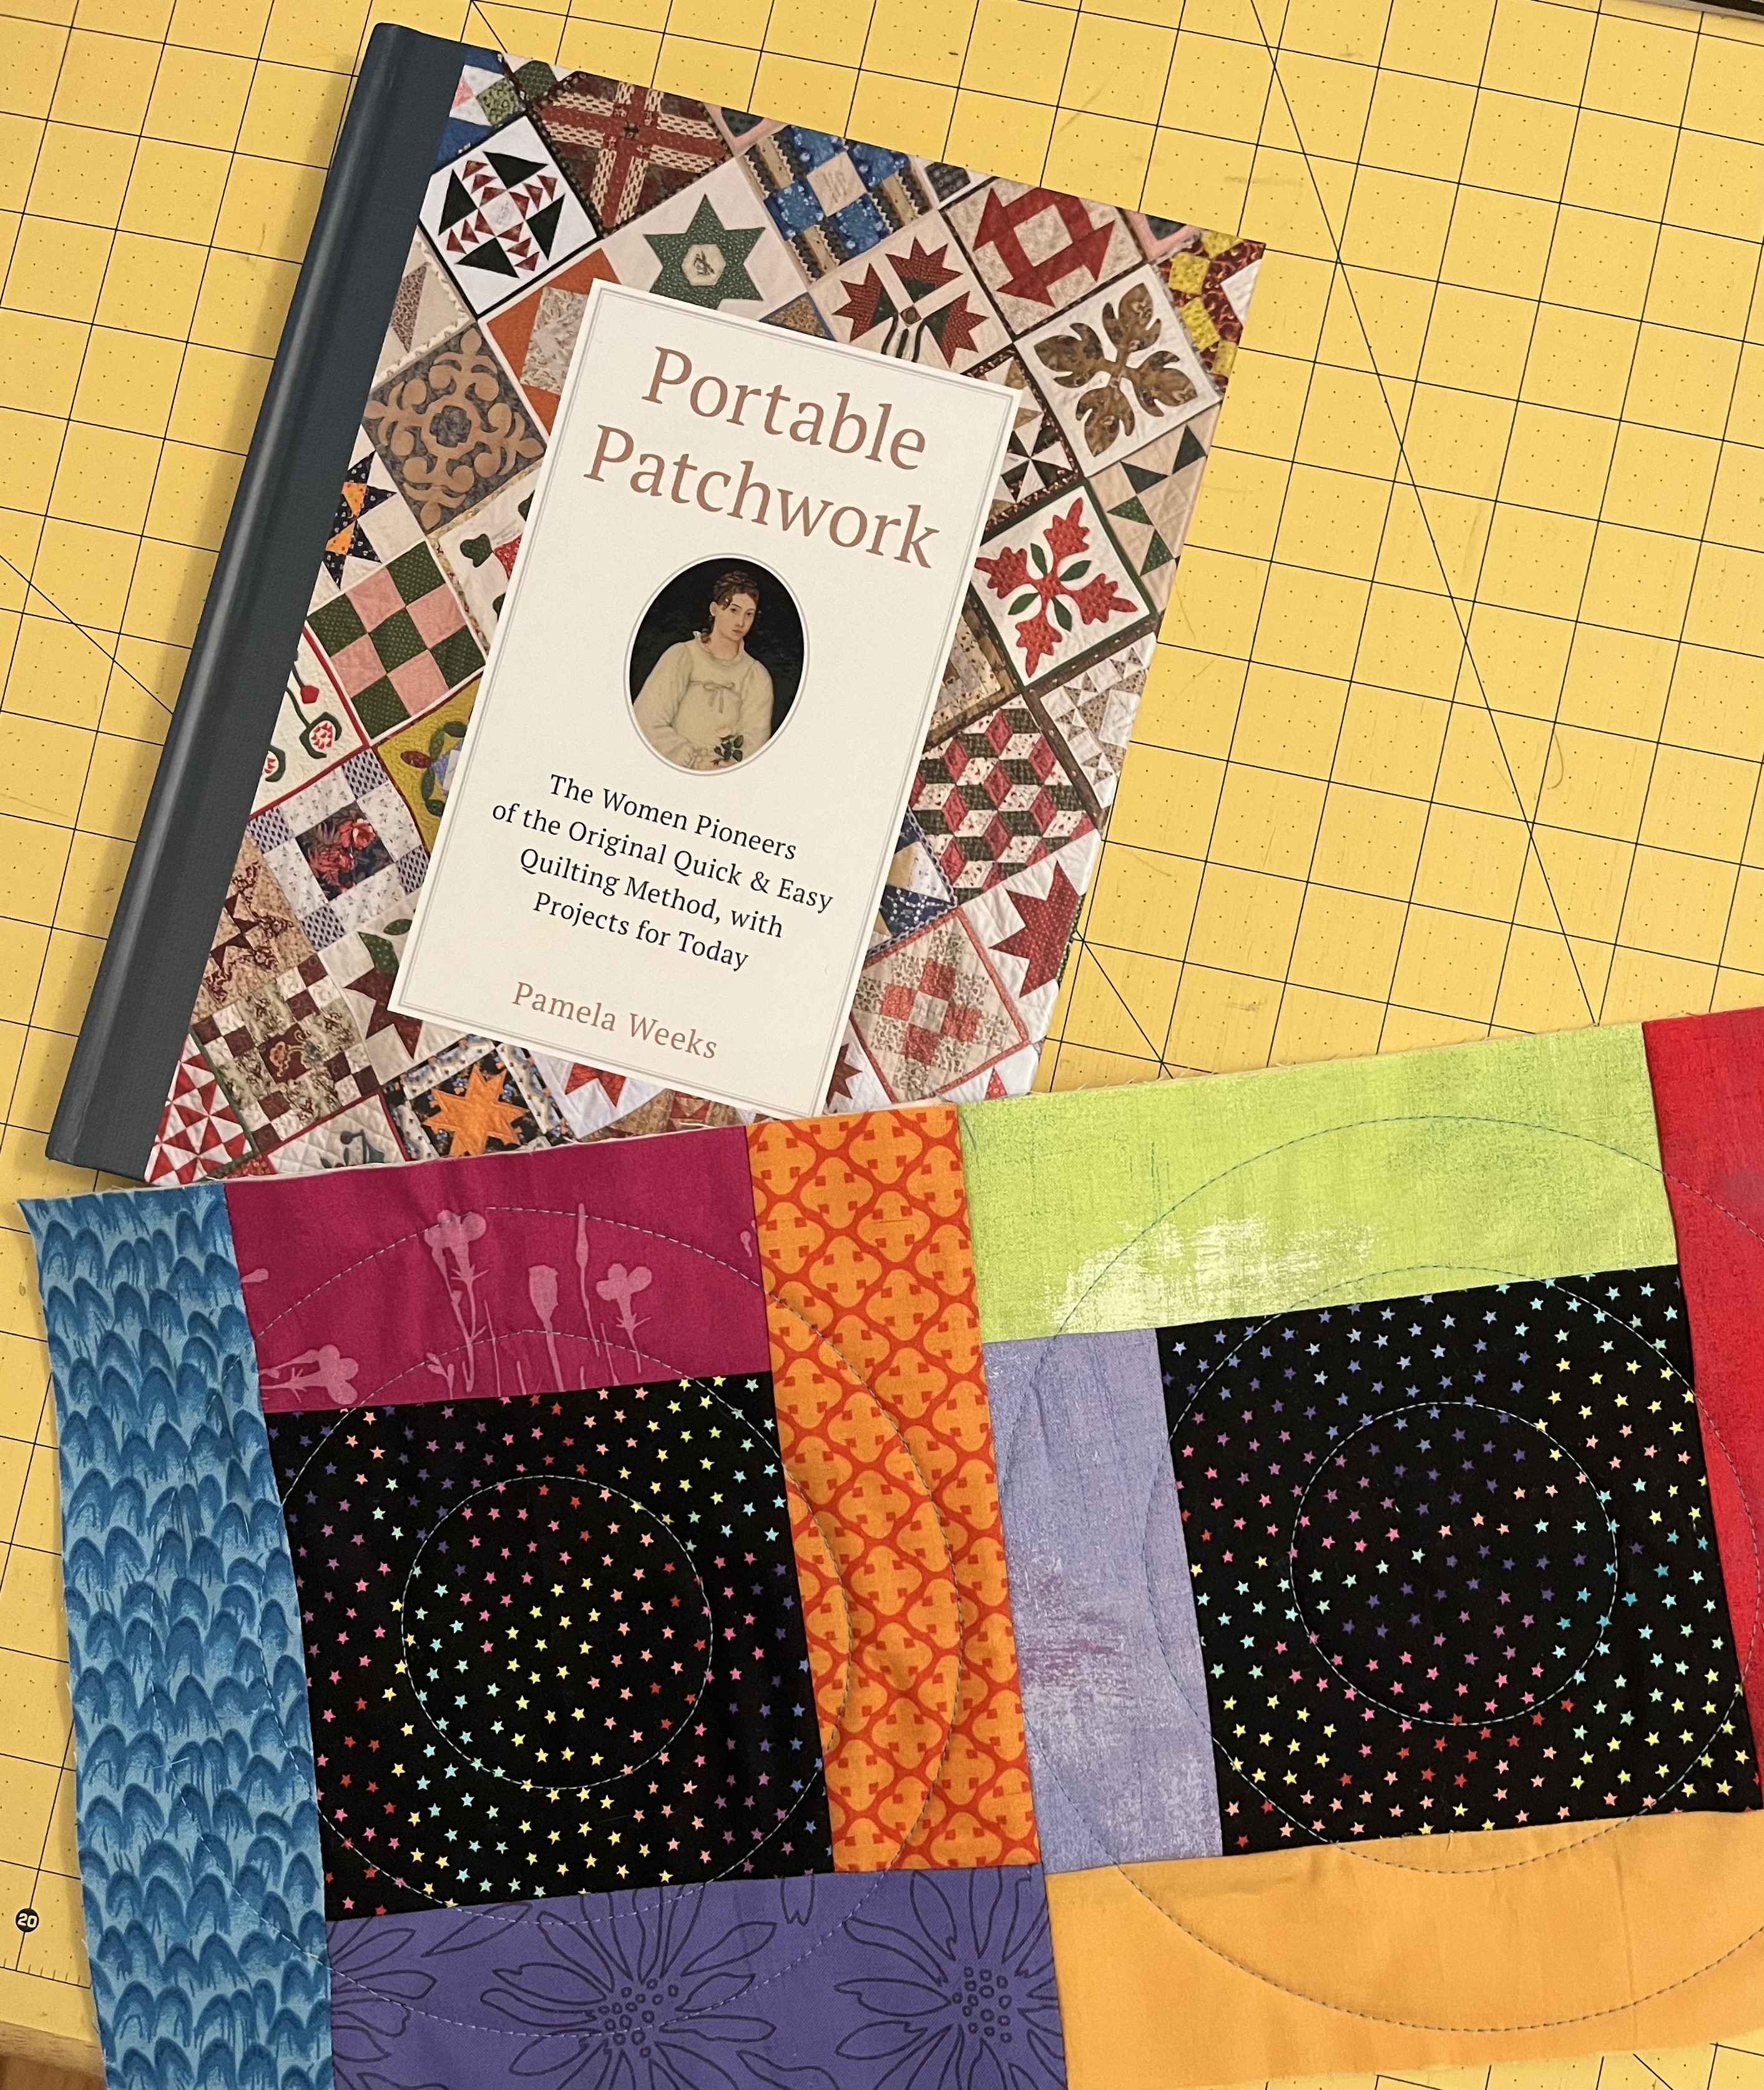
To finish my quilt I decided to use a style of quilting typically seen in quilts made in the 1970s. Quilting was much less dense and often done on a domestic sewing machine, if not by hand. I decided to use my BERNINA 740 with the circular sewing attachment. Once I made my first circle with the attachment I then traced that to fill the block. I also decided to use a quilt as you go, or potholder, quilting technique. This made it much easier to manage the quilting on my domestic machine and I was able to achieve perfect circles.
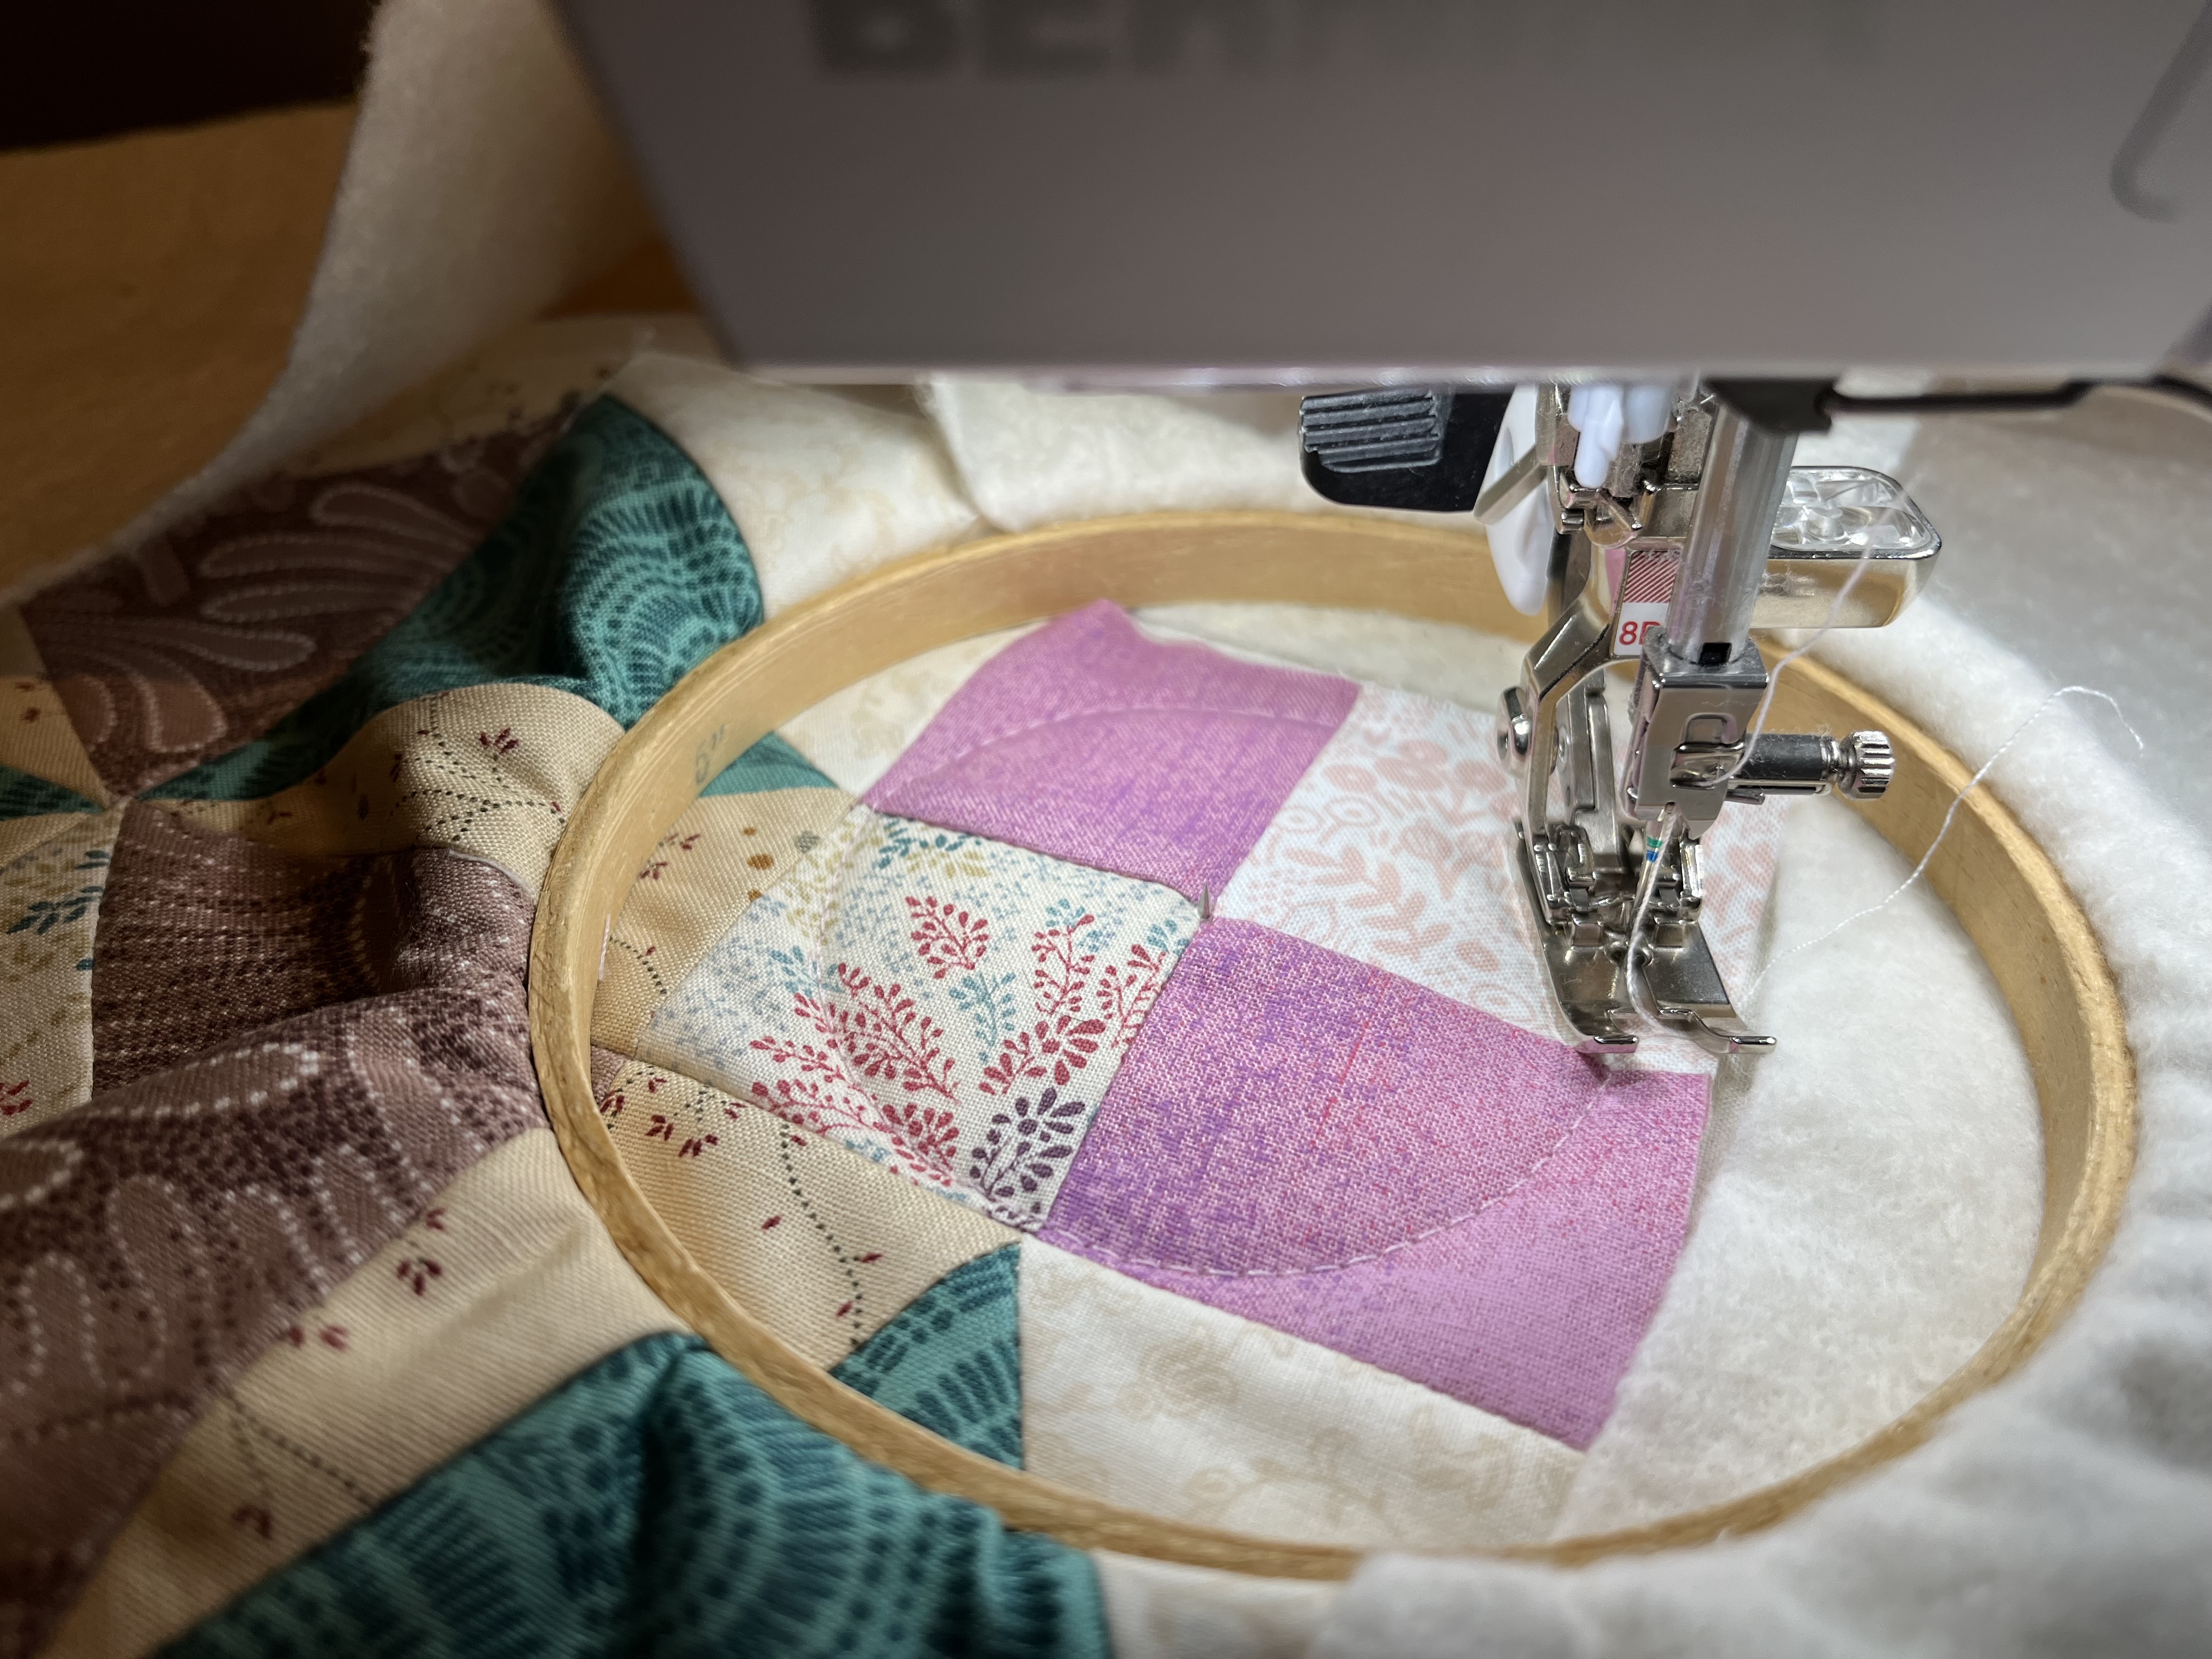
You can read more about Quilt as You Go techniques and the history of this type of quilting in Pam Week’s book Portable Patchwork.
SnippyScissors Diagonal Thinking Genius

My friend Susan is a quilting pattern genius. She looks at things with an open mind and suddenly has an amazing new way to construct a block that avoids fussy bias warping triangle hassles.

Here is a her latest diagonal thinking genius breakthrough in pictures.

sew them together
cut on the OFFSET diagonal
two wonky units
next step
trim
looking good
I LOVE it!

This method is wonderfully precise and does not wast that much fabric. My big question: HAS ANYONE EVER SEEN THIS METHOD BEFORE???

I think NOT!!!

Improv with Rules!

This is a block plan for my do.Good Stitches Hope Circle group. Look for us on Instagram, #dogoodstitcheshopecircle to see what we are up to.

Each block will be a 12″ block (12 1/2″ with seam allowances). It will consist of four 6″ (6 1/2″ with seam allowances) improv blocks.

Start out with four 8″ squares of fabric, two light and two dark. Use fabrics that will all work together. Also have two, three or four 8″ long strips of contrasting fabrics that are between 1″ to 1 1/2″ wide.

Layer each light fabric with a dark fabric, both sides UP! Then slice through each set, being careful not to slice too close to the edges. Next swap the fabric pieces in each pair to set up four blocks.

The next thing to do is add in the strips … or not! Plan to add a strip to at least two of the four blocks. Decide for yourself how many of the four you want to put strips into, and also decide how many blocks you want to slice twice, as shown below.

Not adding a strip? Just sew the two pieces for that block together. If you are adding a strip then go ahead and sew it to the edge of one of the pieces, and then sew the other piece on. If you happen to have cut a curve when slicing, just straighten it out when you are sewing the strip in.


Then go ahead and trim the blocks you are finished with. I trimmed three of the four. Trim the blocks to 6 1/2″


I am going to slice the fourth block again and then add a strip to it. When piecing this block you are going to want to try and line up the seams from the first slice. Just hold the seam down 1/4″ in with your thumb and flip the fabric over to see if it looks like it will line up. No worries if not perfect! No one will notice with so much going on in these blocks! Press your seams towards the strip, and then trim to 6 1/2″.


Once you have your four blocks completed play around with how you want to arrange them and then sew the four blocks together into a 12 1/2″ block. Here is my completed block:

I am asking everyone in our circle to make two 12 1/2″ blocks. One of the blocks should be predominantly cool colors (purple, blue, green), and the other should be warm (red, orange, yellow).

Here are the rest of the blocks I made to give you an idea of the different ways you can slice your blocks and arrange them.