Author Archives: pmegio

Ocean Wave Quilt Top

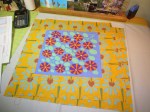
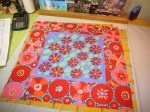
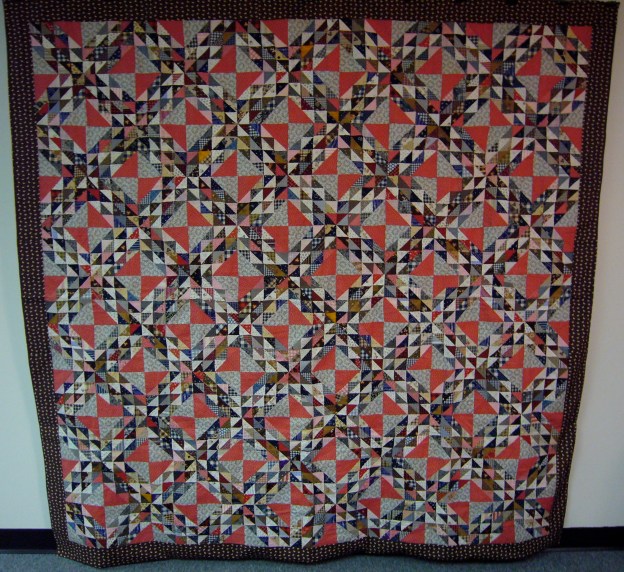
A few years ago I had the idea to look at quilt tops on eBay. I was thinking in terms of practicing my quilting without taking the time to put a quilt top together. Not a bad idea, since you might even be able to buy one for less than the cost of the fabric it takes to make a quilt top. But, the tops that caught my eye were older tops. Quite a bit older! I ended up bidding on and winning this turn of the 19th century quilt top.

c1 c2

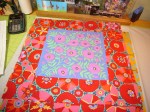
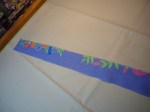
I was quite surprised when I received it. I did not truly understand how old the quilt top was when I bid on it and felt like I had one a prize! The woman who sold it to me said it was from an estate sale and she knew nothing more about it. I realized that I could not risk quilting it. I did add borders and a backing to the top to stabilize it. But, if I bought this top today I would just lay it on top of a piece of cotton batting to keep the seems more stable.

This got me started researching old quilts and fabrics. I enjoyed reading The American Quilt: A History of Cloth and Comfort 1750-1950 by Roderick Kiracofe. I read the book cover to cover!  And I also have a copy of Dating Fabrics: A Color Guide 1800-1960, by Eileen Jahnke Trestain.

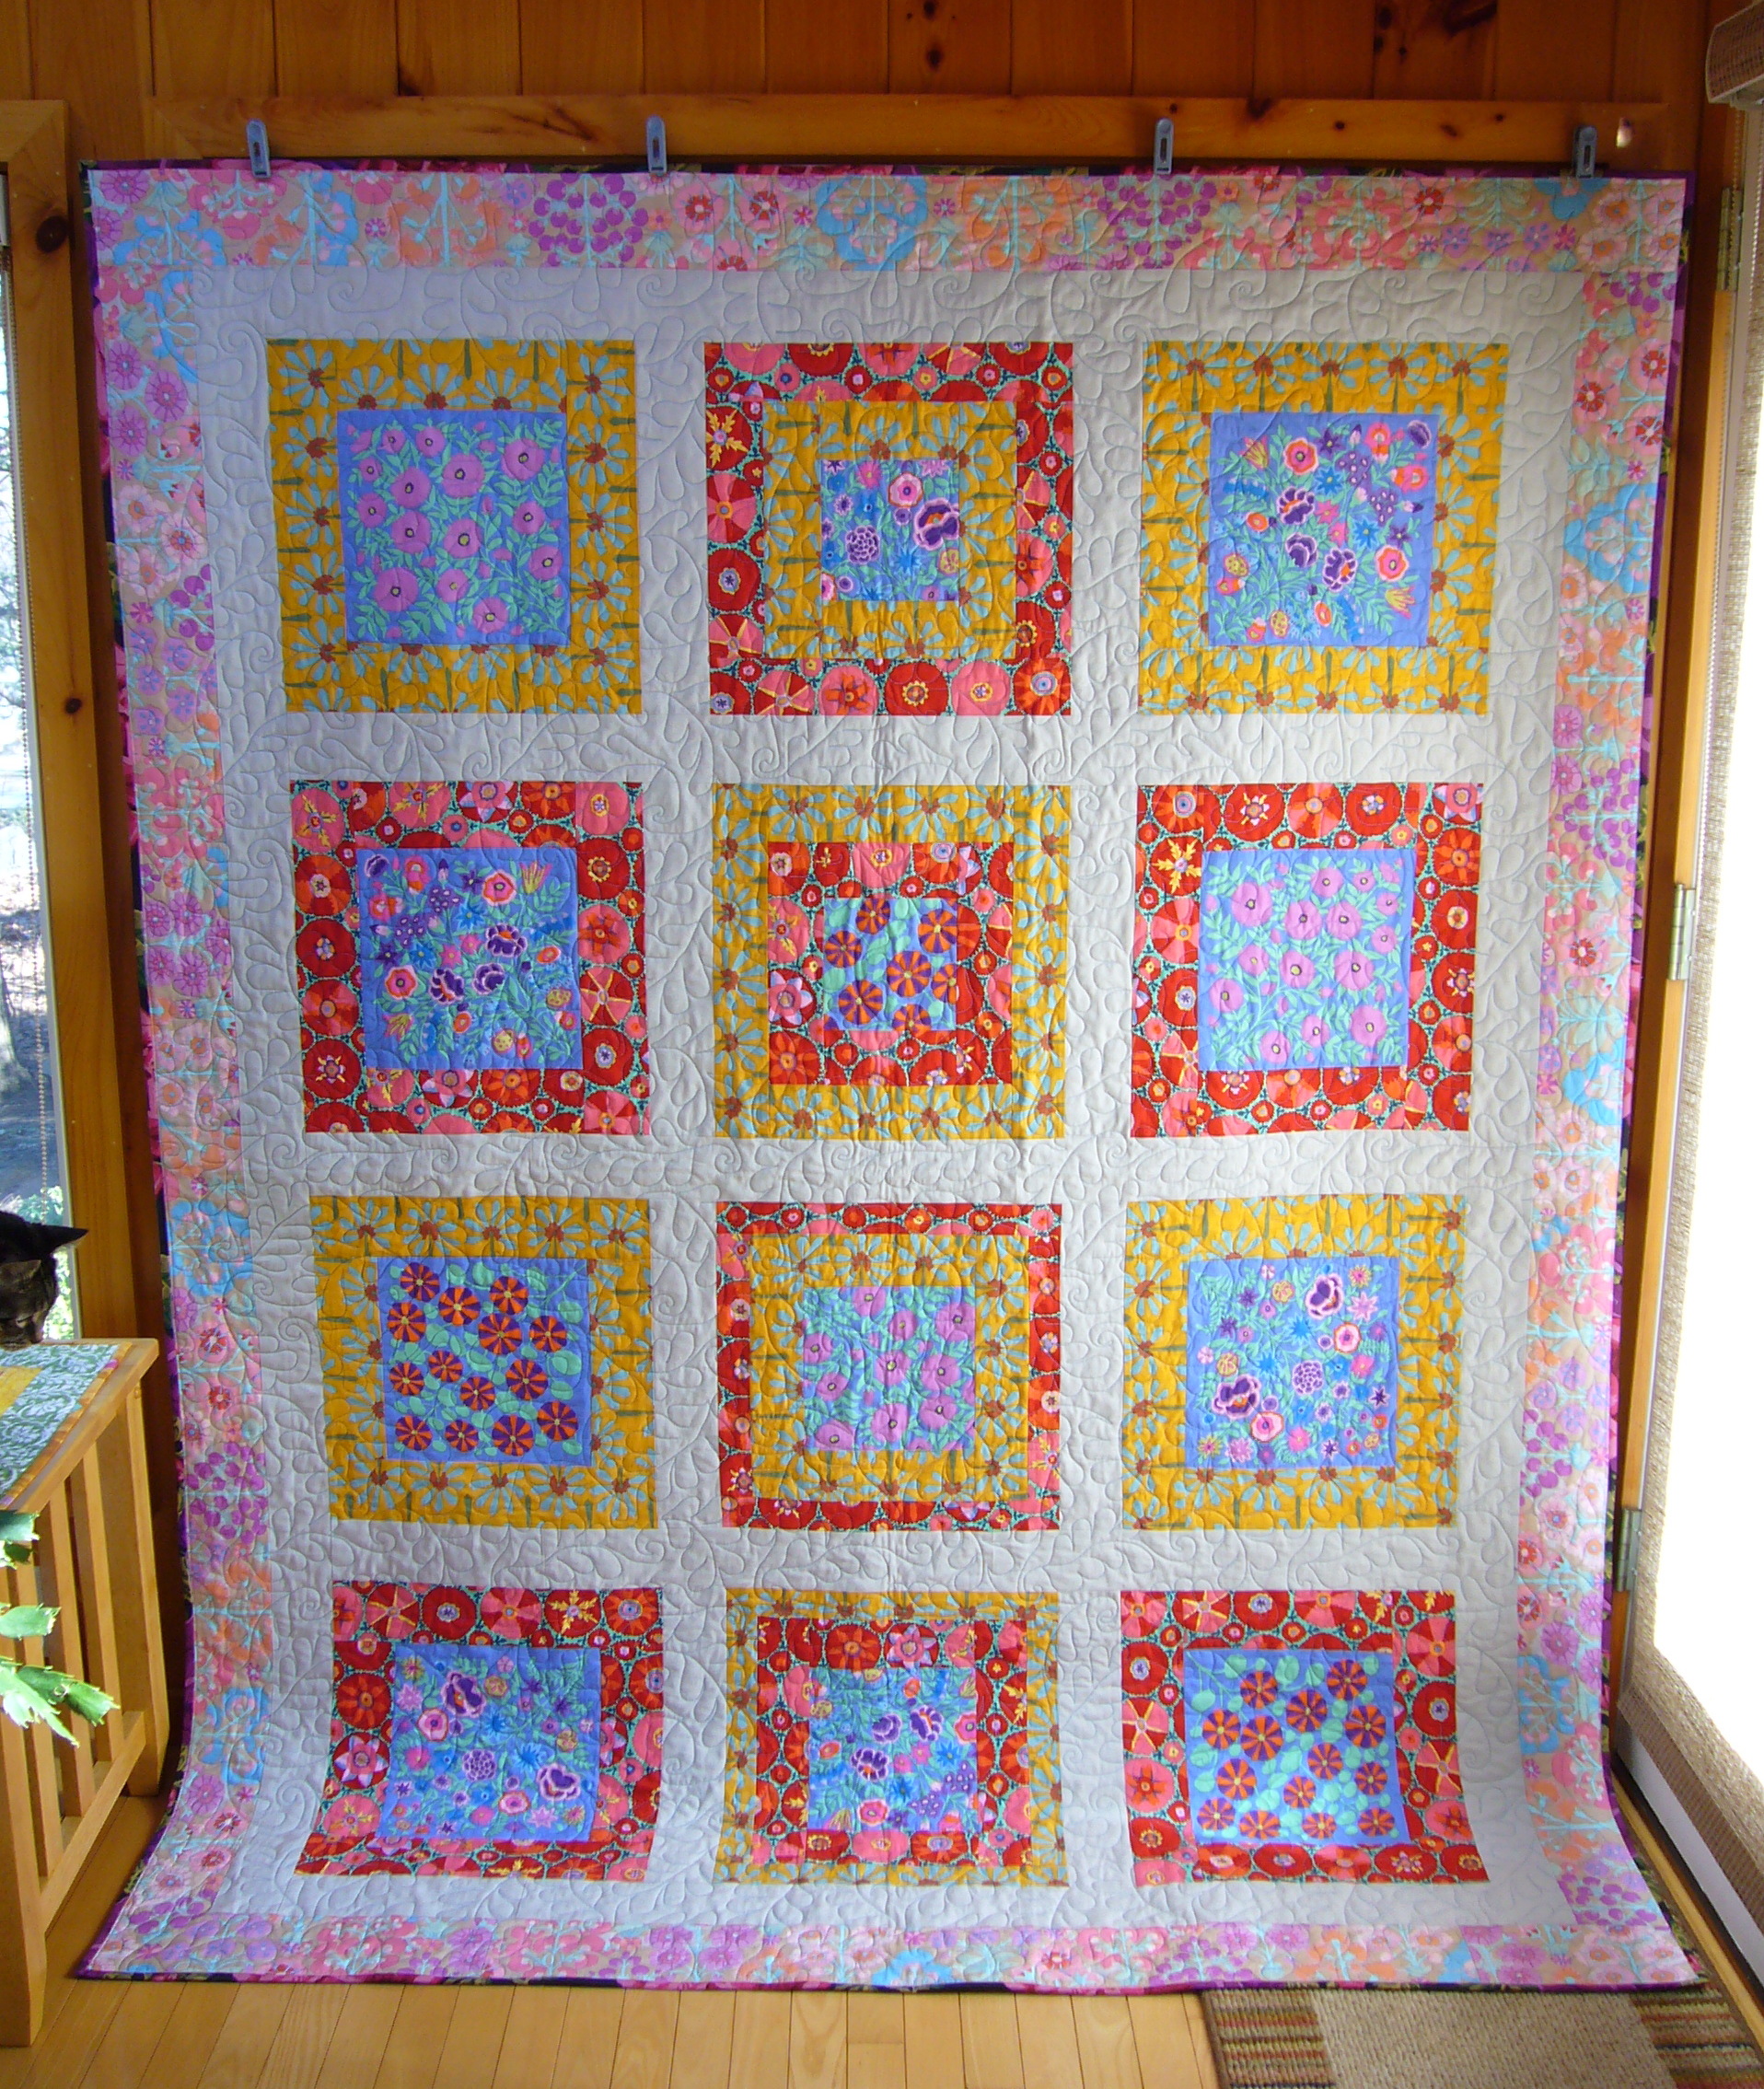
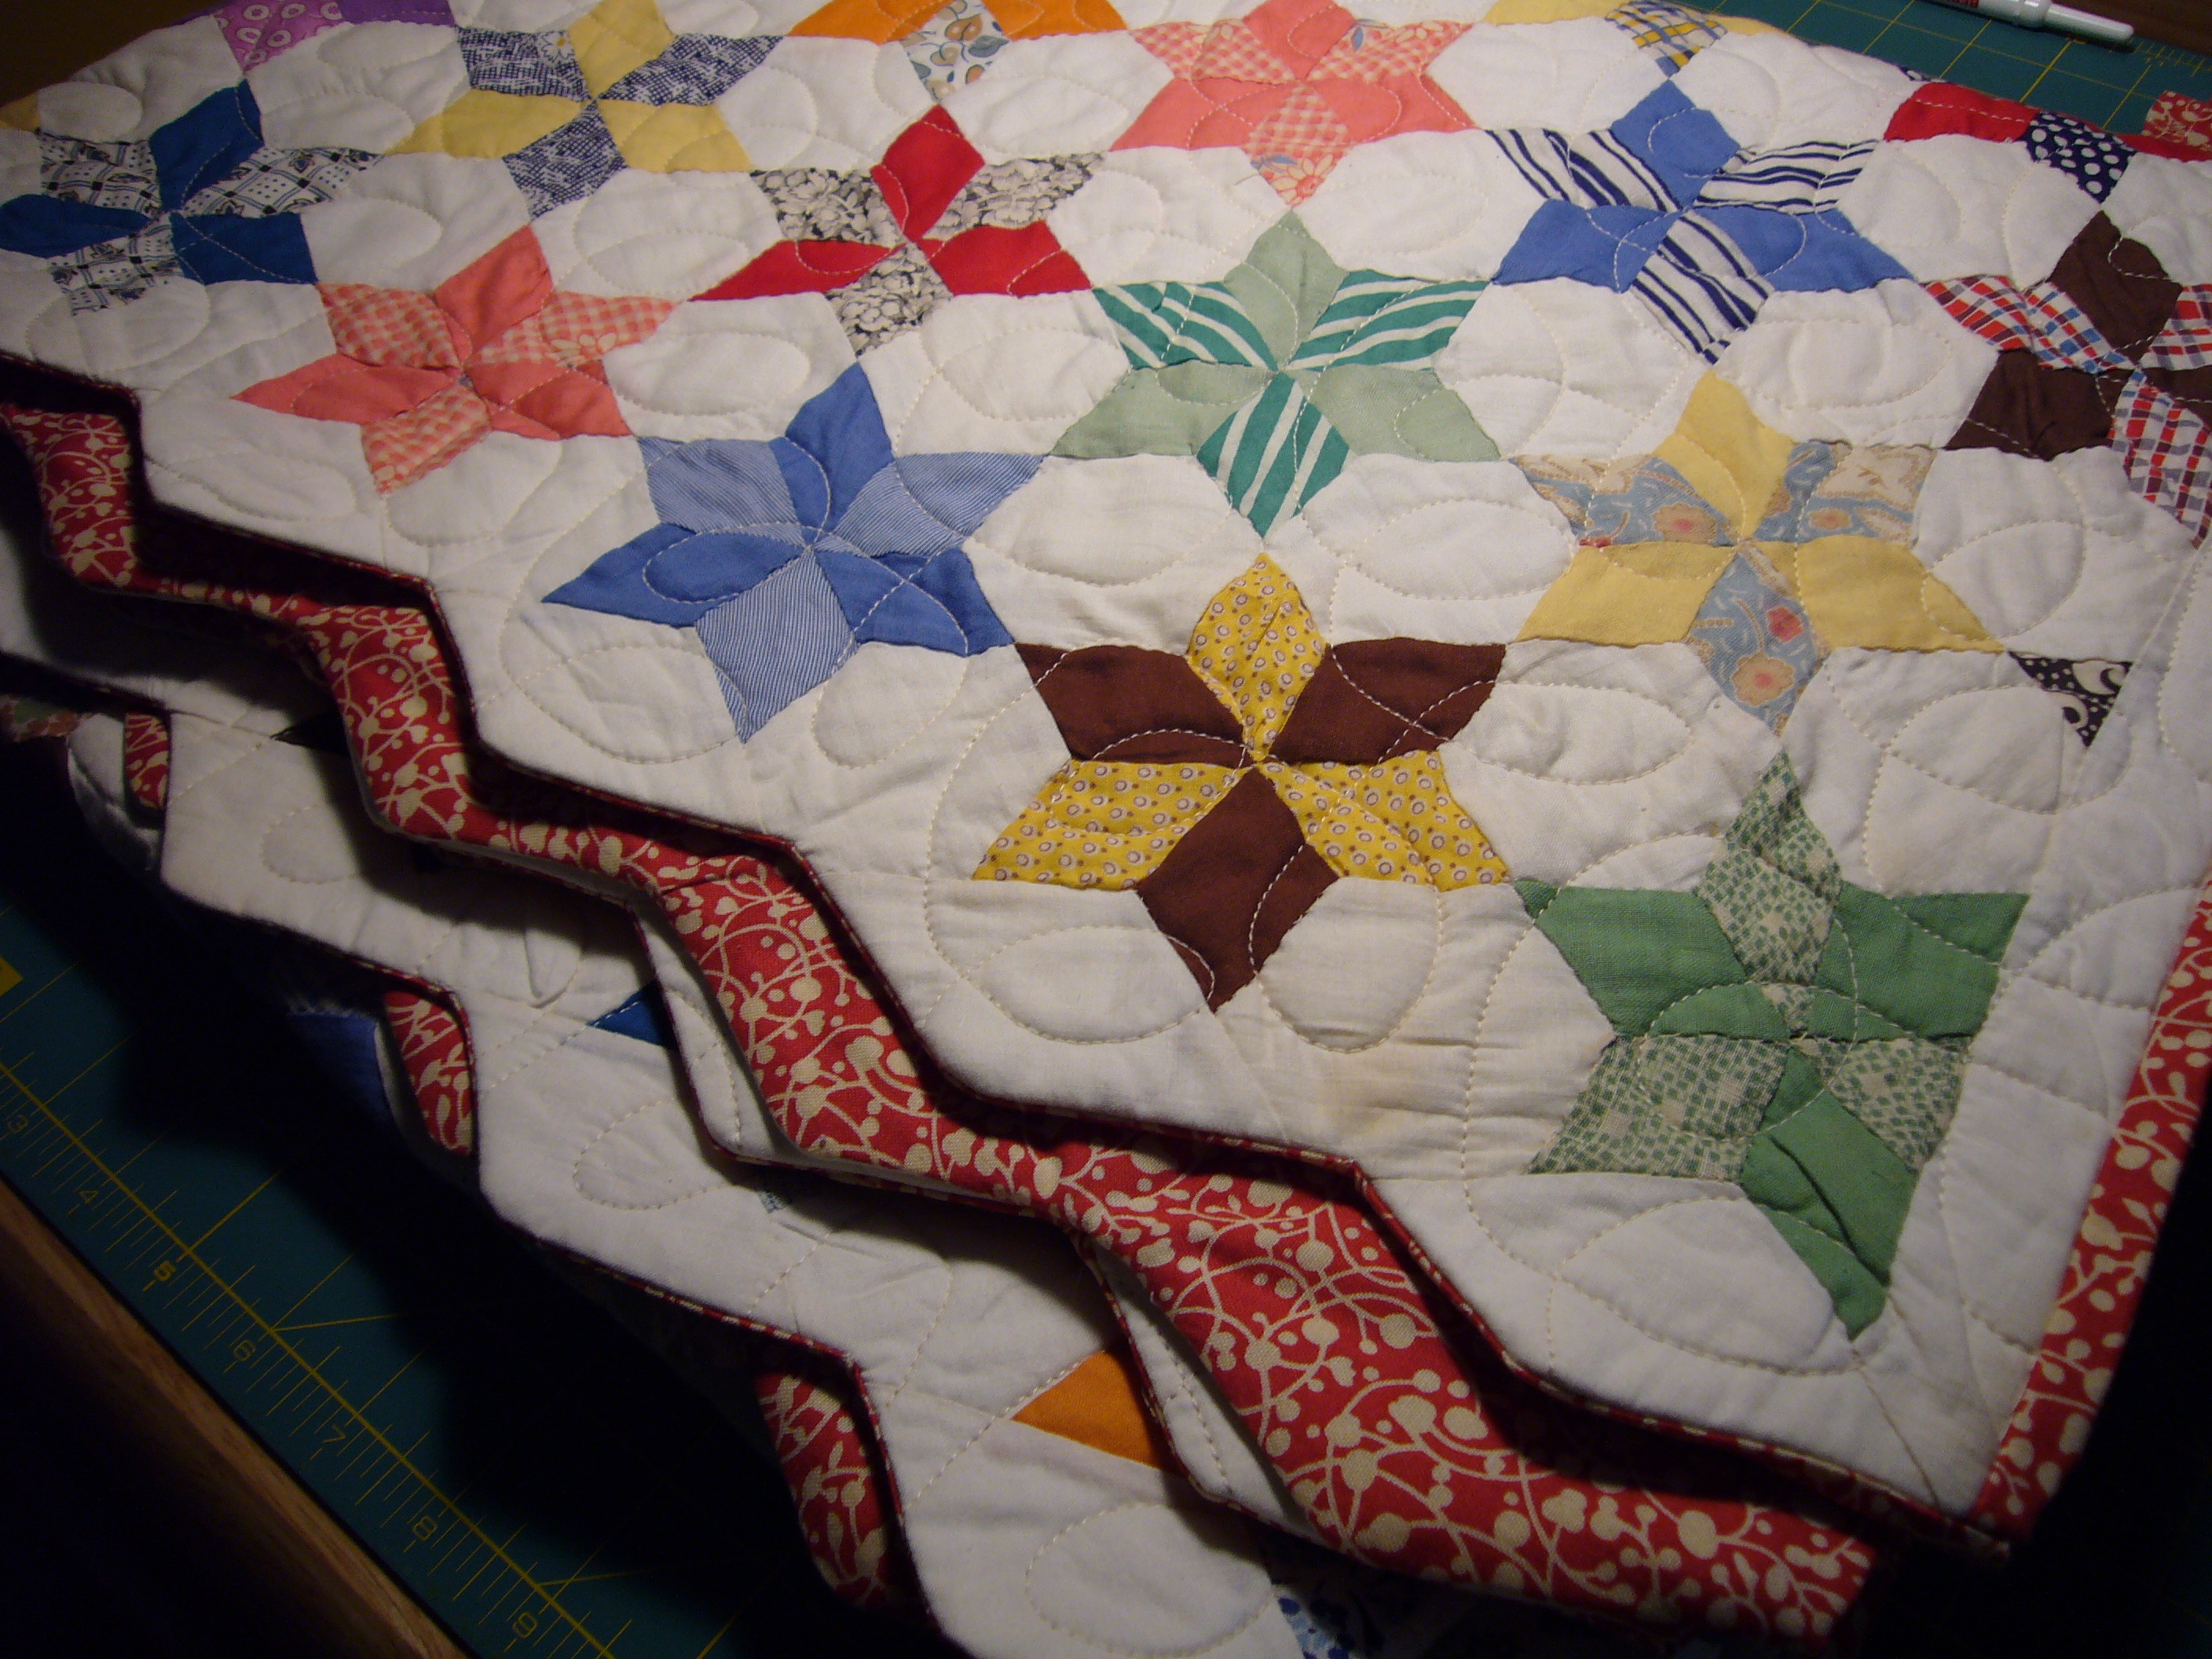
I now have a few more antique and vintage quilt tops. I tend to quilt the tops from the 30’s, but not the ones from the 19th century. They are too fragile for that.

hex_star

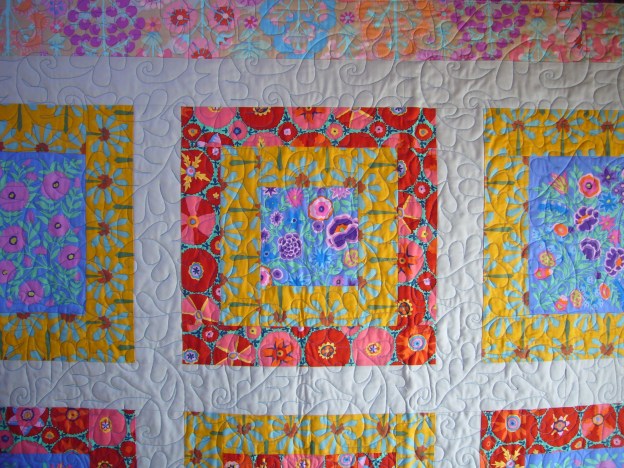
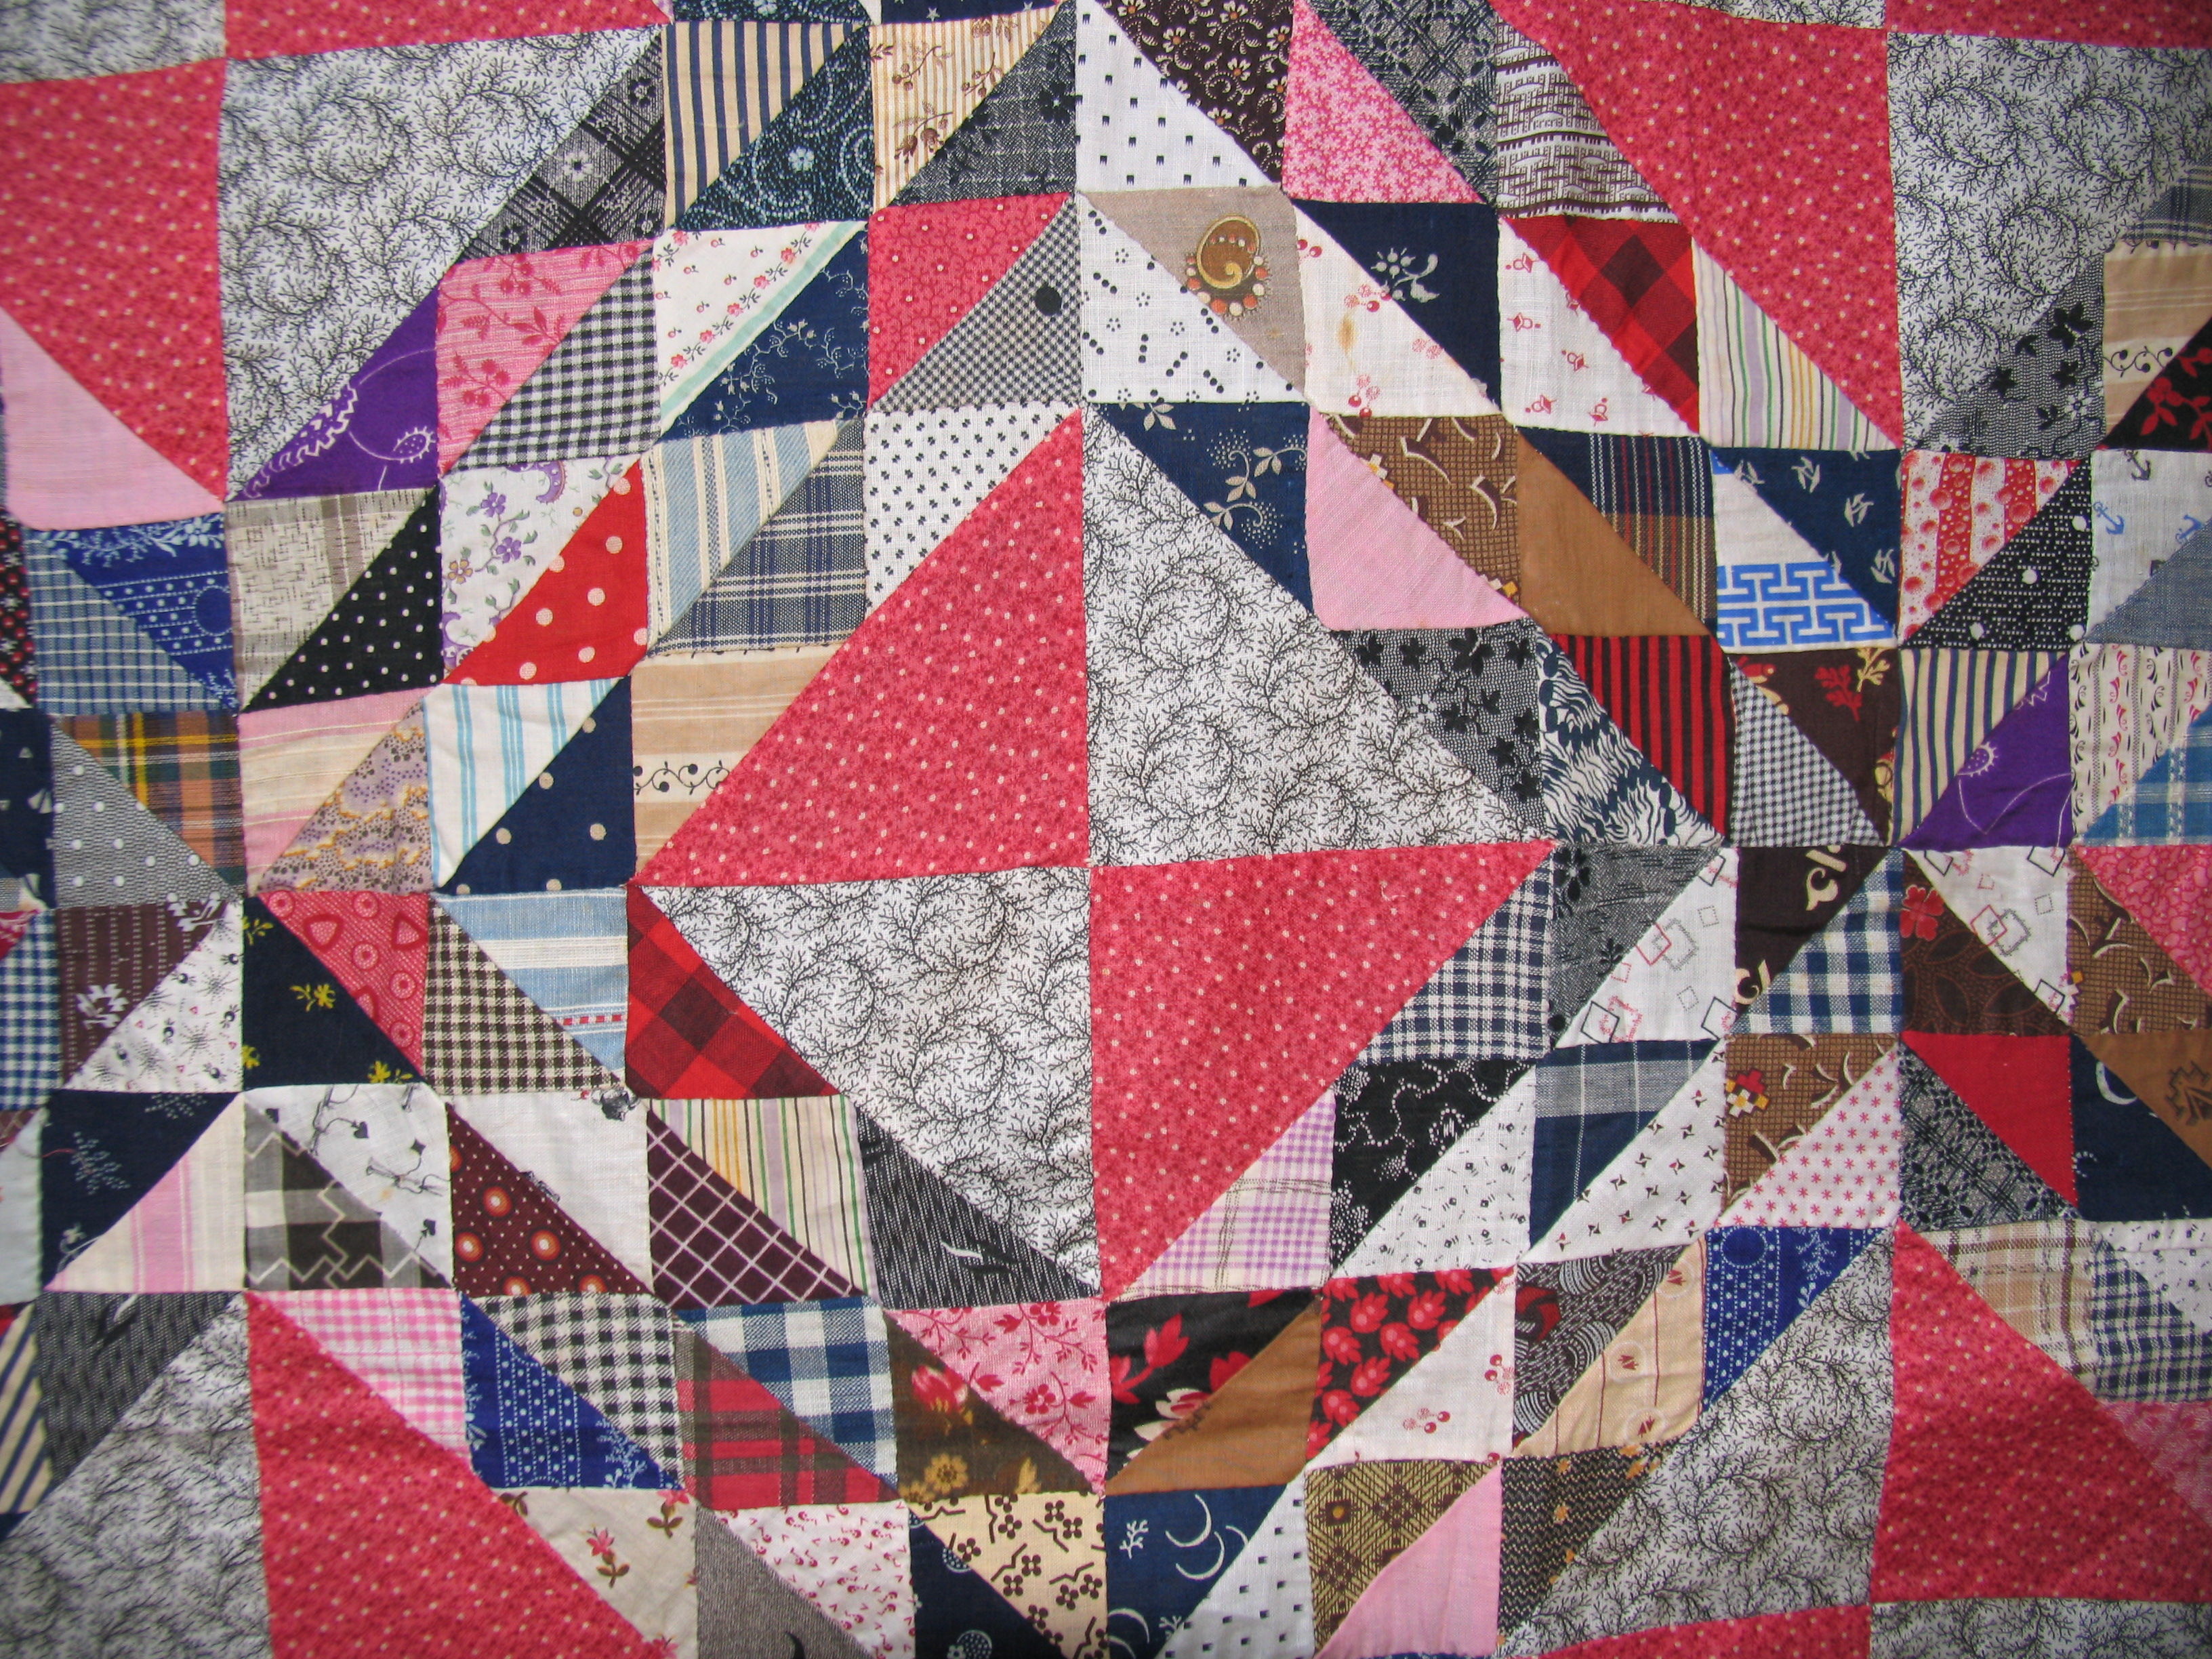
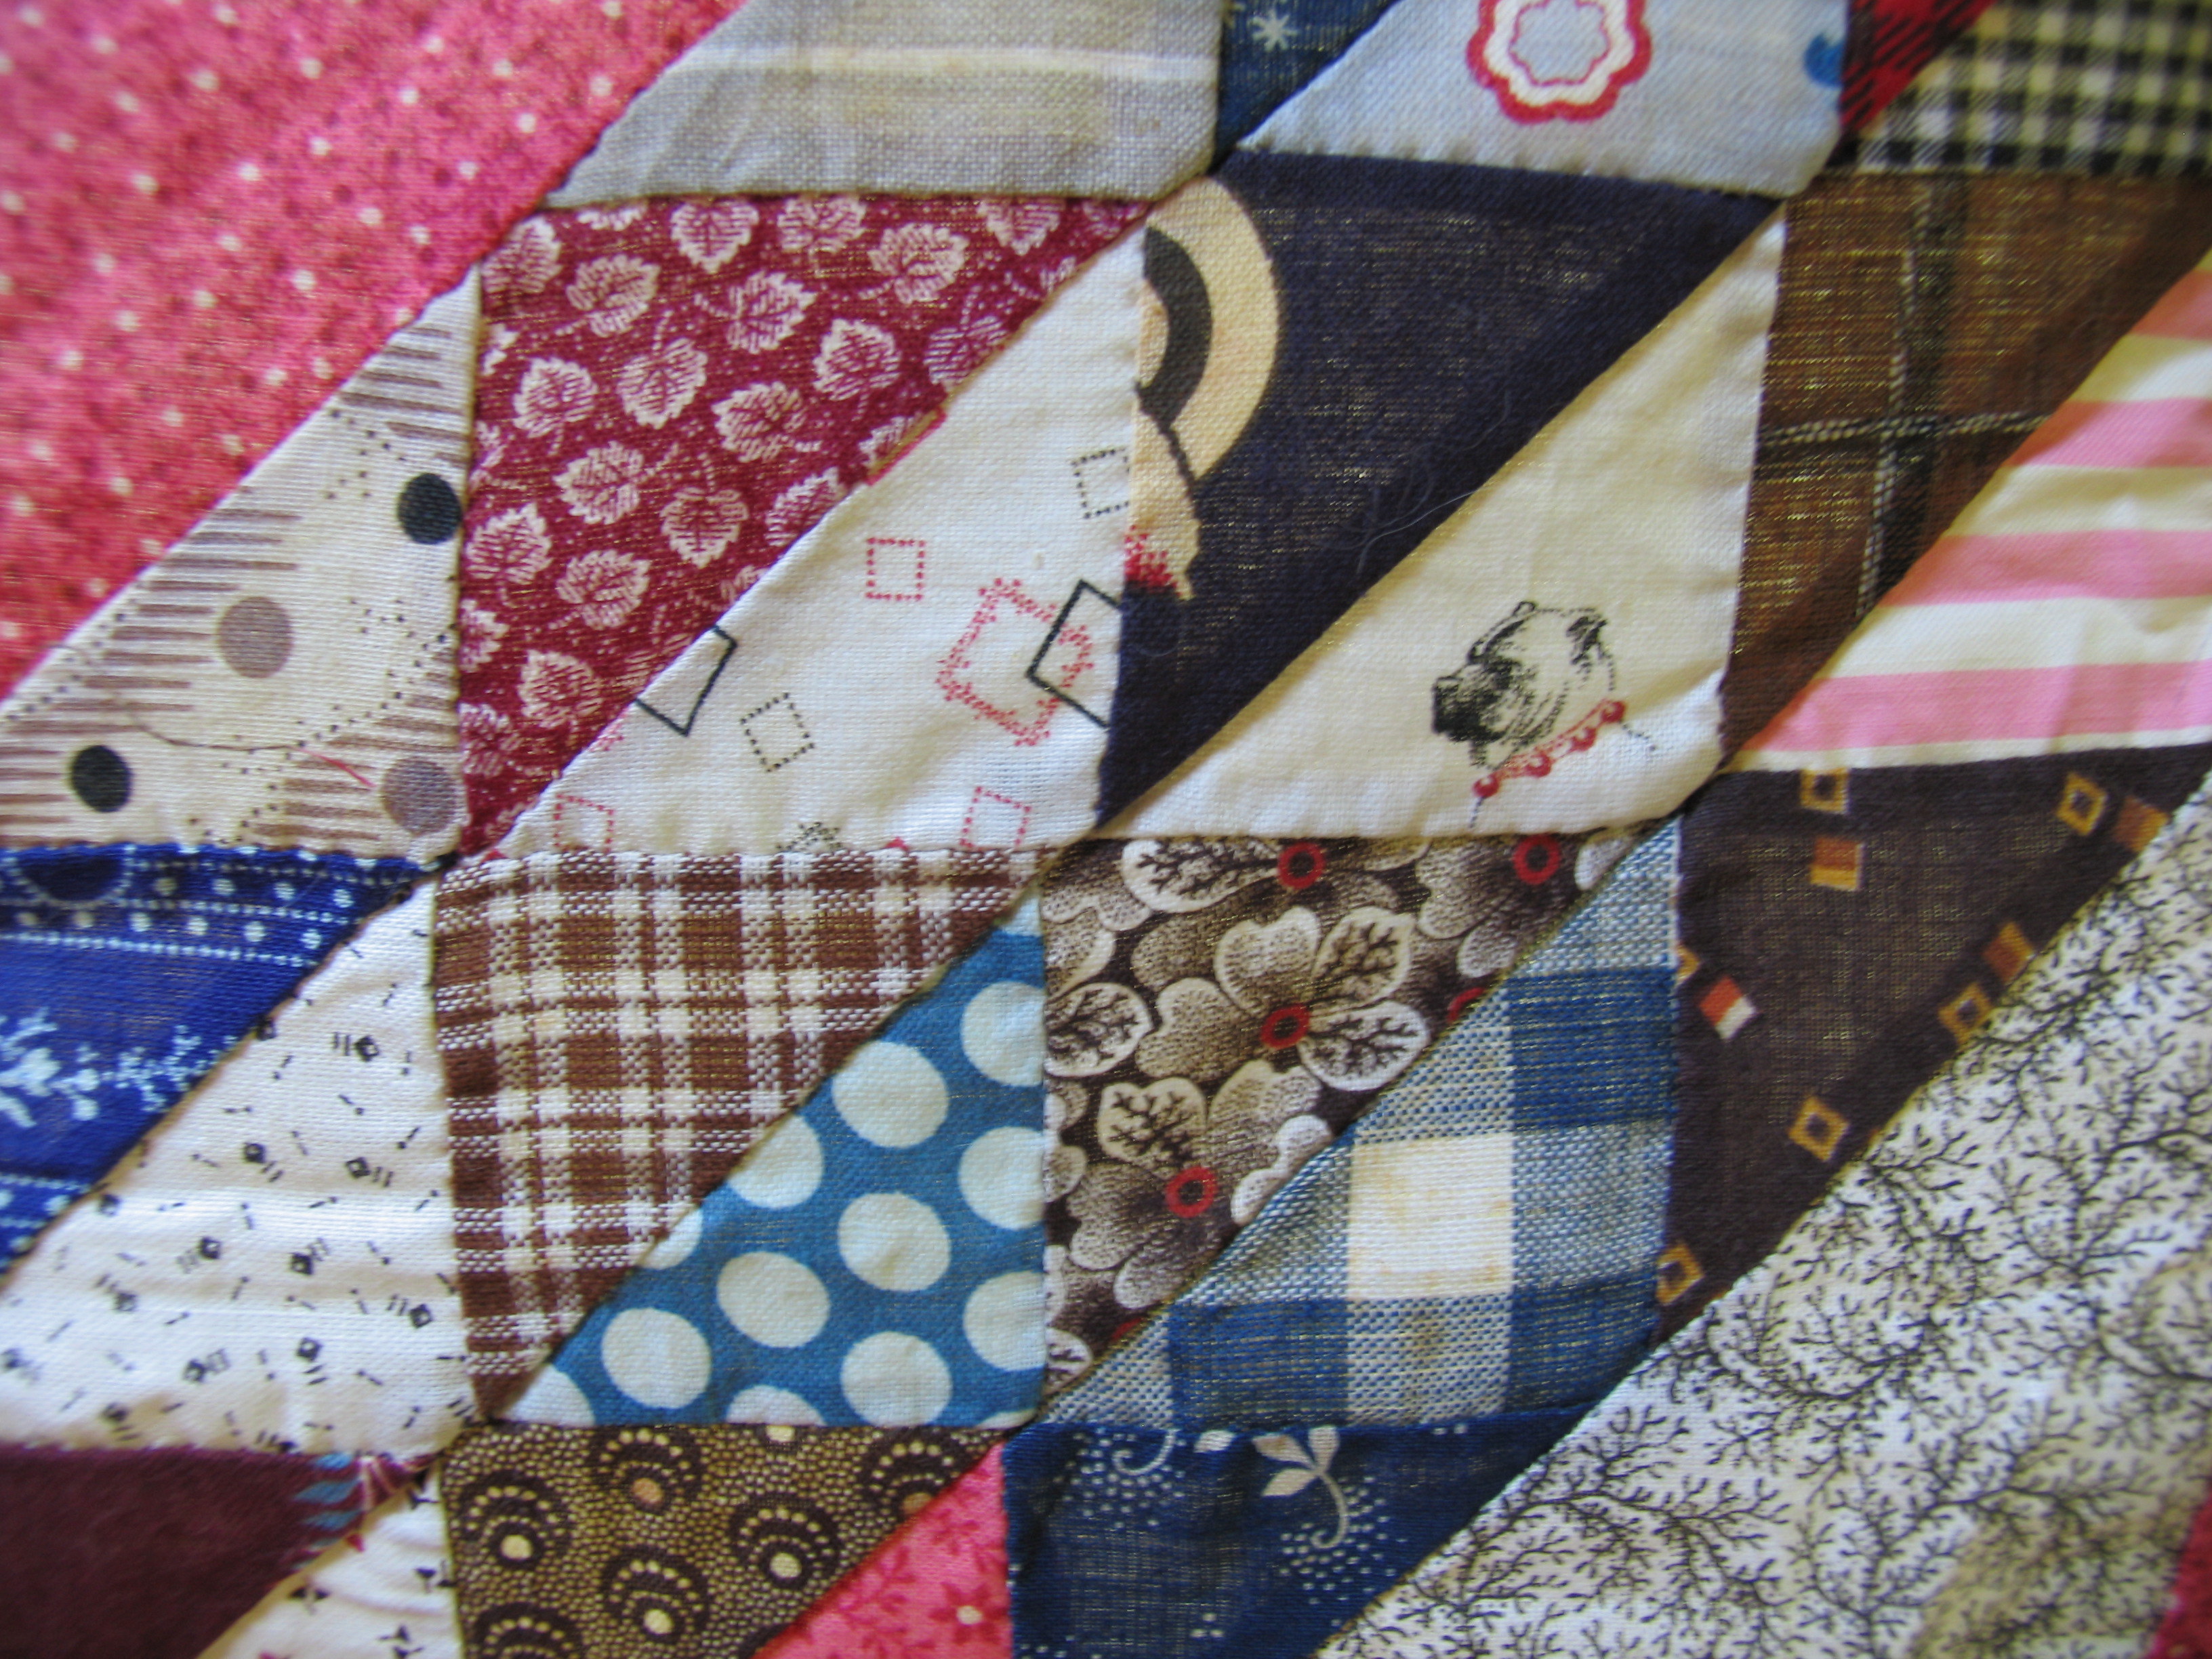
These old quilt tops always intrigue me. I wonder at the beautiful fabrics and all of the hand stitching that went into them. I am inspired by the designs and the use of colors. I really do enjoy them!


midnight in bali quilt

Midnight in Bali BOM

I am working on finishing a Block of the Month quilt from last year.  This one was with Quilters Common in Wakefield, MA.  I have finally gotten the blocks and center medallion sewn together and now all I have to do is add the borders.   The pattern is from Beyond Tradition by Pamela Culo.

Here is the top with the Borders waiting to be added.  I think the finished top will look spectacular.

midnight in bali quilt

This was one of those BOMs where you would get the kit free each month IF you completed last month’s BOM … which motivated me to get them done.  I also made a commitment to make a second block each month using reproduction fabric.  My motivation for this was all the ewws and ahhs that I got from my fellow BOMers each month!

civilcenter

quilt blocks 1 blocks 2 blocks 3


The Quilted Tote Bag

When I first started using my Quilt Frame I took yards of fabric and quilted them for practice.  Around the same time my friend’s daughter was starting college and she asked me if I would make a tote bag for her to carry books and a laptop.  I had been thinking about making tote bags with my yards of quilted fabric, and thus we have the Kerryn Bag!

The bag has pockets on the outside and more on the inside.  It has a button and tab closure which is easy to add on after you have put the bag together.  These bags have been very popular and I often get requests for them.

kerryn-bag-craftsy

inside

zipperbags

If you would like to make this bag, I will be teaching a class at Quilters Common in Wakefield, MA on September 27, 2013.  The pattern for the bag is currently for sale at Quilters Common, and also in my Craftsy store.

To make this bag you will have to use a Jeans needle and have a machine that is comfortable sewing through several layers of quilted fabric.  To make the corners of the bag you need to sew through four layers, which means 6 layers at the seams!  If your machine is happy to do that for you then you might enjoy making your own tote bag.

I usually have enough fabric for a little purse or a cosmetic bag, or both!!


Bet you can’t make just one

Pillow Cases!!  Never buy a pillow case again.  I made these using a couple of kits from Peggy Anne’s Quilting and Sewing Company, and also one to match the curtains in the room.


Green and Orange Flower Cases

The Patrice Case


The Orange and Green Striped case is actually named after me and you may purchase this kit and have your own Patrice Pillow Case.  Yes, I do love orange and green.  The kit was a surprise from Peggy Anne.  When the package arrived I was wearing my orange shirt with a green sweater!  Yes I was!!!

The best way to make these pillow cases is with the roll up method. If you add the piping and you are finishing with the French seams I would suggest using a jeans needle and you may need the height compensating tool!

Curtains


Bouquet WIP

I have finished the Bouquet Quilt.  I used Kaffe Fassett Russian Rose for the binding.  I am very happy with this quilt!

Finished Bouquet Quilt

I machine sew my bindings.  This is a modern quilt done by machine.  My thinking is why stop using the machine when you are finishing the binding?

The binding was first sewn to the front of the quilt, then I stitched along the edge of the binding on the back of the quilt with my edge foot. I used a dark gray thread for the top thread and a tan thread in the bobbin, which is less visible on the top of the quilt. Sometimes I sew the binding to the back of the quilt and roll it to the front and sew along the edge on the front of the quilt.

Binding binding3

From January 27, 2013:

Here is an update on the Bouquet Quilt.  It has been so cold lately that I have been happy to stay in the house working on this quilt!  I finished quilting it yesterday.  All it needs now is the binding!

just_needs_a_binding

Posted January 20, 2013:

Yesterday in the mail I received 3 yards of new Kaffe Fassett fabric: ocher palm fan, blue field bouquet, and red suzani.  I was a bit disappointed because the yard of field bouquet was not cut correctly.  Whoever was cutting it just was not taking in the entire yard and seeing that it really is  a panel and not regular yardage.  If cut correctly you will get 12 bouquet blocks.  Four of the blocks in my yard had been clipped off on one end, with just a sliver of four more at the other end of the yard.

What to do about this?  Lemonade from Lemons.  I do have 12 blocks, but four of them are different with wider borders than the other 8 blocks.  I think this will make the quilt more interesting!

If the fabric had been cut correctly I would have said “how pretty” and added it to my stash … but I had to spring into immediate action to save this fabric!

Here are photos of some of the blocks.  The sashing will be a gray Moda fabric which will add a rich tone to this quilt.


The Lorax Plan

I have been putting a few quick quilts together to practice on my new quilt machine and I found myself at FatQuarterShop.com this morning looking at Dr. Seuss fabric panels.

I ended up putting a quick quilt plan together based on my Grinch Quilt.  I picked out the fabrics to go with the colors in the panel and once I get started putting this quilt top together I will improvise with borders around each panel block.

What I did was copy and paste images of the fabrics in a Microsoft Word document to see how everything will look together.  How do you plan your quilts?

Lorax Quilt Fabrics

Here is a picture of the Grinch Quilt.  I will use a similar approach for the Lorax Quilt.

Grinch Quilt

Little Logo Quilts

Here are a few photos of small quilts that I made to be given as gifts to commemorate a significant event, such as a retirement or joining the military.

These little quilts are easy to make and enthusiastically received.

EPA Quilt

Air Force Joint Stars Quilt

Air Force AGSSD Quilt

Here is one that I made for someone joining the Marines which has been framed and was given for a Christmas gift.

photo

The center of each quilt is a logo that is printed on fabric.  I have been using EQ Printables Inkjet Fabric Sheets.  They cost $3.00 per sheet so you really want to print on regular paper first to be sure you have the page set up correctly before using one of your printable fabric pages!

Just the Quilts, please!

Just a quick overview of the quilts that have been presented in this blog.

Cotton Voile Scarf

When I was in Nobleboro Maine this summer taking a Denyse Schmidt class at the Alewives shop I noticed their infinity scarf kits. They have a kit that uses the same fabrics as used in the velvet throw.  They also offer a kit for a scarf made with two pieces of the cotton voile.  I just love this fabric.  It is very silky and the colors on the reverse of the fabric are nearly as sharp and bright as on the right side of the fabric.  With this in mind I decided to make a more finite version of the scarf by sewing the two pieces of fabric down the middle with a French seam.  This worked out very nicely!  The scarf folds at the seam and wraps around your neck or ties in a nice knot.  The trick is to do the French seam in reverse, so to speak.  Start with the right sides together to get the scarf to fold down the middle and lie flat with the right sides up when finished.  While it is true that you can’t notice the difference between the sides easily, there is a bit of a difference, so if you are particular you will want the right sides up!

Here are some quick instructions:

  • Cut two pieces of fabric, each 13″ x 72″
  • With right sides together sew a 1/4″ seam along the long edge
  • Next press a rolled hem along all sides with mitered corners
  • For best results use an edgestich foot to sew along the edge of the rolled hem
  • With wrong sides together, sew a 1/2″ seam along the long edge to finish the reverse French seam

Voile-Lahhhhh … you have a voile scarf to enjoy!

Hopefully these pictures will help to get the idea across for you!

To make this scarf I bought 2 yards of 2 fabrics so that I would not have to piece two lengths of fabric for a 72″ long scarf.  Of course, this voile fabric is 54″ wide, so that means I can make several scarves for gifts!

I decided to try a different version for one of these gift scarves.  This one uses my new Ruffler presser foot.  Very girly!