Category Archives: Totes

Barbados Bag

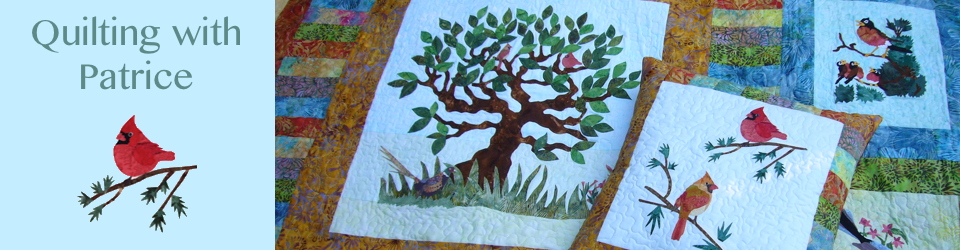
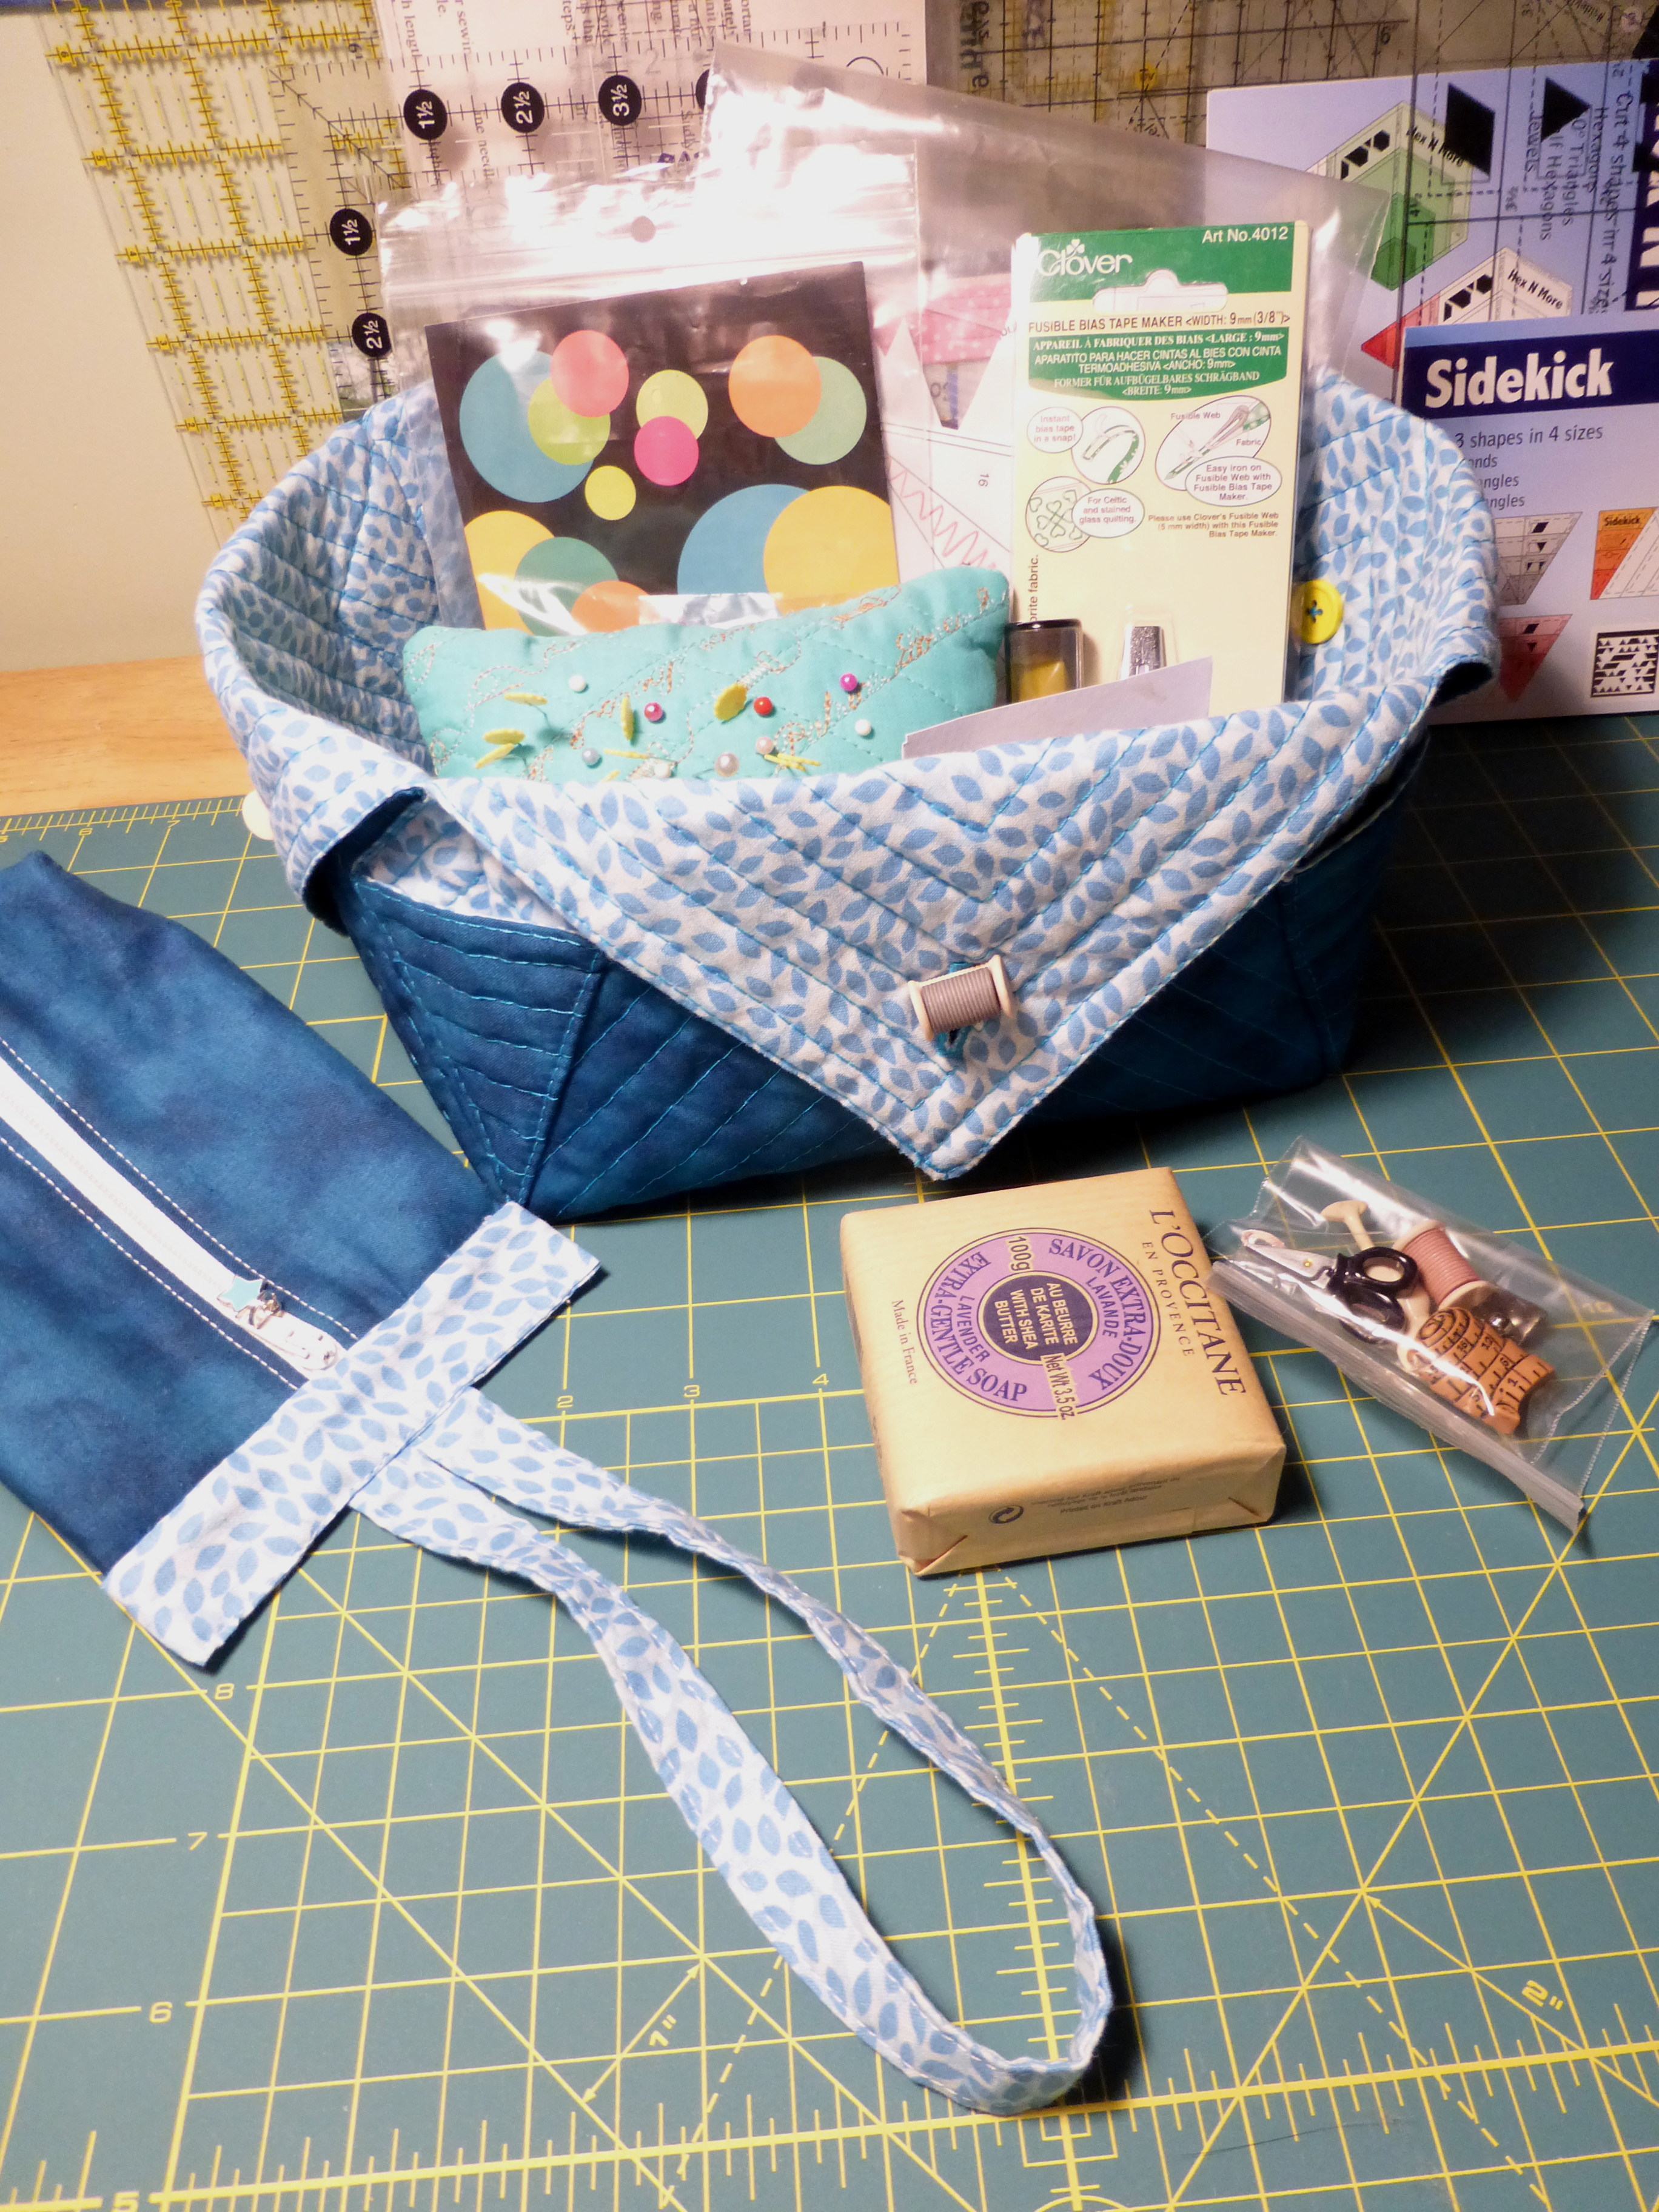
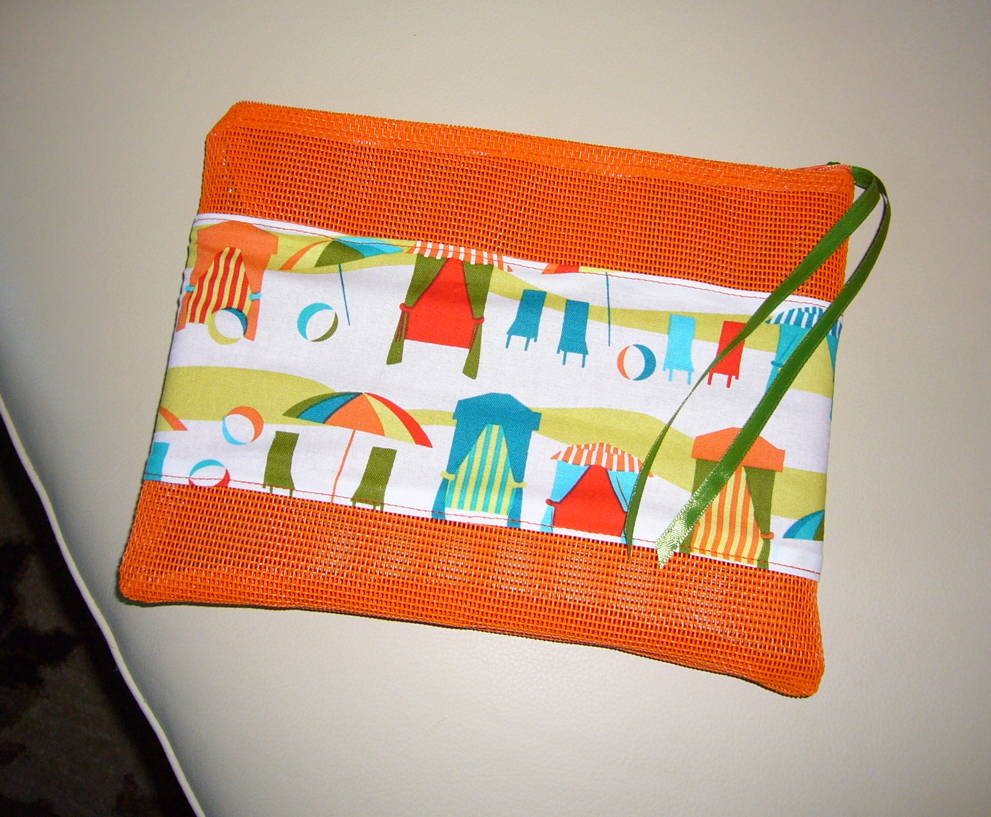
I am so glad I found time to take a class at Quilters Common yesterday.  Thank you Pat for doing such a great job of guiding us through the process of making the Pink Sand Beach Designs Barbados Bag.  We all had great success getting our bags put together during the class.  The pattern has lots of pictures and step by step instructions, but it always helps to get confirmation that you are doing the right thing when there are so many details.  And, I discovered how to put tabs on the ends of the zippers, which makes for a much more finished look. Can’t believe how easy it is to do!

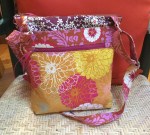
If you get this pattern the only suggestion I have is to prepare the tabs for attaching the D rings to the bag separately rather than cutting them from the strap, and don’t use the fusible fleece for these tabs.  Use the durabond on both sides.  This makes it easier to fold the ends over.  Also, I used hardware to make my bag adjustable for wearing over the shoulder or cross body.

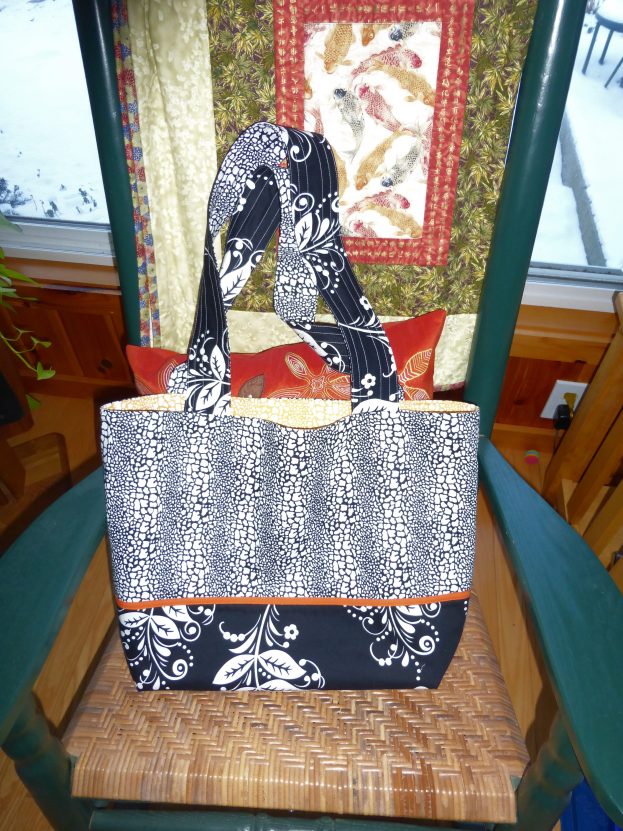
It’s a well written pattern and makes a versatile little bag with just the right amount of structure to it.  I am already thinking of other fabric choices for a second one.

Holiday Cheer Gift Bag

Here is a quick pattern for a Holiday Gift Bag.  This little pouch is a good size for a bottle of wine or perhaps a bottle of Pear Vodka for your Hairdresser! Debi was VERY happy with her Pear Vodka.  Start with two coordinating pieces of fabric each 15″ x 18″ and one 20″ piece of ribbon.  Place the two pieces of fabric right sides together and sew a seam across the short edge on one side.

image

Open up the two pieces with the seam in the middle and fold in half lengthwise, right sides together.

image

Now sew seams as follows:

Start on the fabric you want on the outside edge about 4″ or so from the first seam sewn.  The starting point can be adjusted depending on the length of the neck of your gift bottle. Sew from this point towards the inside (lining) fabric and continue along until you get around the first corner.  Then STOP!  Leave a gap of a few inches, so you can turn everything right side out, and start sewing again until you get to the folded edge, and then stop.  Start again at the fold by the bottom of the outside fabric and continue towards where you first started, but STOP before you reach that point to leave an opening that is large enough for your ribbon. Don’t forget to secure your stitches when starting and stopping.

My stitching is a bit messy because my first ribbon gap was too high!

image

Now, reach inside the opening and scrunch the tube up until you reach the other end and pull it through so your tube is now right side out.  Adjust the corners and press the opening closed.  Sew along the bottom edge to close the opening.


Fold the lining inside of the bag (it is now a bag!). Find the ribbon opening on the side seam. Pin a safety pin to one end of your ribbon and run it through the hole, around the bag and out again.

image

Put your bottle in the bag, tie the ribbon and clip the ends. Debi said she liked the gift bag, too!

image

This pattern can be adjusted as needed to accommodate any gift!

Happy Holidays and Cheers!

bmqg gift swap

Boston Modern Quilt Guild Gift Swap

Just a quick post to Thank Yvonne for the gift she sent me for the Boston Modern Quilt Guild Gift Swap.  Yvonne didn’t make it to the meeting, so she sent me a box full of goodies … a perfectly crafted fabric basket for organizing things, a pin cushion that has programmed stitching which says “Patrice loves to Sew” (yes!!) and a jazzy, roomy wristlet wallet.  But then there was more … the rest of the buttons used for the basket and also a bar of scented soap!  Thank you, Yvonne!

And also thanks to Jenn for organizing the whole swap!

Here is another picture of the basket, which I have already put to work, along with the rest of my Goodies:

P1040401


tote bag

Quick … a Tote Bag

This tote bag went together very quickly with 4 half yards of home dec fabric. Very stylish don’t you think? I added a strip of orange trim using a clover bias tape maker with fusible web tape. This bag has pockets on the inside or reverse it and suddenly it has pockets on the outside! I got together with some of the ladies from the North Parish Quilt Guild on Saturday at Quilters Common and got a good start on this bag. We are putting bags together to raise funds for the guild. I believe there will be an auction held in April to sell all of our bags. I will share the details once I know them.

Kerryn Bag Class

Yesterday I taught the Kerryn Tote Bag class at Quilter’s Common in Wakefield, MA.

I had two students and Colette also joined us to work on a shop sample.

Joyce and Nancy finished their bags, and Colette almost finished hers.  I have to thank Colette for a couple of great ideas …

1.  Add fusible interfacing to one of the lining pocket pieces to add more stability to the inside pocket section.

2.  To shape the bottom of the bag:  After sewing the pocket sectioning seams from “pocket top” to “pocket top”, sew two seams from one side to the other of the 36″ x 21″ bag and lining pieces.  The seams should be 3″ apart in the center of the bag and lining pieces.

It was great fun spending the day sewing with the ladies at the shop.  I may be teaching the class again sometime in the future and will post when that is scheduled.  In the mean time the pattern is for sale as a downloadable file in my Craftsy Shop.


Cute Waterproof Cosmetic Bag

Just wanted to share this cute little cosmetic bag that I made to go with my beach bag.  I was heading over to our friend’s house for a day at the pool and all I had were quilted bags and of course I knew my wet bathing suit would soak through those!  I had some left over pet screen from my beach bag so I put this together … the next day … to replace the plastic zip lock bag that I used that day.

screen_pouch_50