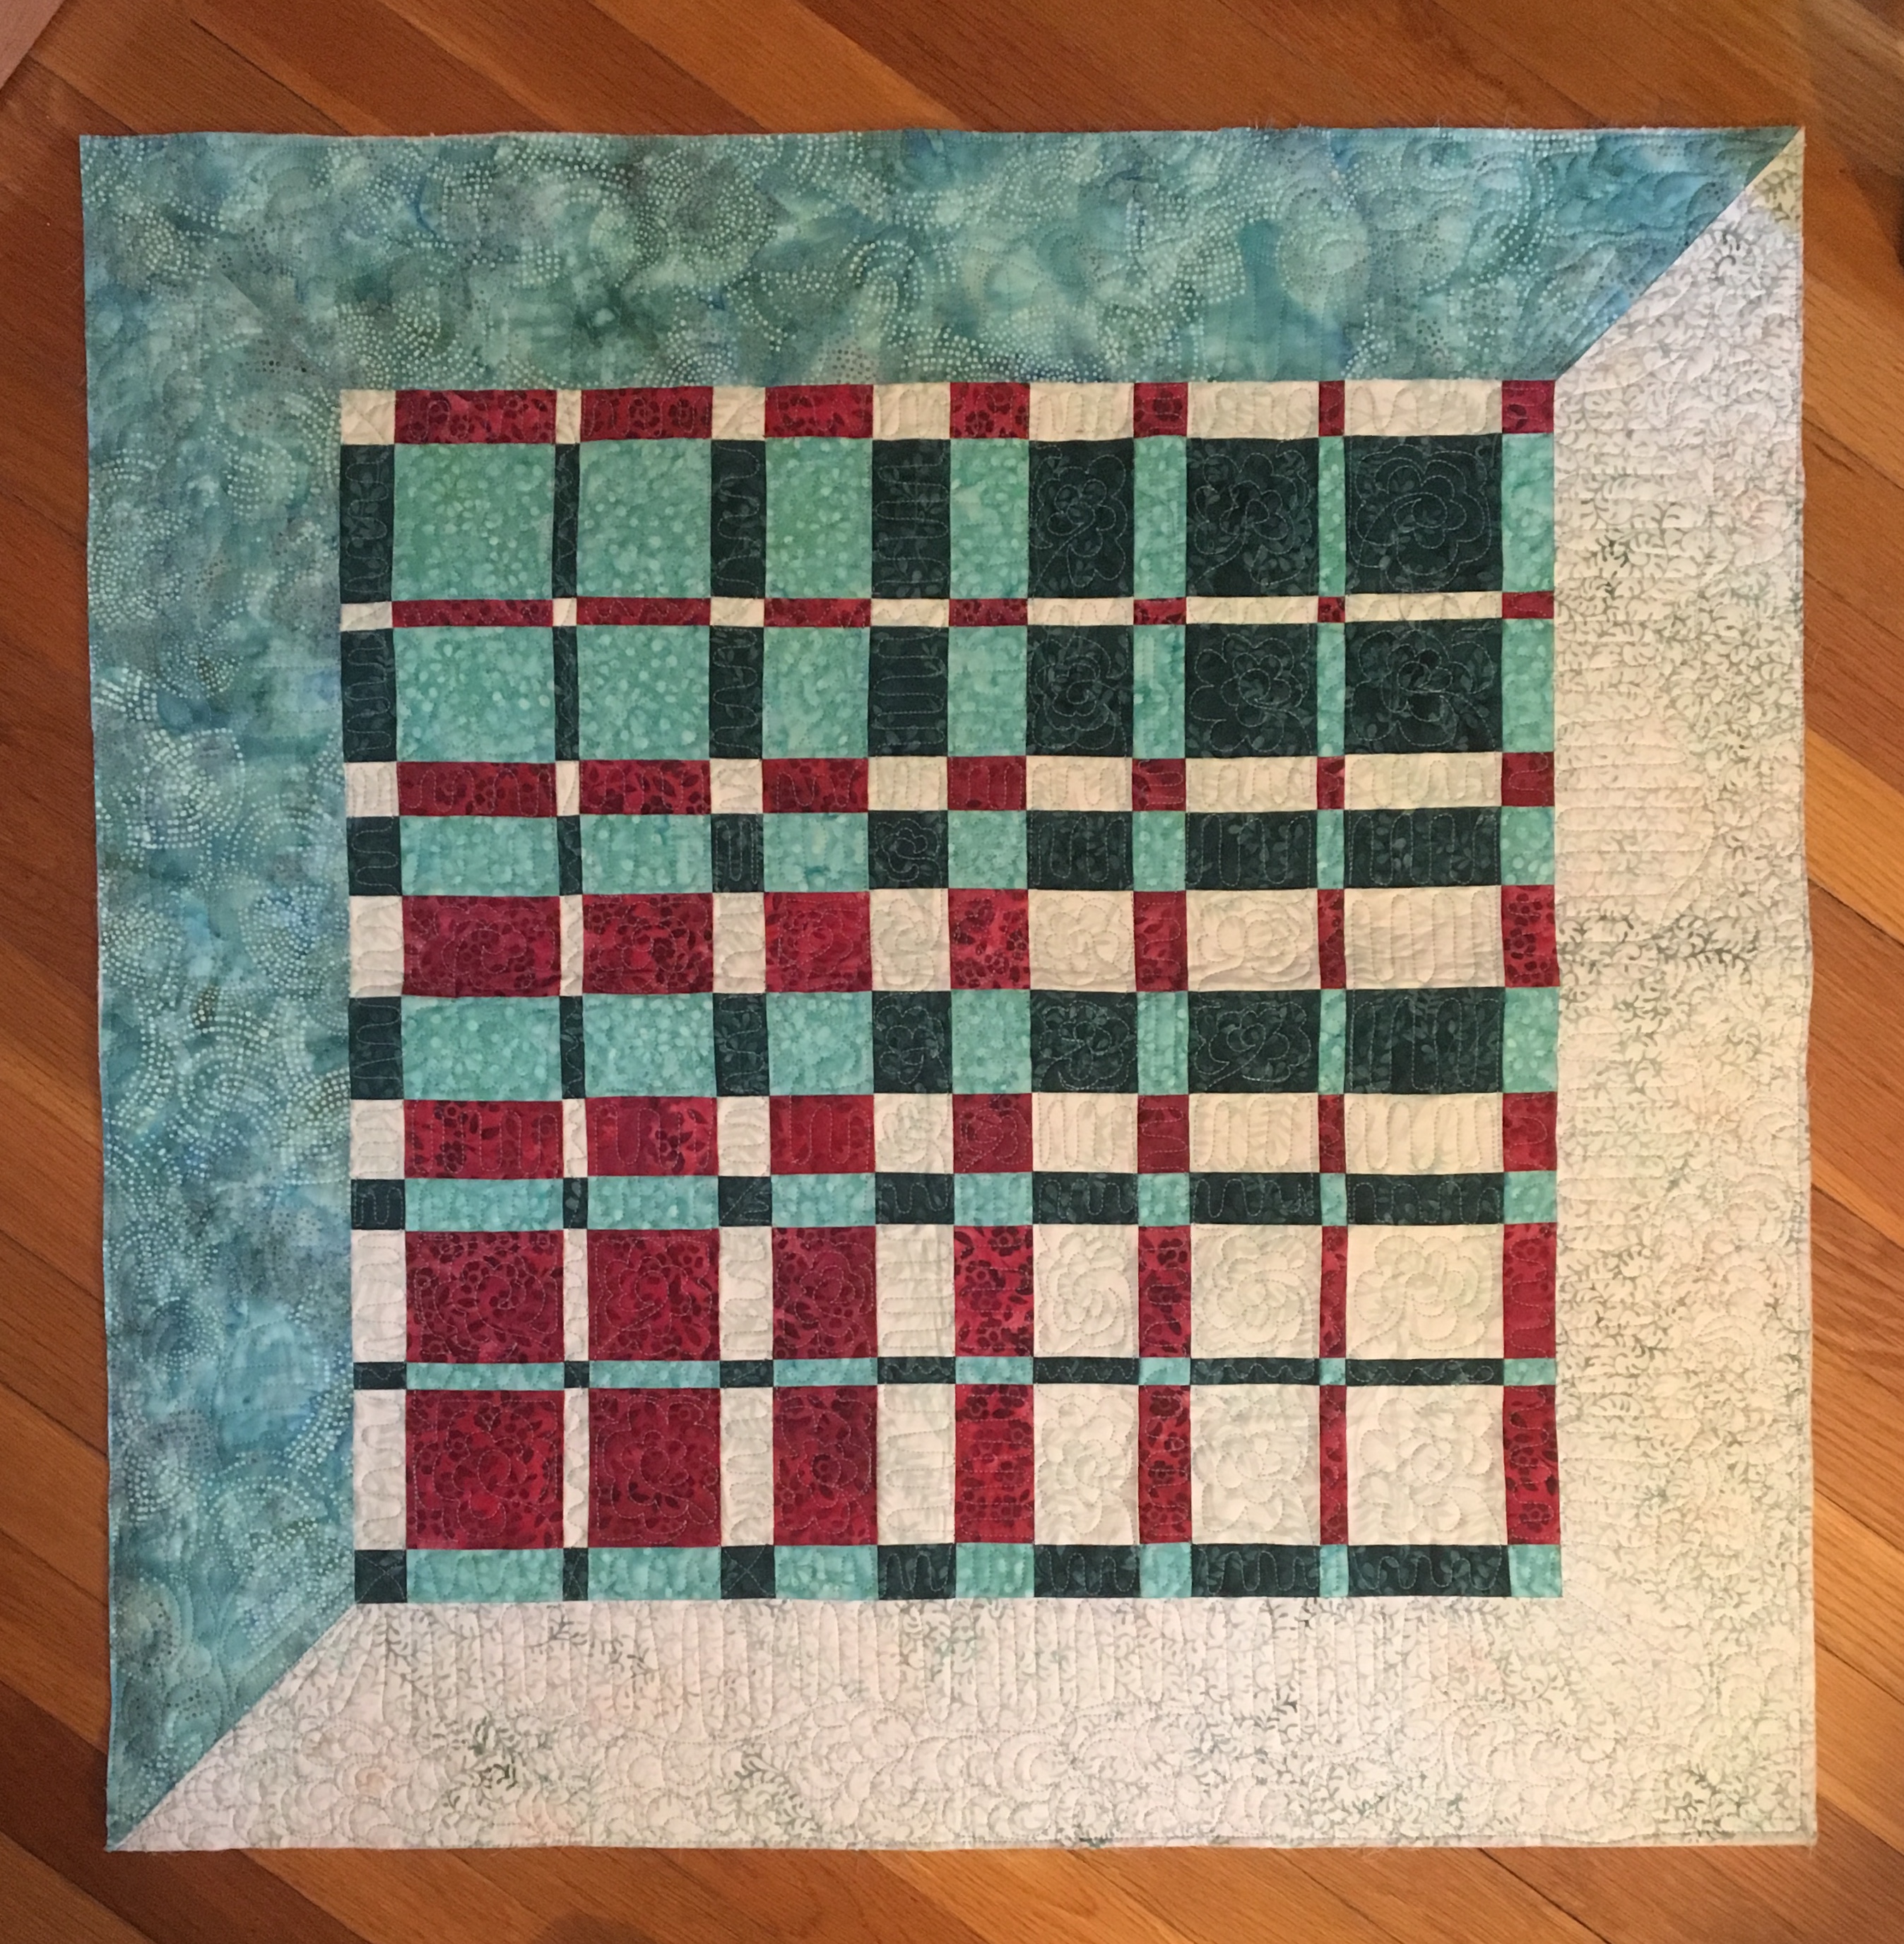
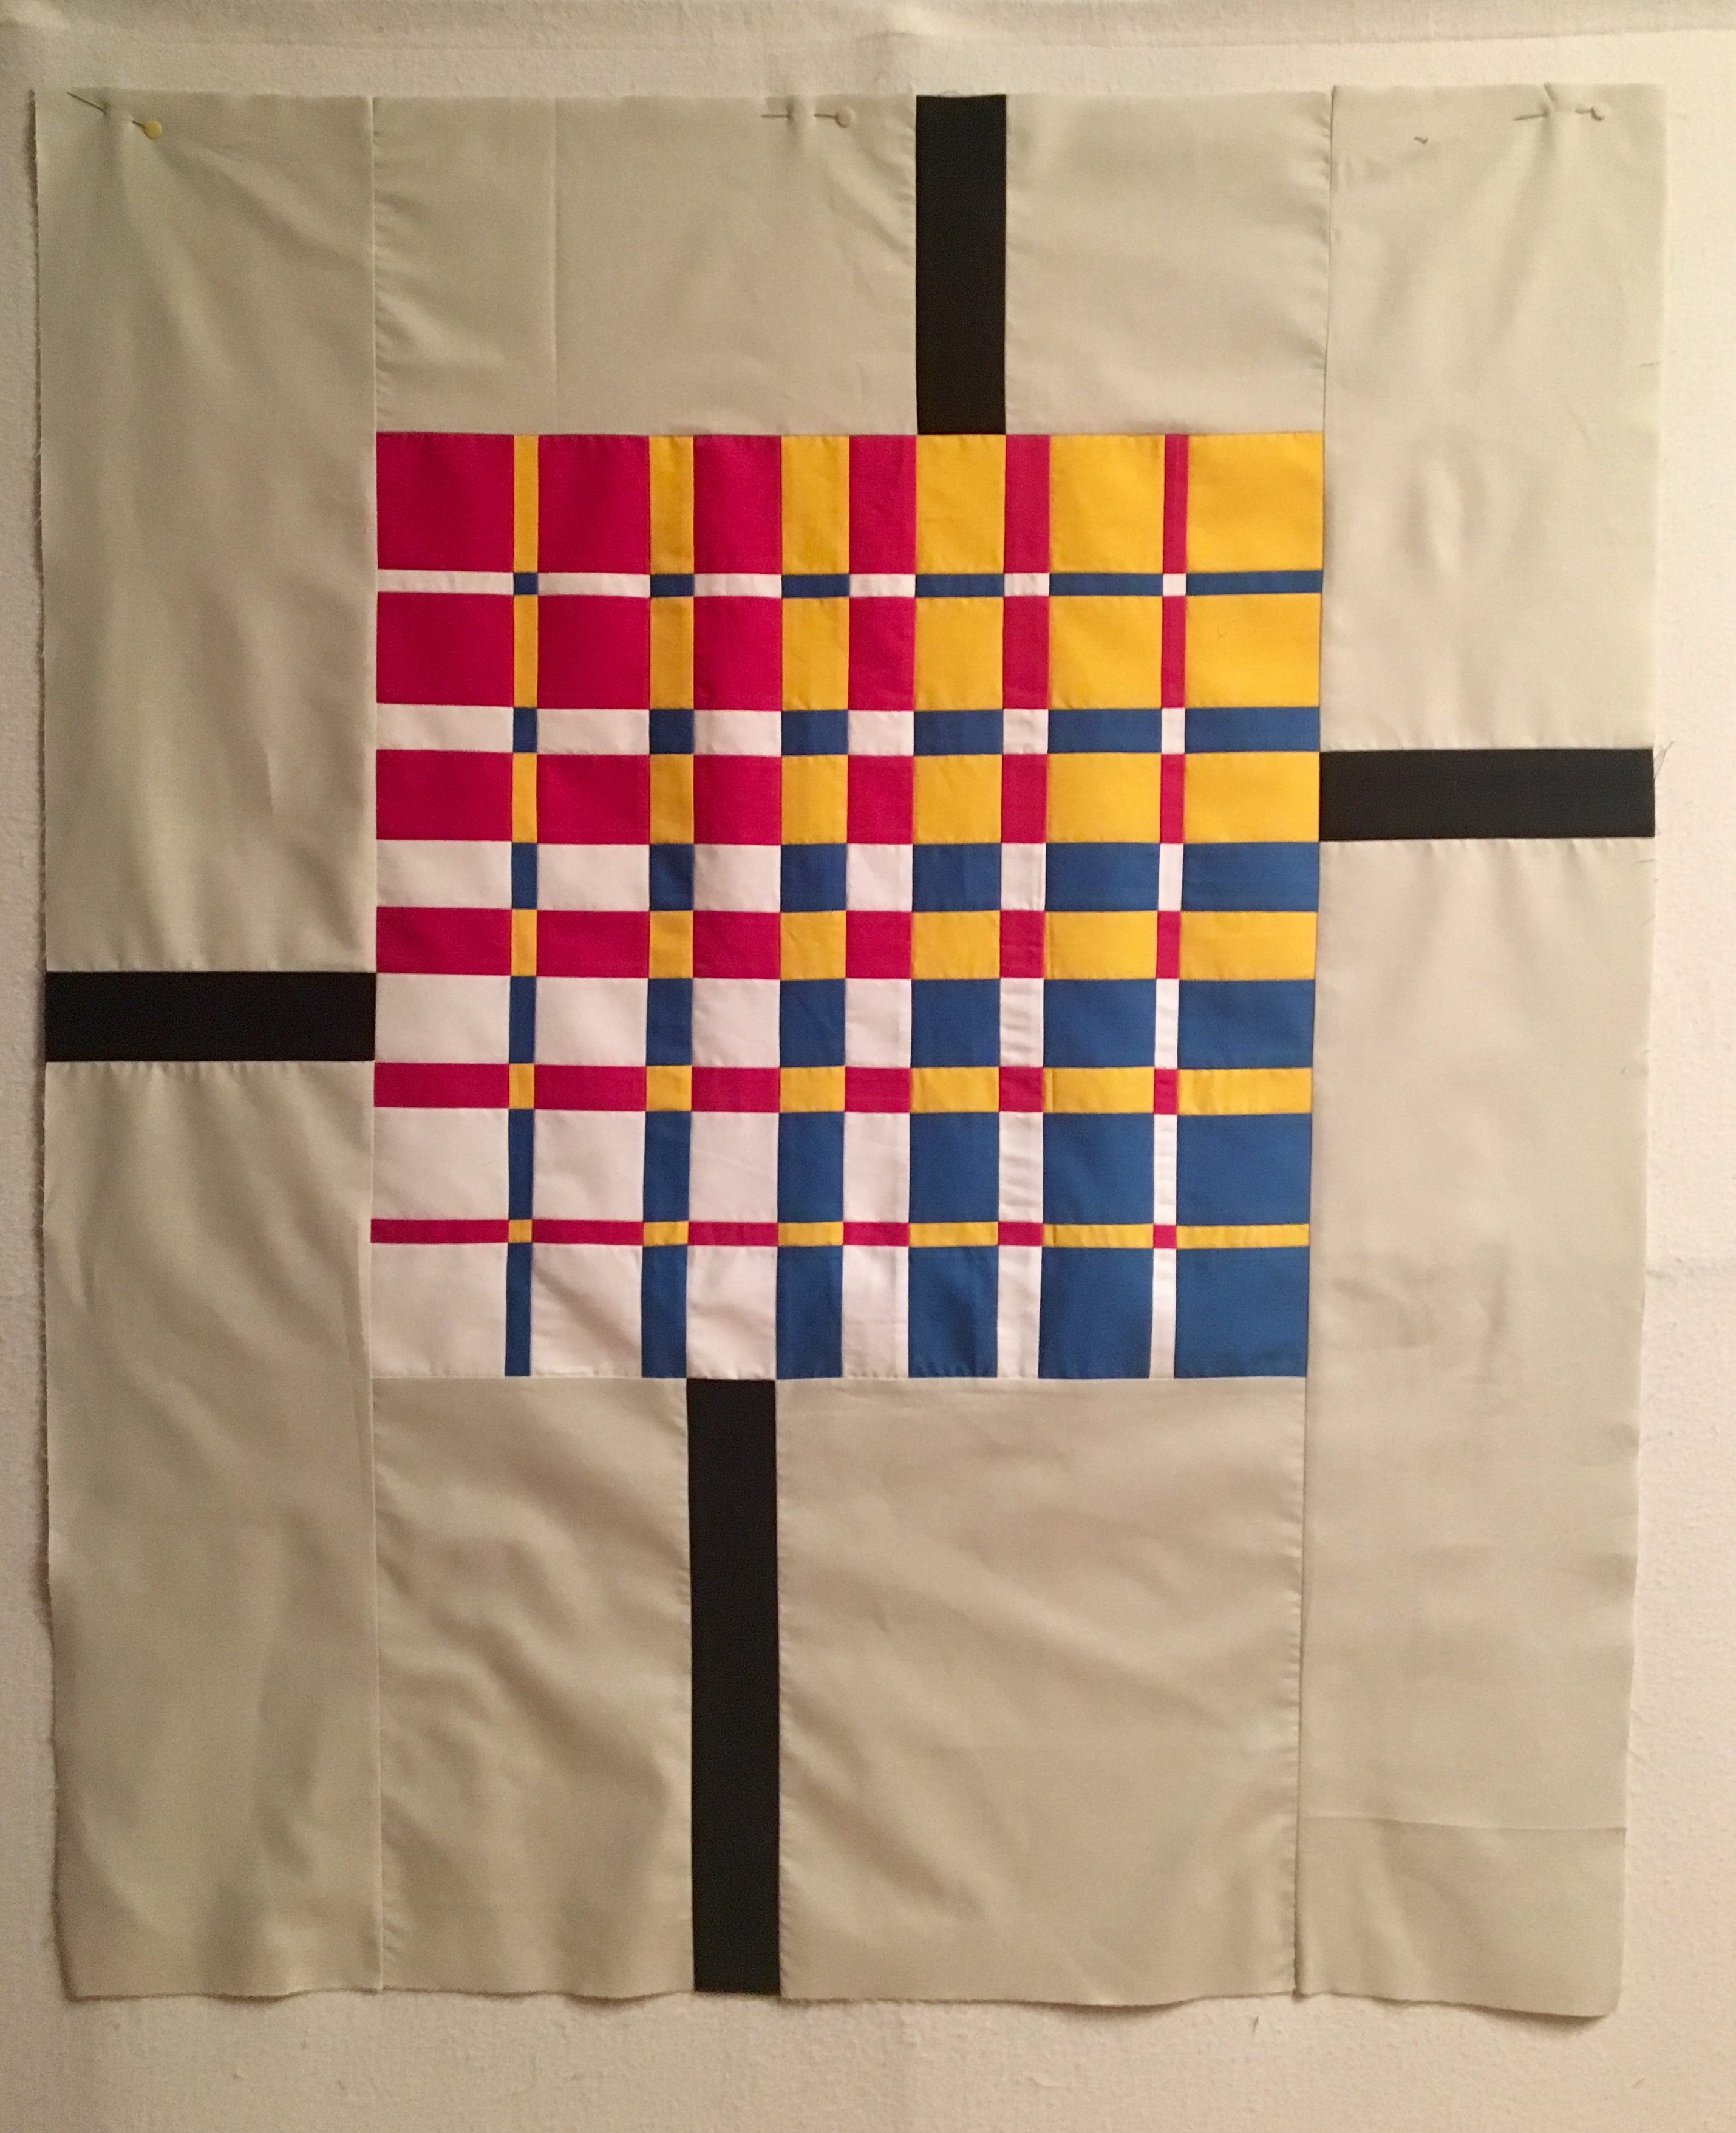
Ricky Tims published his Convergence Quilts book in 2003. I was brainstorming with Jolene at Quilters Common trying to come up with a good idea for a workshop. She mentioned that she had seen some Harmonic Convergence quilts on the internet, perhaps Pinterest? So of course I did some researching as soon as I got home and discovered his book. I checked a copy of the book out from the incredible New England Quilt Museum research and lending library. (I volunteer there on Thursdays). The book has a lot of interesting projects to try, but the trick is finding the right fabric combinations. I found his original Harmonic Convergence project the easiest to work with. In fact I found it so easy that I could hardly stop picking out fabrics and making them. It is fun and easy to put these stunning little quilts together. Here are the ones I have put together (so far!)
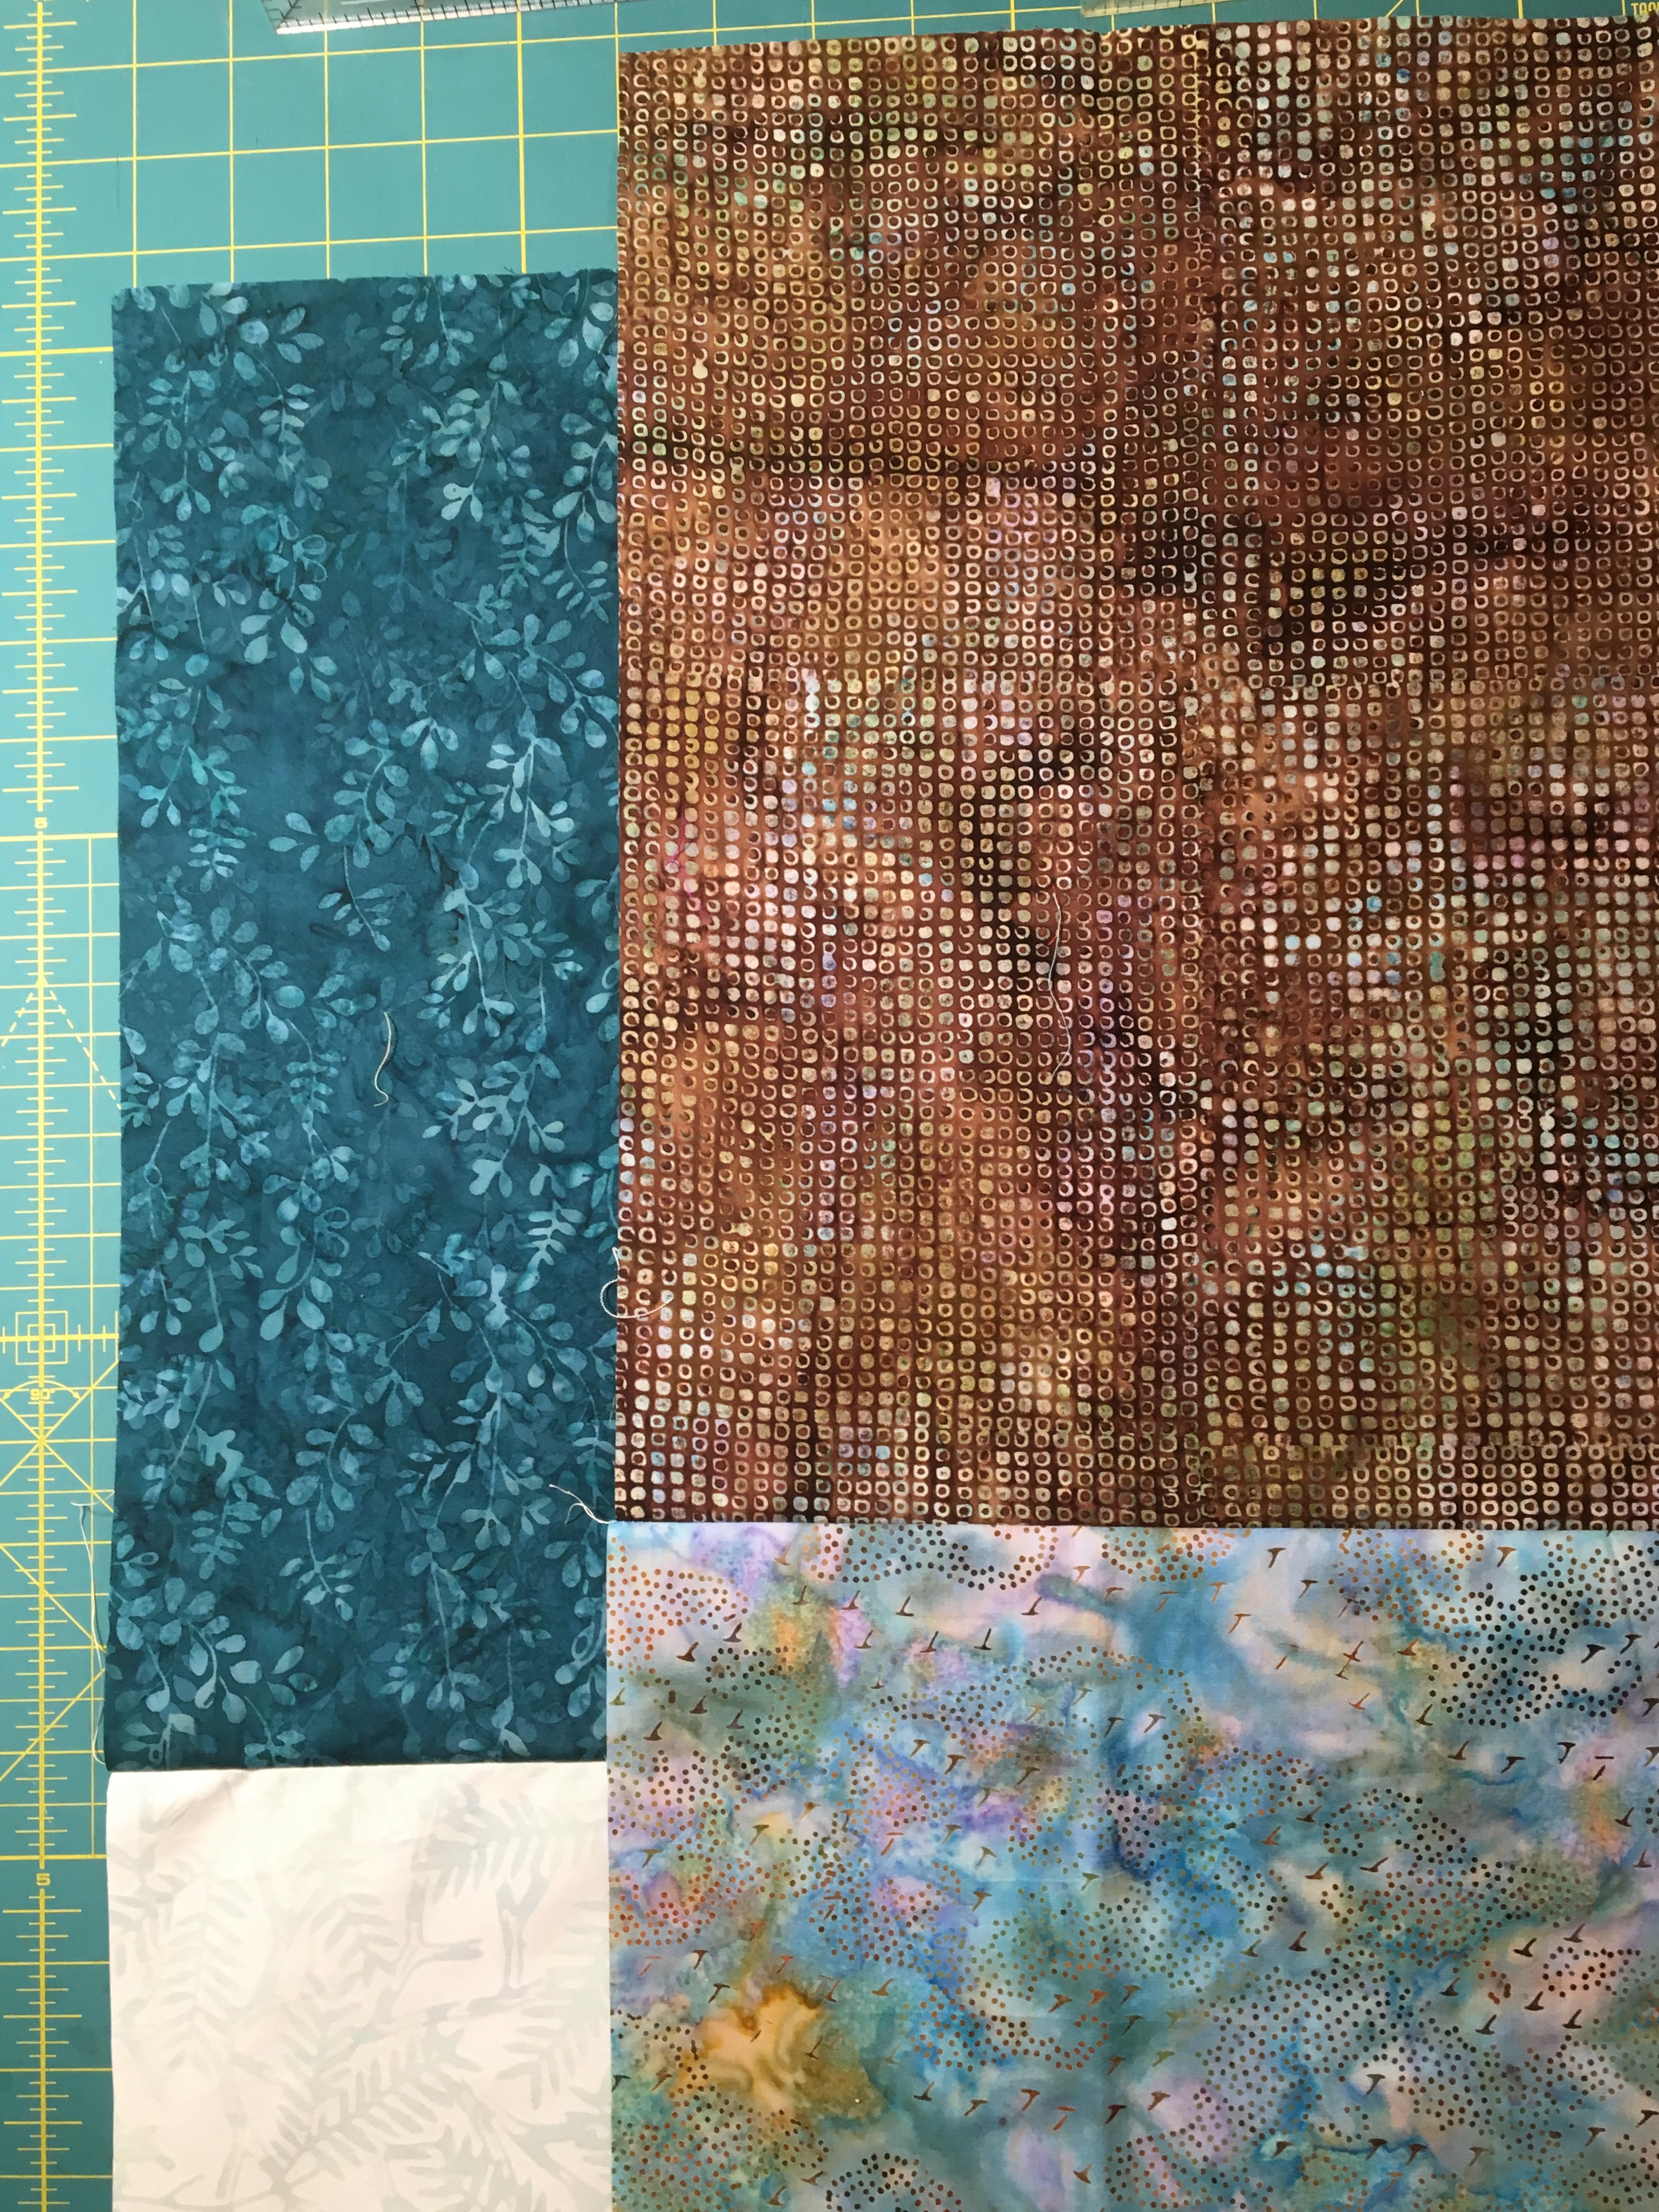
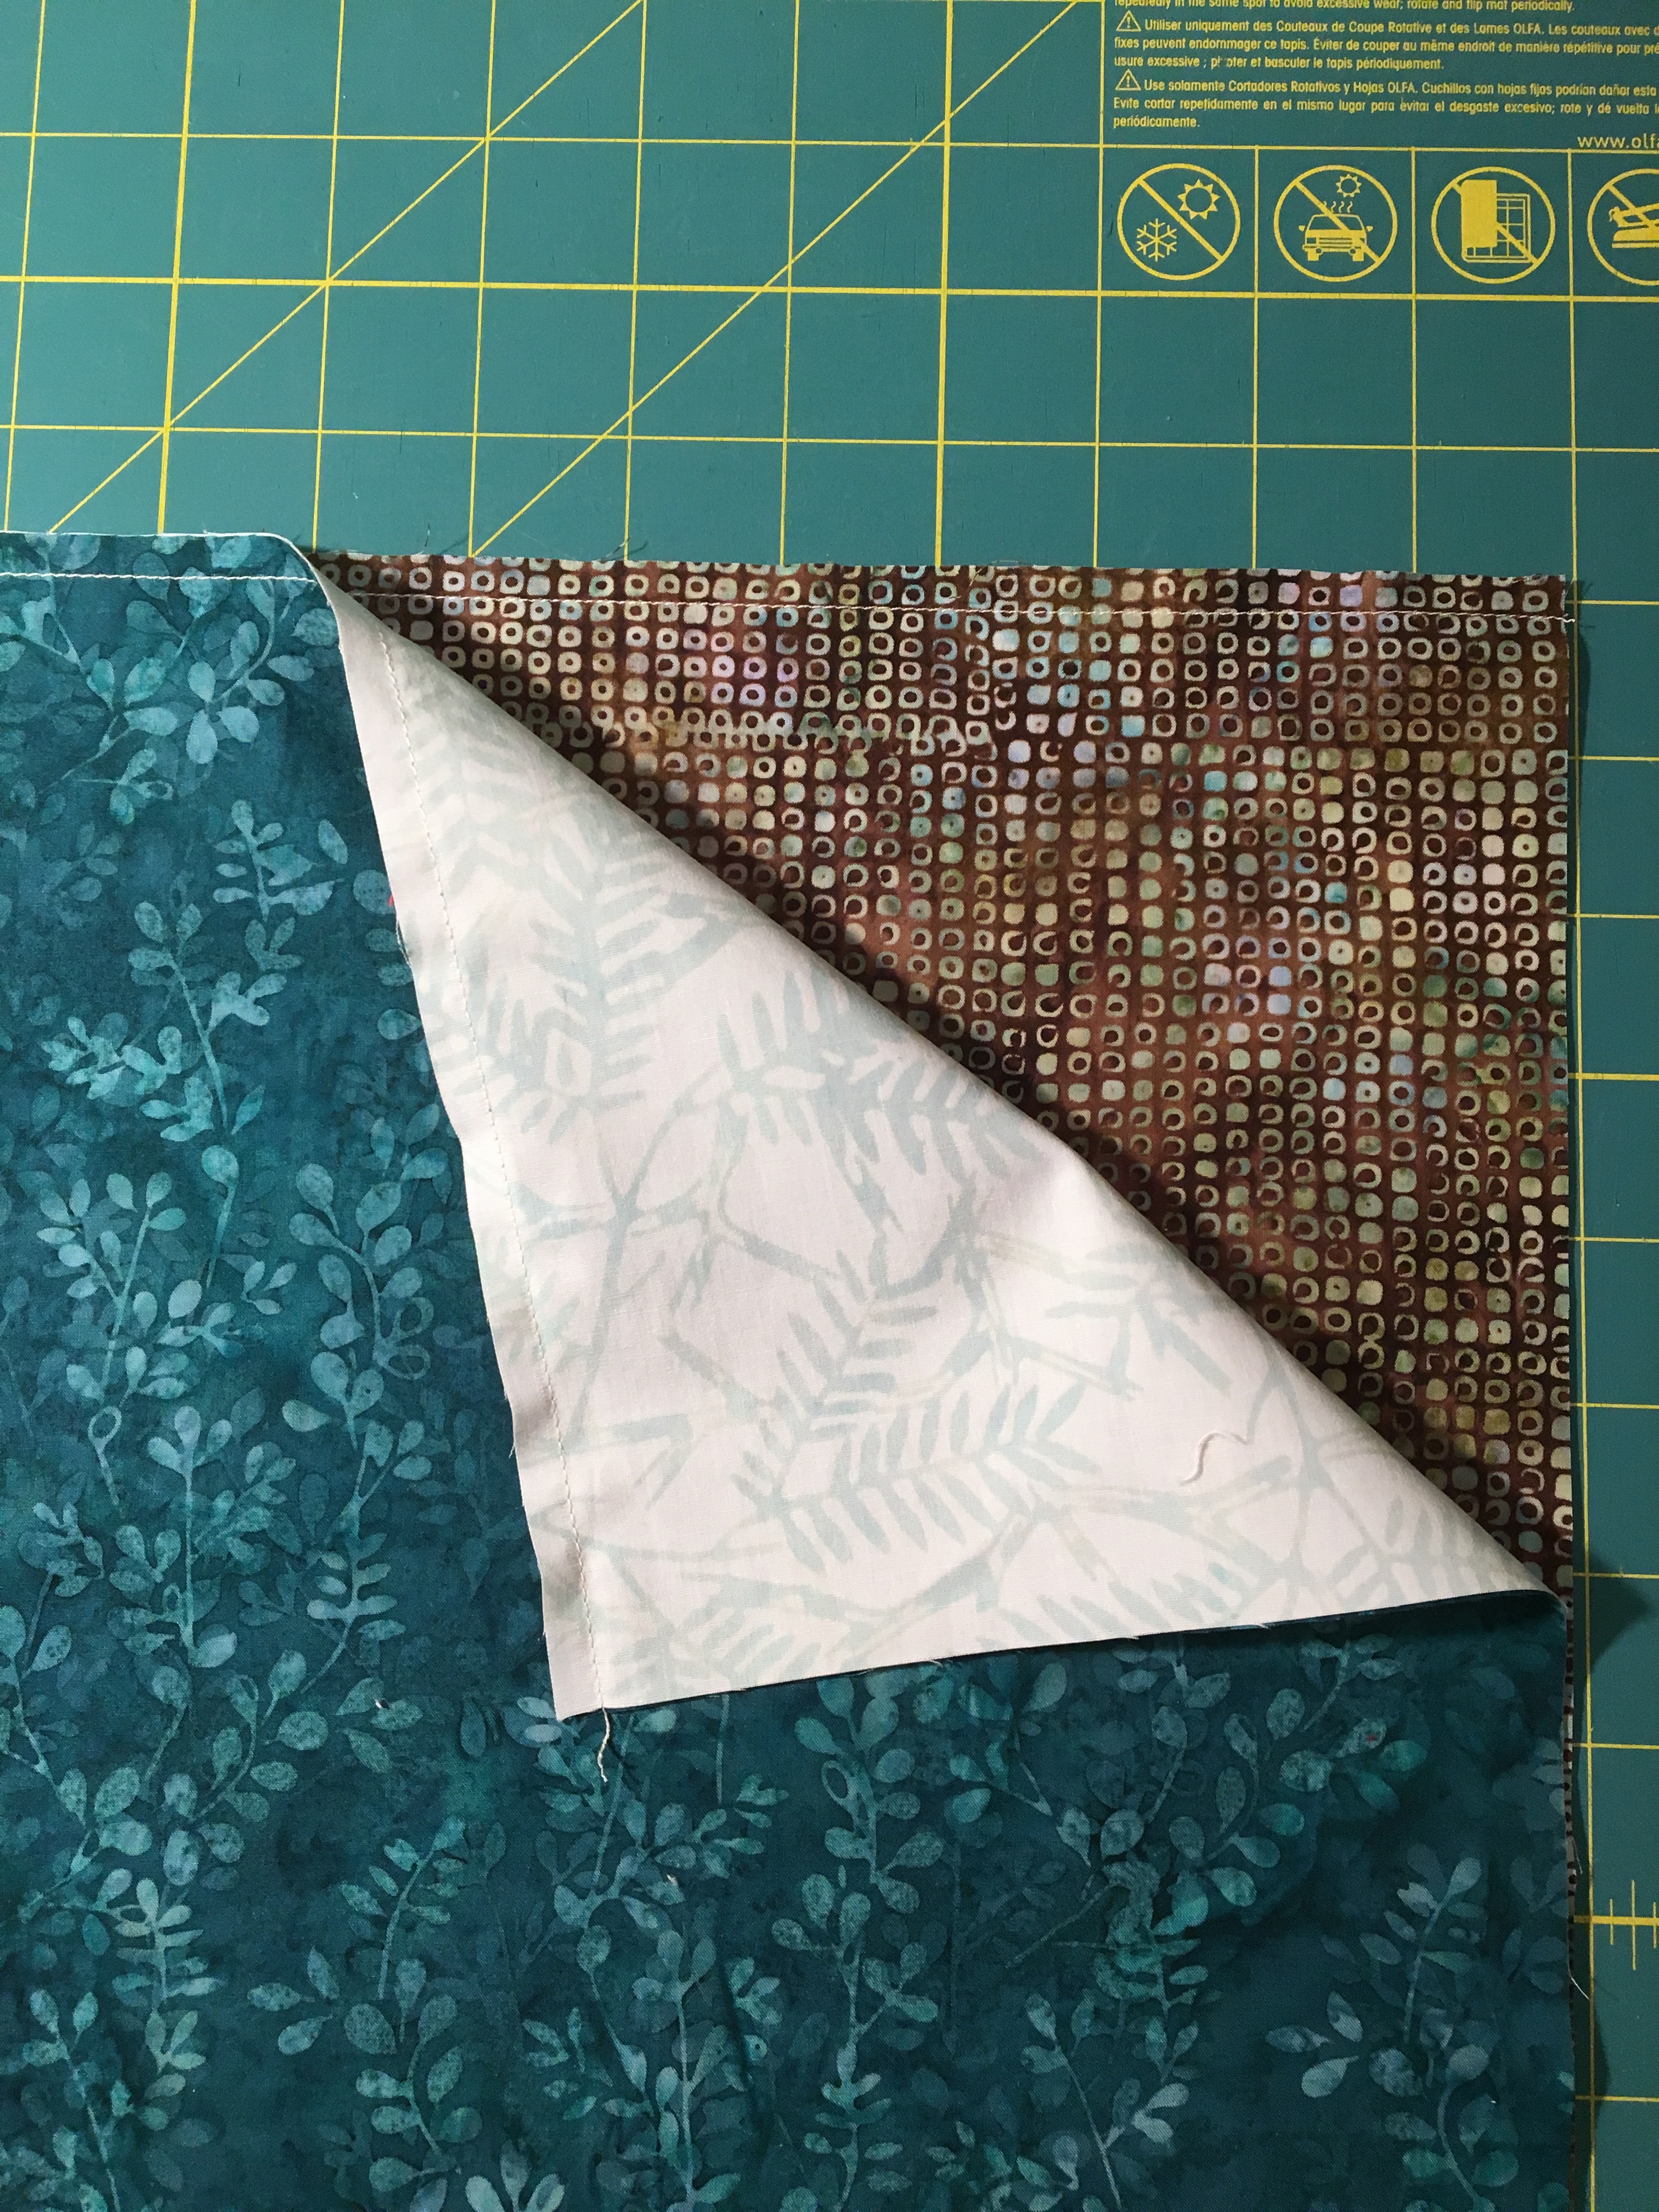
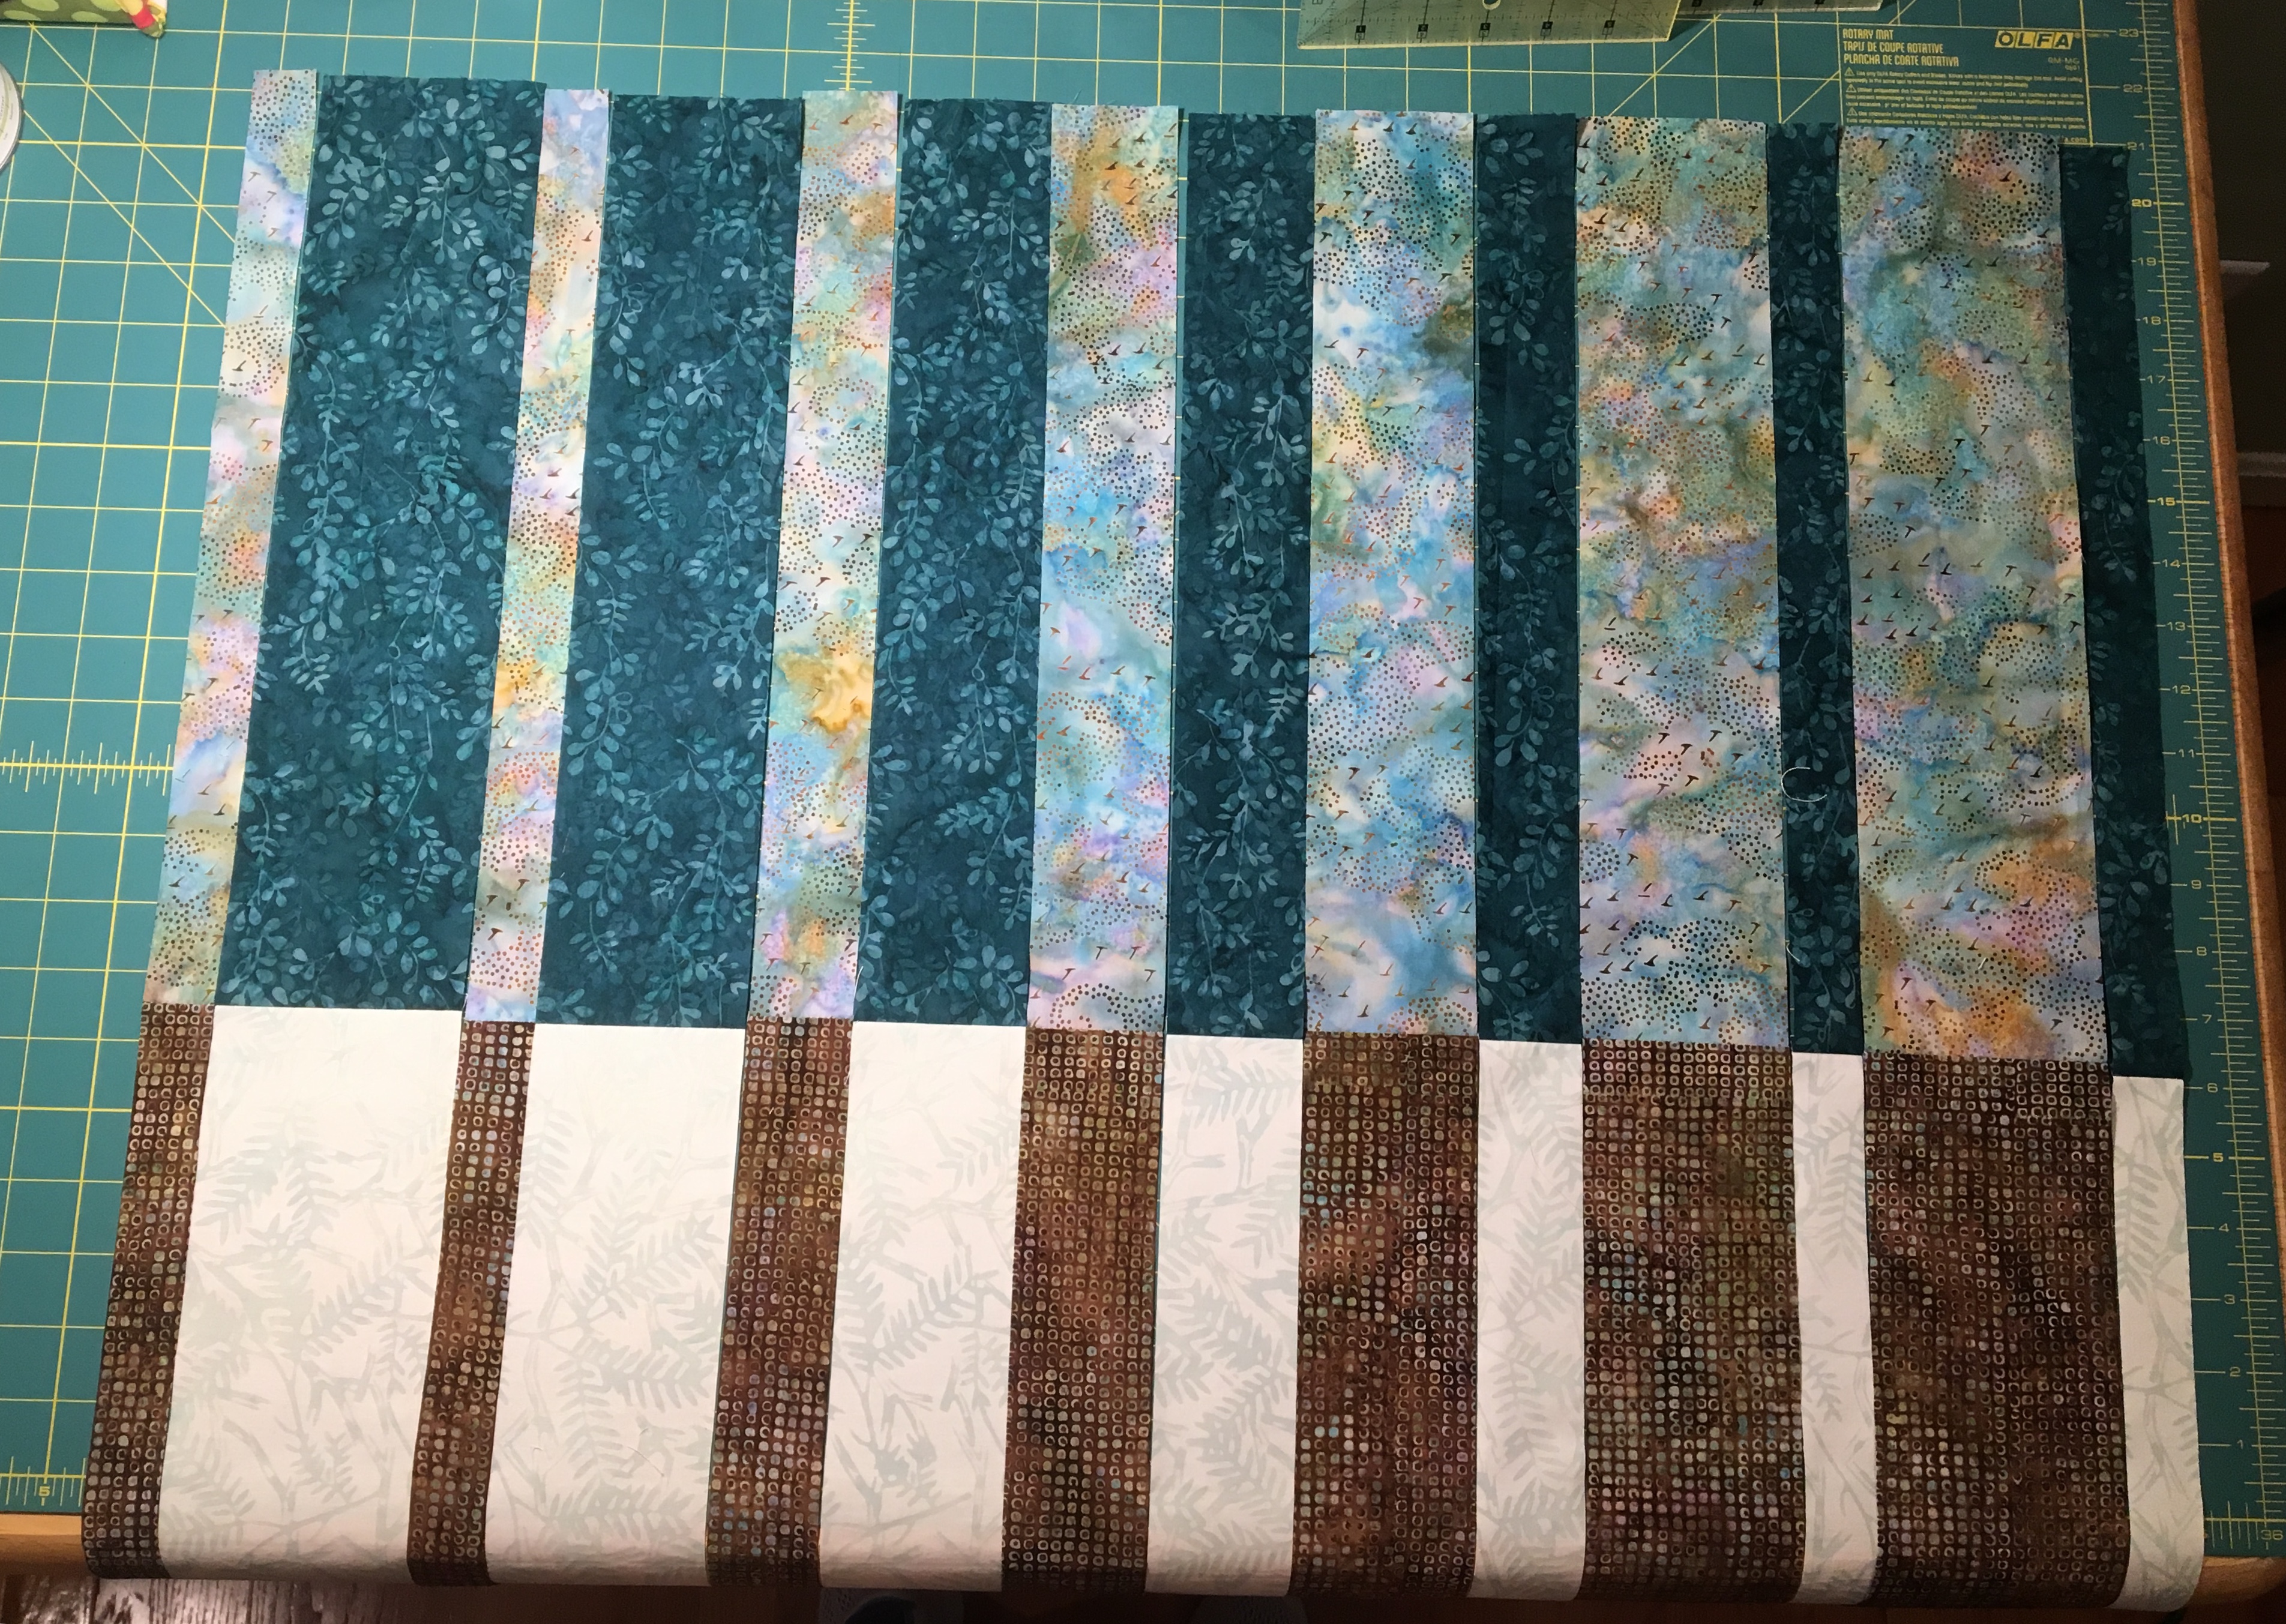
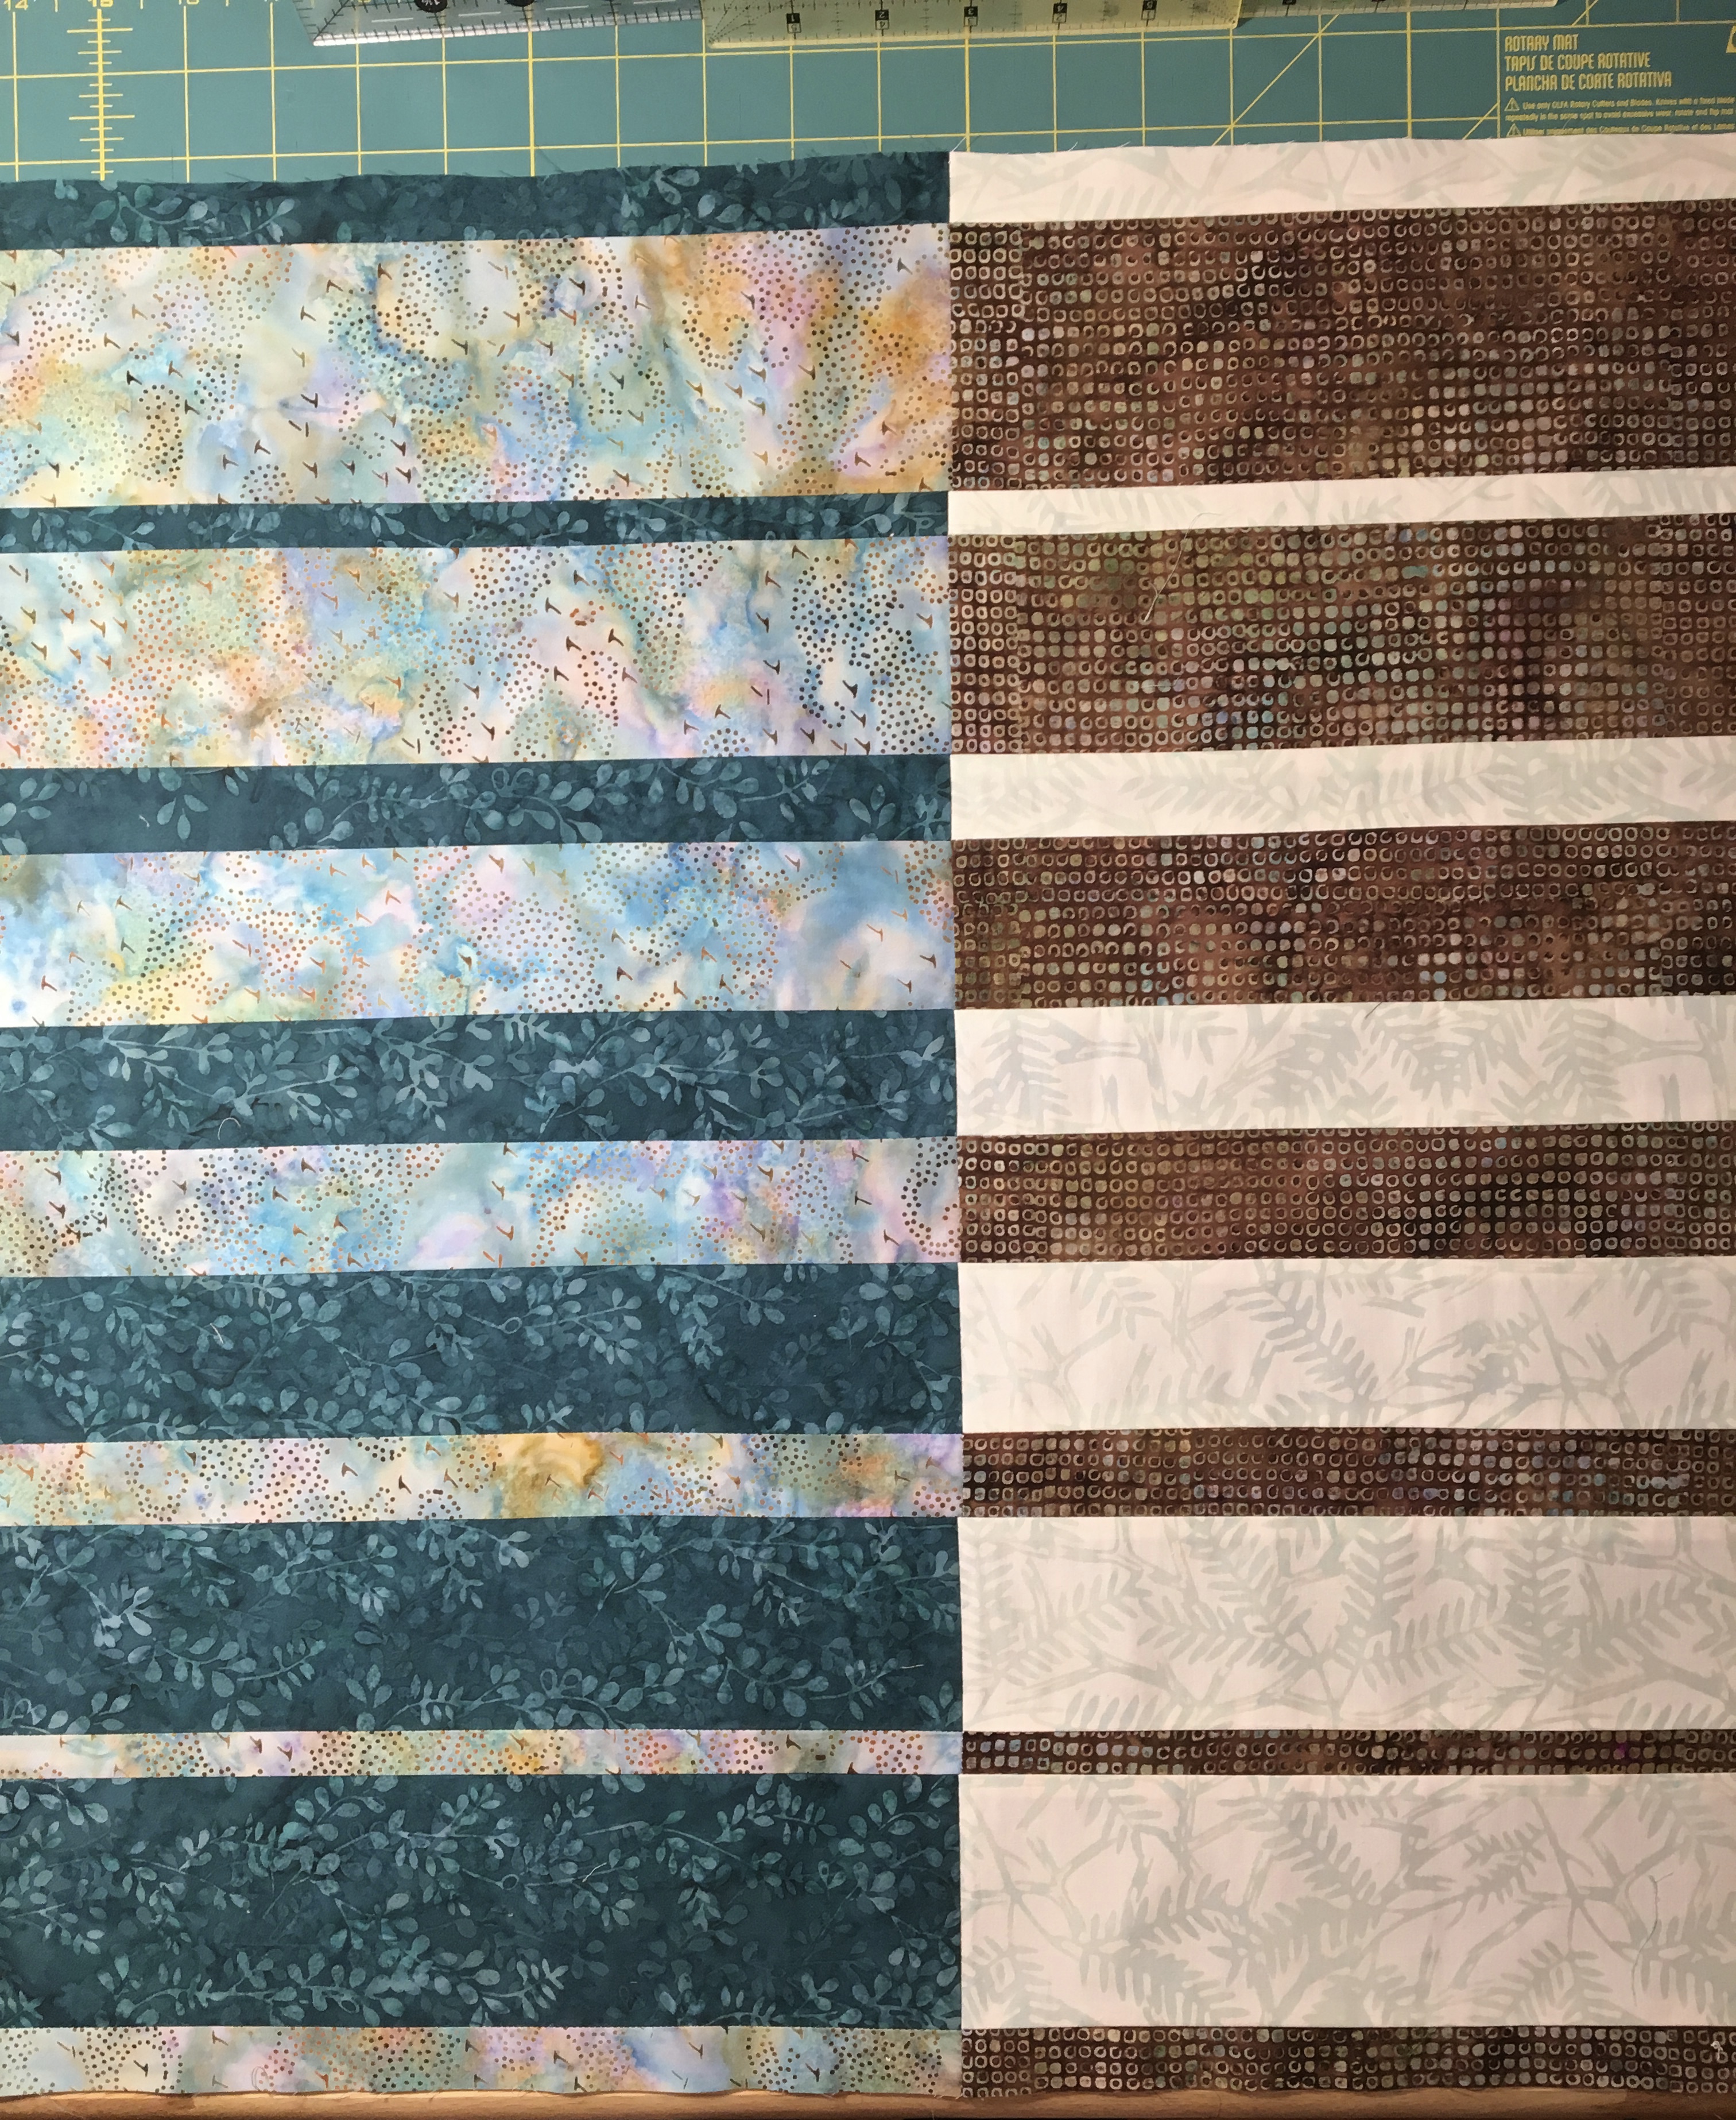
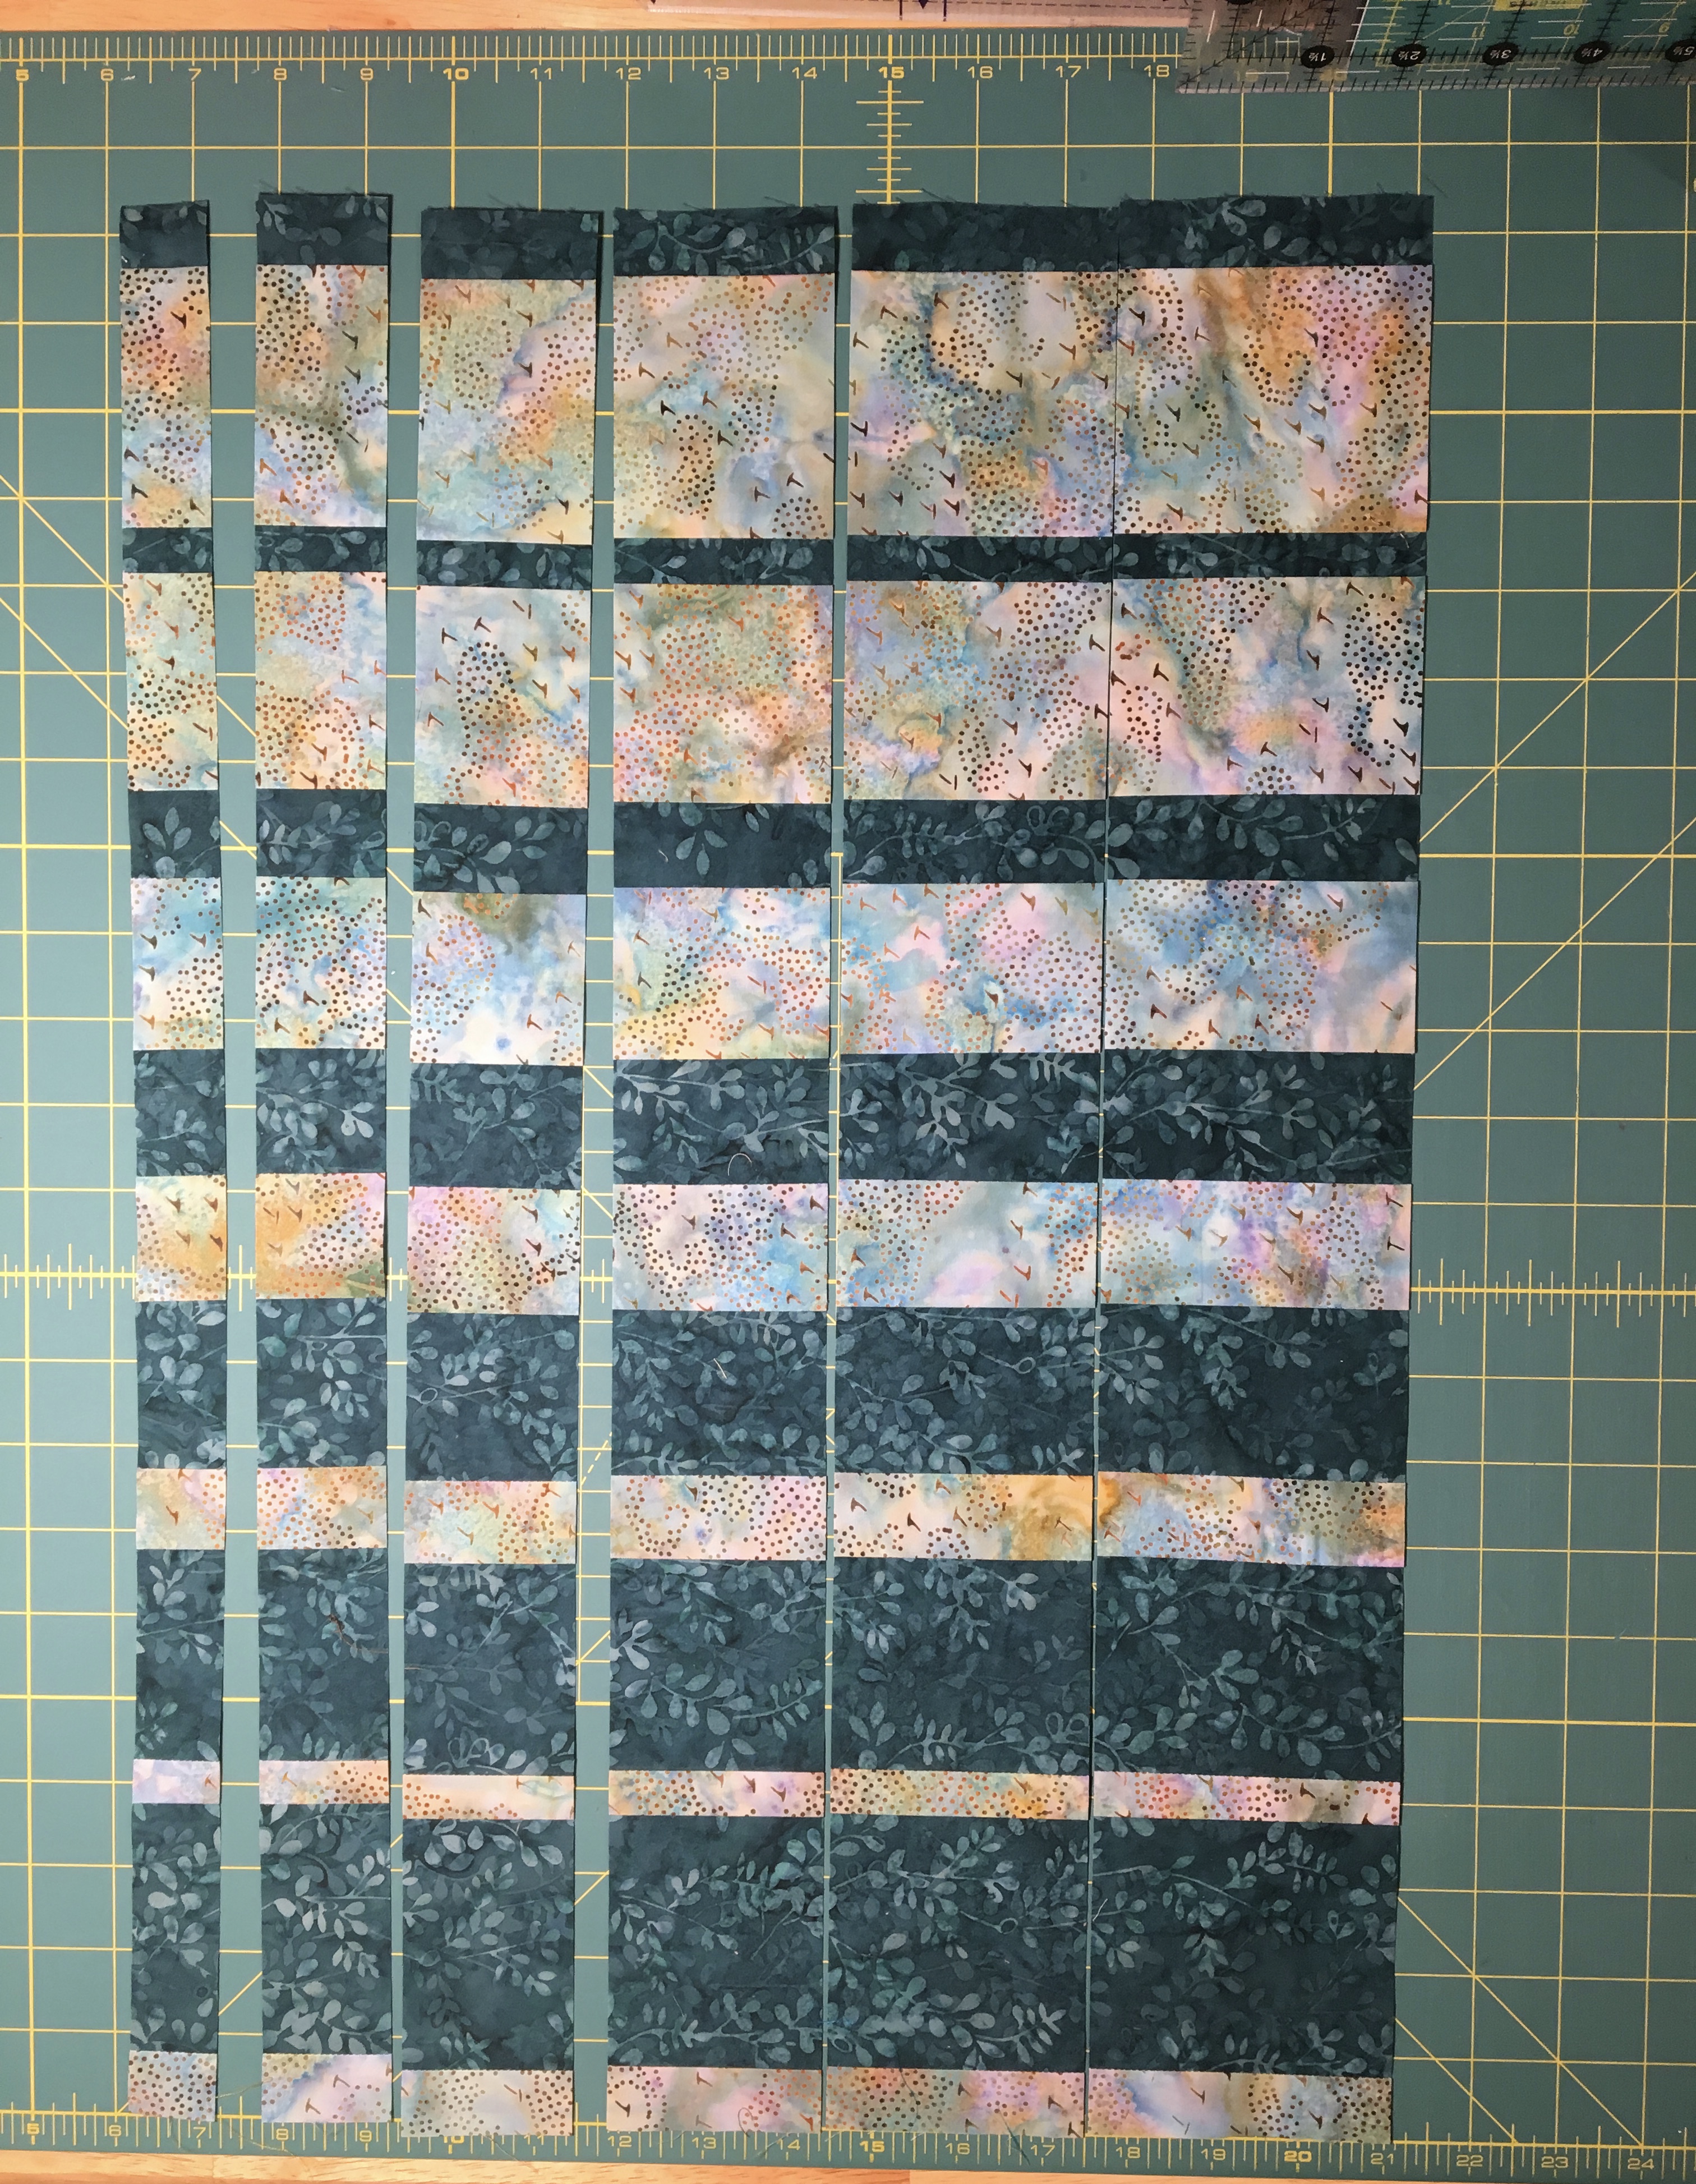
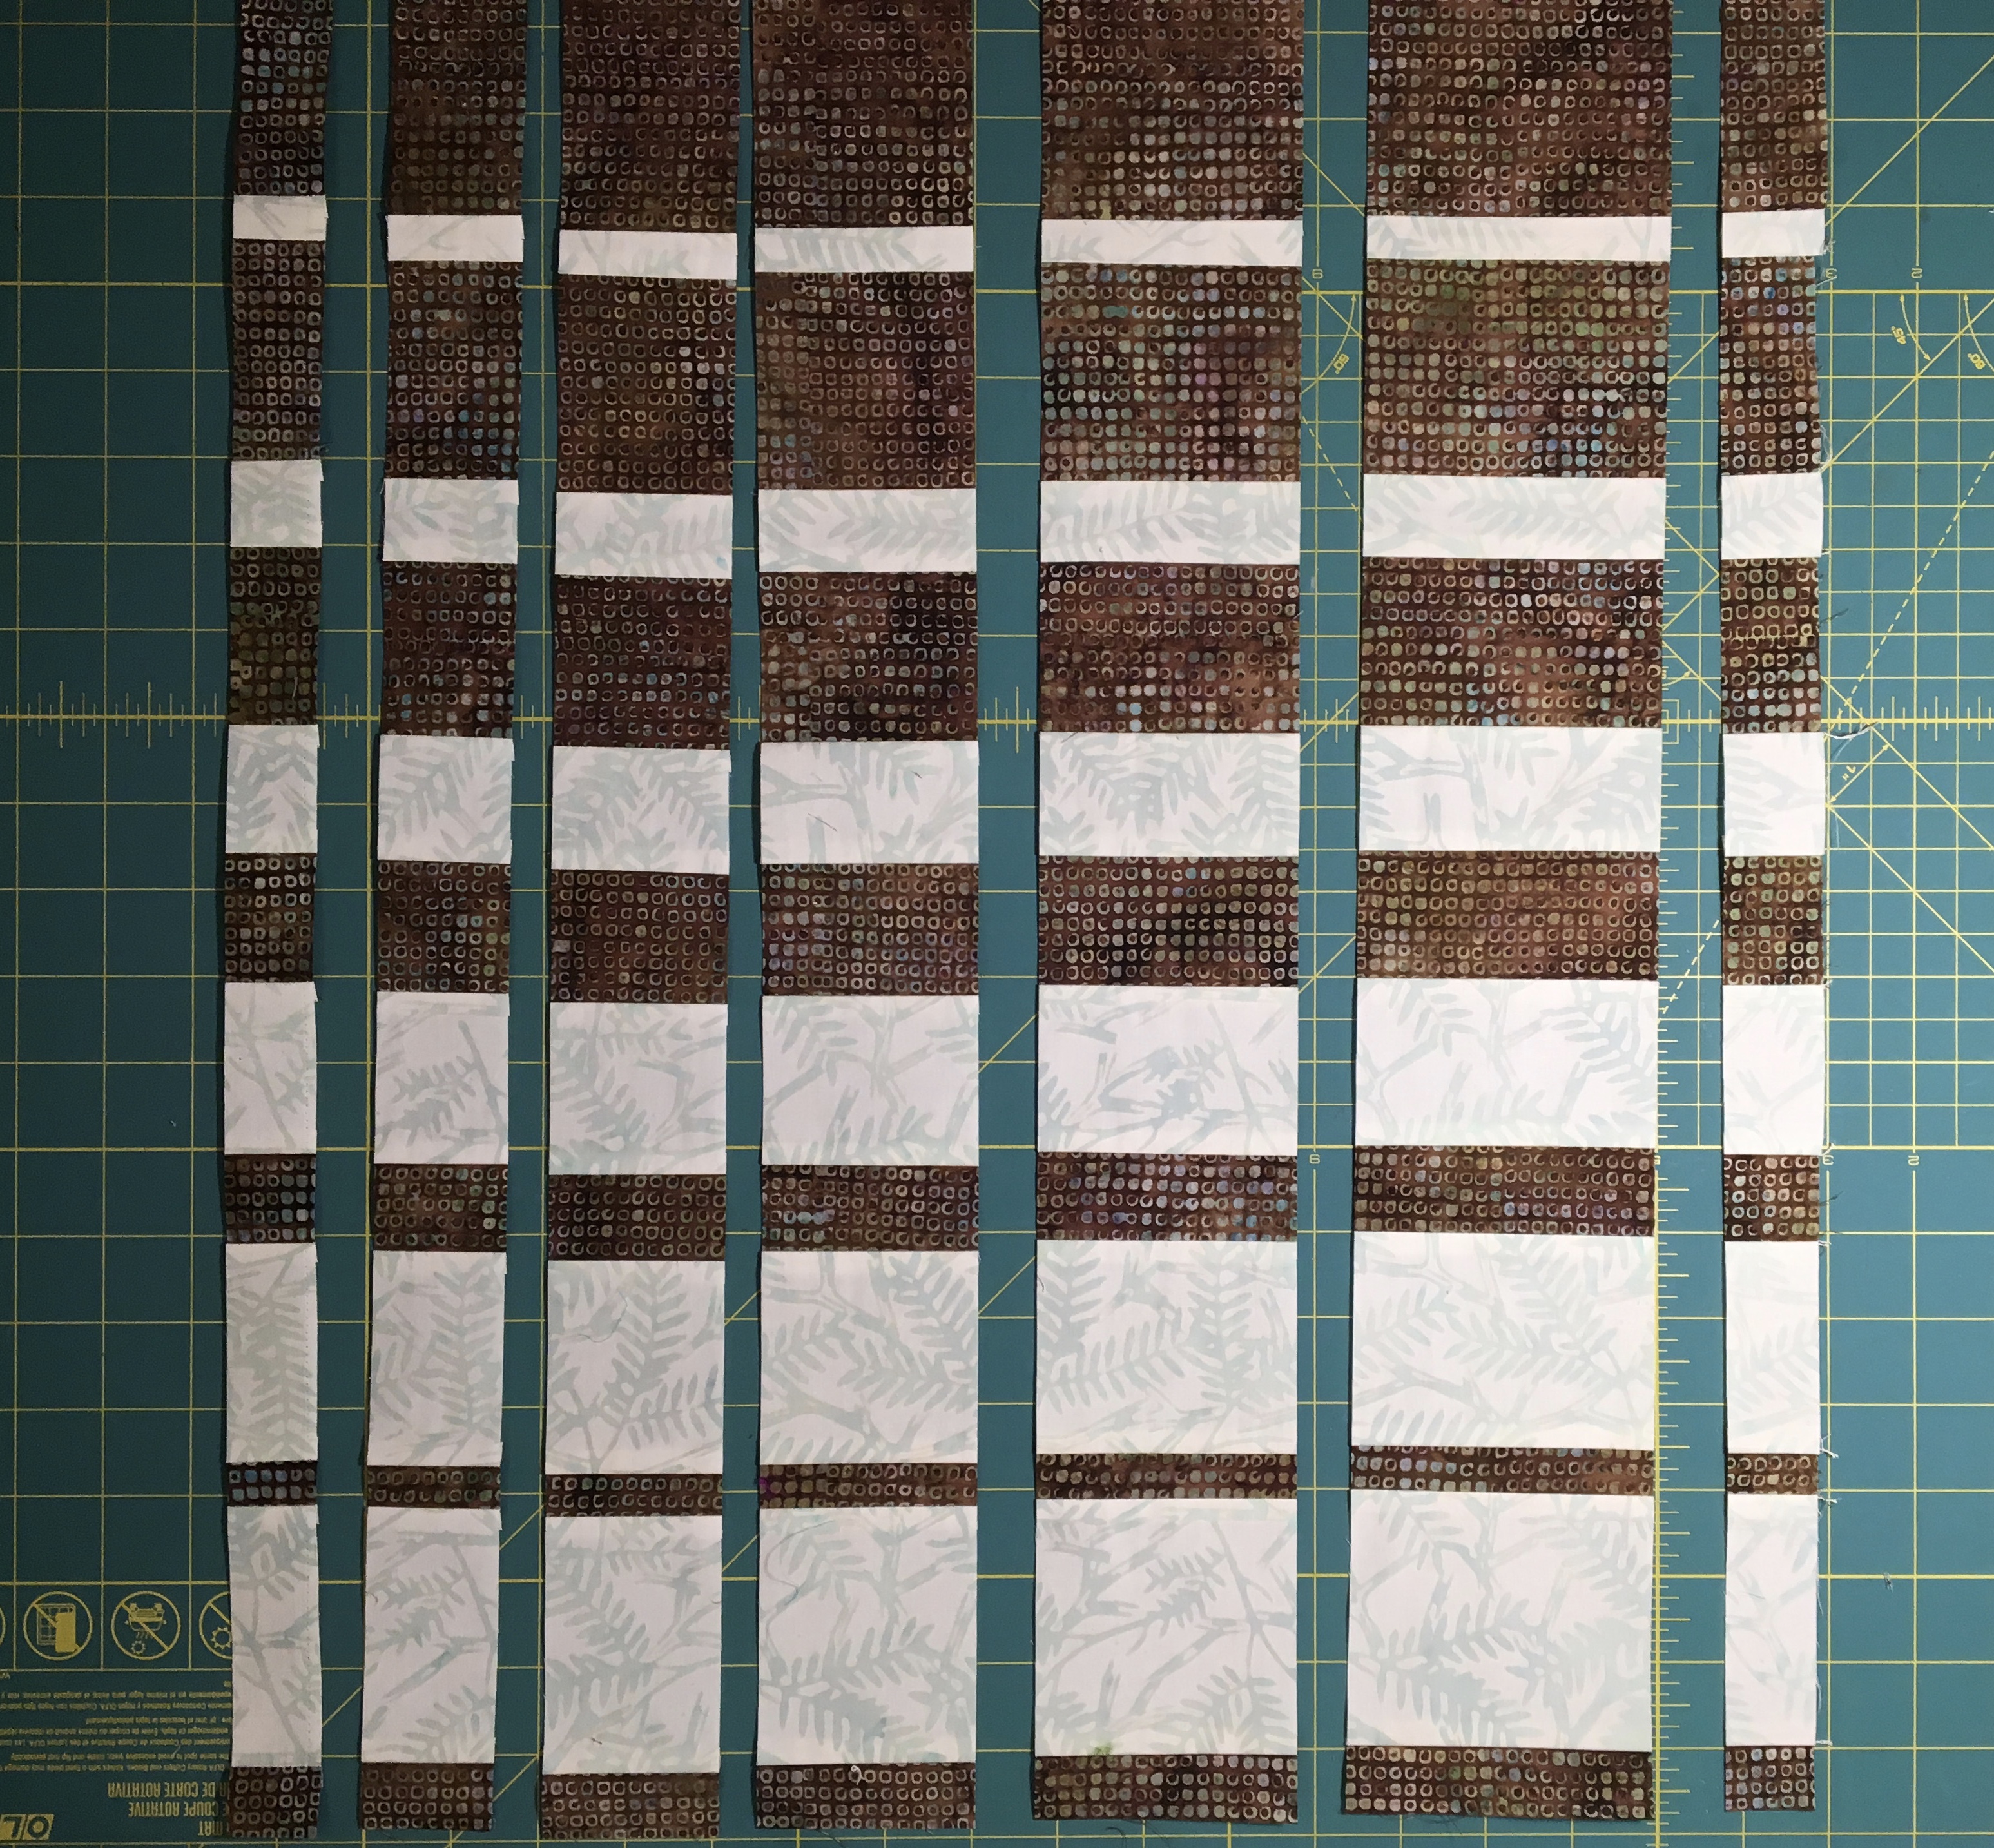
Here is a pictorial overview of the process:
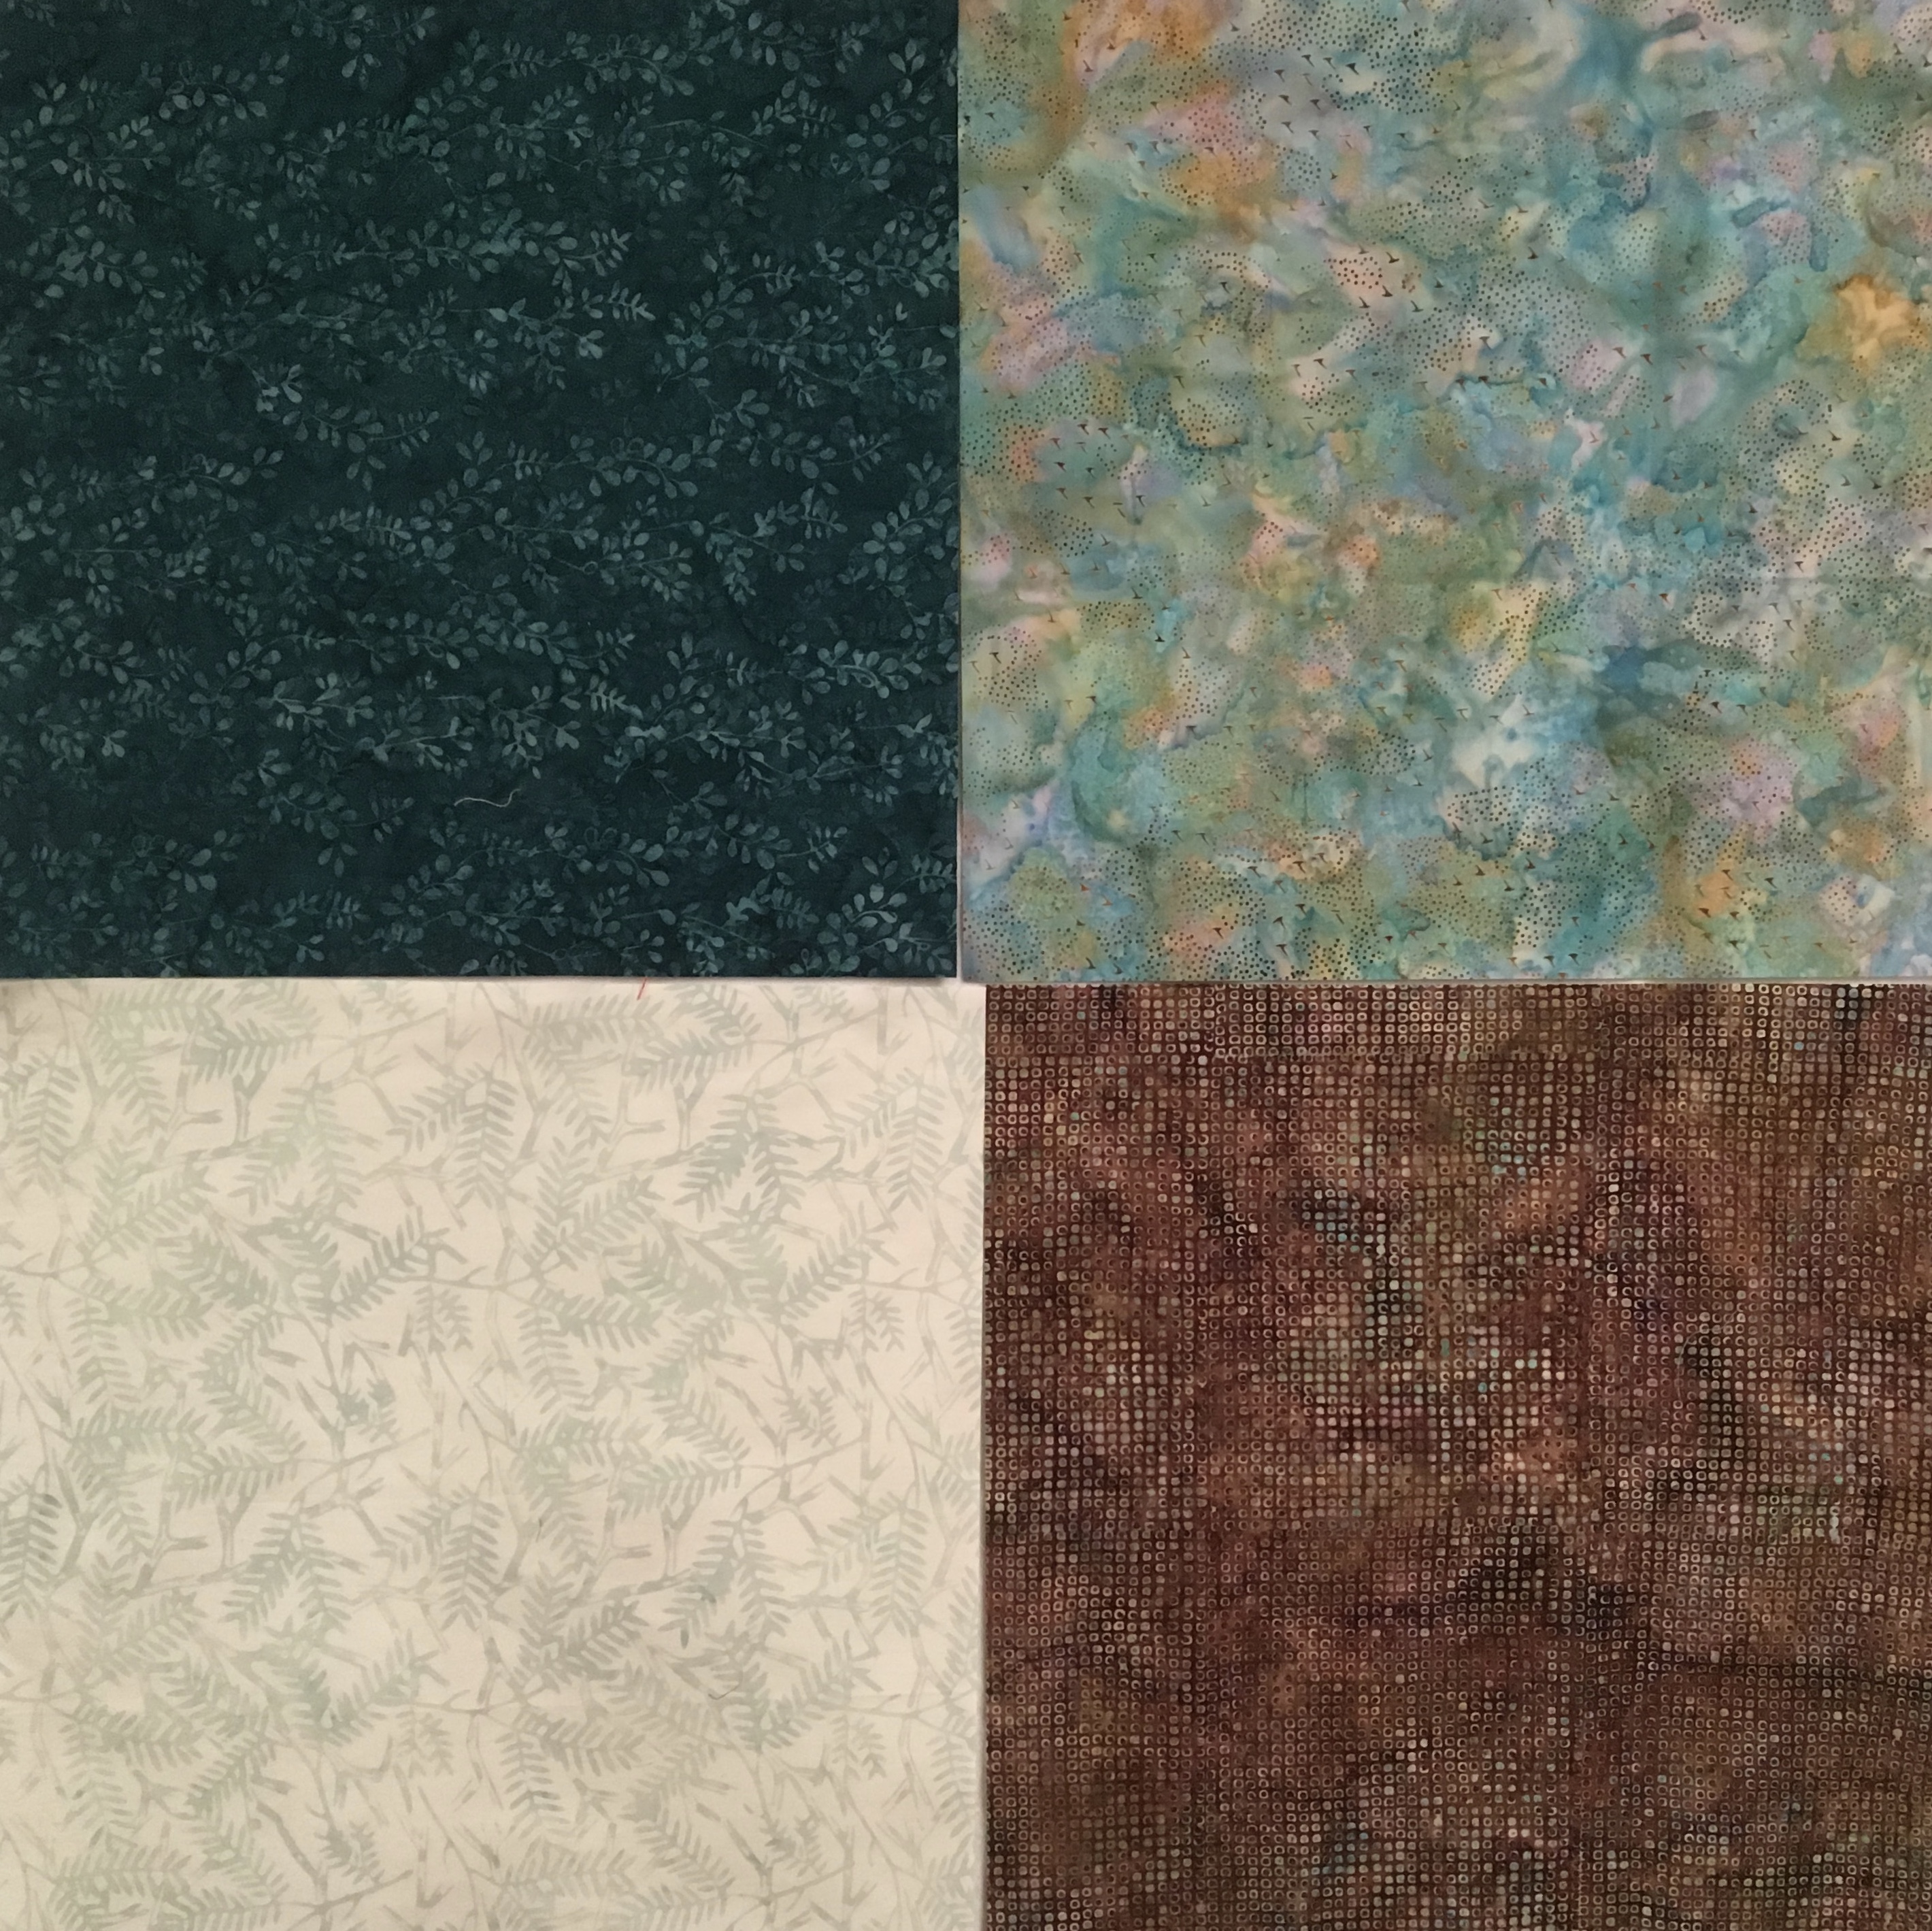
Start with four 16″ squares. Sew them together is pairs, layer the four squares and then cut strips increasing in size by half an inch from 1″ to 3 1/2″. For the quilt in the photos there was enough fabric left over, so I cut an extra 1″ strip and used it as a border.


Open up the strips and then rearrange them as shown here (click to zoom in on any of these photos).

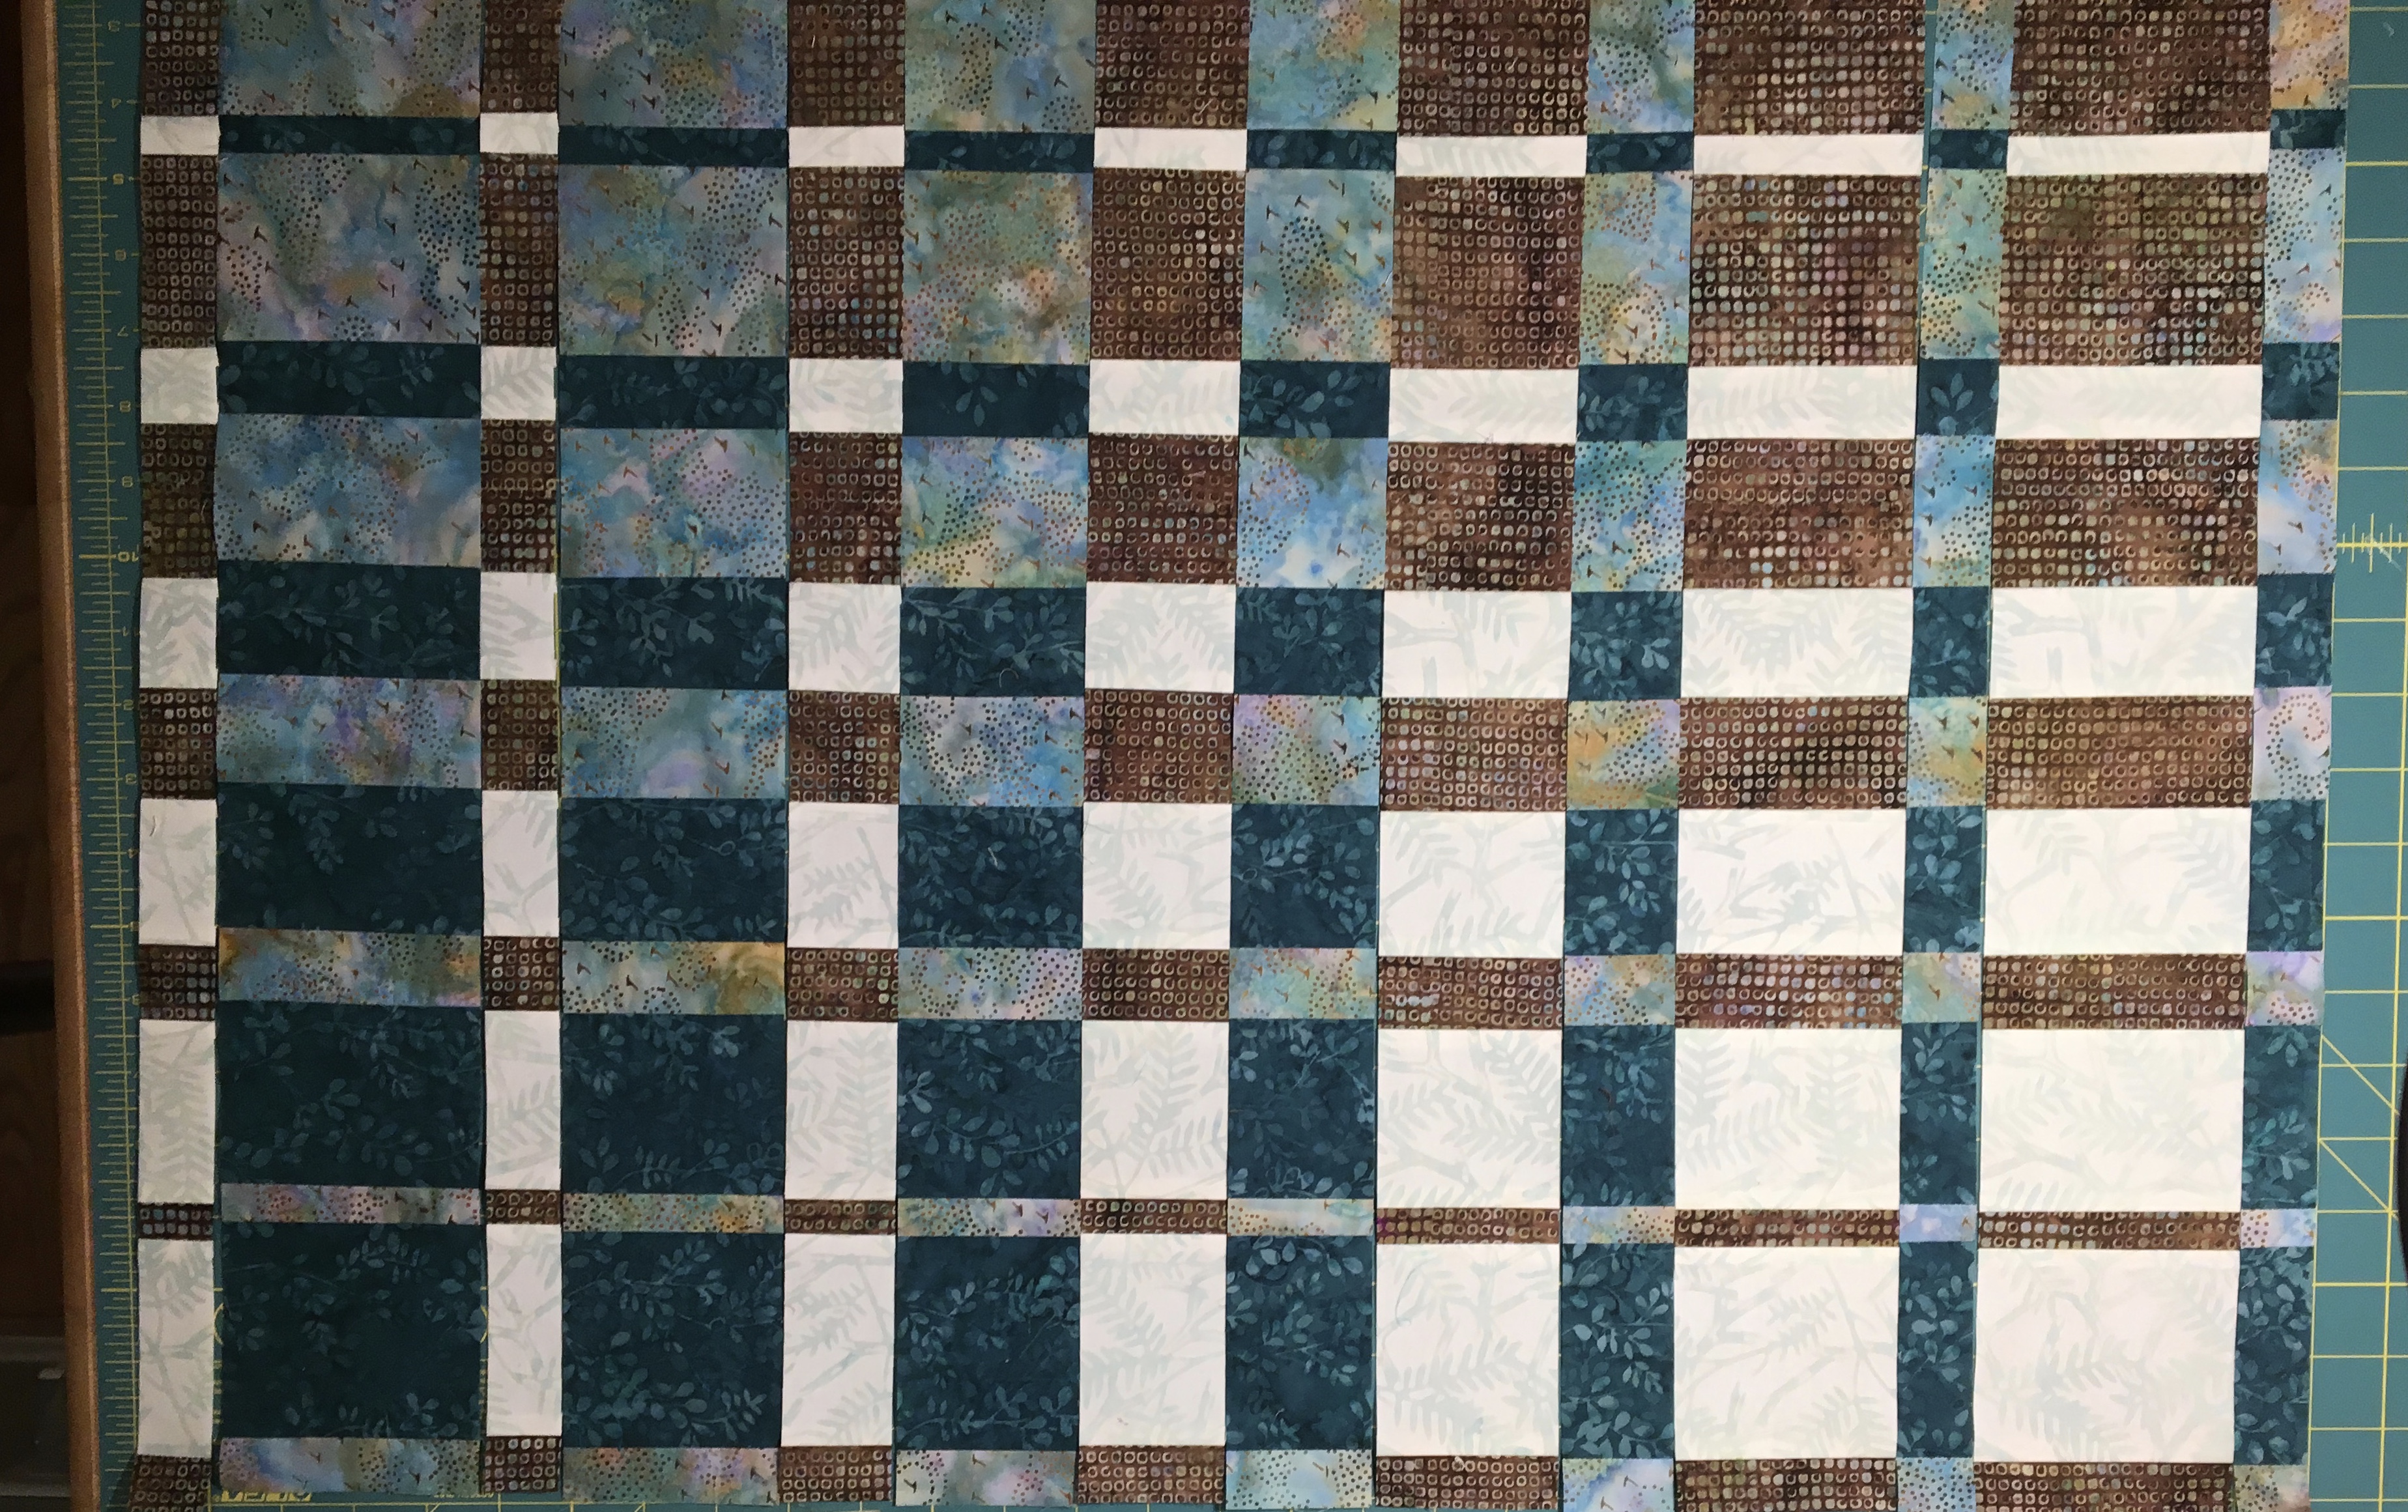
Looking at the photos of my finished quilt tops above, I am going to point out that on my turquoise and red quilt the strips are not arranged correctly! Can you see what I did wrong? Does it matter???
Once the strips are arranged CORRECTLY, sew them all together. When I was pressing the seams, I spun the seams so that half of the seam was pressed to one side and the other to the opposite side. Trust me, do this and it will be much easier to sew the second go round of strips together, because everything will nest together nicely and increase your accuracy. If you want these to end up pressed to the dark side then remember to press to the light side when you are first sewing your squares together in pairs …. I did not do this in the example … live and learn!


Once the strips are pressed, rotate the fabric panel, and cut strips again increasing in size from 1″ to 3 1/2″, plus the extra 1″ strip if you are including the border,


Rearrange them and sew them together again to complete your Harmonic Convergence square.


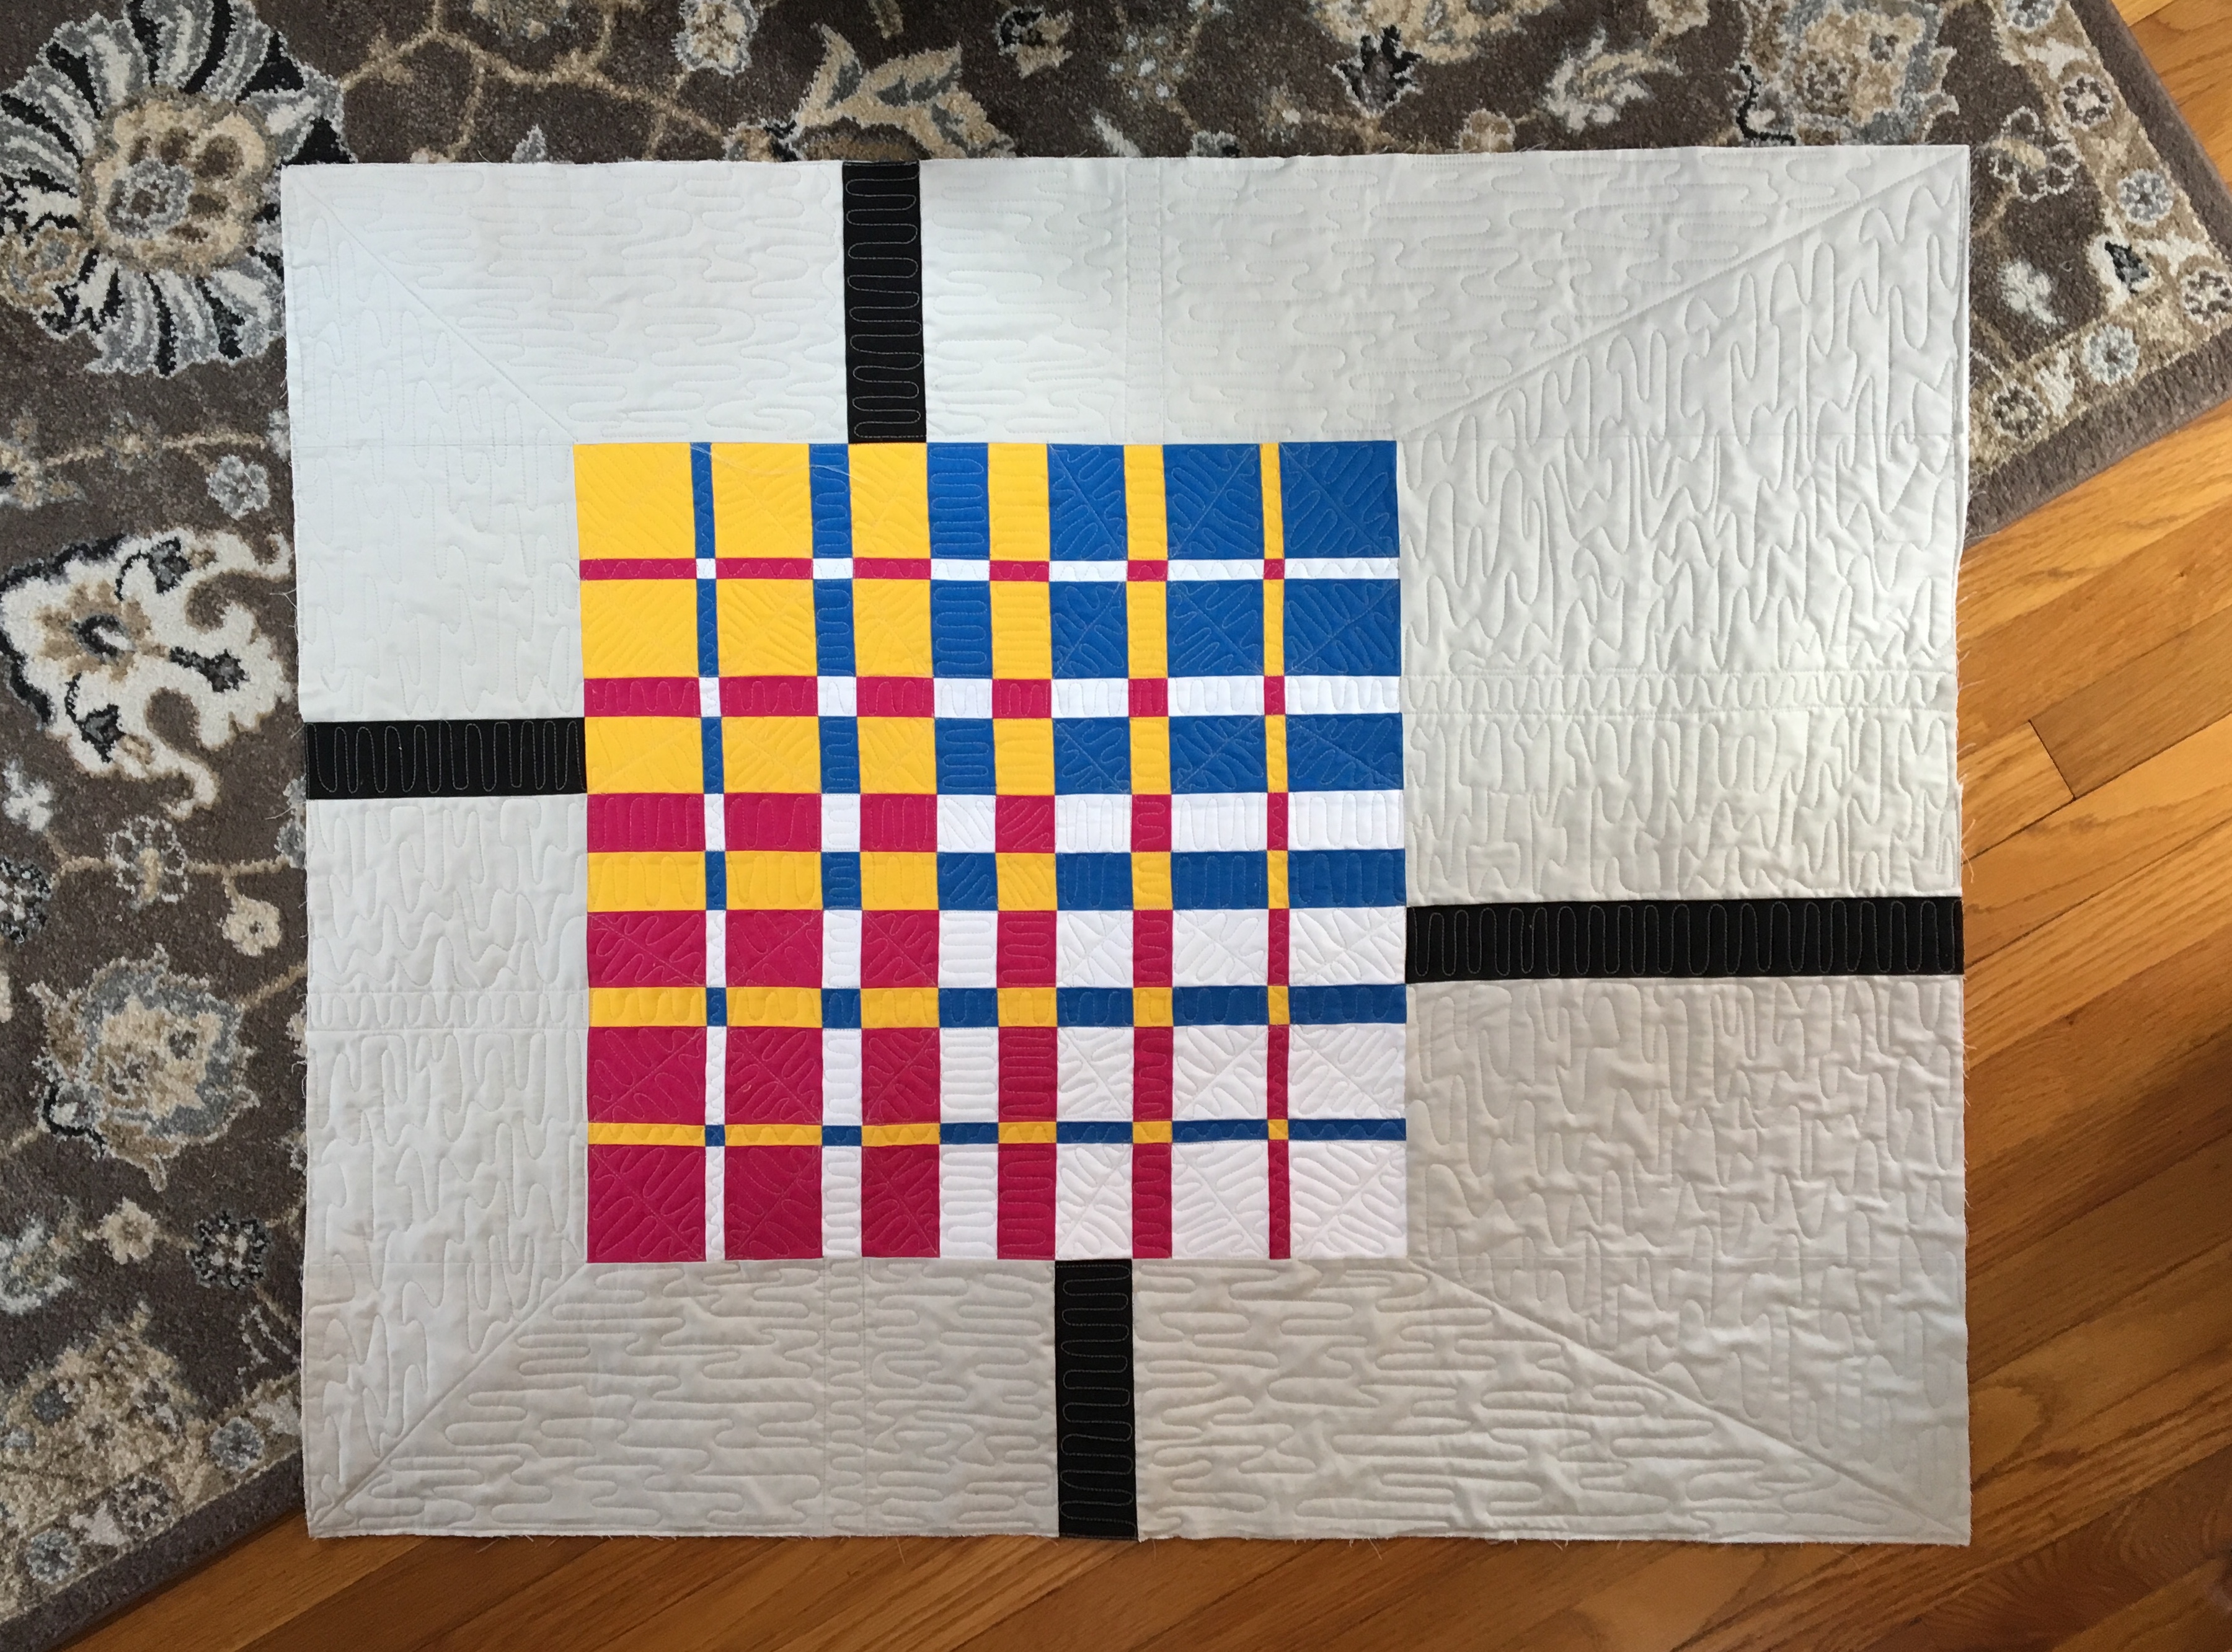
I finished one of mine on point, two of the others with borders, and the bright solid colored one is finished with some modern asymmetrical negative space.
I am I the process of quilting these, and finding they are a great way to practice my free motion quilting.


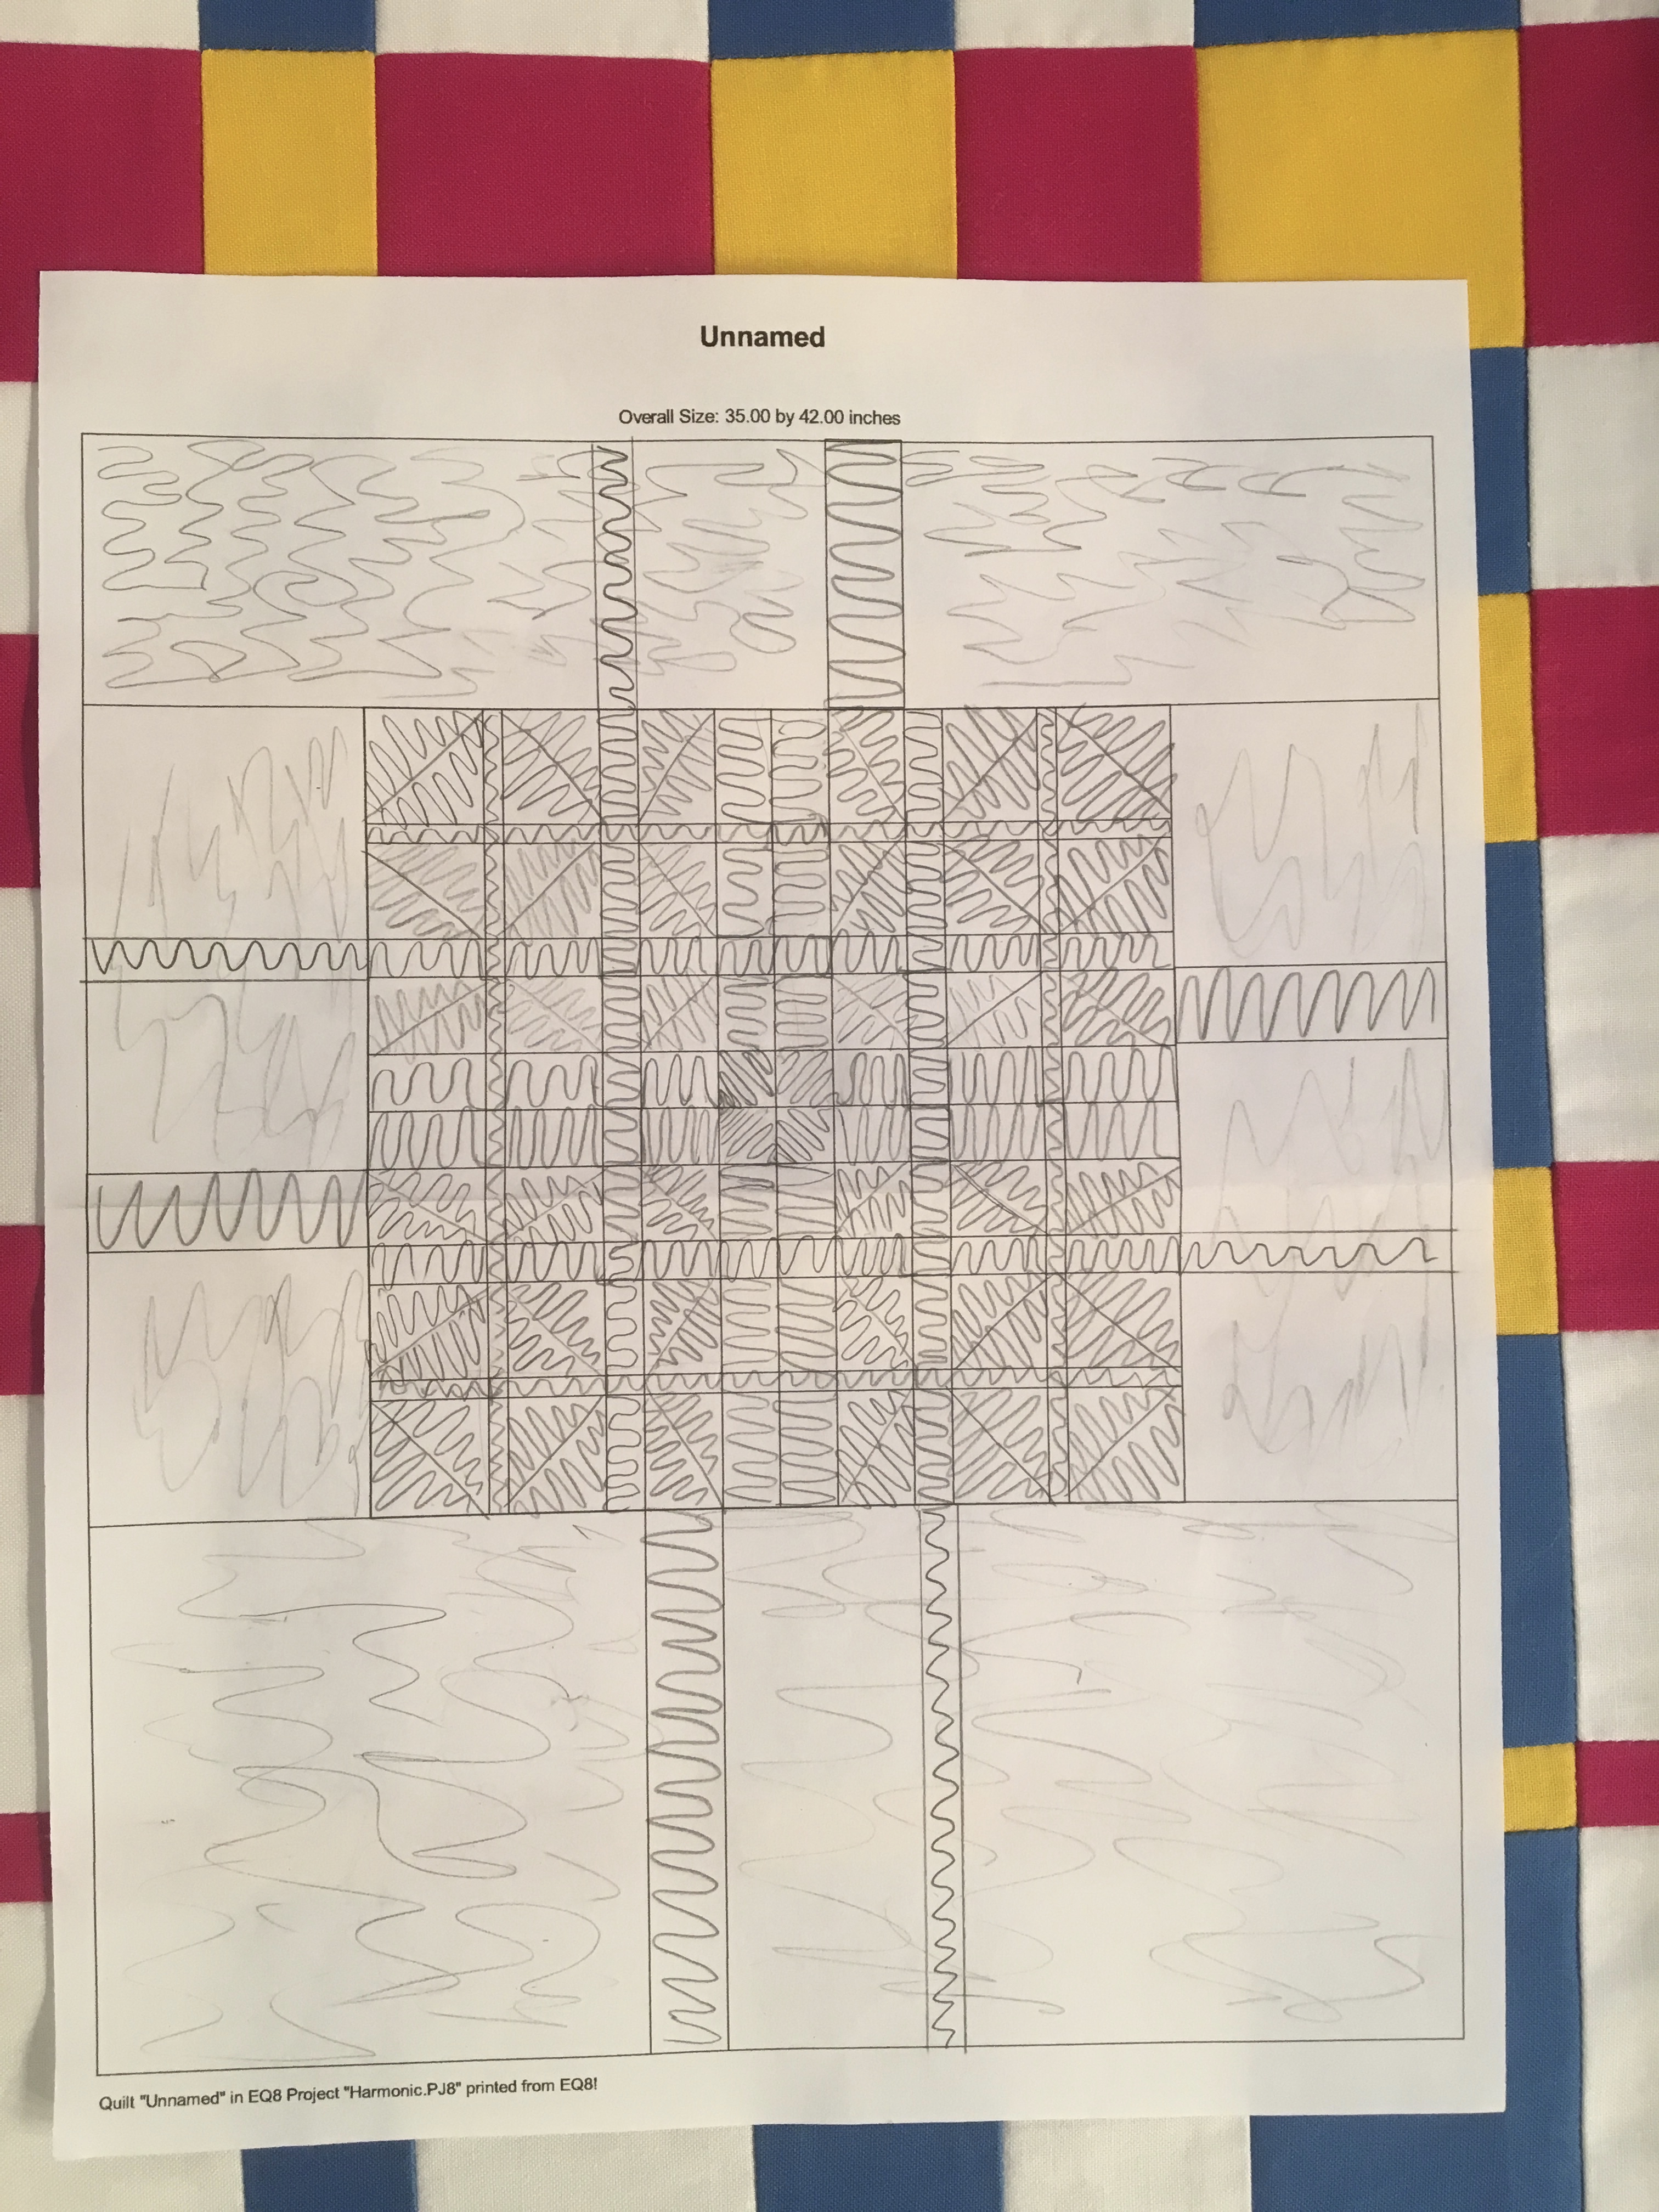
I designed my modern convergence in Electric Quilt 8 and printed an outline of the quilt to draw out my quilt plan.