Tag Archives: modern quilt

Playing with Convergence Quilts

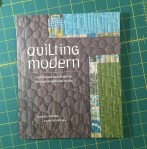
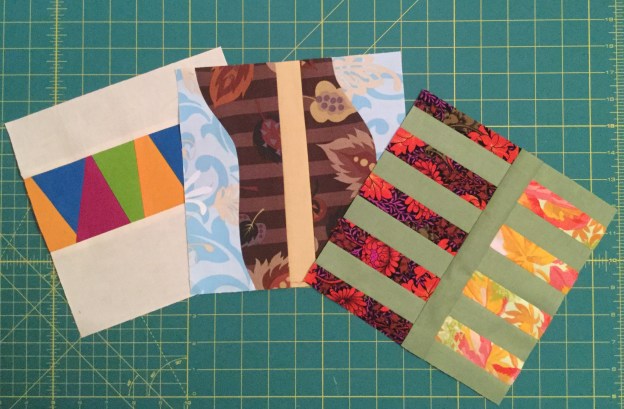
Ricky Tims published his Convergence Quilts book in 2003.  I was brainstorming with Jolene at Quilters Common trying to come up with a good idea for a workshop.  She mentioned that she had seen some Harmonic Convergence quilts on the internet, perhaps Pinterest?   So of course I did some researching as soon as I got home and discovered his book.  I checked a copy of the book out from the incredible New England Quilt Museum research and lending library.  (I volunteer there on Thursdays).  The book has a lot of interesting projects to try, but the trick is finding the right fabric combinations.  I found his original Harmonic Convergence project the easiest to work with.  In fact I found it so easy that I could hardly stop picking out fabrics and making them.  It is fun and easy to put these stunning little quilts together.  Here are the ones I have put together (so far!)

Here is a pictorial overview of the process:

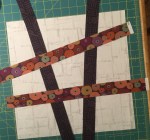
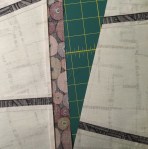
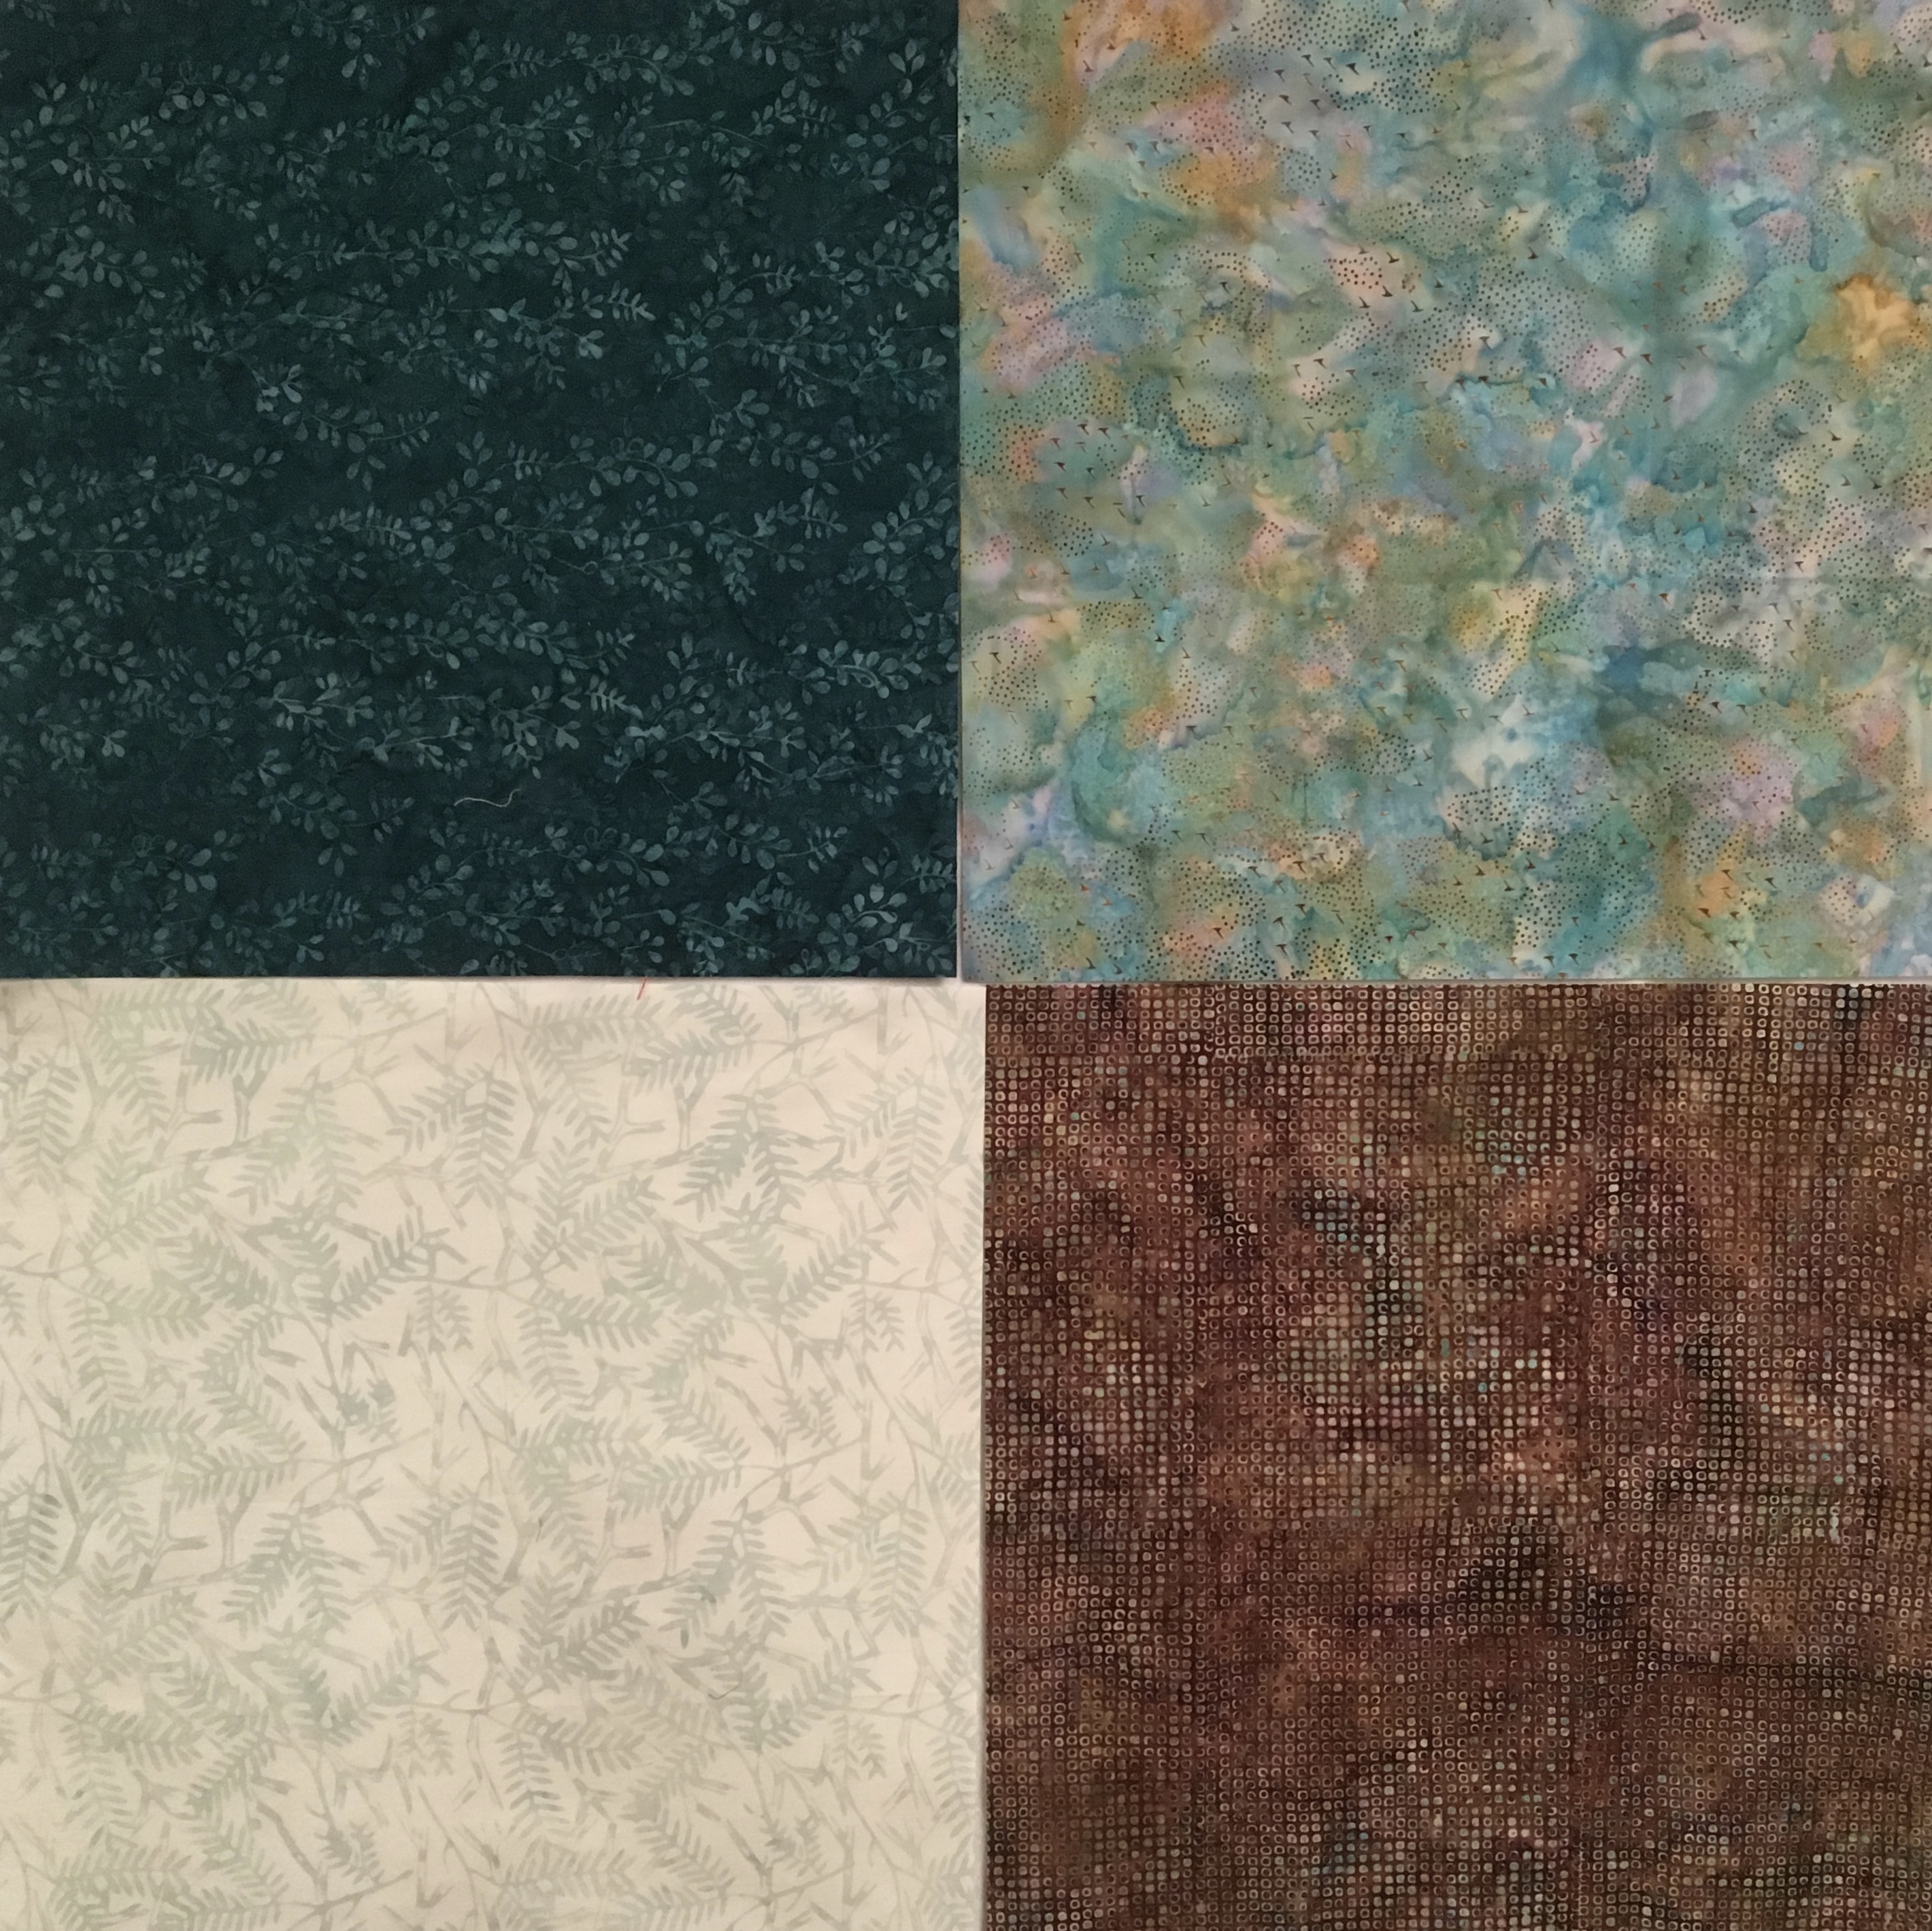
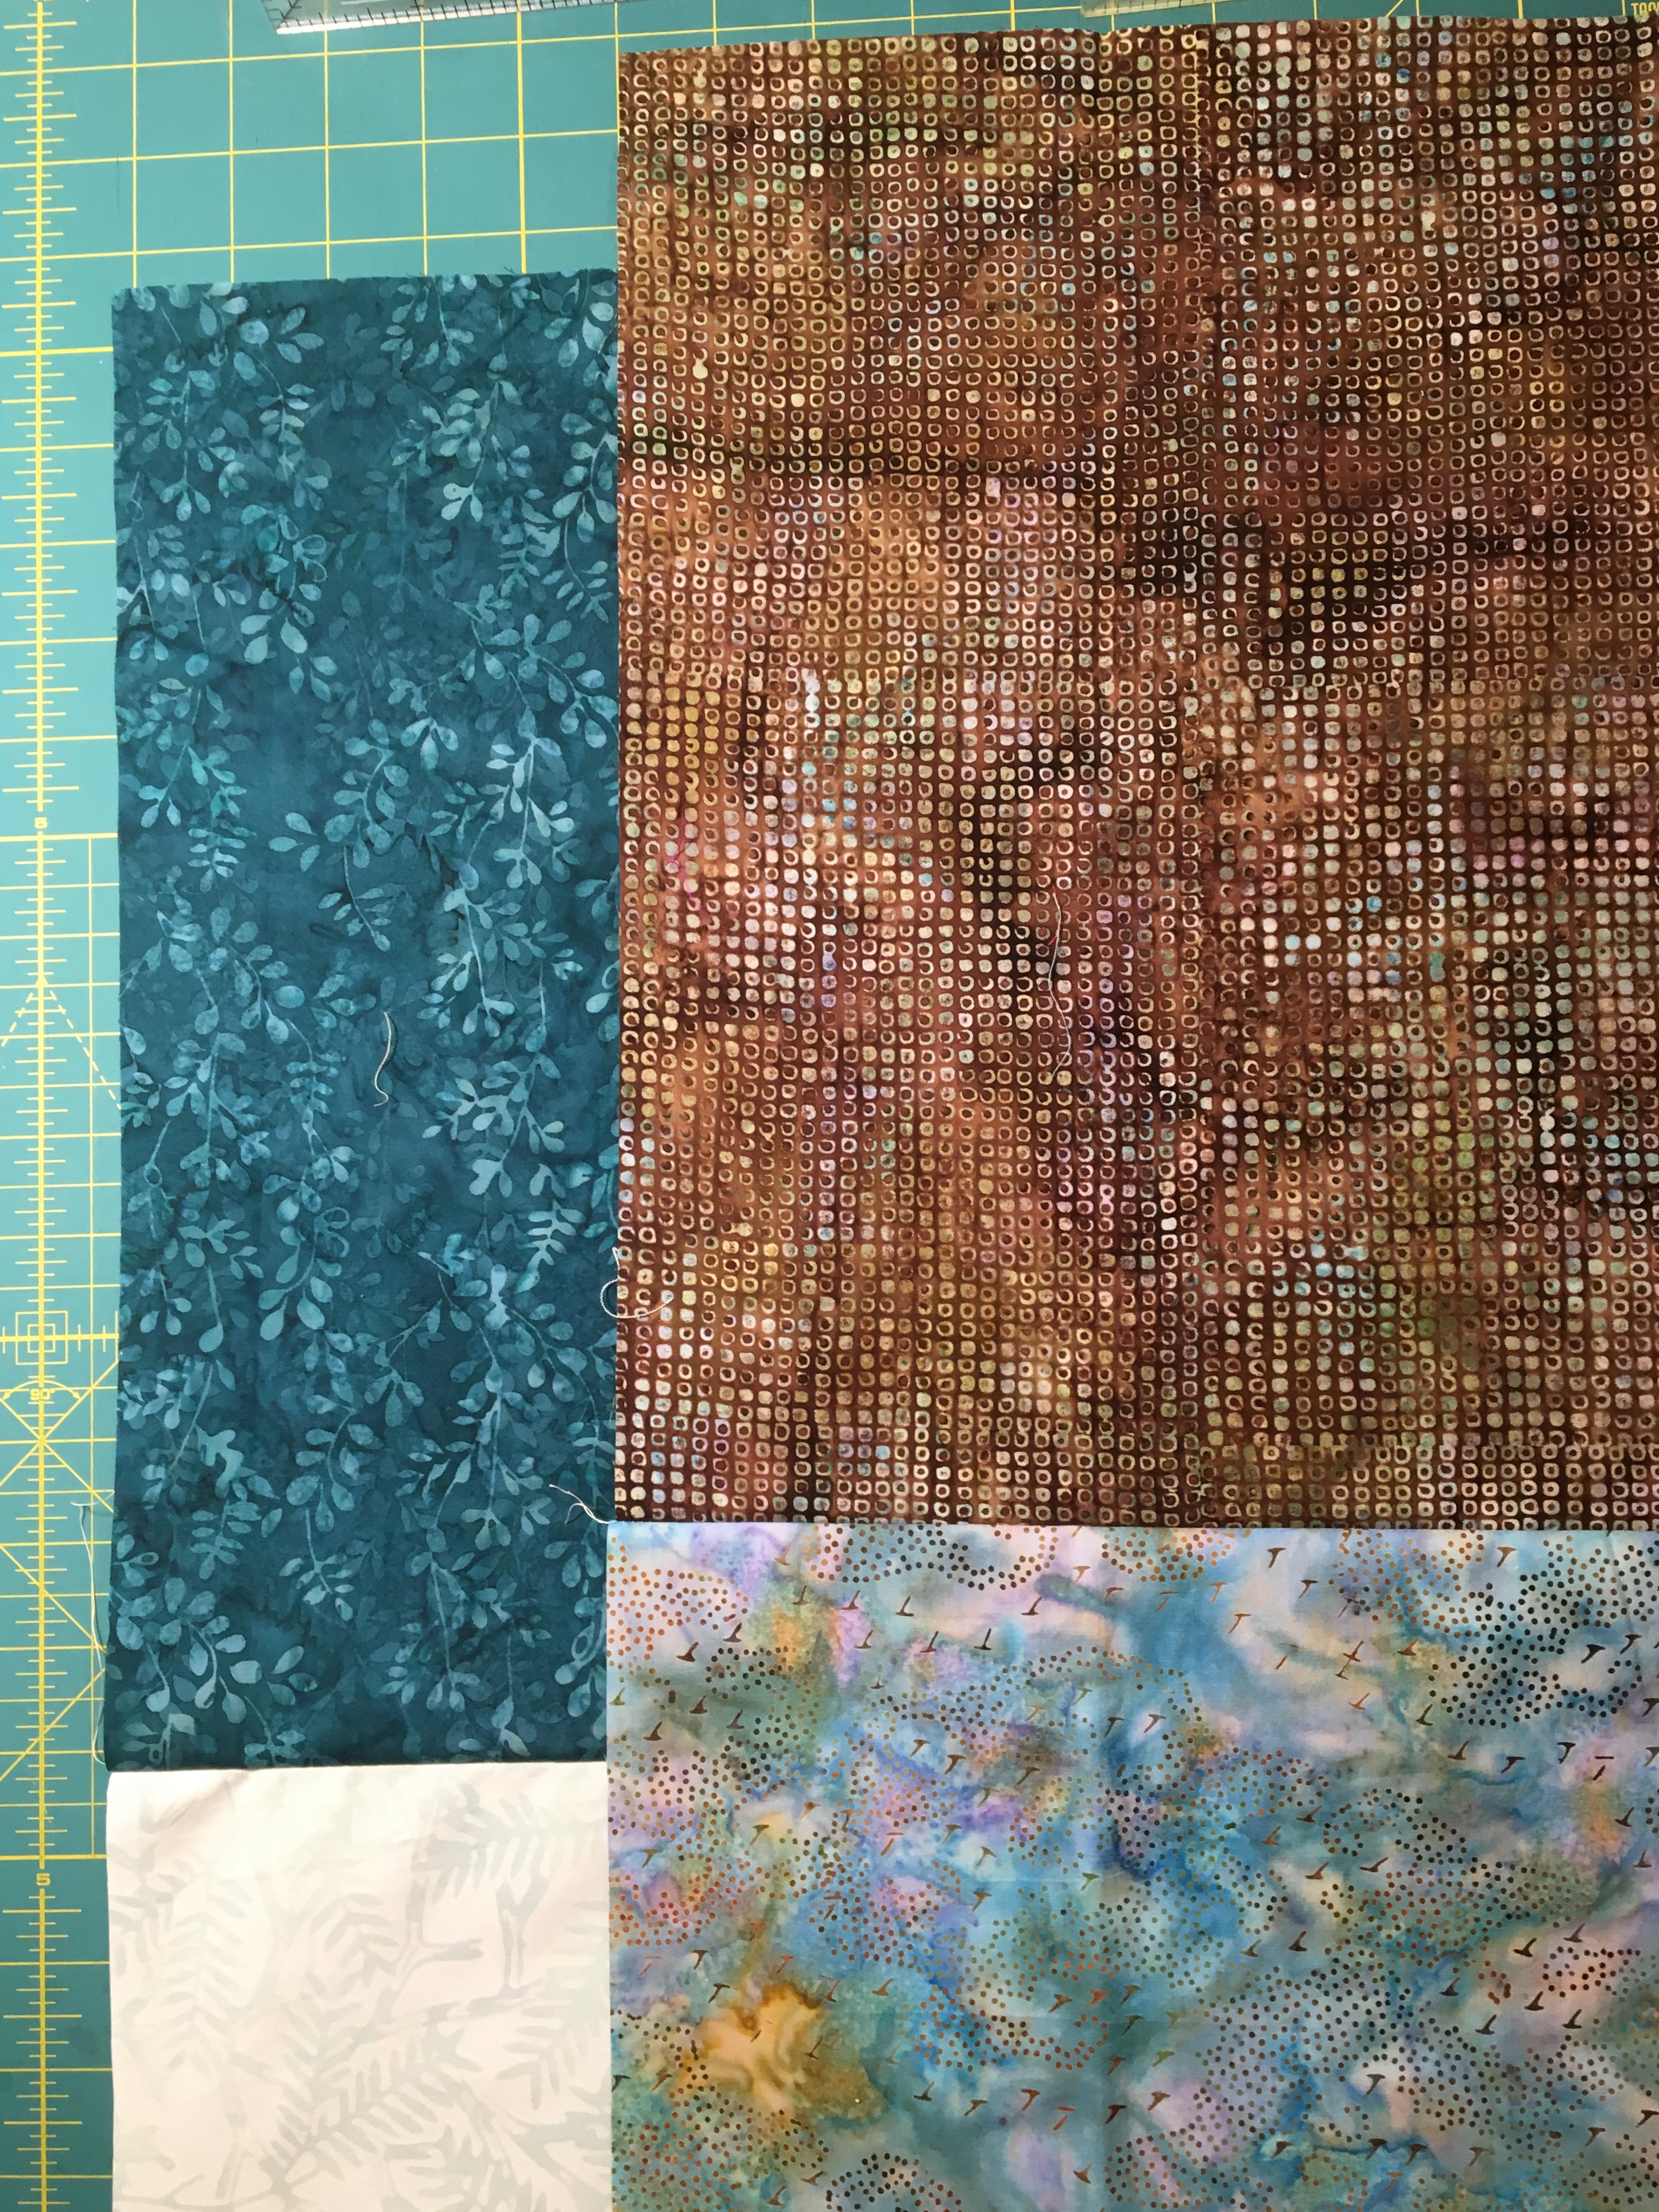
Start with four 16″ squares.  Sew them together is pairs, layer the four squares and then cut strips increasing in size by half an inch from 1″ to 3 1/2″.  For the quilt in the photos there was enough fabric left over, so I cut an extra 1″ strip and used it as a border.

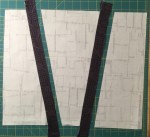
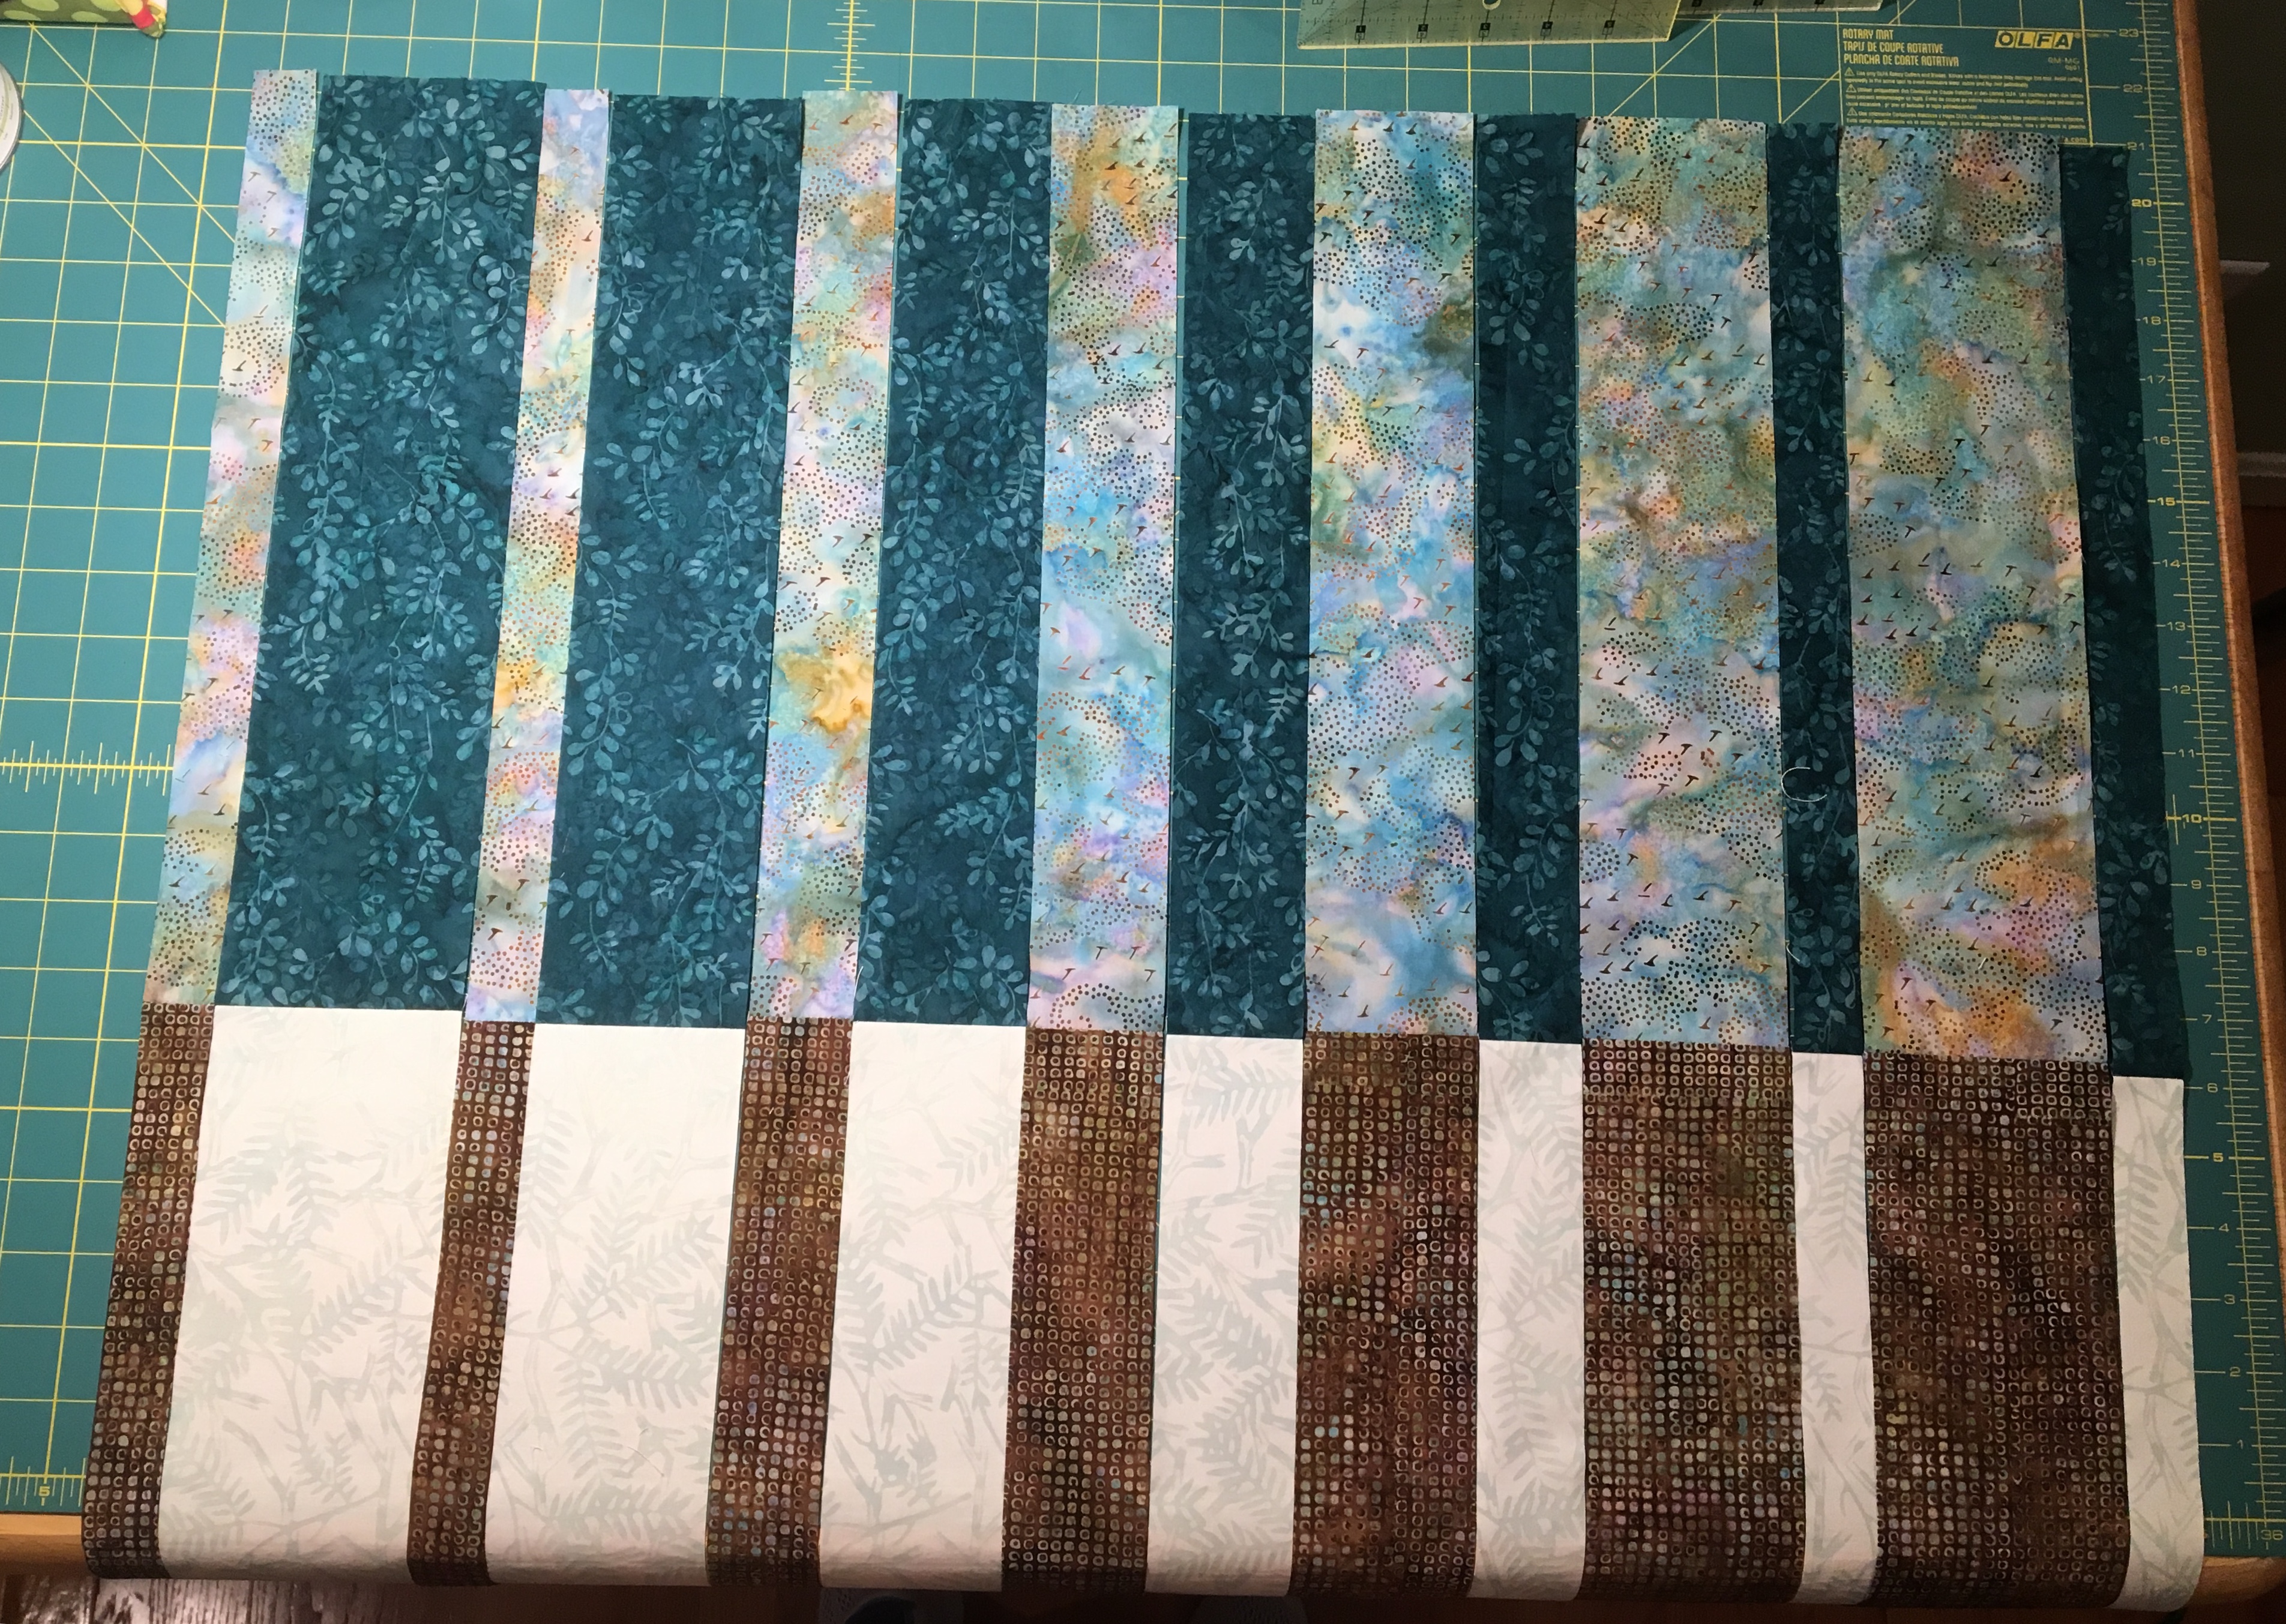
Open up the strips and then rearrange them as shown here (click to zoom in on any of these photos).

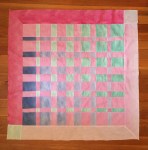
Looking at the photos of my finished quilt tops above, I am going to point out that on my turquoise and red quilt the strips are not arranged correctly!  Can you see what I did wrong?  Does it matter???

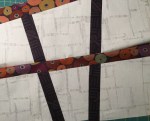
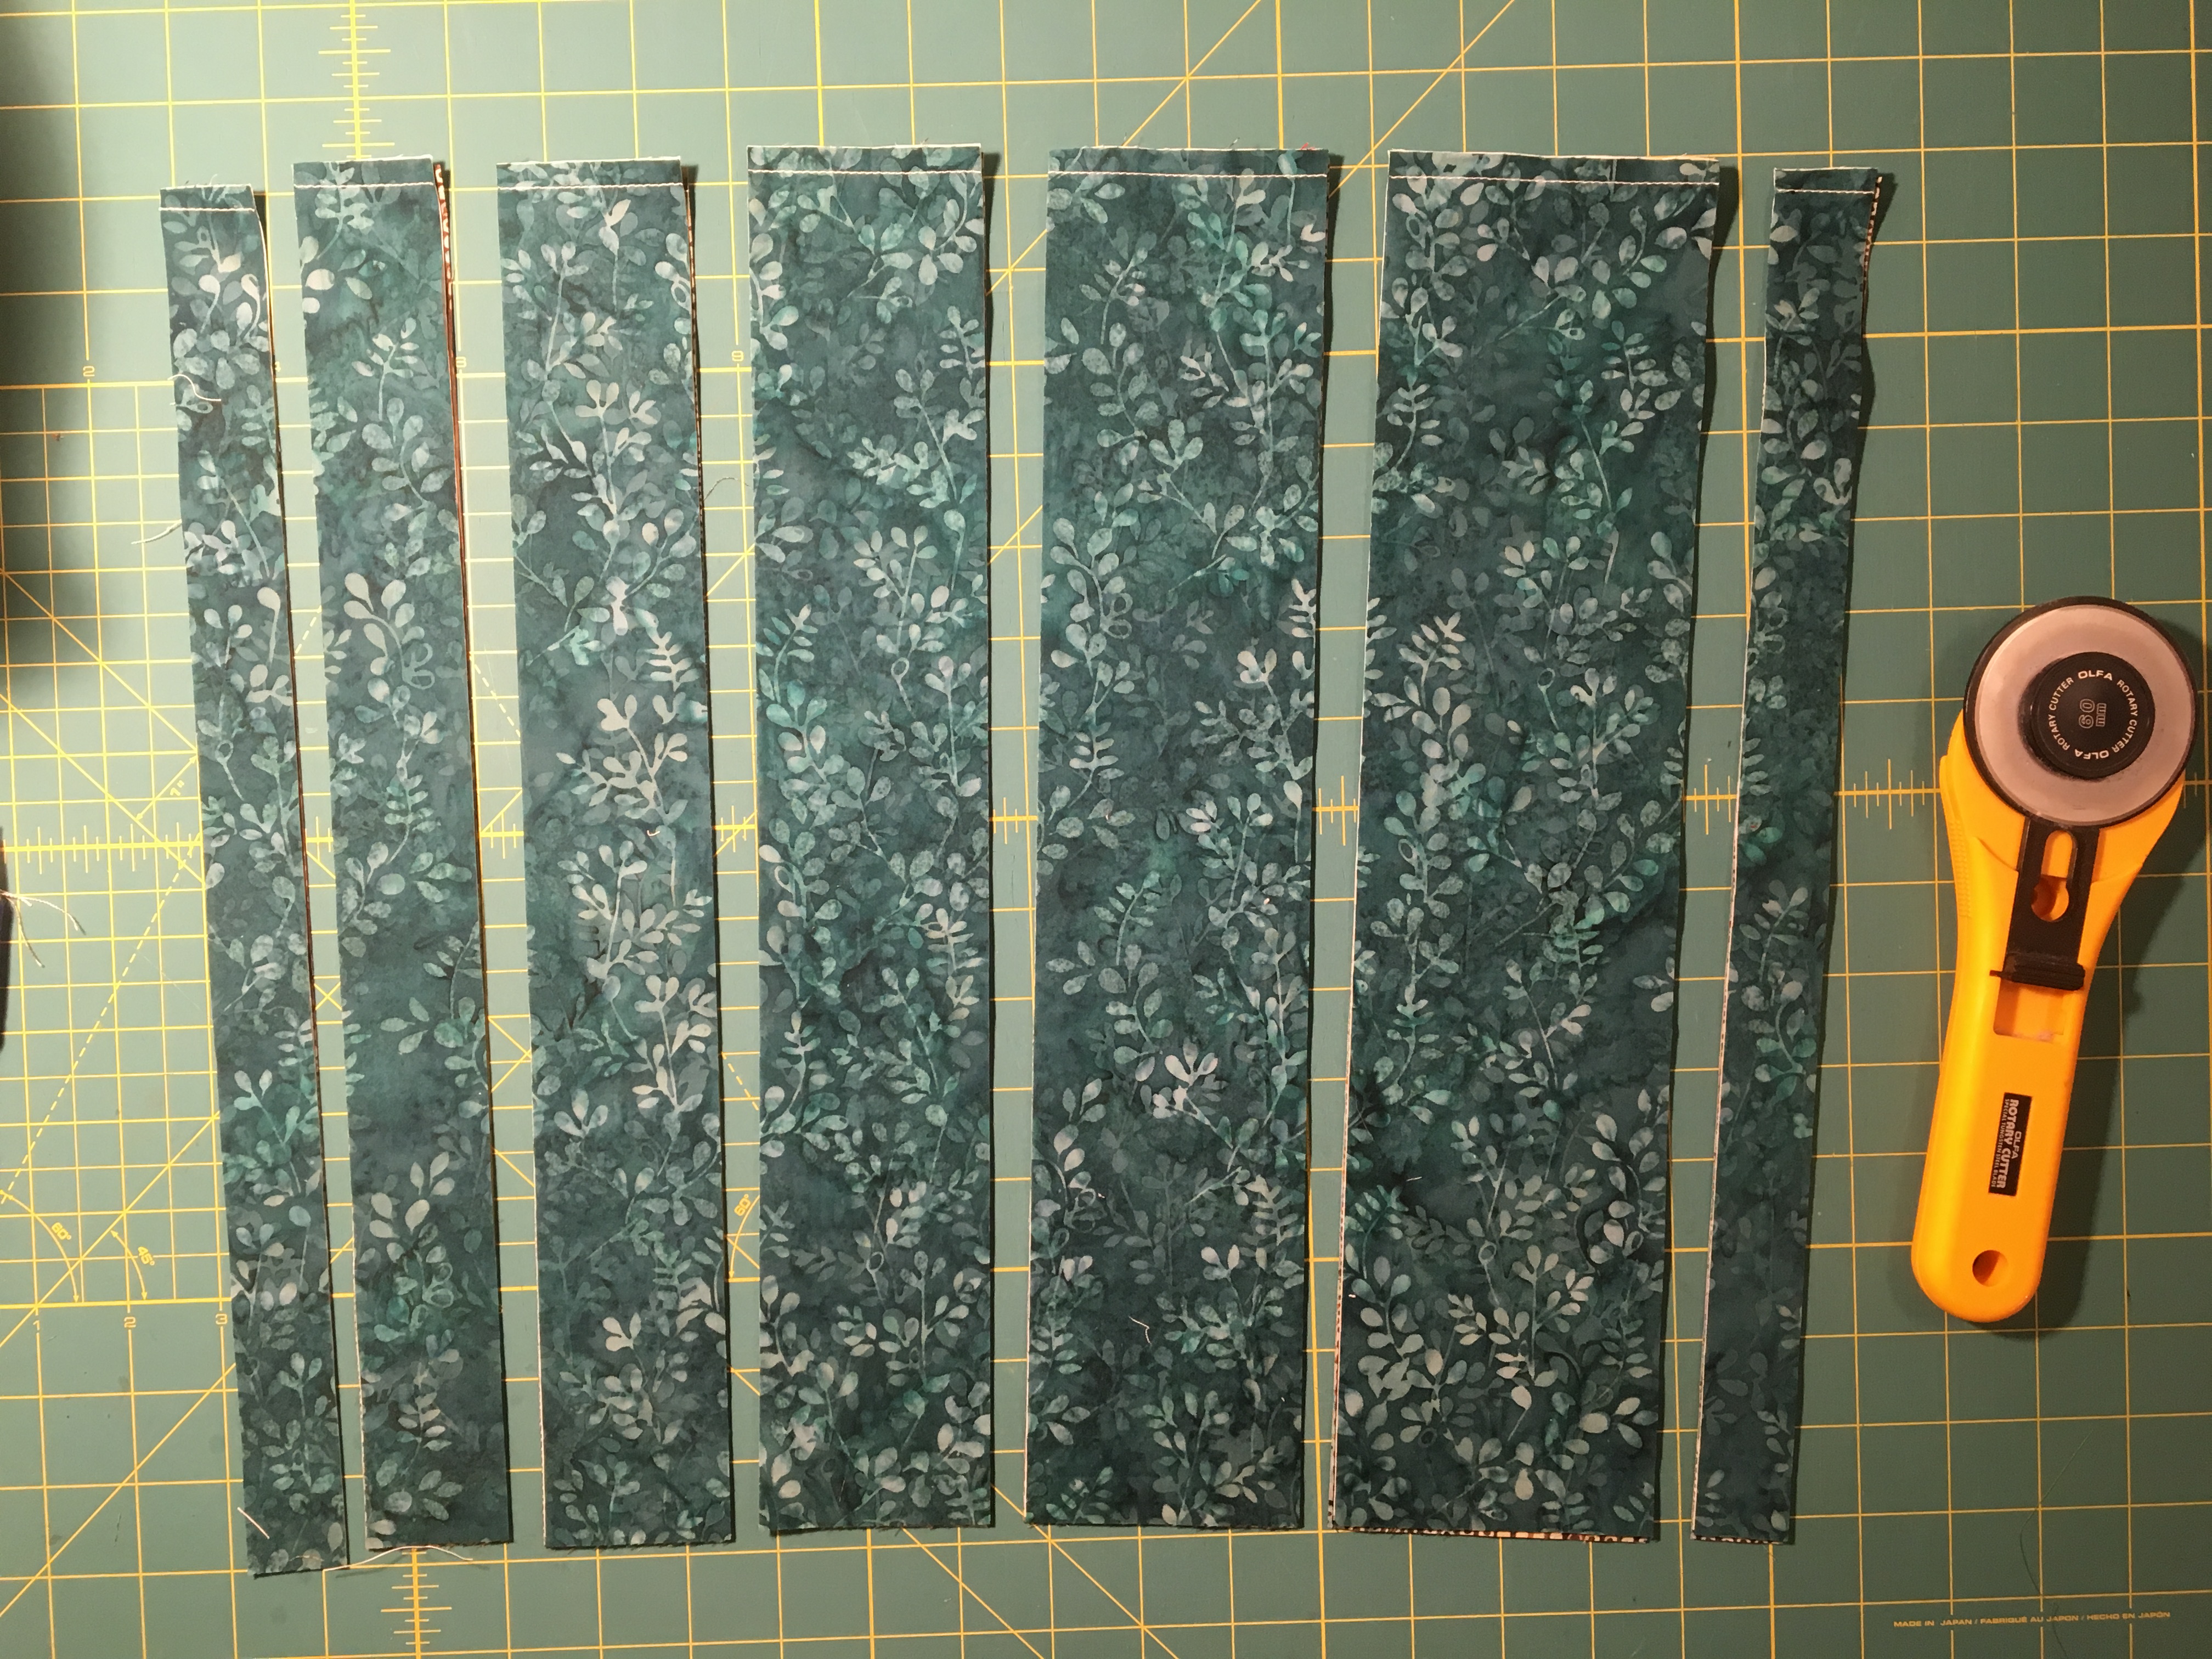
Once the strips are arranged CORRECTLY, sew them all together.  When I was pressing the seams, I spun the seams so that half of the seam was pressed to one side and the other to the opposite side.  Trust me, do this and it will be much easier to sew the second go round of strips together, because everything will nest together nicely and increase your accuracy.  If you want these to end up pressed to the dark side then remember to press to the light side when you are first sewing your squares together in pairs …. I did not do this in the example … live and learn!

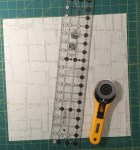
Once the strips are pressed, rotate the fabric panel, and cut strips again increasing in size from 1″ to 3 1/2″, plus the extra 1″ strip if you are including the border,


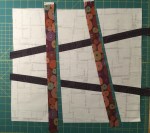
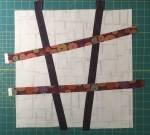
Rearrange them and sew them together again to complete your Harmonic Convergence square.

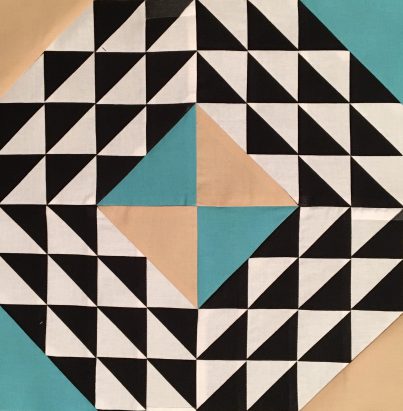
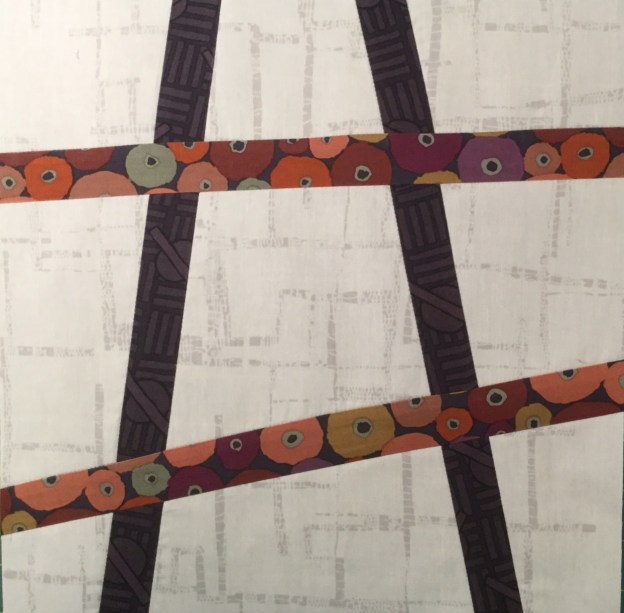
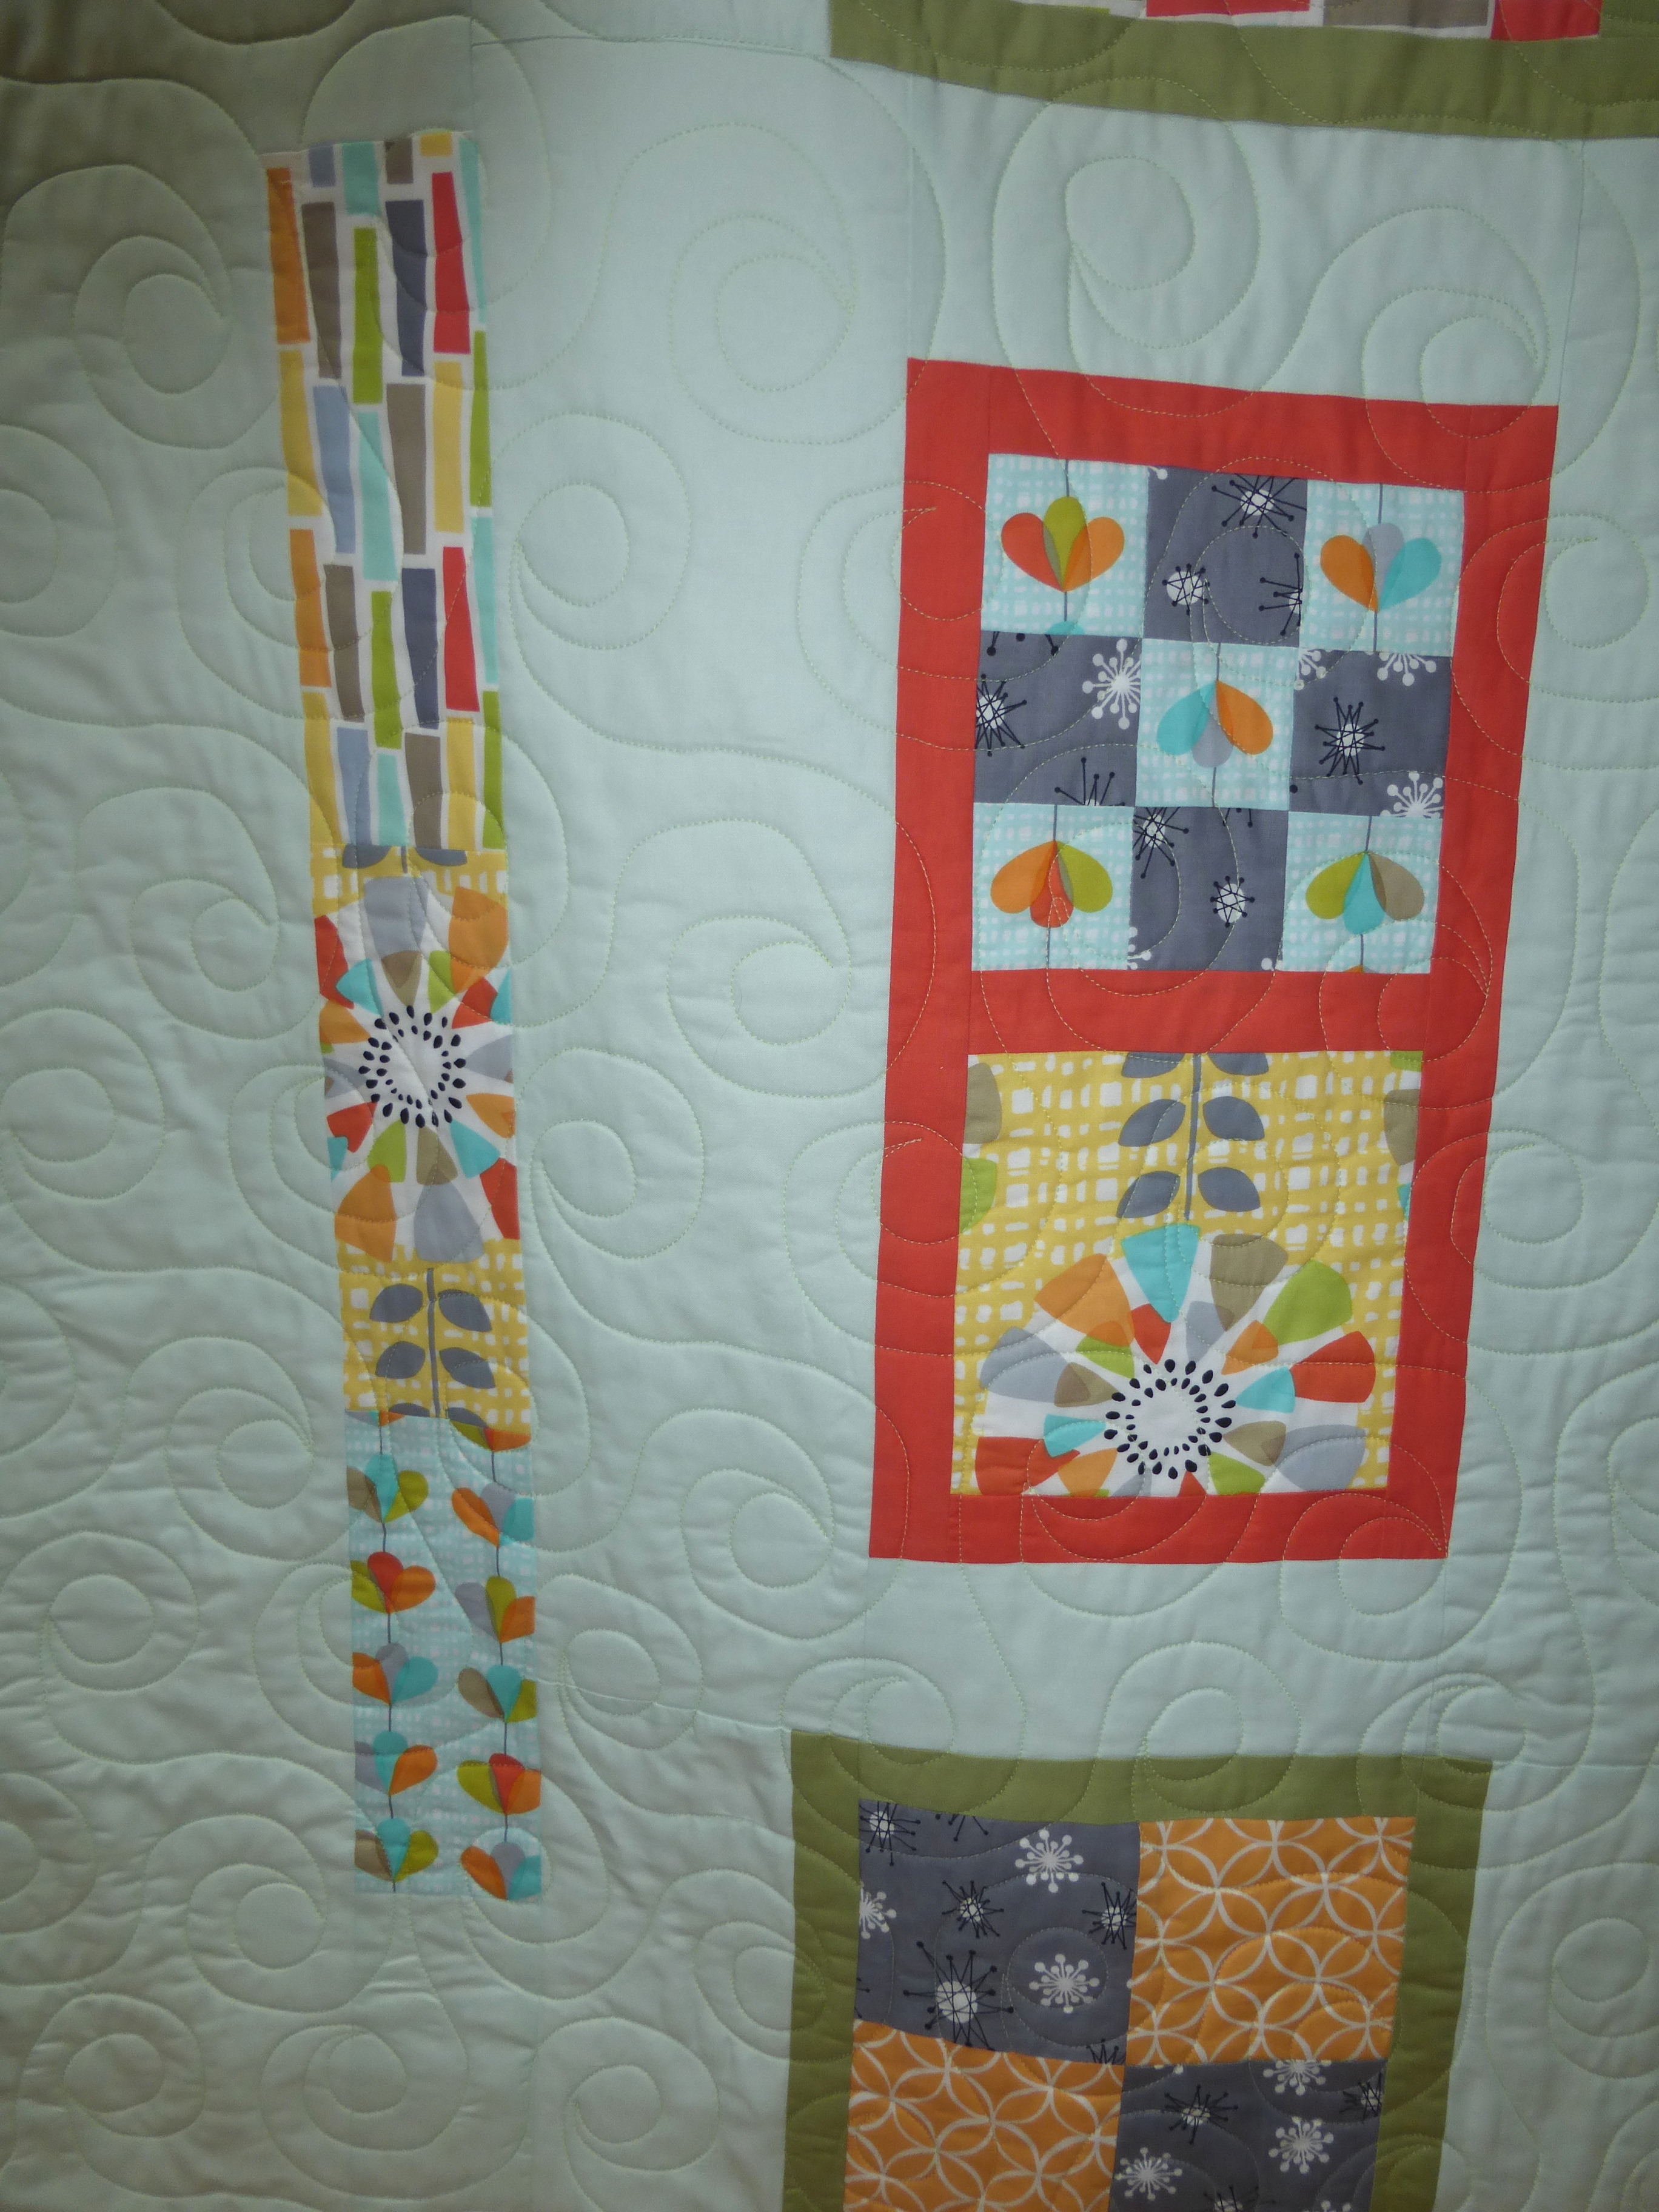
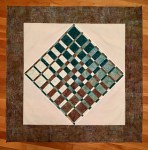
I finished one of mine on point, two of the others with borders, and the bright solid colored one is finished with some modern asymmetrical negative space.

I am I the process of quilting these, and finding they are a great way to practice my free motion quilting.

I designed my modern convergence in Electric Quilt 8 and printed an outline of the quilt to draw out my quilt plan.


Finished Quilts!!

I have some finished quilts!  There are posts about these quilts so I need to share with everyone.

This is a Block of the Month quilt designed by Antoinette at Quilters Common 

I was working on this in my Modern vs. Reproduction post, but it is decidedly  a Contemporay Quilt.  I am still working on the reproduction version, which is probably still too brown for some people! 😉

Next up is my Kaleidoscope Magic Quilt.  This one has Kaleidoscope blocks where every other piece is the back of the fabric.  Can you see what I mean?


And did I ever show you my finished Slice and Dice Piecing quilt?

Ofcourse I have still not quilted my Dear Jane quilt.  I am thinking about it, though!

Sashing Stash Challenge

I signed up for the Modern Quilt Guild Riley Blake Sashing Stash Challenge this past winter.  The 3/4 yard piece of black and white fabric was given to me in March.  I had until the end of May to put a quilt together.

I went with a combination of traditional blocks and some improvised blocks that used up just about all of the fabric I received.  I have always wanted to make an Ocean Wave quilt, but all those teeny tiny half square triangles!  The Sashing Stash certainly made it easy to put an Ocean Wave block together.

Once I got my blocks and layout figured out I put the top together and then it was on to the final challenge of quilting.  I am very comfortable with my pantographs on my longarm machine, but I want to move on to more free motion quilting.  This was my most adventurous attempt so far.  I definitely need more practice, especially with those little circles, but it was fun and I am excited to do more on the other side of my quilt frame!

image

Slice and Dice Piecing

I am working on a quilt with blocks that are based on a technique in Quilting Modern by Jacquie Gering and Katie Pedersen. The book has some great ideas and illustrations, but I thought it might help to see step by step photos.  The tricky part is matching up the first set of strips after the second set has been added.  I drew a seam line to help line things up when pinning.

My plan is to make a quilt with these blocks alternating with square in a square blocks.


Piecing with Improvisation

Here are three quilt block tutorials that I put together for the Boston Modern Quilt Guild BOM.

These tutorials all have improvisational techniques, but they also let you be a little precise if you want to be.

This tutorial lets you practice curved piecing: Curves Ahead

Curvy

Curvy

With this one you can try paper piecing without worrying about things being too perfect: Playing with Paper

image

And this tutorial lets you improvise with strips of fabric: Fenced In

October

Modern vs. Reproduction

I am in the middle of a Block of the Month at Quilters Common in Wakefield, MA.  Antoinette is offering 3 colorways: Blues, Brights, and Traditional.  I love reproduction fabrics, so I went with the traditional colorway, but I am also digging into my stash and making a set of blocks with my modern/contemporary fabrics.

This is what I have so far.  I have set up both colorways side by side on my design wall with the setting squares for a comparison.  For those folks who think traditional/reproduction is all browns and boring … guess what … it is not!!  Old quilts are often brown because the dye in the fabrics has faded.  The reproduction fabrics have brought back all the glorious colors that were in your great great (great?) grandmother’s quilts when they were new and they compare quite well with the modern fabrics.  Both quilts will be full of color.

My plan for both quilts is to use half blocks for an inner border and also a 9″ outer border.  The finished quilts will be 90″ x 90″.

Quilt Plan

Here is a 48″ x 48″ portion of what the tops will look like.  Notice two of the star blocks are the same pattern? I did not like the first one, so I made a second one. The top one will go in the quilt.  The other may end up on the back of the quilt.

image

These will be WIPs for quite a few more months, but I’m glad I got a head start on the setting blocks!

Improvising with Scraps

It certainly has been quite a while, but I finally have time to post again!  Back in March I brought my improvised scrappy blocks to the Boston Modern Quilt Guild Retreat and put a quilt top together.

I finished this quilt a couple of months ago on my long arm.

Improvised scrappy

The back of the quilt has a few of the blocks, too.


img_1266

I am still saving my scraps and sorting them by color, but maybe I should throw them all in together and try a different approach next time! No matter what, it is a great way to be thrifty and also environmentally green.  Reuse, recycle, and don’t waste any of your precious fabric!


Jane I Have Not Given Up on You!

Okay, here they are!  More Jane blocks.

My Jane Stickle group is concentrating on the G Row to get one entire row done.  I am now about 6 months behind, so I decided to focus on those as well, rather than do them in the order assigned.

I completely hand pieced Block G8 and I am happy with the result.  It was a bit frustrating at first and I concluded that I am happy the sewing machine was invented!  This is not a Kaffe or a Phillip or even a Westminster fabric, but I think it works well with them.  Guess I have decided to branch out and mix some other fabrics in.  If I have a fabric that works I am going to use it! No one in my group seemed to notice my Kaffe Fassett/Phillip Jacobs departure, so I got away with it!

G8_Oct-14


I did give hand piecing another try with G1.  I thought it would be too difficult to try curved piecing on the machine because the curve seemed a bit too tight.  I finished this block with the machine.

G1-Oct-14


For block G7 I decided to go ahead and try machine piecing the curves and it went quite well.  I pressed the pieces in half to line up the centers and pinned at the center and each side.  I put the convex piece on the bottom when sewing.  I only redid one of the curved seems and I actually ended up redoing that one twice!

G7-Oct-14

G9 is just straight forward paper piecing and I used an Amy Butler fabric this time (at least it is a Westminster fabric!).  I wanted to use this orange!

G9-Oct-14


Finally, I was looking at my progress chart and double checking to see if I had everything in the right place.  I found my chart had a couple of blocks in the wrong row and also discovered a block with the wrong fabric! But, aren’t I lucky because the block is D13, which is just about the easiest block you could find yourself redoing.  So, I now have a red and an orange D13.


And to wrap things up I will also show you the second B12 that I made some time ago because I was not happy with my first try at reverse applique.  The first is really not so bad, but I think I like the fussy cutting in the redo better.

b-12_starflower-1B12-Oct-14


Is this more than you ever wanted to know about my Jane blocks??

Oh!!  …. in case anyone is counting I finally got 50 blocks done! WOOT WOOT!!


The Garden Continuum Quilt

I decided to participate in the Modern Quilt Guild’s Michael Miller Fabric Challenge.  My plan was to fussy cut some blocks and then improvise from there, although I must admit my improvisation ended up taking place on my drawing pad so that I would have an idea of how much fabric I would need to surround my blocks.  Does that mean it is not really improvised?  Can there be no planning with improvisation?  Perhaps not!

I am calling this quilt the Garden Continuum.  It is 48″ x 64″.  I used all 6 of the fat eighths provided and I think I made good use of them.  I used 2 yards of fabric for the background and the binding, and also added about an eighth of a yard of a solid green fabric.

In keeping with the theme of the quit, I went with edge to edge swirly quilting so that the garden blocks blend in and appear to be floating in the continuum!

detail2 detail1

gardencontinuumquilt

Good Fortune in Chicopee

My Good Fortune Quilt with Denyse Schmidt’s Chicopee Fabric is finished!  I finished it a couple of weeks ago but have not found time to share this with everyone. This is the quilt top that I put together at the BMQG retreat in March.

I used Patricia Ritter’s Bauhaus pantograph for this quilt.  I know, I know, I should have just free motion quilted, but I am a big wimp and do not trust my skills for keeping things even and consistent.

I want more time to practice and play!  But, I am happy with what I have accomplished with this quilt.

good-fortune-chicopee G-F-C-back