My Jane Stickle Quilt and my Stormy quilts are on display at the New England Quilt Museum in Lowell, MA now until May 29, 2021. If you get a chance please visit.


My Jane Stickle Quilt and my Stormy quilts are on display at the New England Quilt Museum in Lowell, MA now until May 29, 2021. If you get a chance please visit.
The Boston Modern Quilt Guild is playing with the idea of a virtual quilt show. I am going to play with that idea here with some of my quilts.
Click Here to see BMQG Group Quilts
Thank You Jane, 2108.
Jane Stickle finished her quilt in 1863. People are still enchanted and challenged by her unique quilt blocks. Even with all of my modern gadgets and fancy machines I still had a lot to learn from Jane. Could not have managed to get through all of the blocks without help from the Jane Stickle Group lead by Pat Kowalczyk at Quilters Common, which met for 4 years starting in 2013.


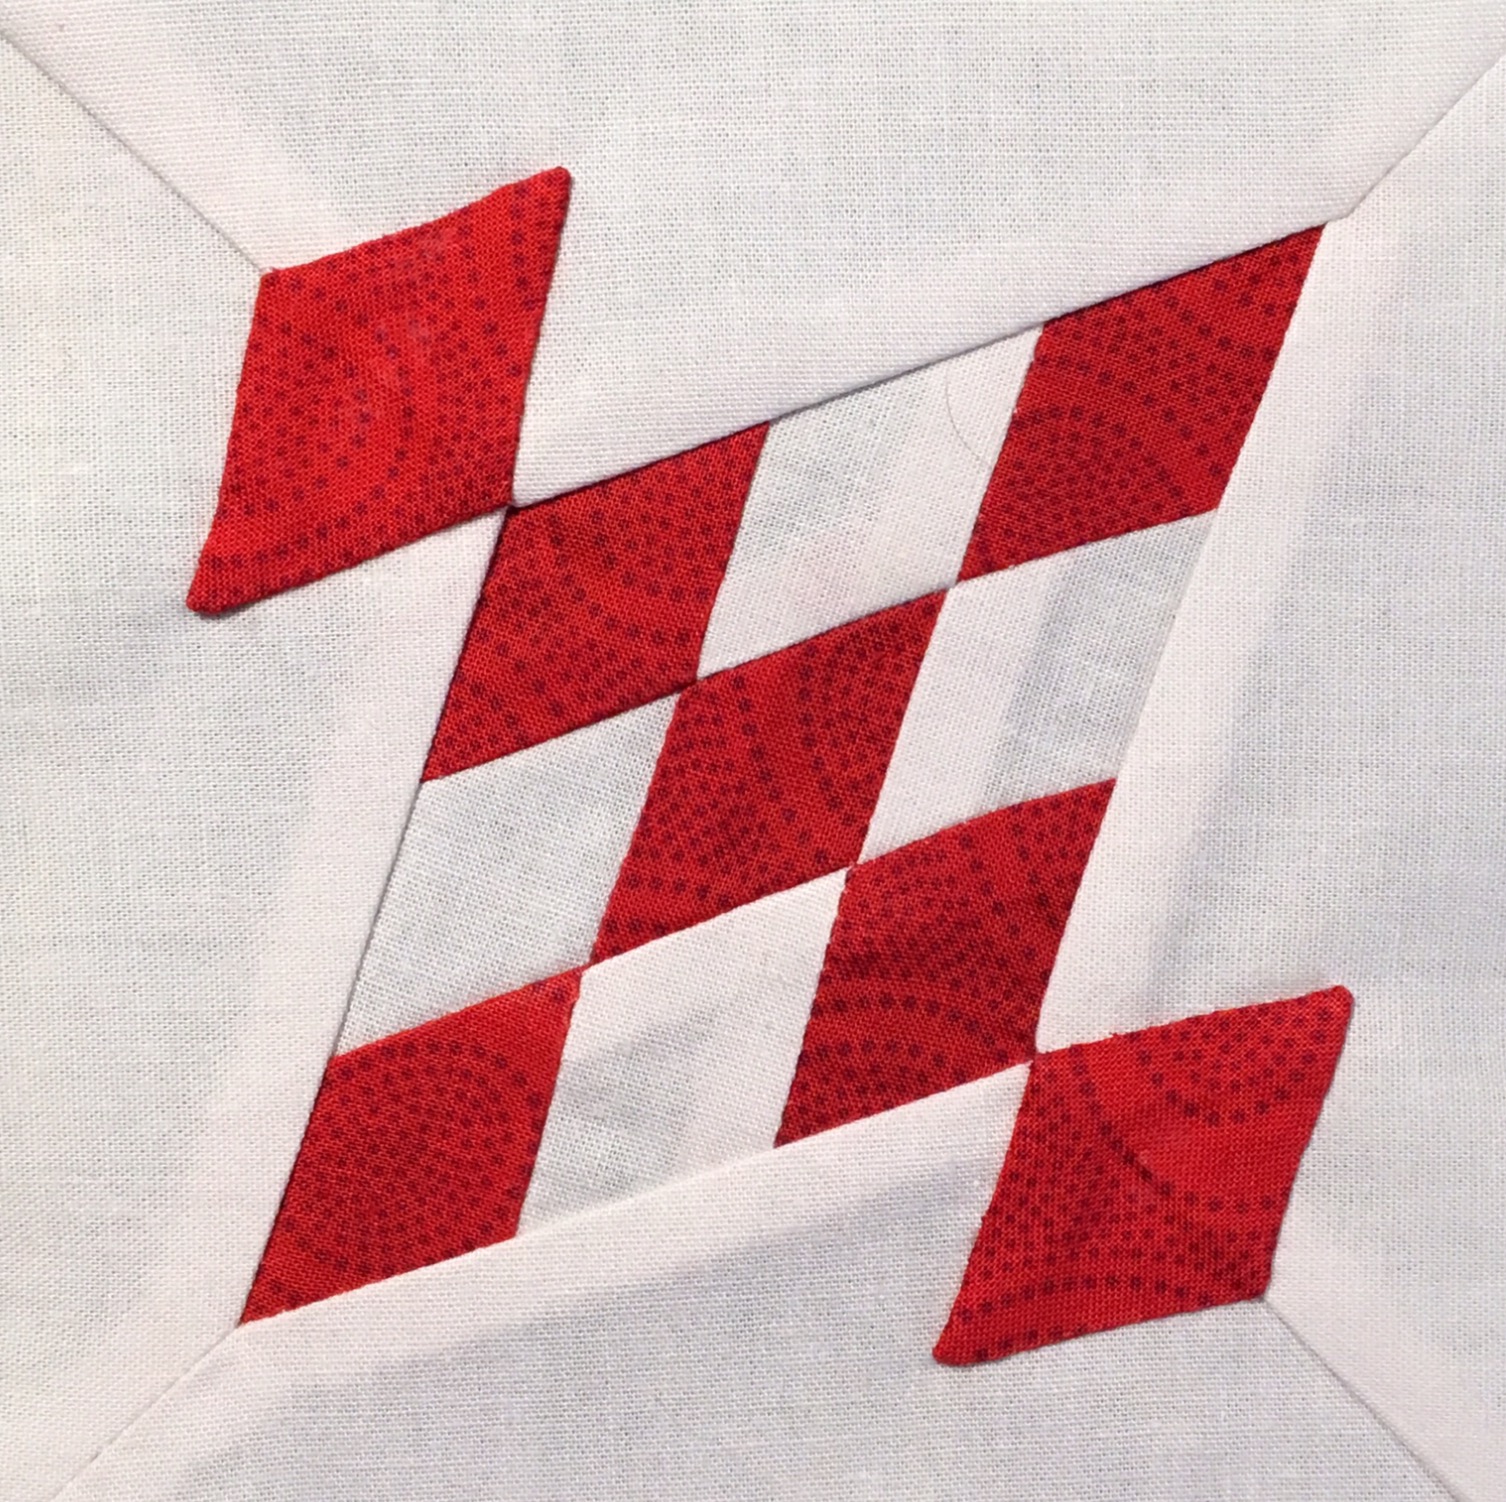
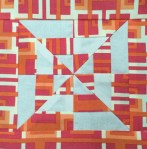
Checkerboard Skew Revisited, 2020
In 1973 Beth Gutcheon included this design in her book “The Perfect Patchwork Primer”. This book inspired quilters to take a fresh look at quilting and her designs are still making us ask what is a modern quilt and showing how timeless modern is.


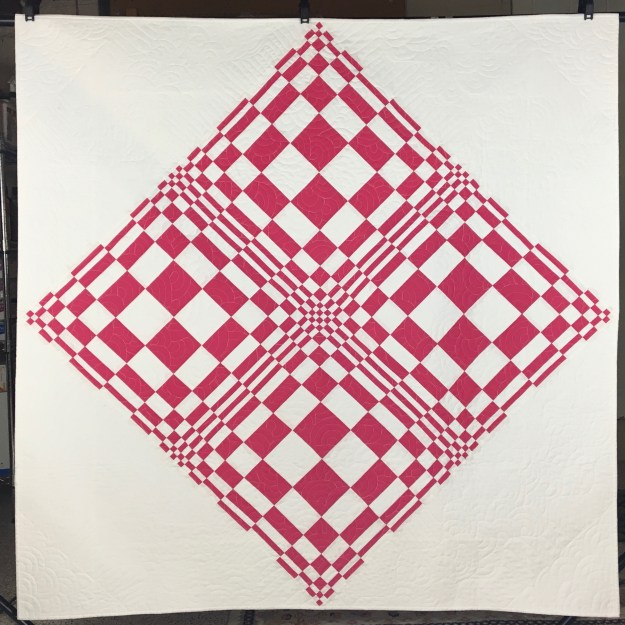
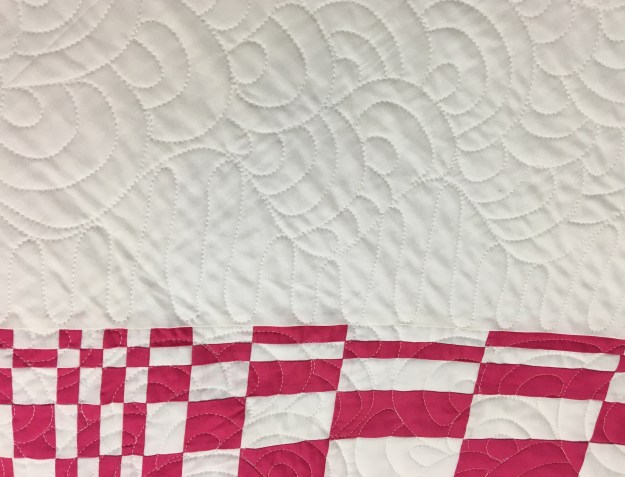
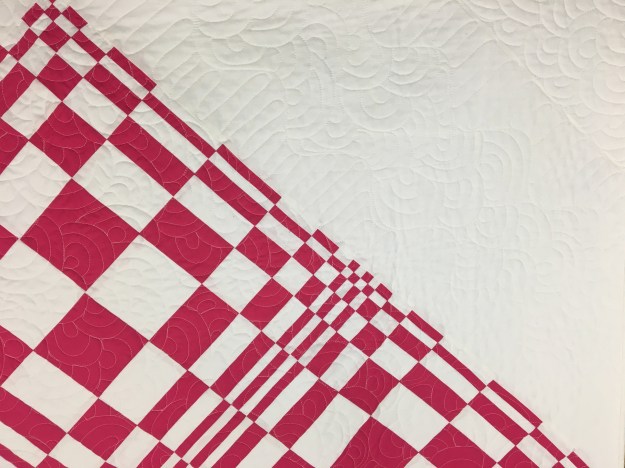
Seeing Red, 2020
Are you seeing a red and white quilt? This is actually a pink and white quilt, but color is often a matter of opinion. The design is based on a half scale Fibonacci sequence used to determine the width of strips used. I borrowed Ricky Tims Convergence technique and sewed the strips together, rotated and then cut strips again.
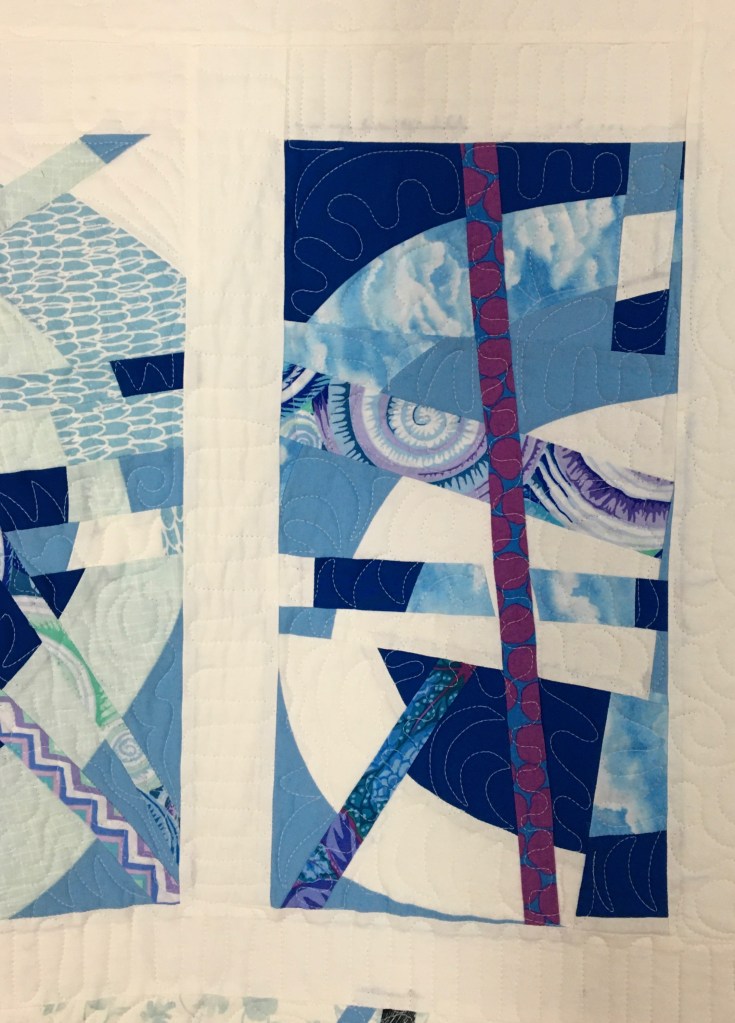
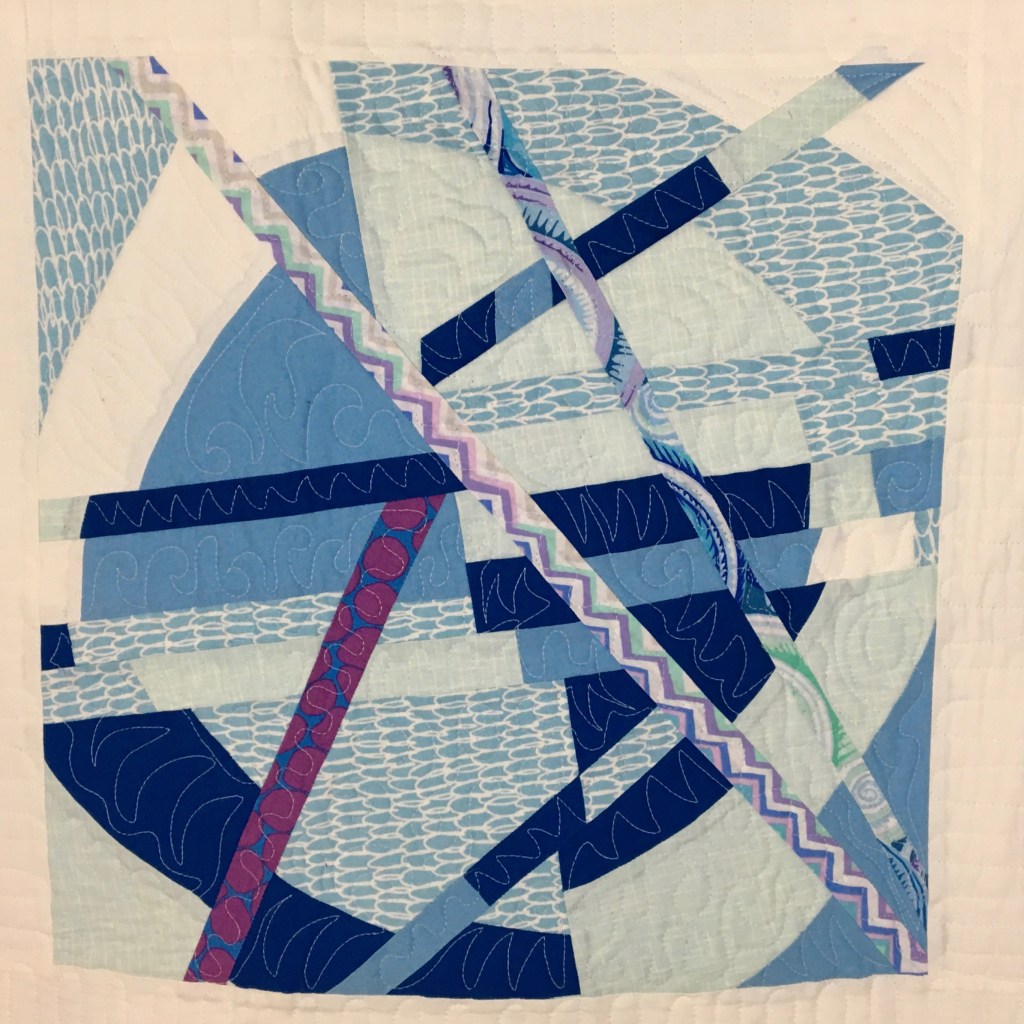
Storm, 2020
During the pandemic I found myself trying a virtual workshop. I took Mid Century Modern with Carole Lyles Shaw. This is improv to the max. You start out with a big pieced circle and then you just keep slicing, relocating and adding. I posted my progress online and Carole commented that I should keep slicing! At some point I was satisfied with my slicing and this is the stormy result.

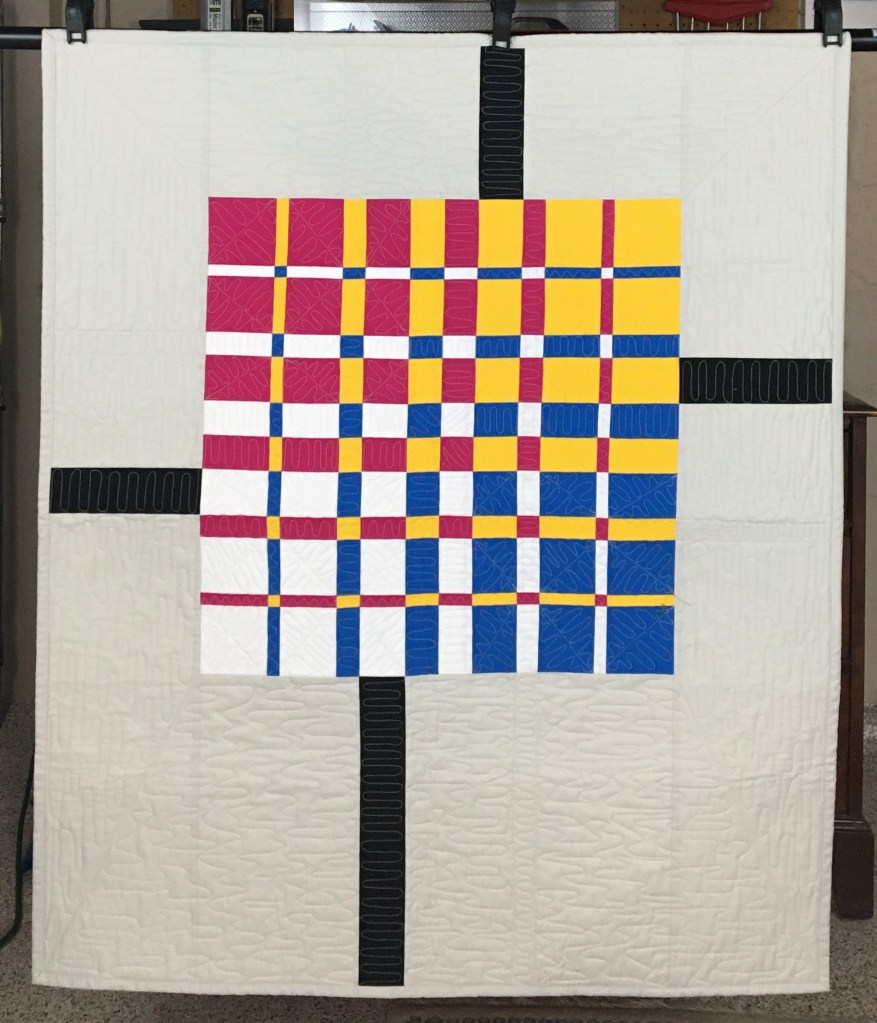
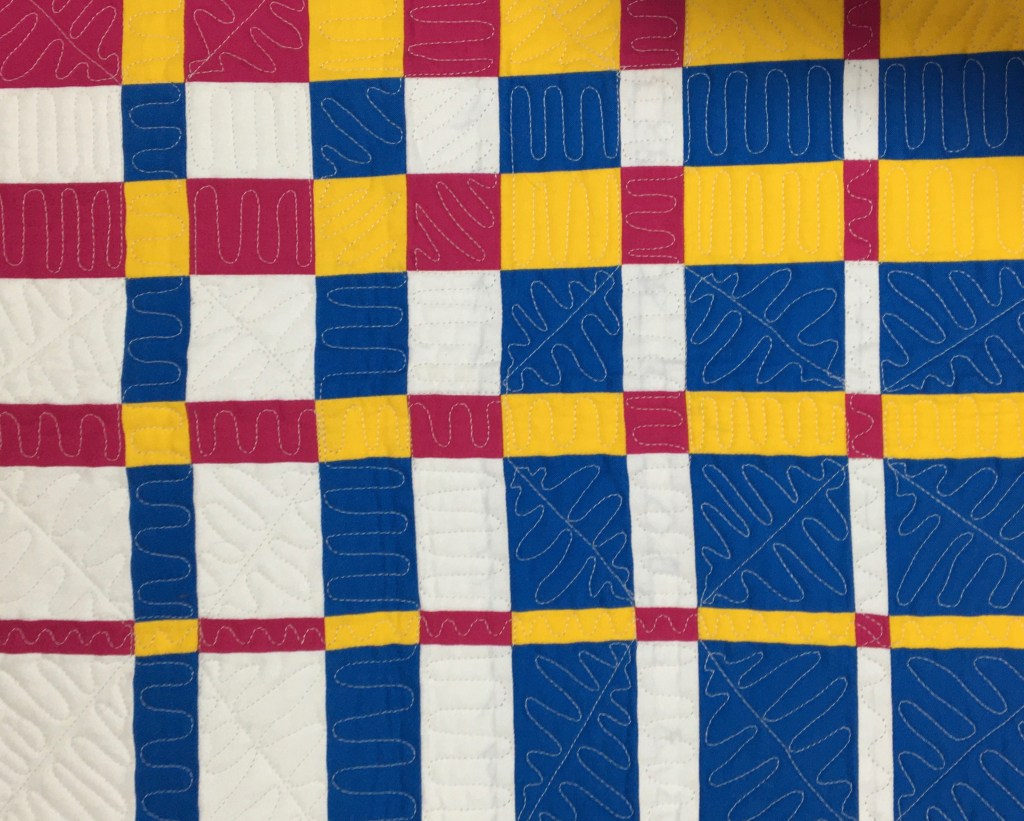
Process Color, 2019
I wanted to work with the four colors of ink that I am always feeding my printer to see how bold they might look together. I had been playing with the Ricky Tims Convergence Quilts style so I went from there and here is the result.

Hope, 2020
I am working with a group of ladies in the do.Good Stitches Hope circle of quilters. We are an online community working through Instagram and Flickr to design and share quilt blocks. I designed this quilt, collected the blocks and put this quilt together. It is always amazing how the quilts come together with just a little bit of prompting for fabric selection. The rainbow of colors gives us all hope for less cloudy days ahead.
The following contributed blocks to this quilt: Sherryl Barnum, Jeanine Conner, Angie Fitzreiter, Heather Flegel, Cath Hall, Christie Kline, Suzy Lampman, Susan McKinney, Jennifer Mendola, Sarah Terry


Garden Trellis, 2020
This is another one of my Stack and Wack quilts with a new more complicated block that makes the quilt look like a Garden Trellis. I have a pattern for this quilt and was scheduled to teach it at Quilters Common, but then suddenly everything changed. Hopefully I can get back to teaching classes later this year!


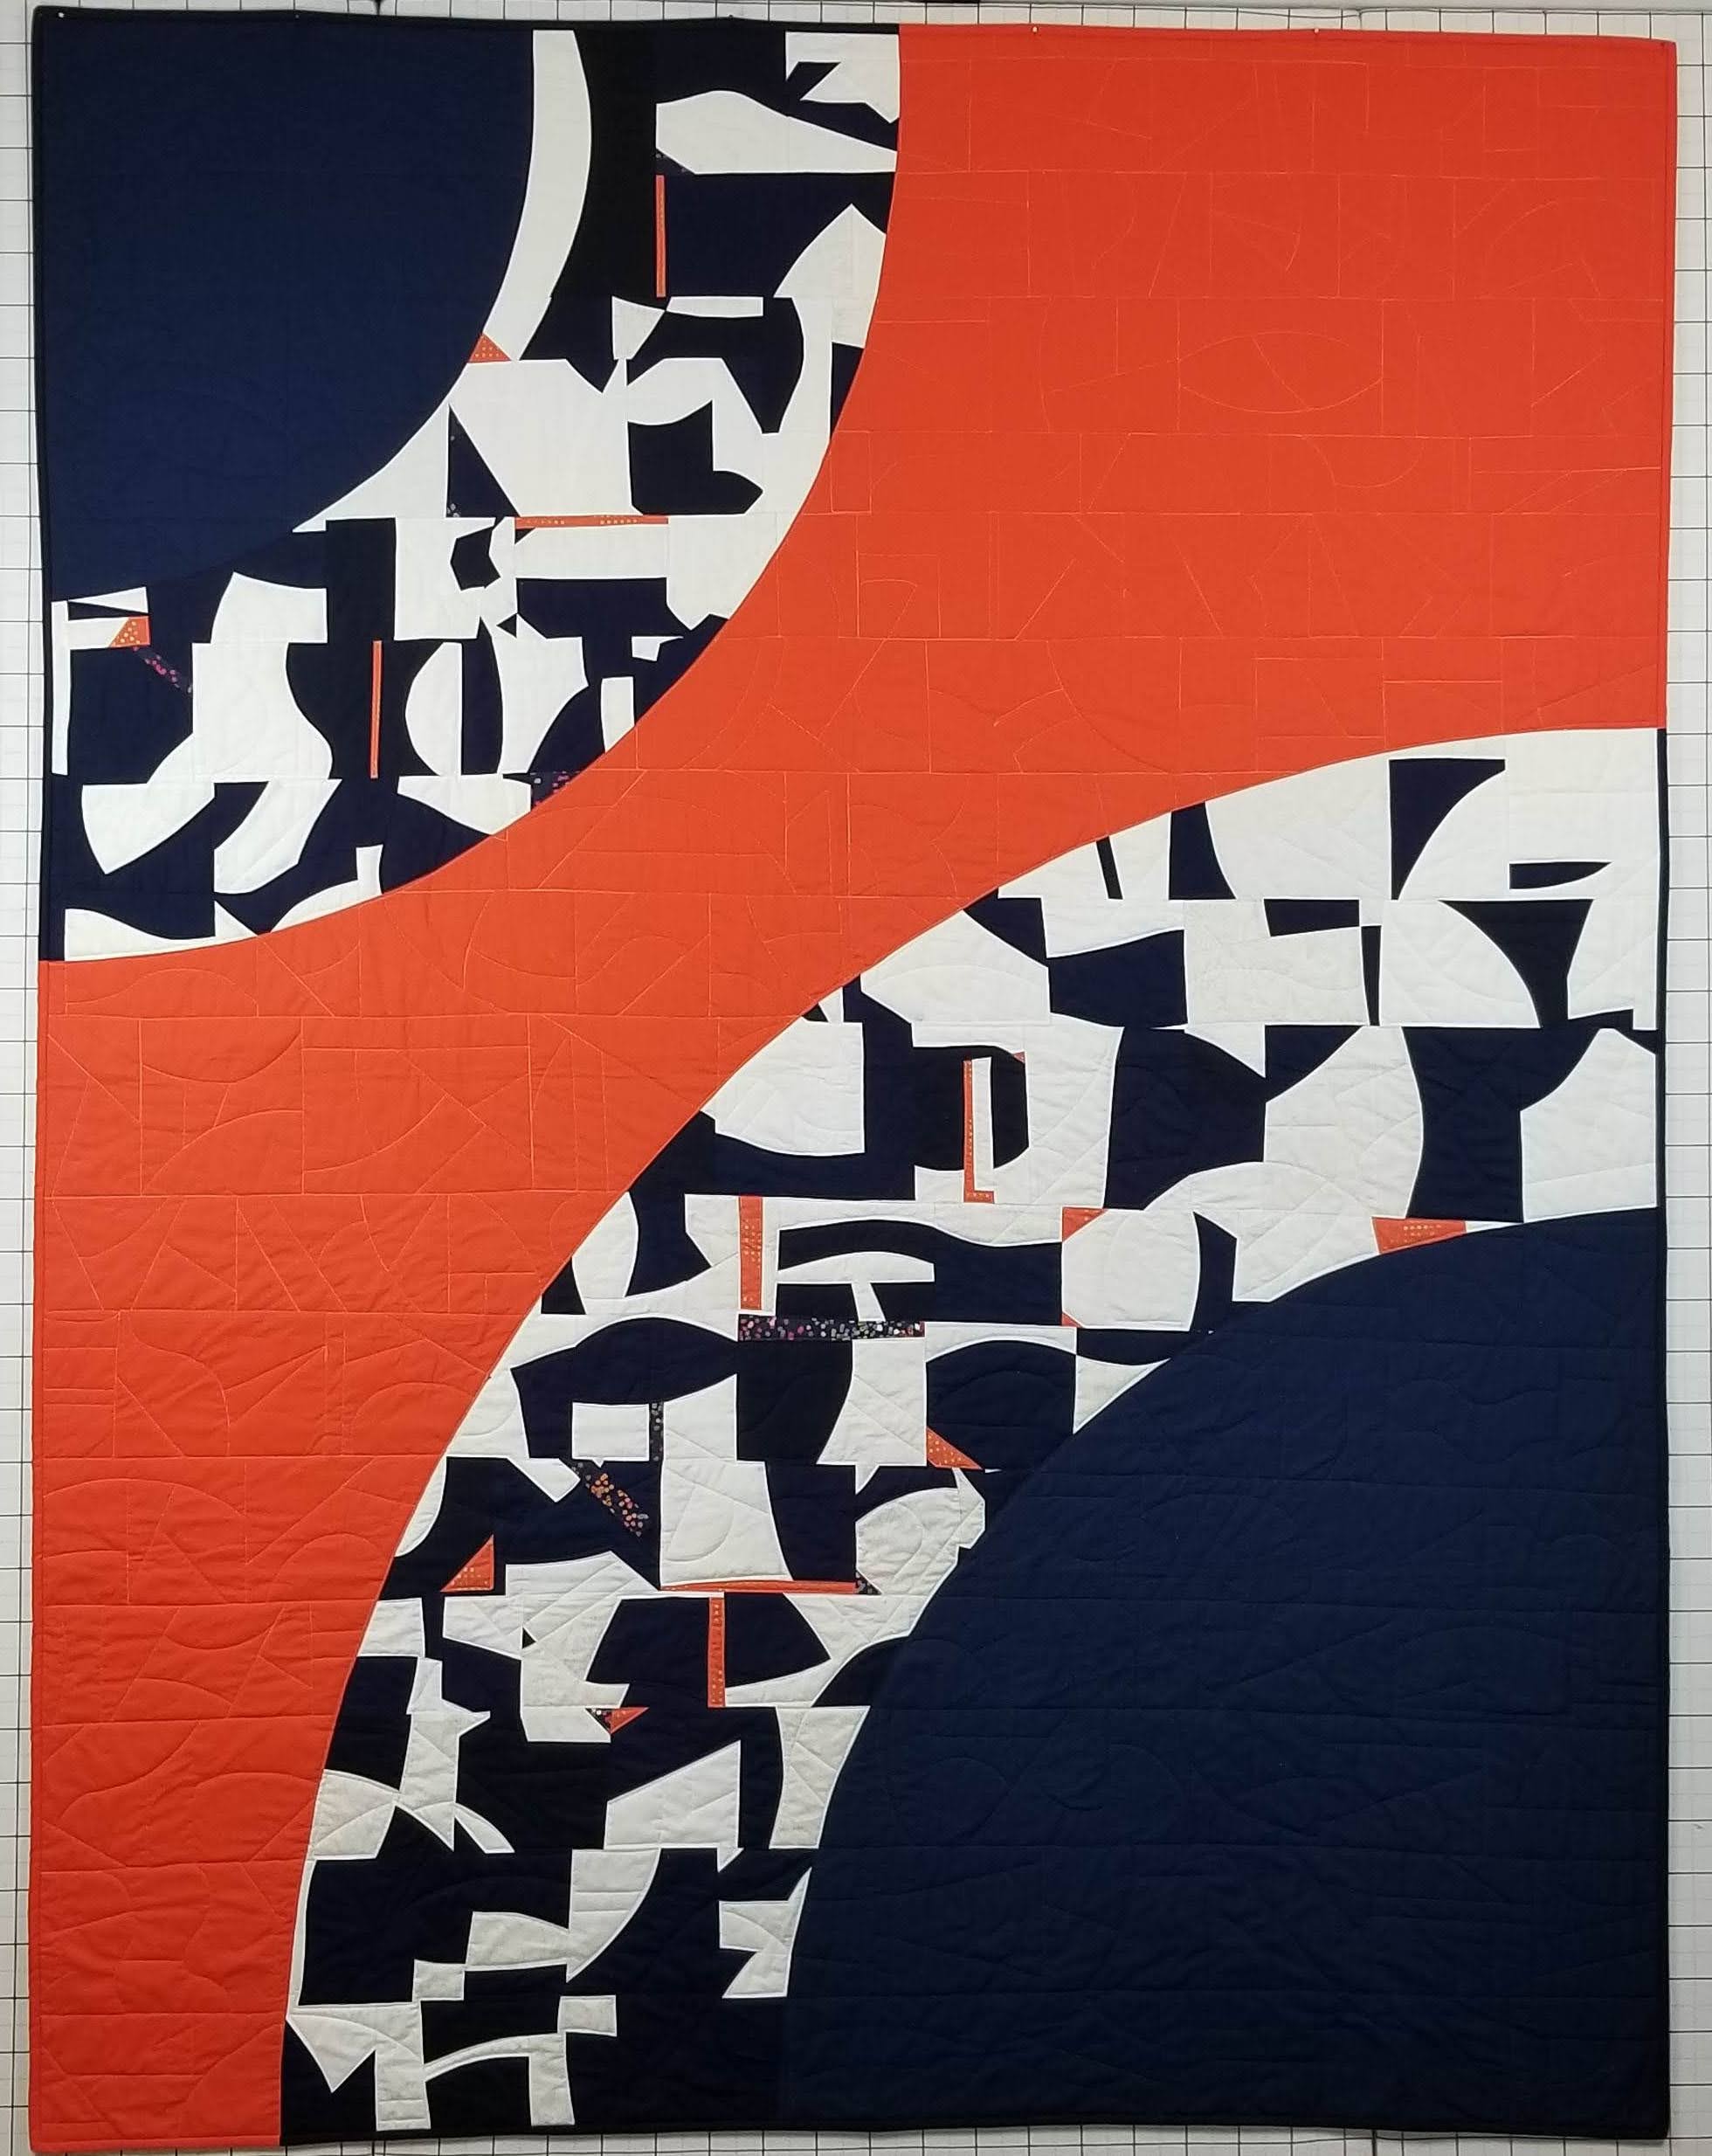
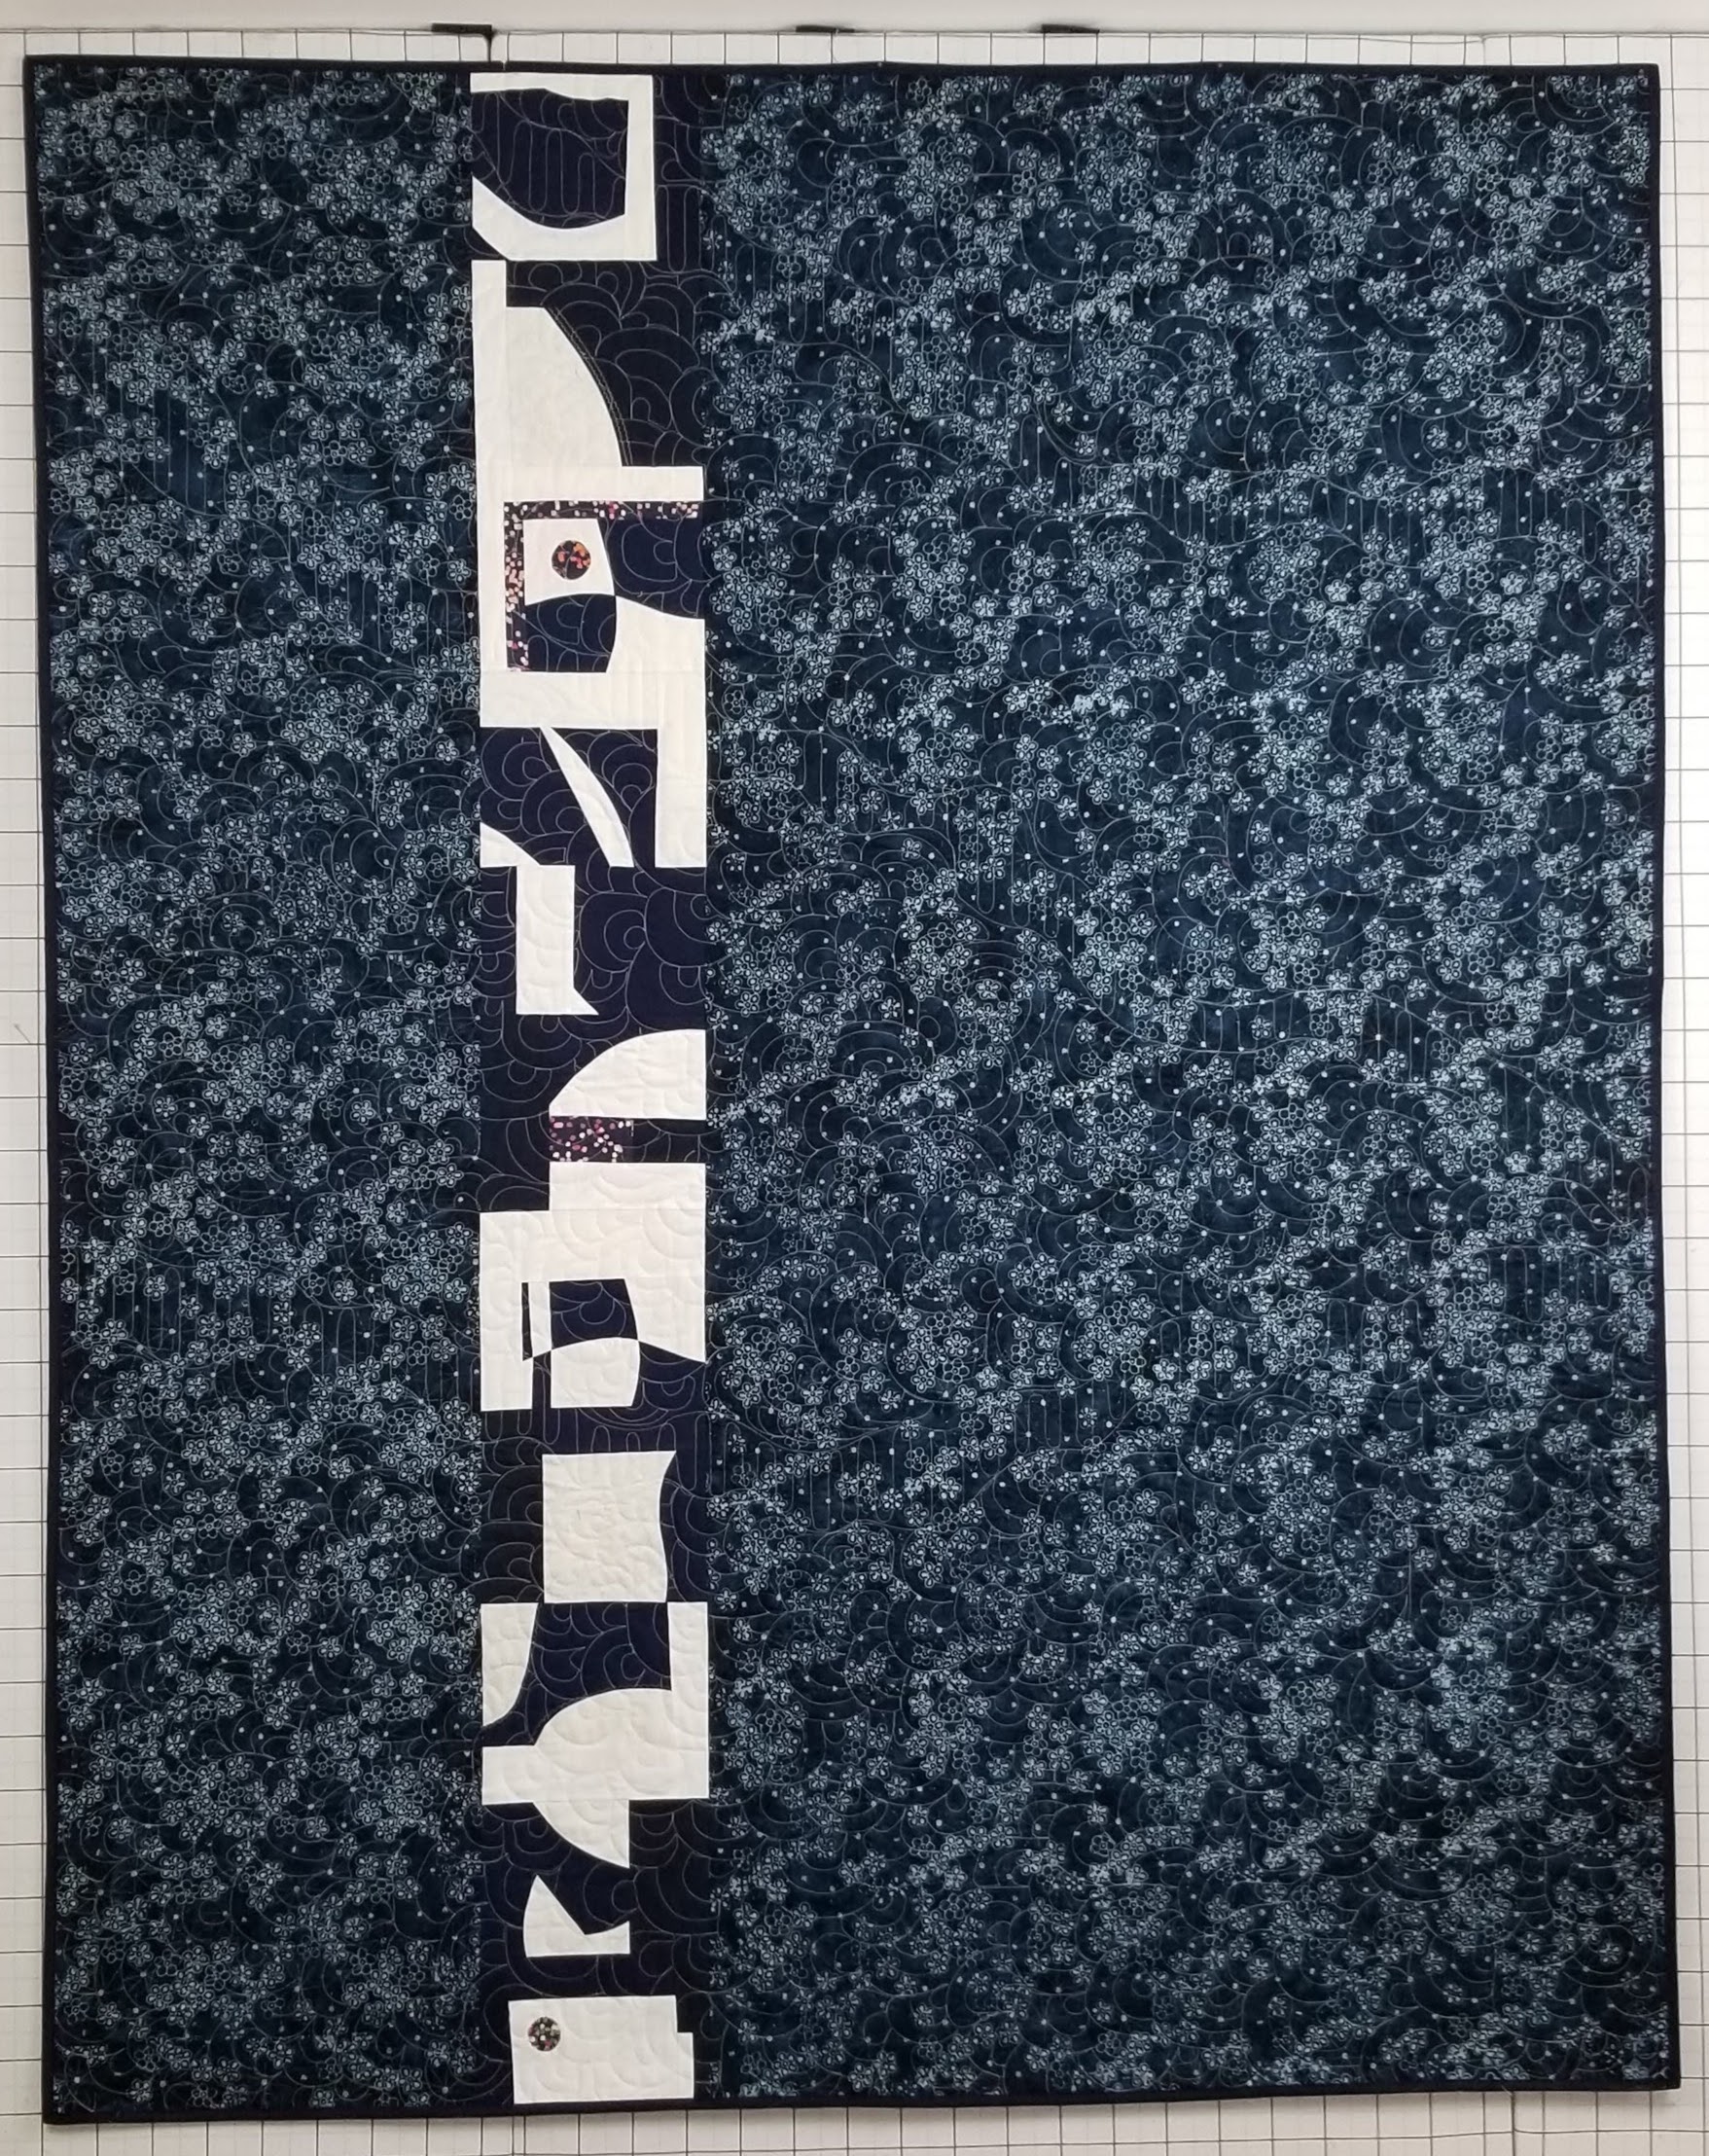
And here are two Group Quilts that the BMQG have put together:
“Orange You Glad We Made This Quilt?” and “Shattered” are group quilts created through distanced and virtual togetherness. The design process began with a group brainstorming in a park. Participants then made curvy starter-blocks using materials provided by the guild, followed by a virtual workshop where the starter-blocks were altered by random prompts. The improvised blocks were brought together at a backyard design session where two quilt designs emerged. Although the two quilts were made from improvisational blocks that were essentially the same, the resulting quilts were very different. The process was truly collaborative and fun.
Orange You Glad We Made This Quilt?, 2020, Long Arm Quilting by Rebecca Loren


Shattered, 2020, Long Arm Quilting by Patrice Denault


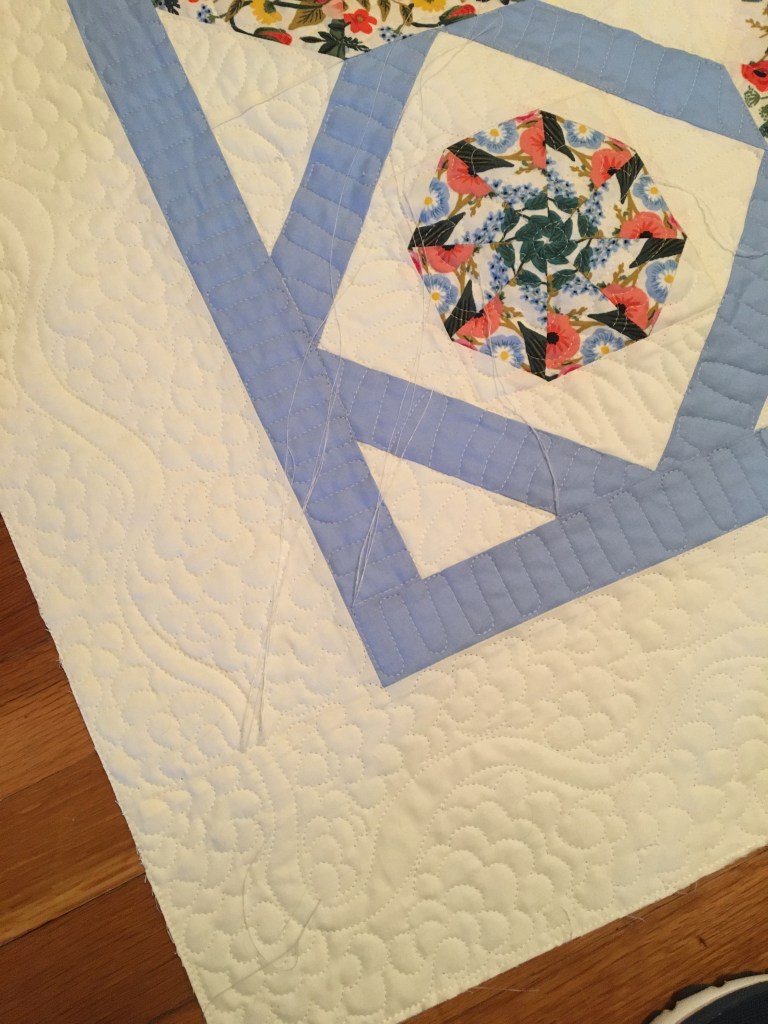
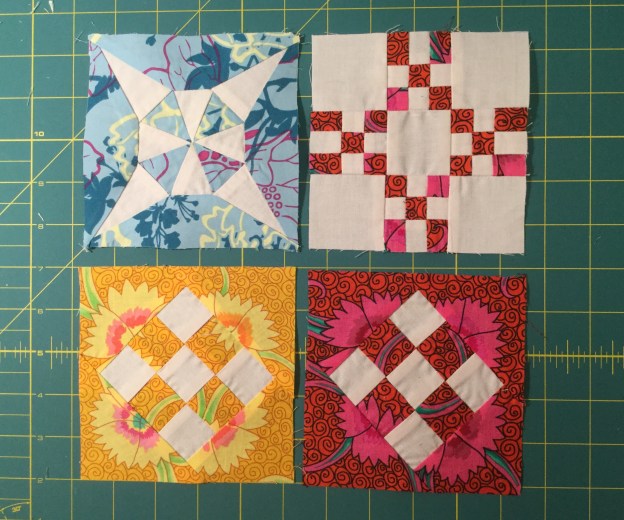
I just wanted to share my finished Jane Stickle quilt with the world. It took me four years to make 115 Jane blocks. The group I was meeting with every month was talking about doing a show with our finished quilts. I really wanted to have a quilt ready for that but there was just no way that I was going to get another 110 blocks done in time!! Then I saw one of Tula Pink’s layout for her City Sampler quilt and I was completely inspired.
Once I got the top put together I was happy, but, quickly became nervous with the thought of quilting it. I had some ideas, but was not quite confident enough to dive in. I made a small Jane with my left over blocks and quilted it. I was pretty happy with the results, but waited until I had done some free motion quilting on a few other quilts before I was brave enough to quilt my Jane.


Finally, almost one year later, I put the top on my longarm machine and just did it! I actually enjoyed the whole process. I was listening to some music while I quilted which put me in a great mood. Vertical Horizon and Mood Taxi were a couple of the artists that came up on a playlist that my husband had put together for me.

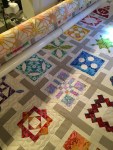


So here is the almost final result taken before I put the binding on.
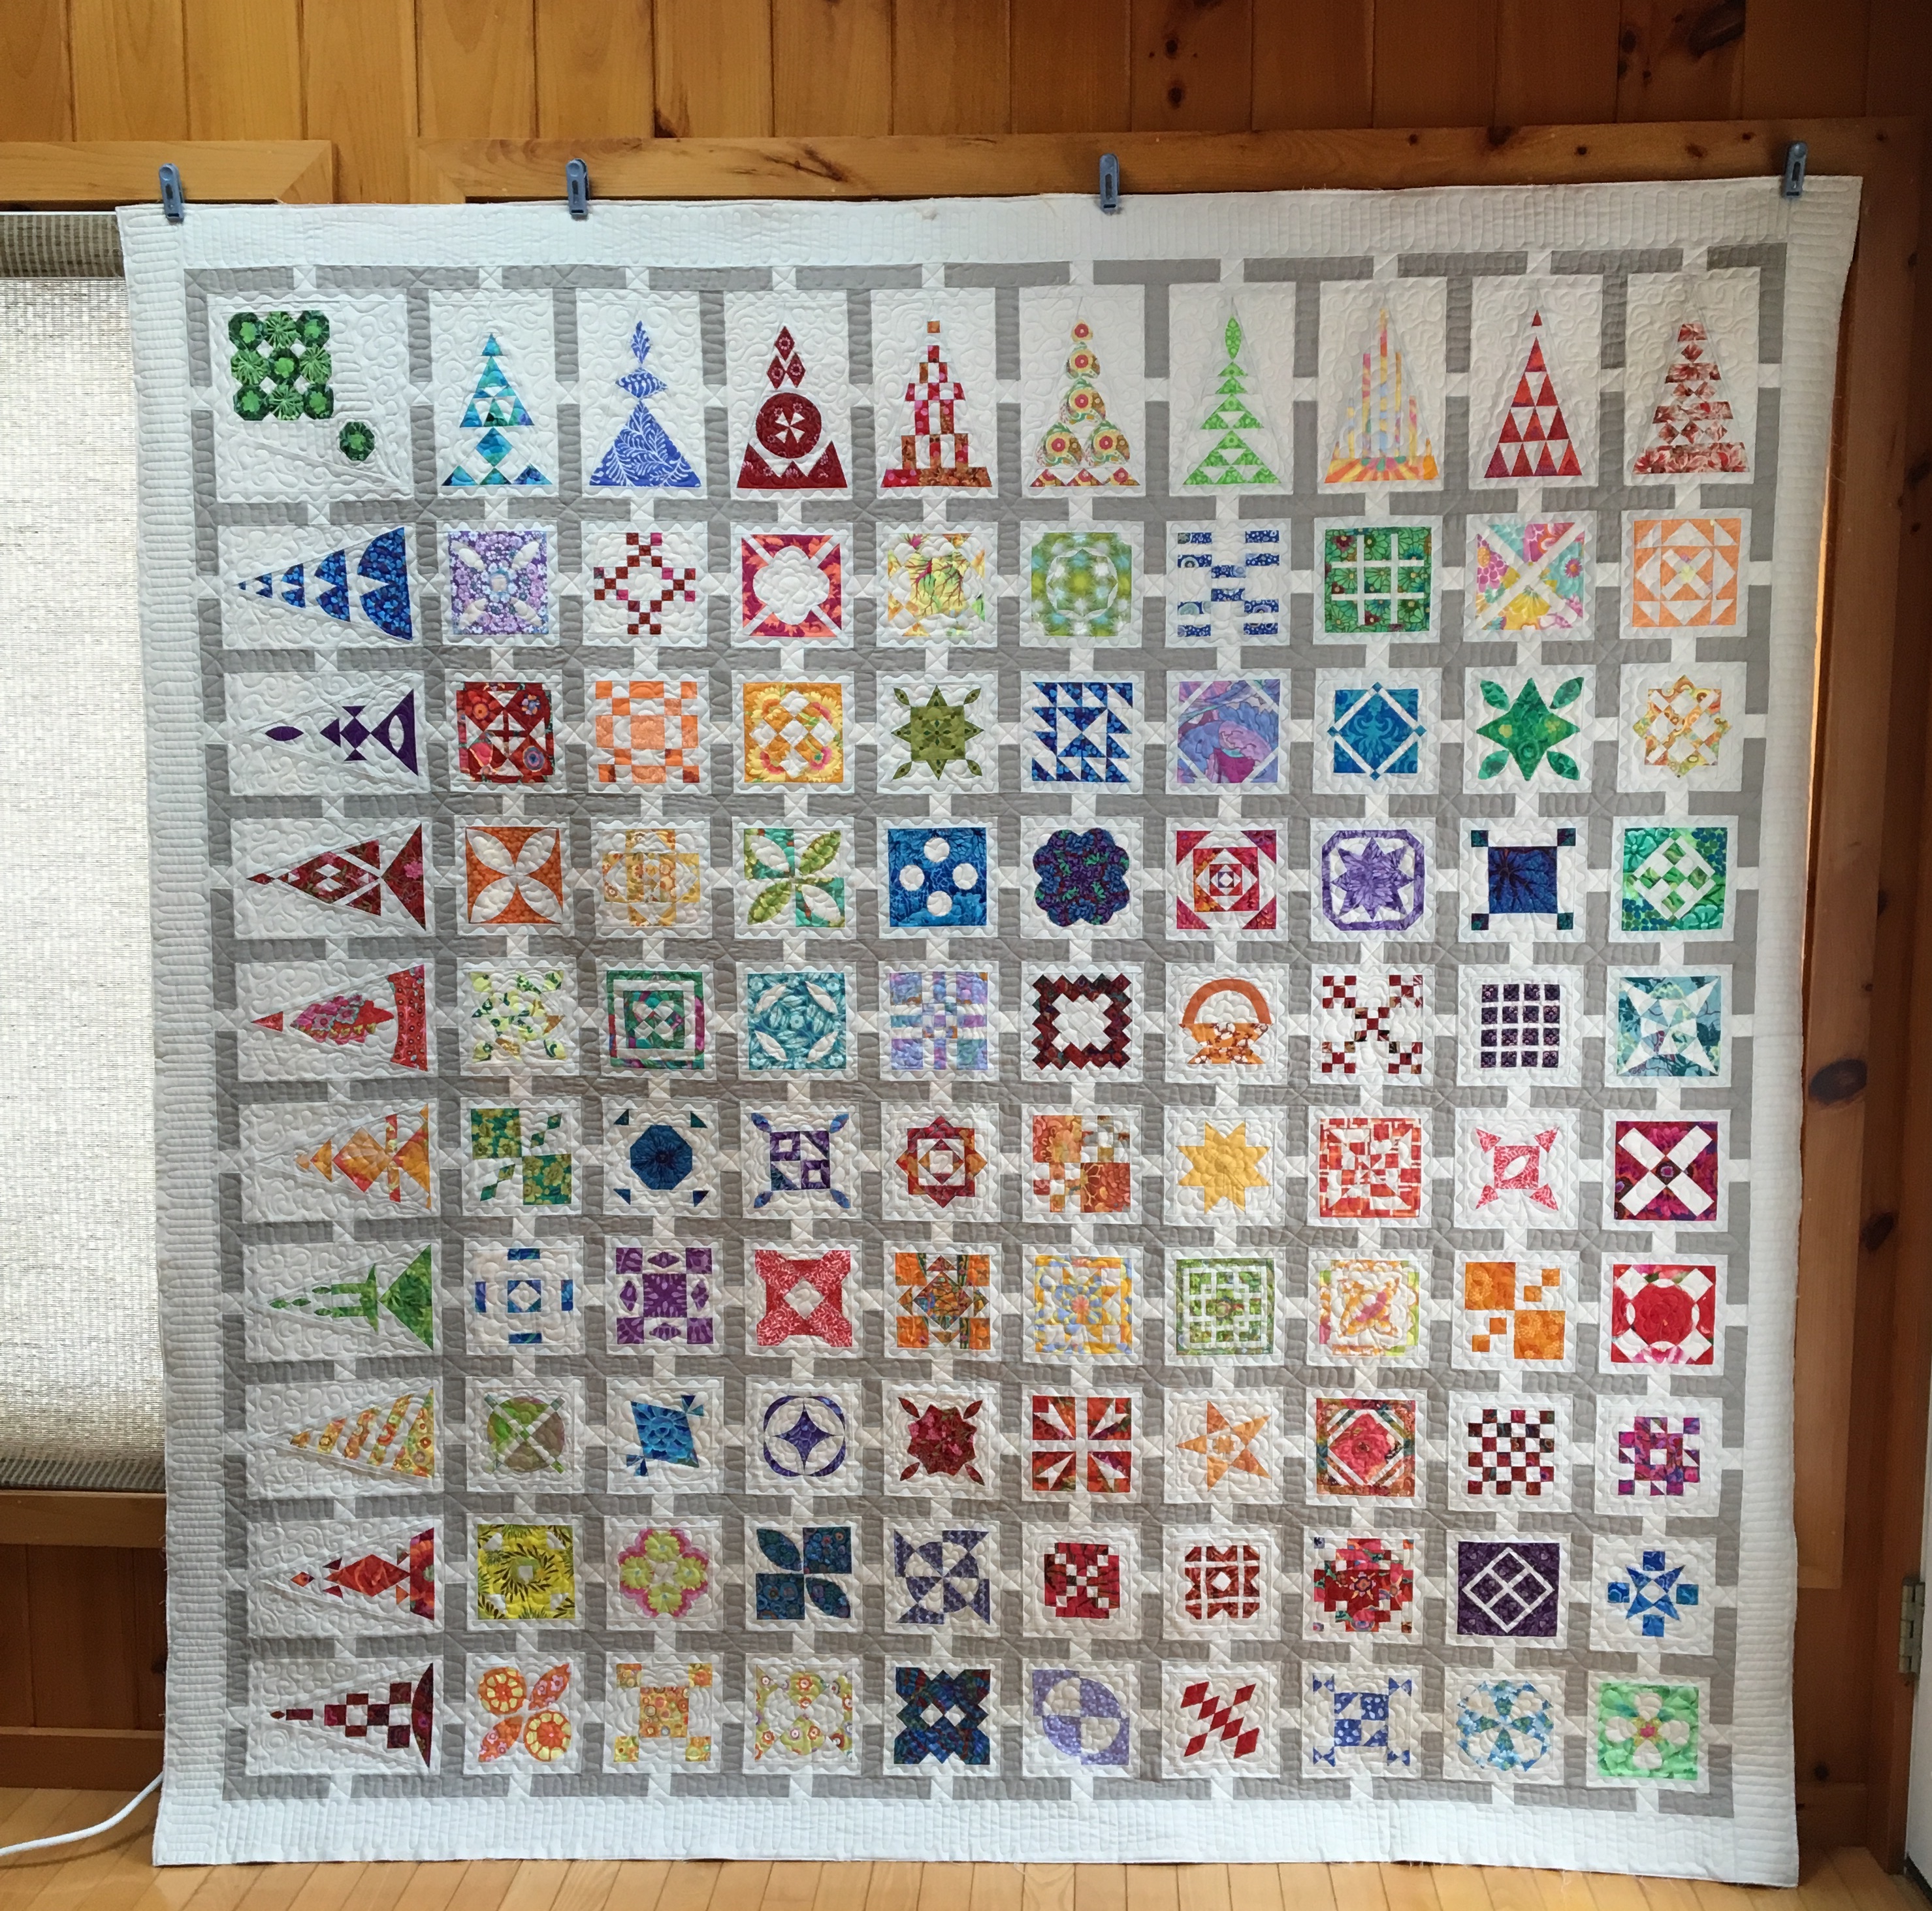

After almost four years of playing with my Jane blocks I accumulated 81 squares, 18 triangles and 1 corner square for my quilt, That does not include a few extras that were the wrong color, or that I just did not think were good enough for one reason or another.
The goal was to have everything done in four years and I just knew that I could never catch up. Of course, I was considering continuing on at my own pace. Then I saw a Tula Pink City Sampler quilt on Pinterest with the Trellis sashing and I knew it was the perfect thing to do with my blocks. I came up with a design to use the exact number of blocks that I had completed. But, once I started playing with a color scheme it became obvious that I had too many green and red blocks. So I did end up making a few more blocks,
So, now I have my own version of a Jane Stickle Quilt. There is a lot of Kaffe Fassett fabric in this quilt, but I also started using whatever fabric I thought would work with my modernized version of a Jane Stickle Quilt.
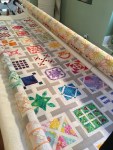
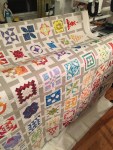
And then I put all those other left over blocks together to make a little quilt that I can practice my quilting on.

So stay tuned for my finished quilt which will occur once I am brave enough to dive into quilting it!

I used reverse applique for this block. A bit fussy, but I was happy with the finished block. I have photos from two different blocks since I did not get enough photos with my first block! The tutorial assumes you have access to Dear Jane Templates from the Electric Quilt software, or you have drawn them yourself.
Cut one 6 ½” square of print fabric and cut twice diagonally into 4 triangles
Cut one 3 ½” square of print fabric and cut twice diagonally into 4 triangles
Cut on 6” square of background fabric


Sew the large print triangle pieces back together to make a square with diagonal seams. This will allow you to reverse applique on seams and avoid turning under raw edges in the corners.
Sew each seam twice to reinforce them because the ends will need to be ripped out so they can be folded to set in the applique.
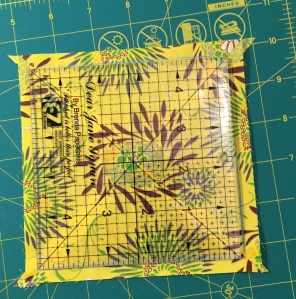
Center your Dear Jane ruler on the square with the diagonal seams lined up. Draw a line around the edges of the ruler to mark cutting lines for the block. This will allow you to correctly position the corner triangles.
Cut out a square and triangle template printed on freezer paper. Cut out on the cutting lines and cut out the center on the seam lines.
Iron the template square in the center of the pieced square. Carefully cut out the center leaving a ¼” seam allowance. Then carefully rip out the seams up to the corners of the template. Finger press the seam allowances to the back.
Line the triangle template up on the seam in each corner to mark cutting lines. The point will go towards the center. The edges on each side of the template should line up with the outside cutting lines drawn on the pieced block.
Press the template into each corner and then draw cutting lines ¼” from the inside edges of the template. Once each corner is marked, cut out the corners on the cutting lines.


Carefully rip out ¼” of the seam in each corner so that the seam allowance can be folded back. Draw the seam lines on the inside and press the ¼” seam allowance to the back in each corner.
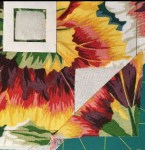
Now you can finally applique/reverse applique this piece to the background square!
Baste the print square to the background piece and reverse applique the center and each corner. Once you have finished appliqueing carefully cut back the background fabric diagonally in each corner by lining your ruler up with the ends of the cutting lines on the print piece.

Sew each of the small print triangles to the corners. Trim the block to 5” with your Dear Jane ruler by matching the diagonal seams with the guidelines on the ruler.


Wow! They are both beautiful!! Which one should I use?

I am perpetually behind on my Jane blocks. Our group at Quilters Common is assigned 5 blocks each month. At one point rather early in this journey I became preoccupied with other matters of life to include work and various quilting endeavors. So, I remain behind by at least 80 blocks and instead of proudly proclaiming that I have completed 91 Dear Jane blocks, I am always lamenting how far behind I am.
No more of that! 91 is awesome and I love each and every block. Some are more perfect than others, but the wonkiness here and there can be attributed to many things; learning new techniques, or maybe my mood at the time, or the show on TV that I was watching with my husband …. How precise can you be when yet another bummer is occurring on Game of Thrones?
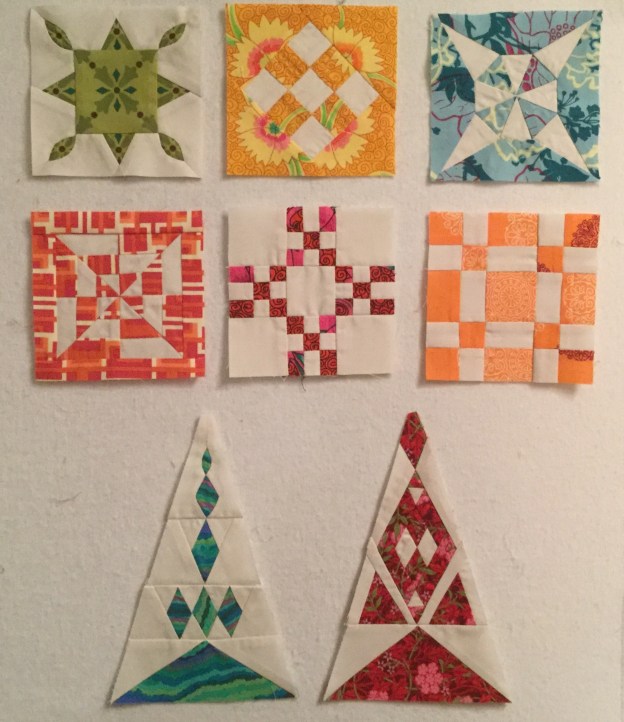
In celebration of my current accomplishments, I am sharing these finished Jane Blocks with you.


Here is the latest on my Jane Blocks.


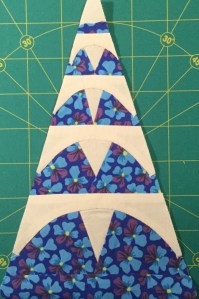
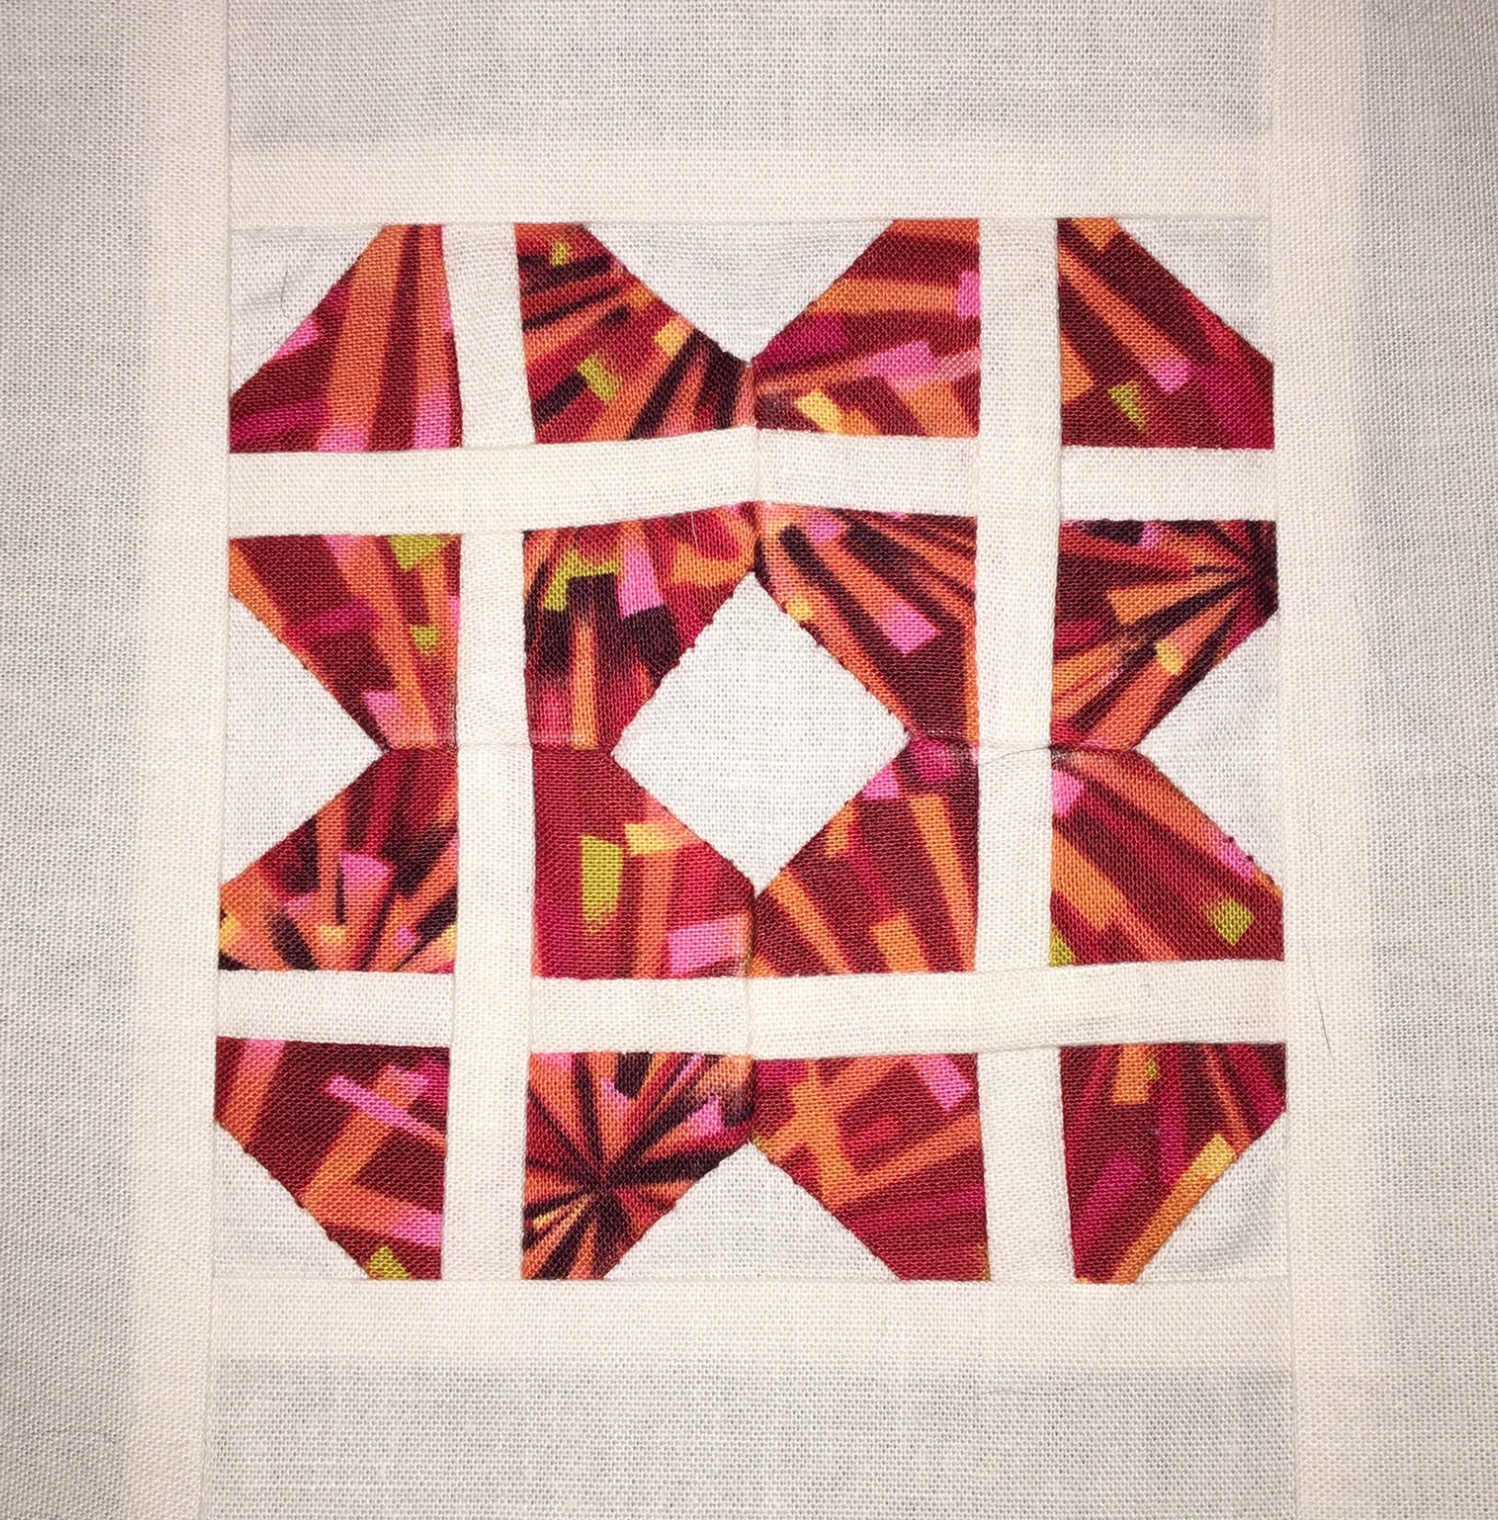
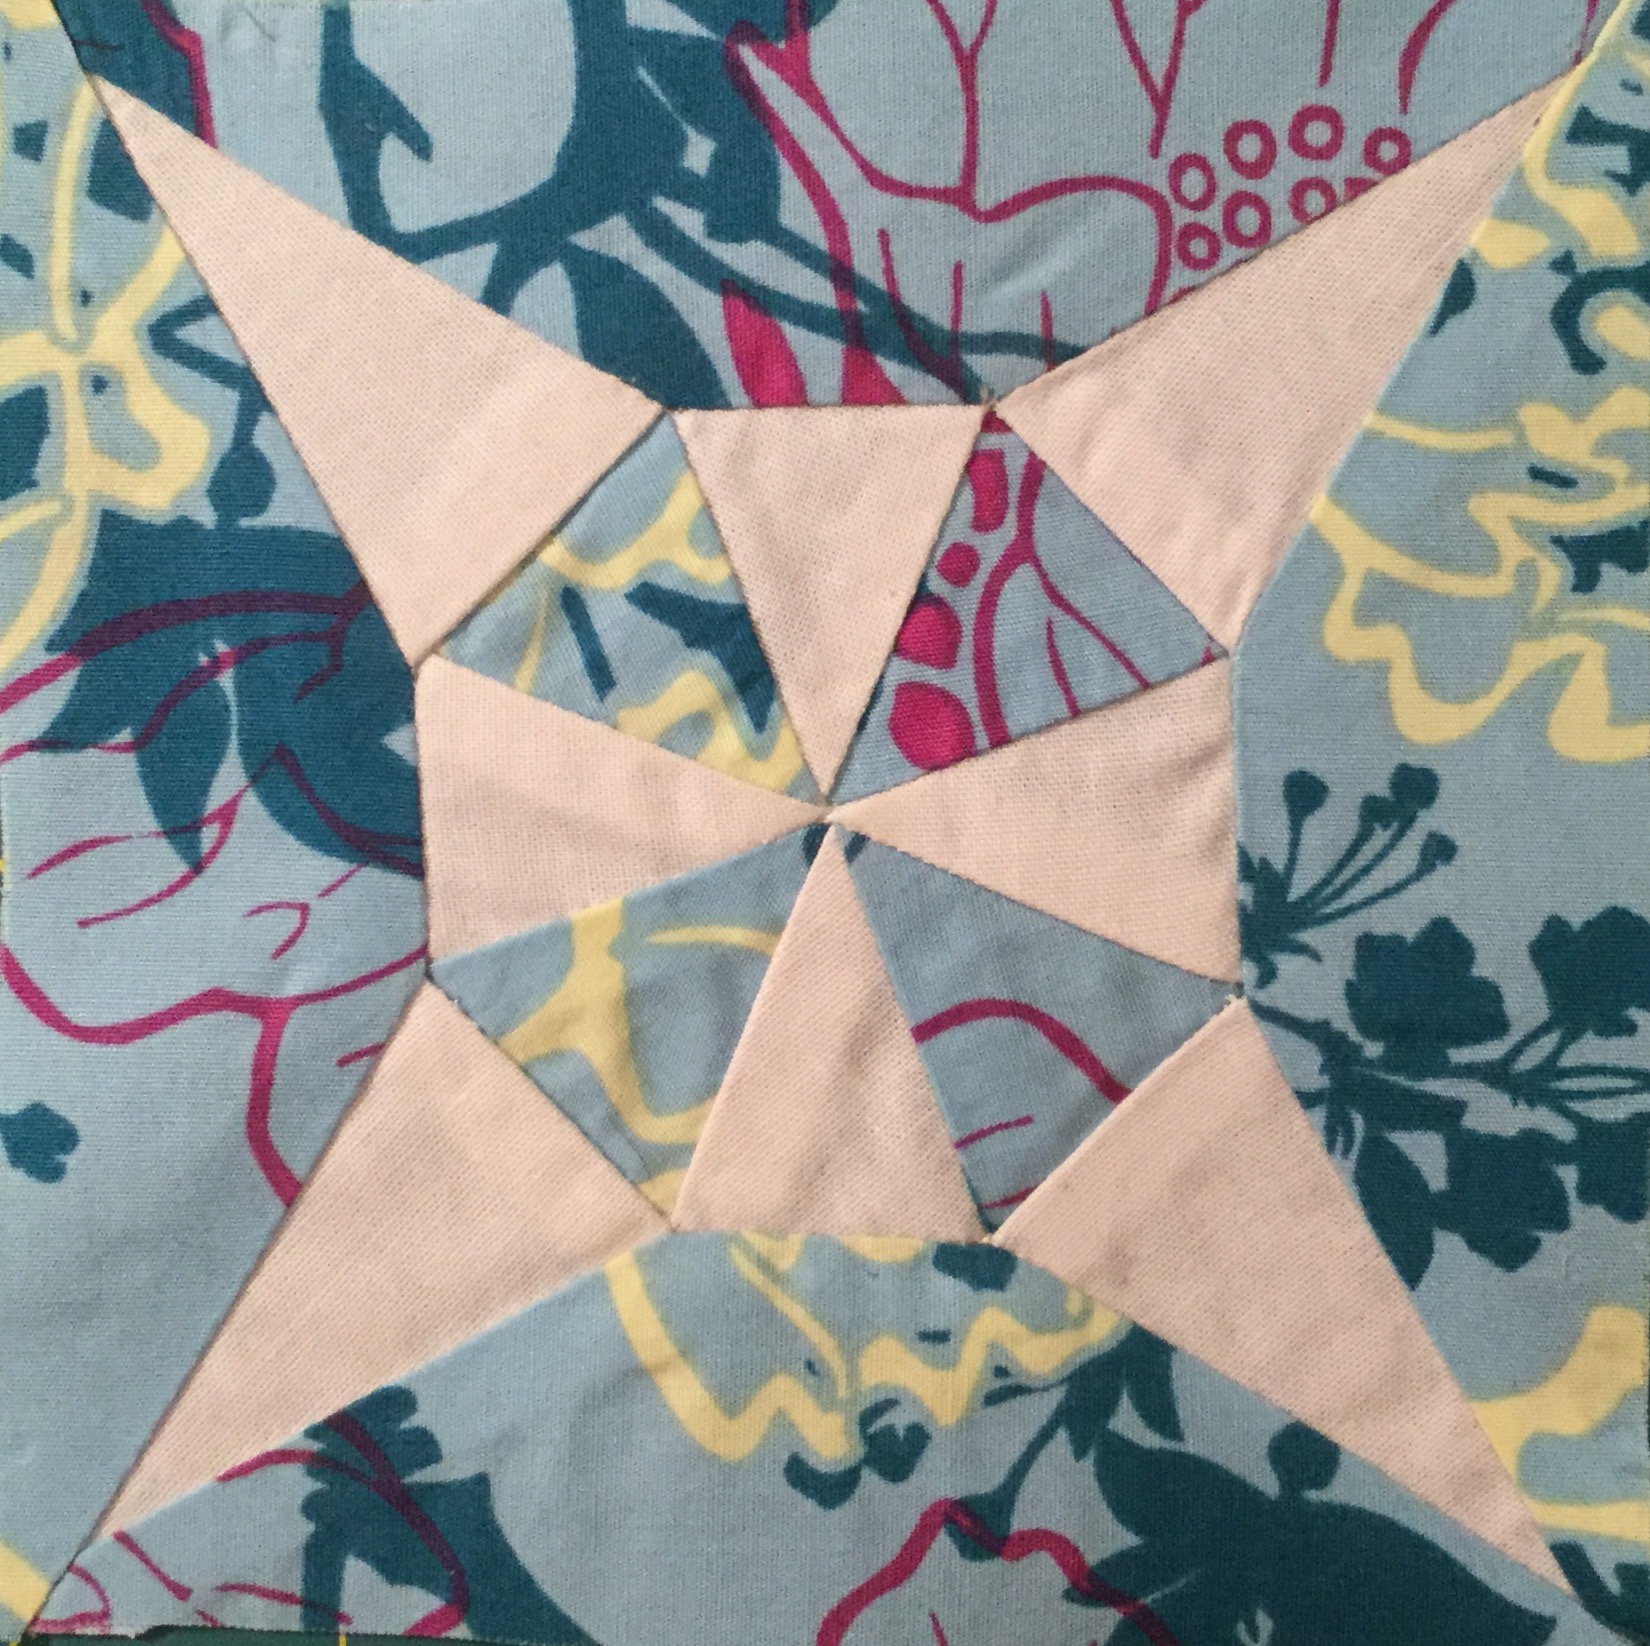
I finally decided to do one of the corner kite blocks. My thinking is that I have enough triangles finished to justify this accomplishment. A wonderful reward!. This block has octagon pieces. I glue basted the seam allowances to card stock templates, then used Best Press to set the seams before removing the templates. The octagons were then hand pieced together and appliquéd to the background. I am happy with the finished block.
The three triangles all have some hand piecing as well as machine piecing. BR-9 needed to be adjusted because I cut the points off of the curved background pieces, so the bottom section is wider than it should be. This happens sometimes when you cut out the Dear Jane templates exactly as printed from the Electric Quilt software. I am not too upset about it and am not planning to redo this one.
My color scheme for the quilt has yellow for this block. I used a yellow with pink to add some color, so the hearts are not as obvious. The seams for the hearts were also glue basted to templates before setting the seams.
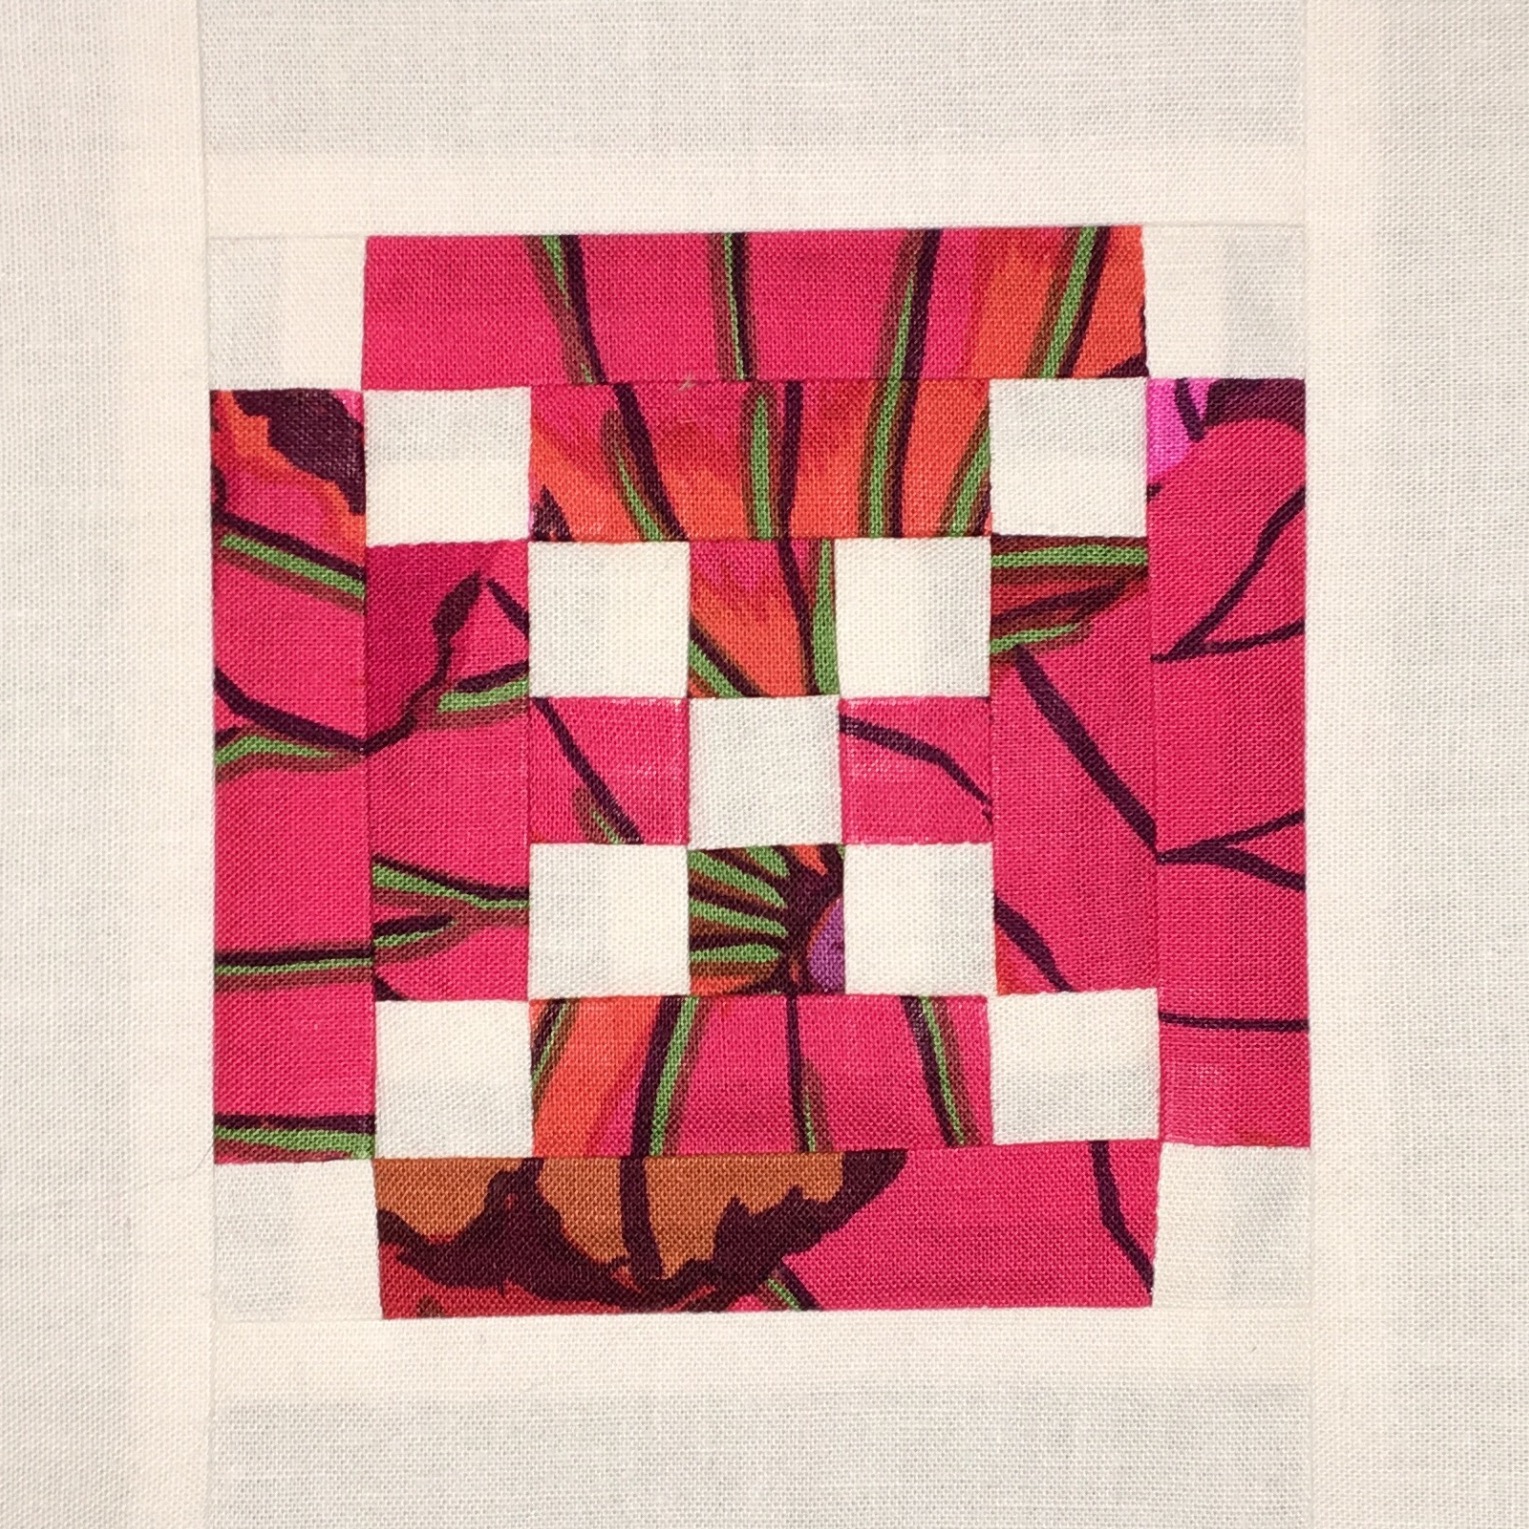
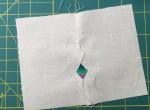
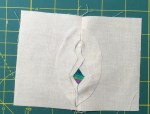
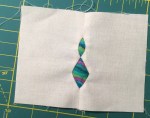
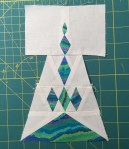
The next block was quite an adventure. First the diamonds and middle triangle at the bottom are appliquéd to a 6.5″ x 8.5″ piece of background fabric. The center circle started with a 6.5″ pinwheel block. The melons started as 3.5″ squares with just the inside curve cut on one side of each square. The curved edges were appliquéd to the pinwheel block resulting is a 6″ square for the center. Then the block was reverse appliquéd over the center piece. It was not my idea. Pat K. from Quilters Common came up with this fabulous method and it is just about the same as the one used on the That Quilt blog. It is time consuming but was not frustrating. I am happy with this one, too.
You have already seen some of my November Jane Blocks and my cool way to Reverse Appliqué Melons but here are the rest of blocks I finished for November:


And, yes, I did use my Reverse Appliqué method again! Twice in one month!
So far this month I have one triangle and three more blocks done for my Jane Stickle quilt. See my Last Post for a look at the triangle and to see how I am managing those pesky little melons.
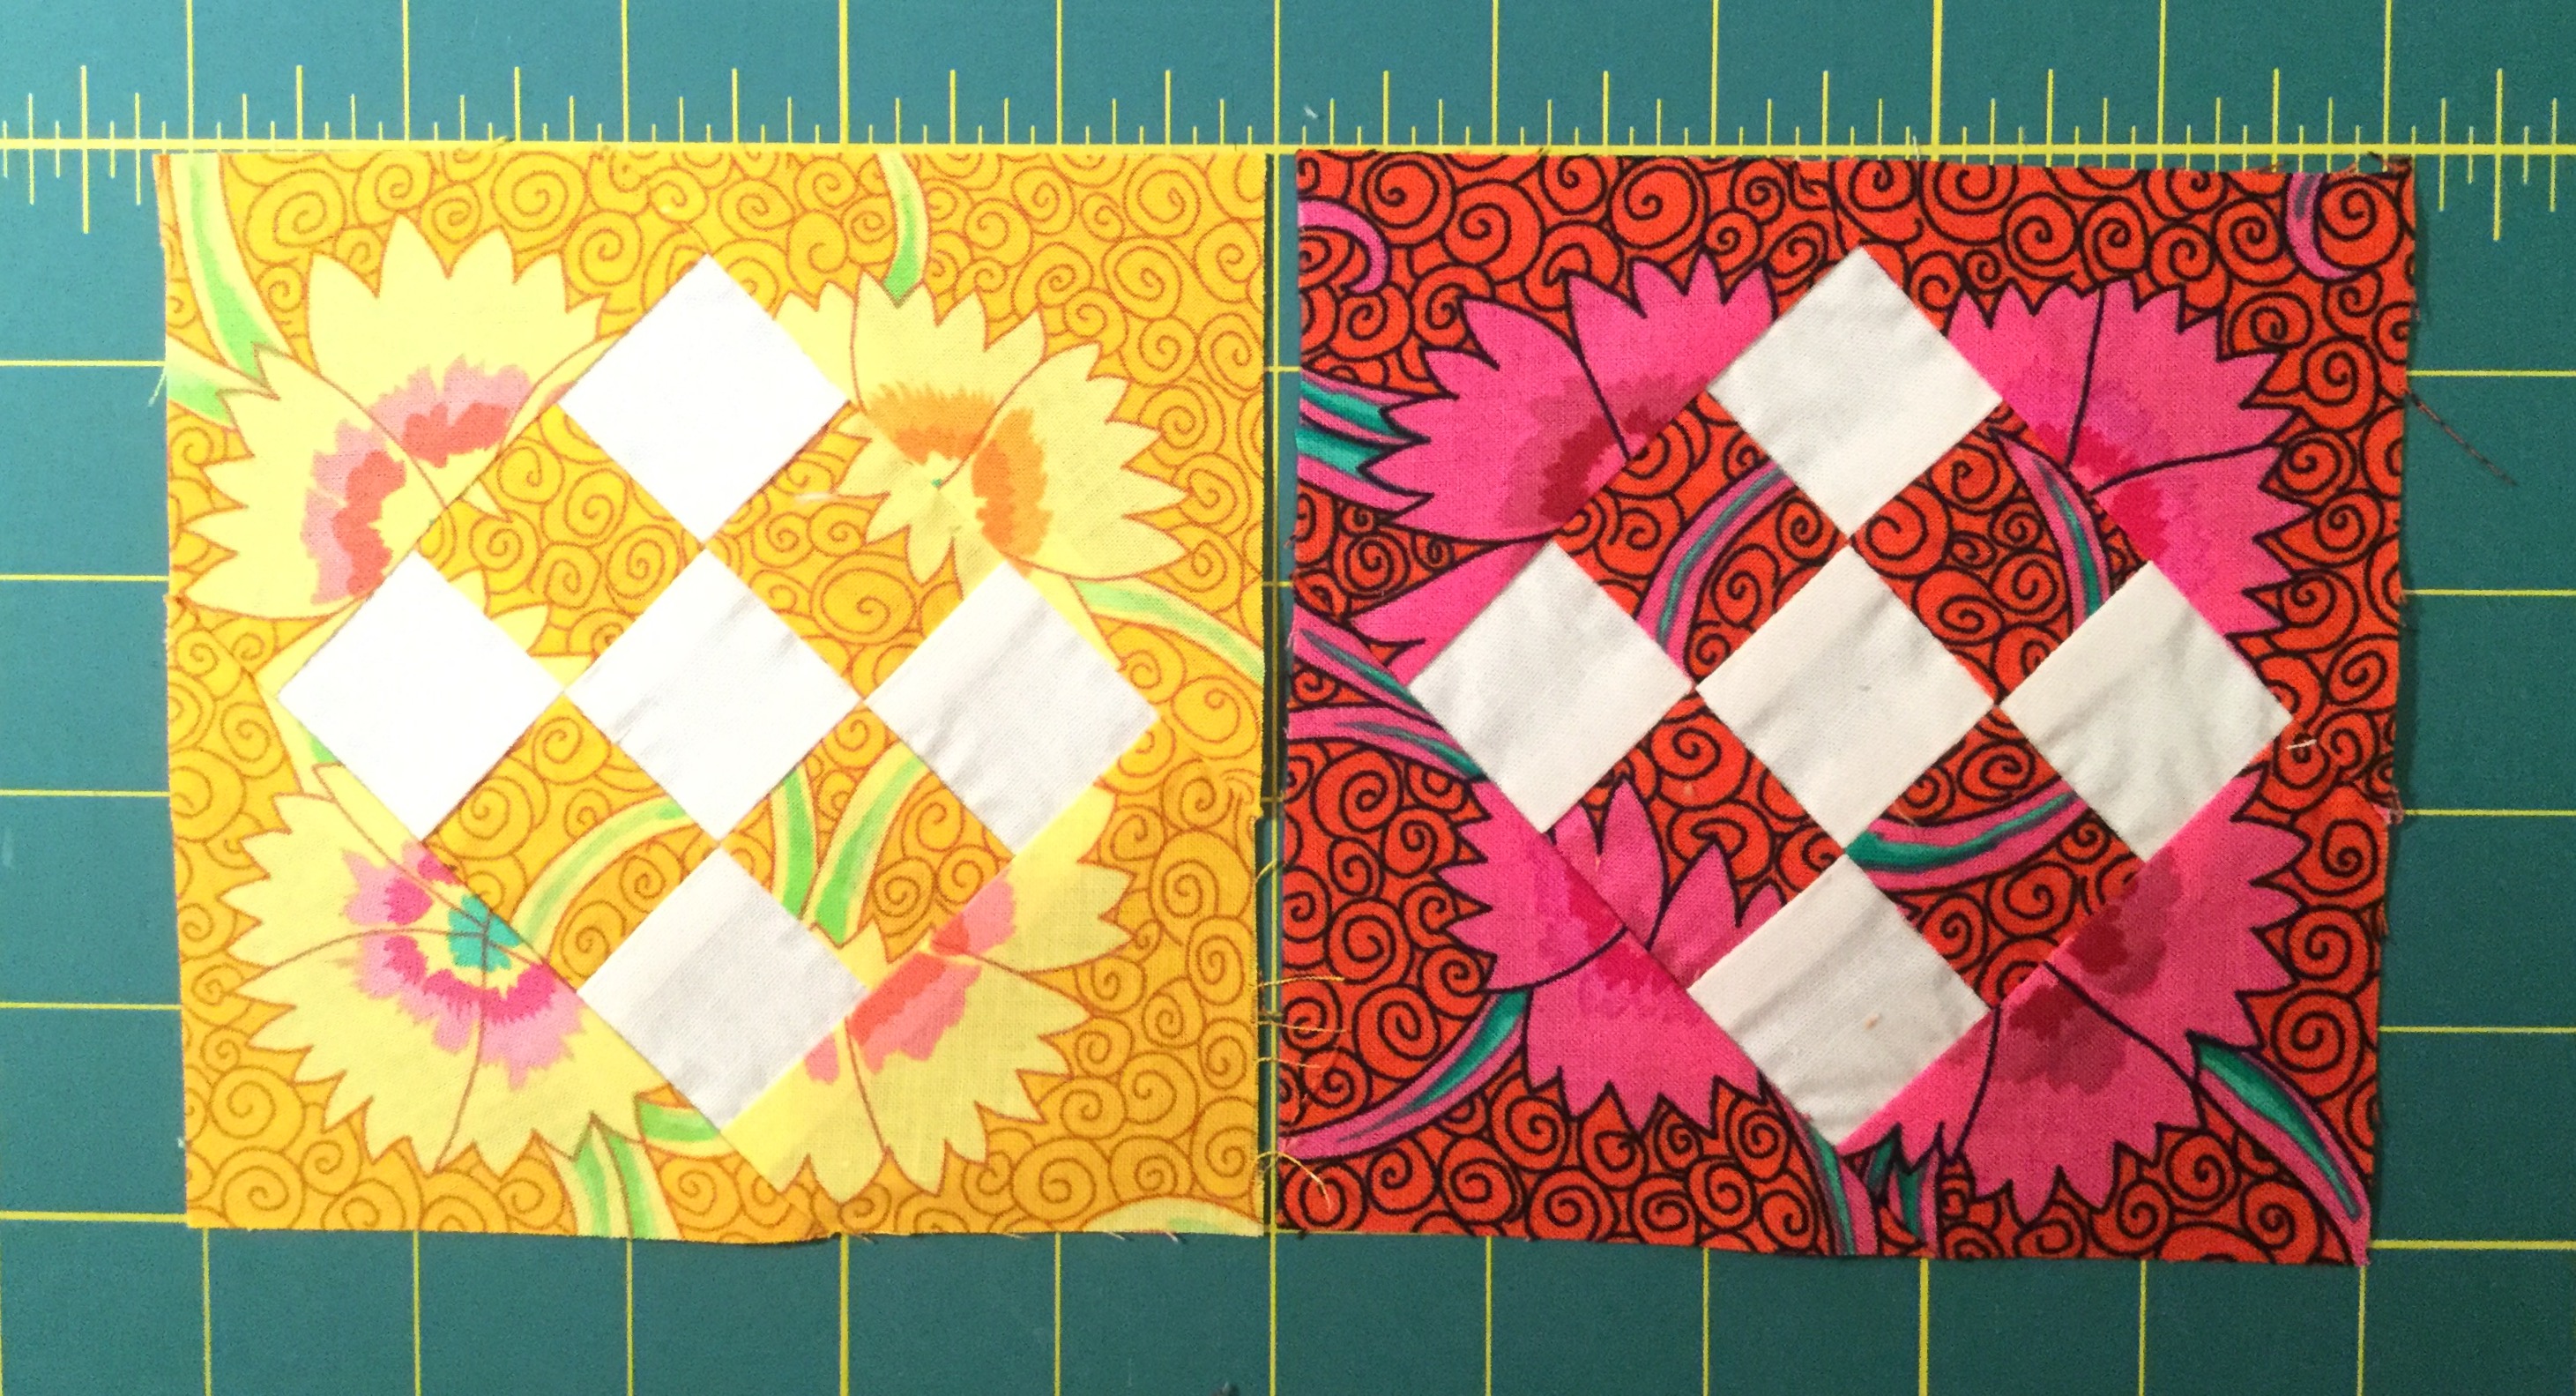
I started cutting fabric for one block and realized I had grabbed the red fabric meant for another. I have a color scheme set up for my blocks and I am staying with the block arrangement that Jane used so I needed to switch to yellow for the block. I went ahead and made both the red and yellow thinking I could add it to my extra blocks for a Baby Jane quilt. The result is that I really like the red block better. Much better color contrast.
Here are the other two blocks, H-11 and J-7 … Click for a full size look at them.


I have discovered that reverse appliquéing Jane melons in the middle of a seam is much easier than regular reverse appliqué and certainly much easier than appliqué, especially for those annoying teeny tiny melons! It’s much easier because you don’t have to manage the raw edges at the points; you are stitching up to the folded seam. I came across this method in the That Quilt Blog Tutorial for Block F-5. Once I realized how neat the melons came out I decided to use this method whenever possible, even modifying blocks to add seams if necessary.
Here is how I modified the TR-6 triangle to use this for a very small melon and a diamond:
I replaced the top triangle piece with two rectangles sewn together which will be trimmed at the end.


If you find an opportunity to use this method try it. I bet you will like it.
