Category Archives: Dear Jane

My Jane Quilt Revisited

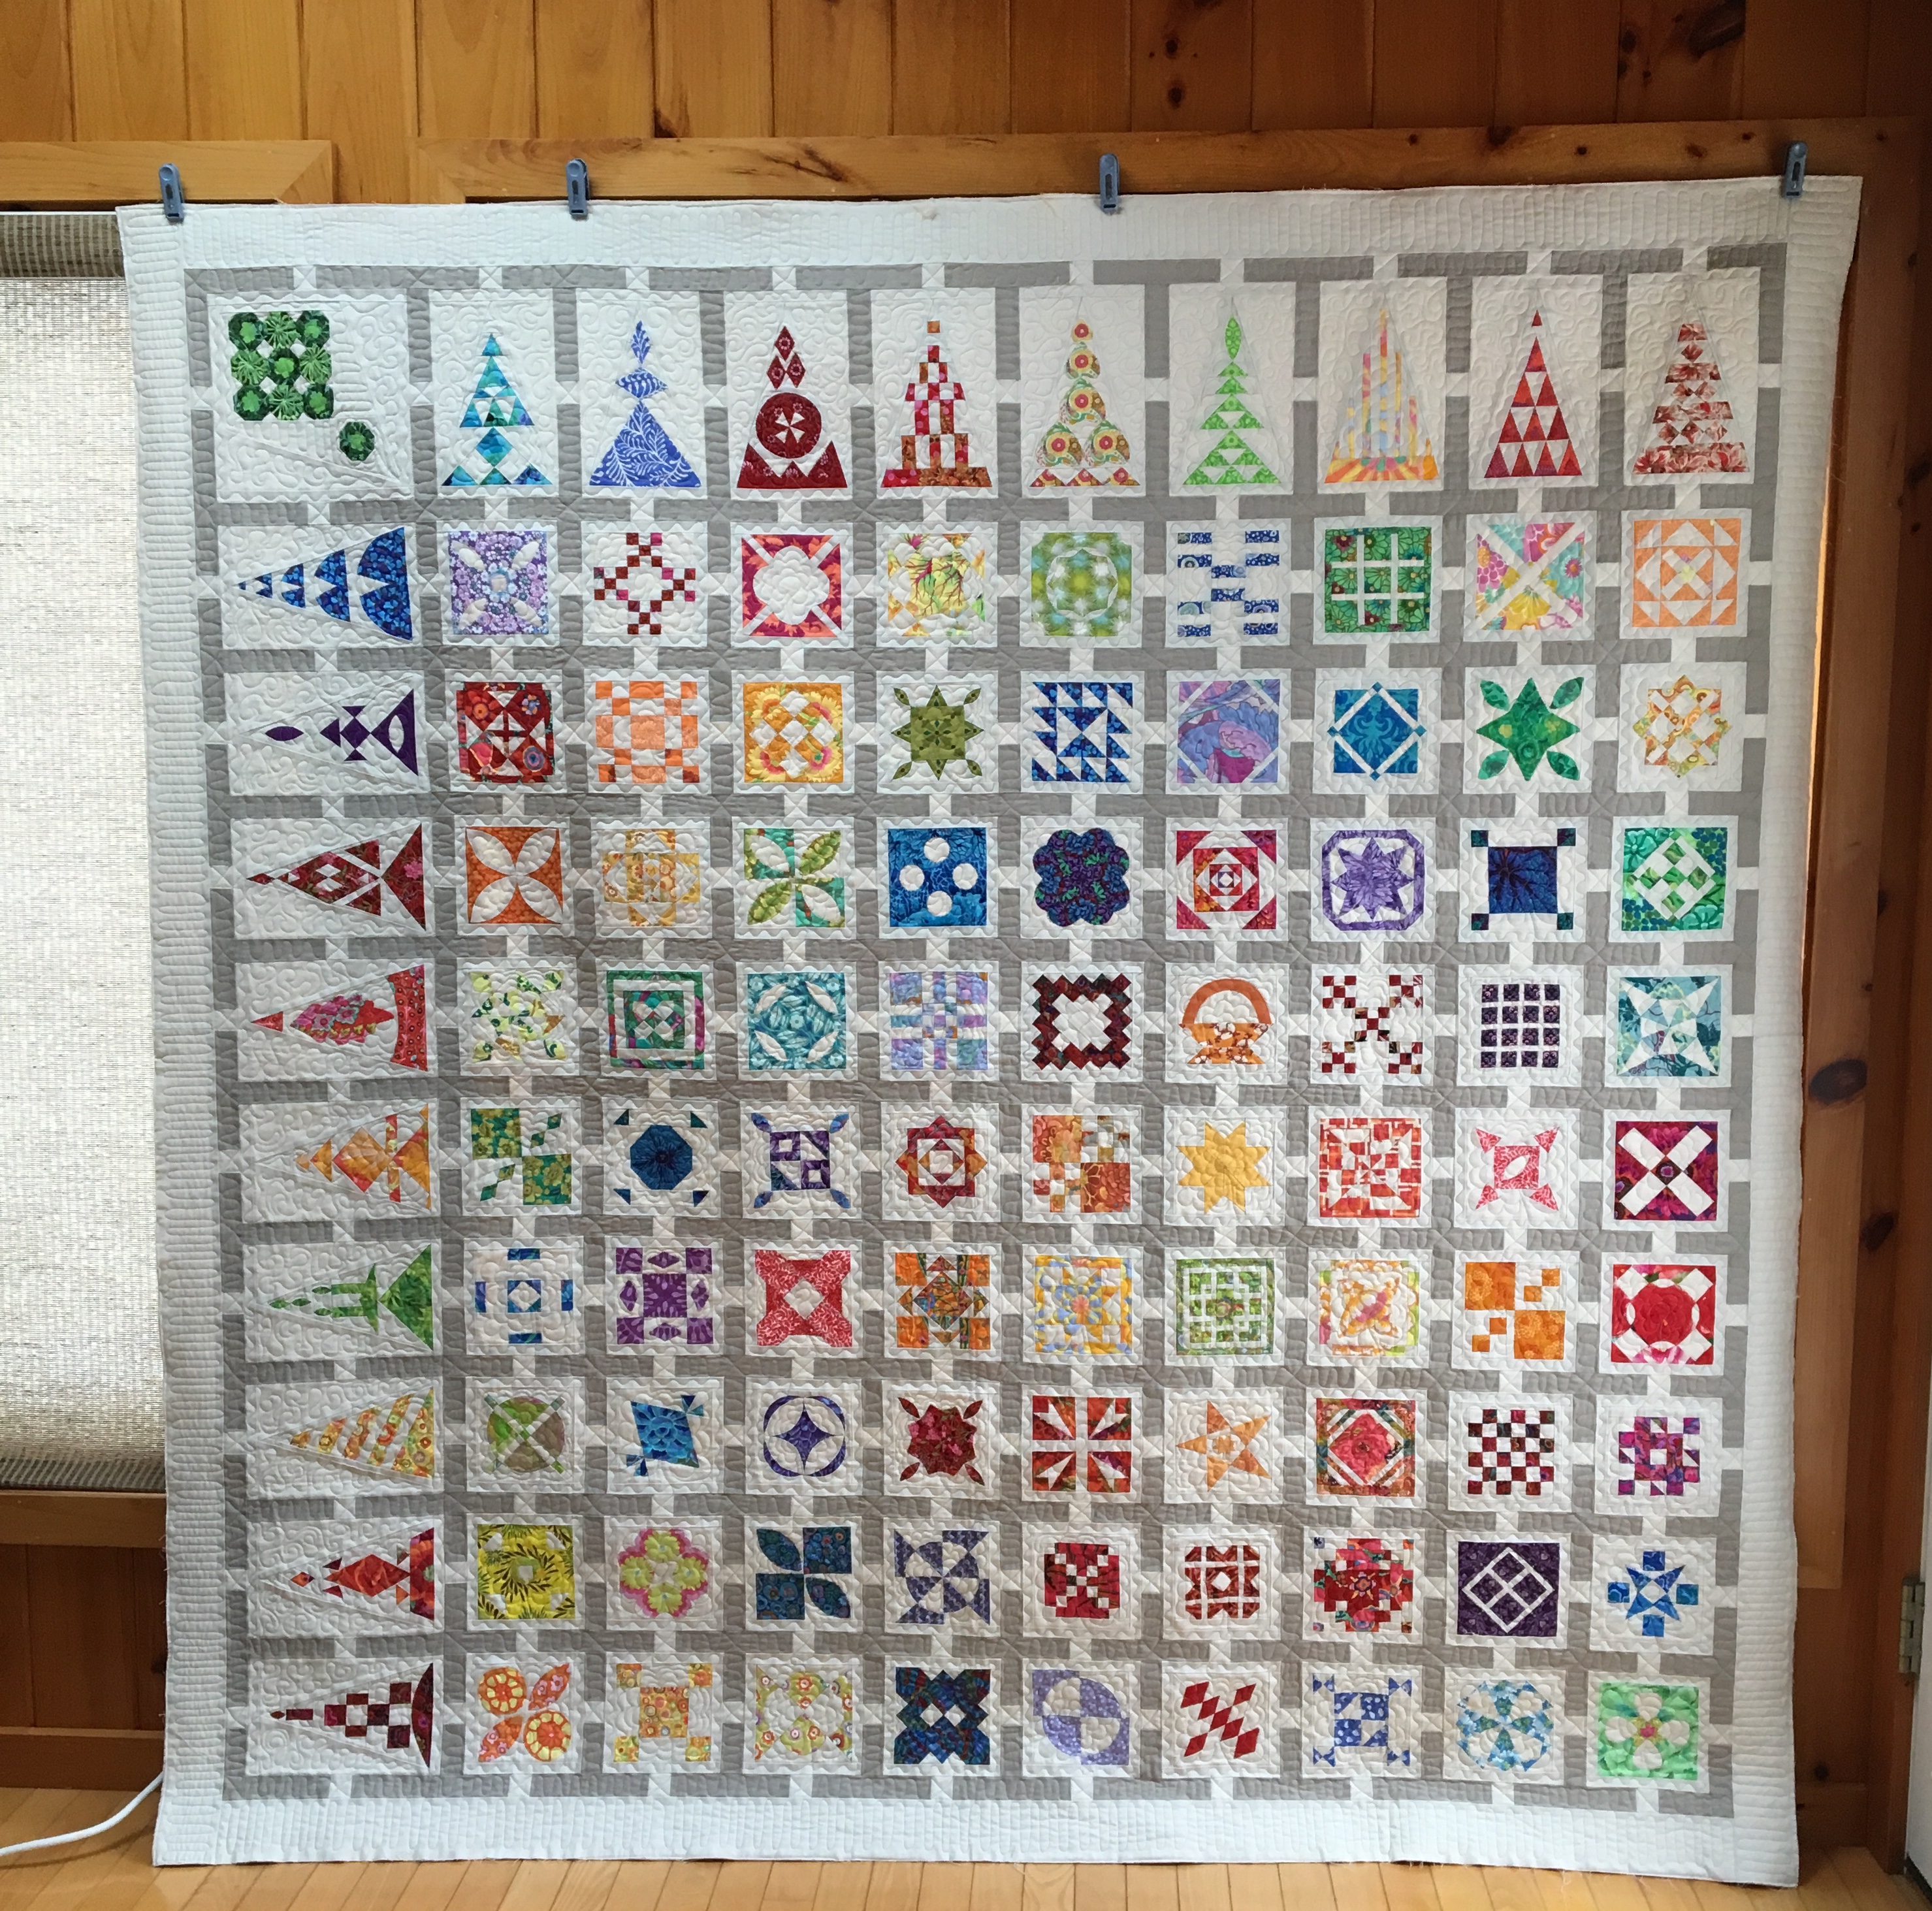
I had a comment on my Jane Quilt, which I am now calling “Thank You Jane”, because I learned so much about quilting during my Jane Journey.

The comment was regarding the sashing on the quilt. The sashing was inspired by Tula Pink’s City Sampler Book, as explained in a previous post.

I have come up with some drawings which should help to explain the dimensions I used for the Trellis Sashing. The first thing I did was add a 1/2″ border around each Jane Block to increase the size from 4.5″ to 5.5″ finished. From there I prepared the sashing as shown in the drawings. The dimensions shown are the unfinished sizes. Cut pieces the sizes shown.

Dearest Jane Stickle I finally finished my quilt

I just wanted to share my finished Jane Stickle quilt with the world.  It took me four years to make 115 Jane blocks.  The group I was meeting with every month was talking about doing a show with our finished quilts.  I really wanted to have a quilt ready for that but there was just no way that I was going to get another 110 blocks done in time!!  Then I saw one of Tula Pink’s layout for her City Sampler quilt and I was completely inspired.

Once I got the top put together I was happy, but, quickly became nervous with the thought of quilting it.  I had some ideas, but was not quite confident enough to dive in.  I made a small Jane with my left over blocks and quilted it.  I was pretty happy with the results, but waited until I had  done some free motion quilting on a few other quilts before I was brave enough to quilt my Jane.

Finally, almost one year later, I put the top on my longarm machine and just did it!  I actually enjoyed the whole process.  I was listening to some music while I quilted which put me in a great mood.  Vertical Horizon and Mood Taxi were a couple of the artists that came up on a playlist that my husband had put together for me.

So here is the almost final result taken before I put the binding on.

What Happened to Sweet Jane

After almost four years of playing with my Jane blocks I accumulated 81 squares, 18 triangles and 1 corner square for my quilt,  That does not include a few extras that were the wrong color, or that I just did not think were good enough for one reason or another.

The goal was to have everything done in four years and I just knew that I could never catch up. Of course, I was considering continuing on at my own pace.  Then I saw a Tula Pink City Sampler quilt on Pinterest with the Trellis sashing and I knew it was the perfect thing to do with my blocks.  I came up with a design to use the exact number of blocks that I had completed.  But, once I started playing with a color scheme it became obvious that I had too many green and red blocks.  So I did end up making a few more blocks,

So, now I have my own version of a Jane Stickle Quilt.  There is a lot of Kaffe Fassett fabric in this quilt, but I also started using whatever fabric I thought would work with my modernized version of a Jane Stickle Quilt.

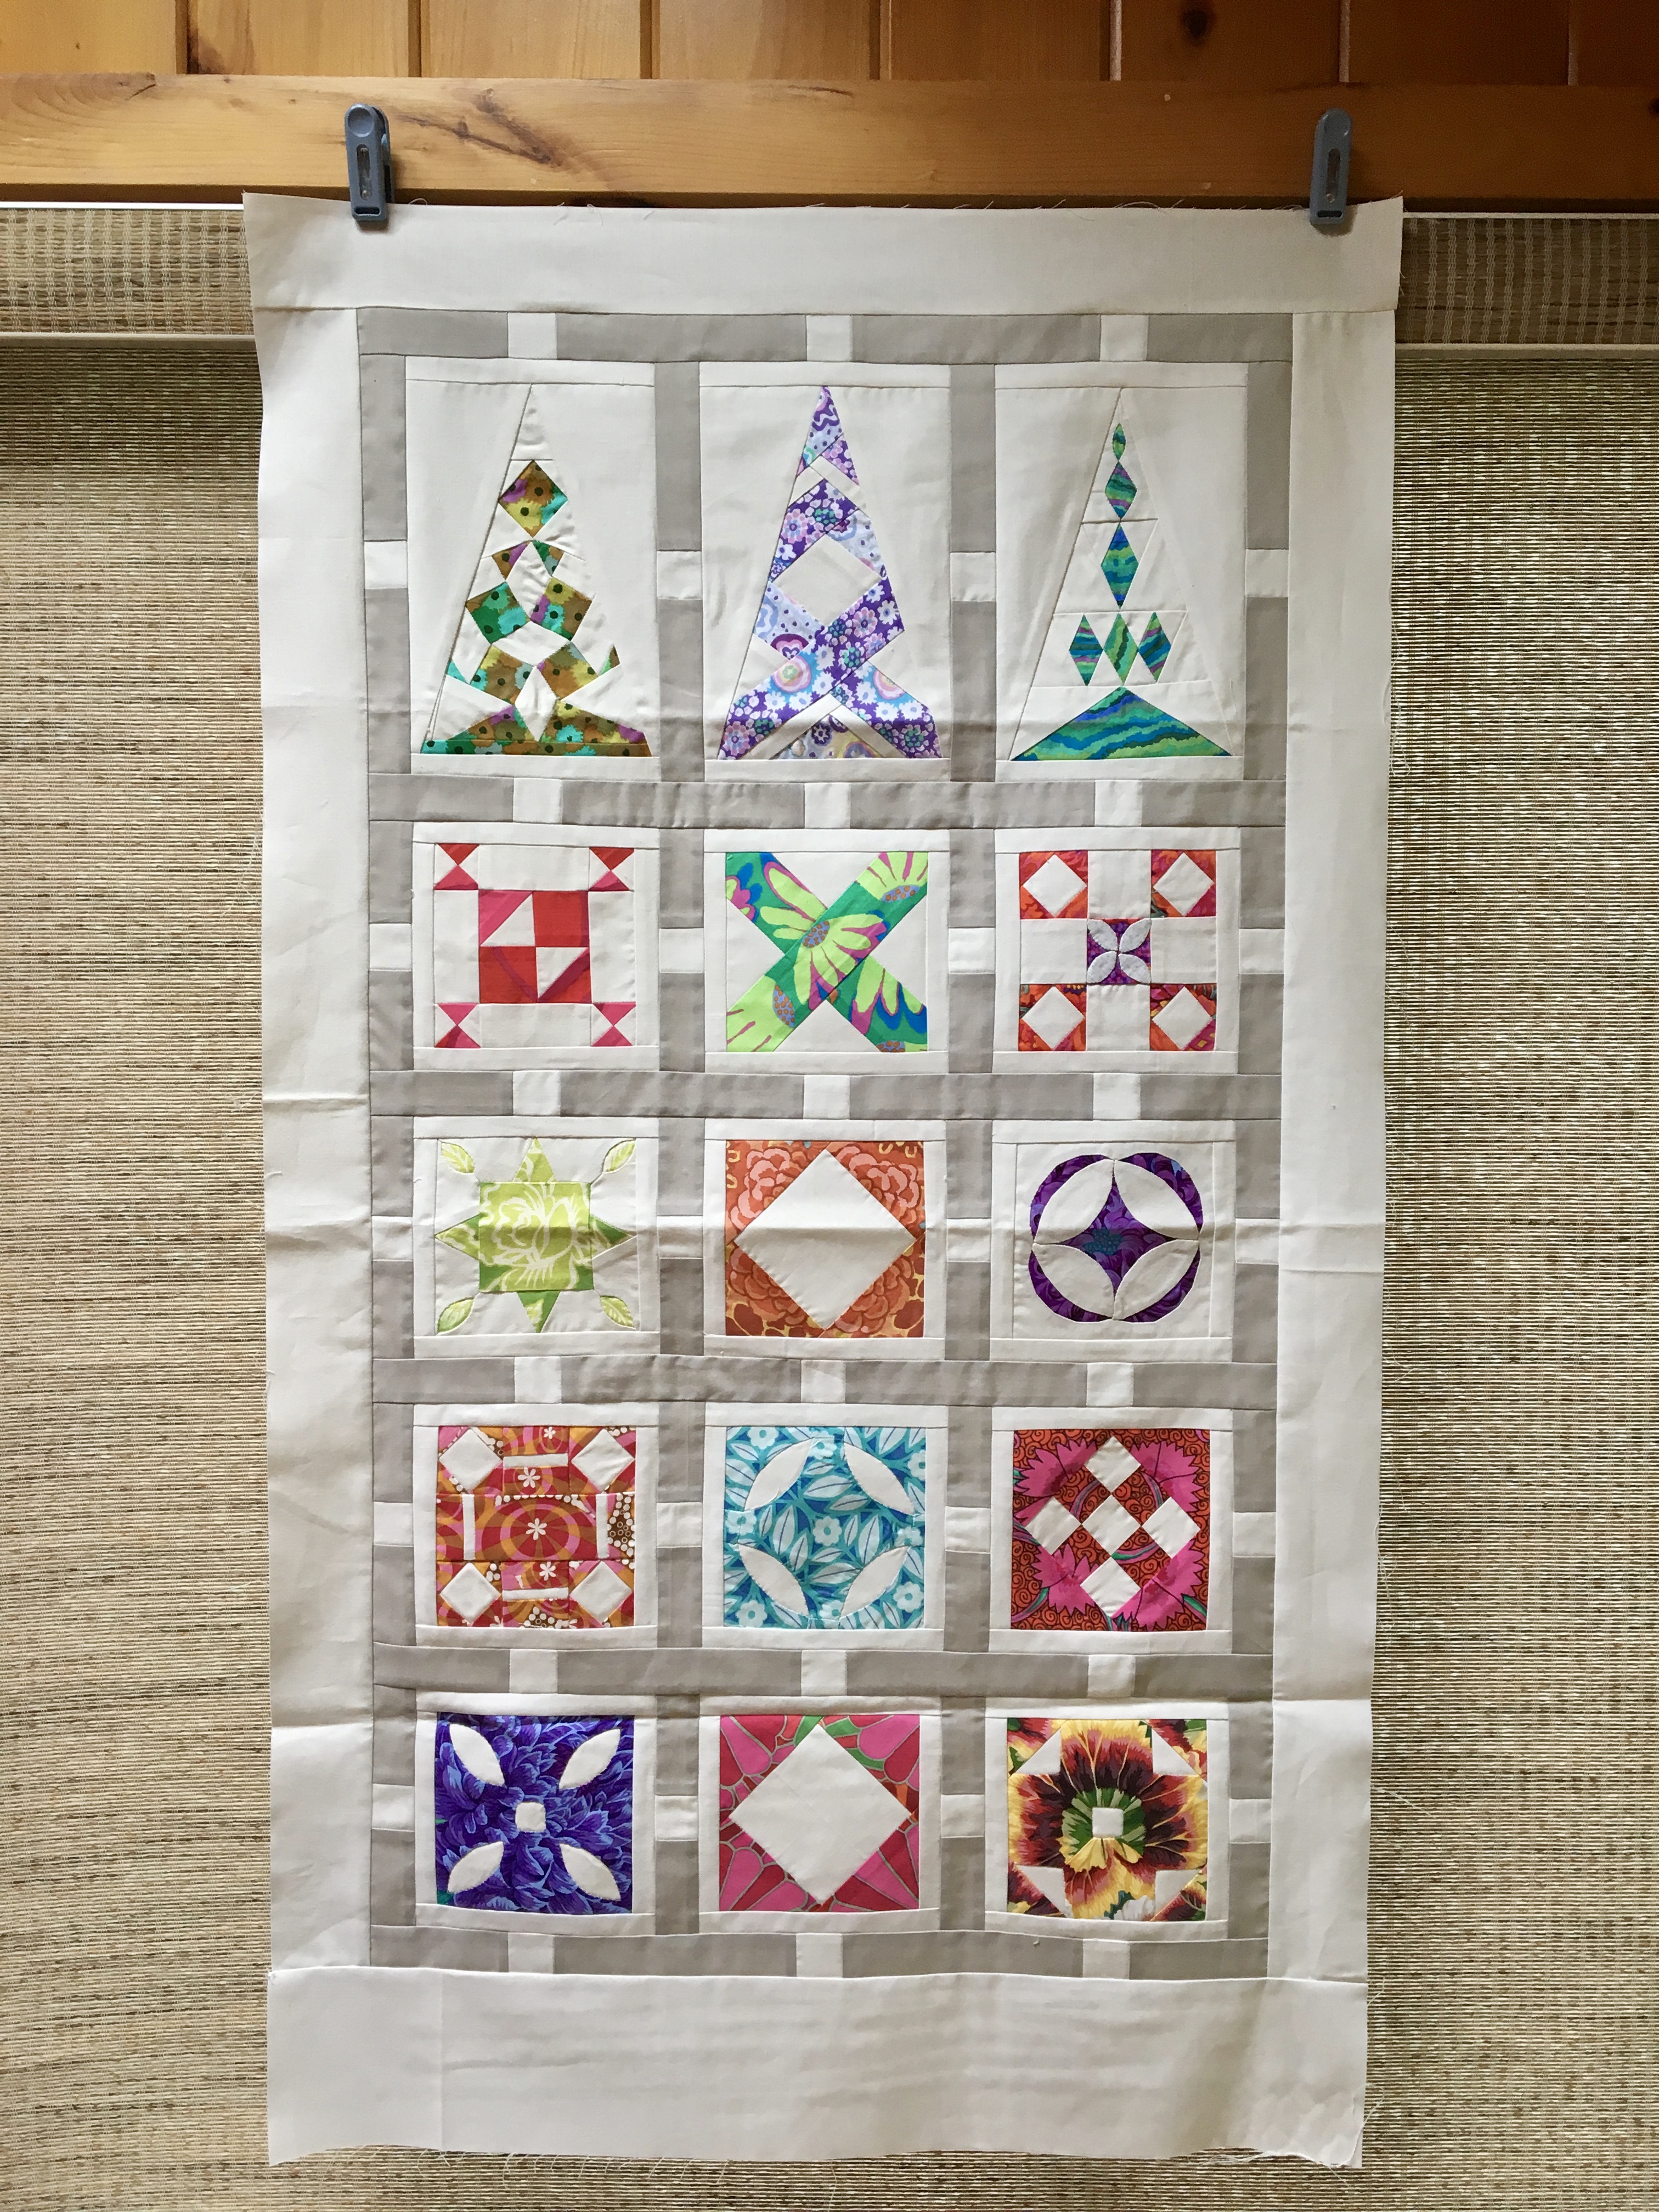
And then I put all those other left over blocks together to make a little quilt that I can practice my quilting on.

So stay tuned for my finished quilt which will occur once I am brave enough to dive into quilting it!

Reverse Applique for Susie Q

I used reverse applique for the melon on the Dear Jane LS6 Susie Q triangle. It would not be too hard to applique this melon but reverse applique on a seam gives you a very neat finish and this method is great for really small, impossible to applique melons.

The idea is set the melon into a seam so that you don’t have to turn raw edges under at a point.

For this block start with 2 pieces of background fabric that are 5½” by 2”. Sew them together on the long edge twice to reinforce the seam because you will be cutting into the seam for the applique.

Cut out your melon template for reverse applique. Fold the template in half with the shiny side out. Line the fold up on the seam line of the background fabric and press in place without placing your iron on the shiny side of the template that is on top! 😉

Carefully cut out your melon shape leaving a ¼” seam allowance.

Remove the template, open up the background piece and press the seams open. Unfold the template and iron it on the front of the background piece centered over the cut out for the melon. Carefully rip out ¼” of the seam at the points so the seam allowance can be folded back for appliqueing.


For this triangle block place a 3” x 1 ½” piece of print fabric behind the background fabric centered under the cut out. Baste the pieces together and reverse applique the melon. Trim the excess print fabric on the back leaving a ¼” seam allowance. Rotary cut the background fabric at one end of the melon leaving a ¼” seam allowance. Sew this piece to top of your triangle with the melon centered and lined up correctly. For this triangle the rest of the block was paper pieced.

To finish the triangle trim using your Dear Jane Triangle ruler.

I have used this method on a few blocks. When I see a small melon that needs to be appliqued I try to figure out a way to use this method!


A Jane Stickle Block Turorial

I used reverse applique for this block. A bit fussy, but I was happy with the finished block.  I have photos from two different blocks since I did not get enough photos with my first block!  The tutorial assumes you have access to Dear Jane Templates from the Electric Quilt software, or you have drawn them yourself.

Cut one 6 ½” square of print fabric and cut twice diagonally into 4 triangles
Cut one 3 ½” square of print fabric and cut twice diagonally into 4 triangles
Cut on 6” square of background fabric

Sew the large print triangle pieces back together to make a square with diagonal seams. This will allow you to reverse applique on seams and avoid turning under raw edges in the corners.

Sew each seam twice to reinforce them because the ends will need to be ripped out so they can be folded to set in the applique.

Center your Dear Jane ruler on the square with the diagonal seams lined up. Draw a line around the edges of the ruler to mark cutting lines for the block. This will allow you to correctly position the corner triangles.

image

Cut out a square and triangle template printed on freezer paper. Cut out on the cutting lines and cut out the center on the seam lines.

Iron the template square in the center of the pieced square. Carefully cut out the center leaving a ¼” seam allowance. Then carefully rip out the seams up to the corners of the template. Finger press the seam allowances to the back.

Line the triangle template up on the seam in each corner to mark cutting lines. The point will go towards the center. The edges on each side of the template should line up with the outside cutting lines drawn on the pieced block.

Press the template into each corner and then draw cutting lines ¼” from the inside edges of the template. Once each corner is marked, cut out the corners on the cutting lines.

Carefully rip out ¼” of the seam in each corner so that the seam allowance can be folded back. Draw the seam lines on the inside and press the ¼” seam allowance to the back in each corner.

Now you can finally applique/reverse applique this piece to the background square!

Baste the print square to the background piece and reverse applique the center and each corner. Once you have finished appliqueing carefully cut back the background fabric diagonally in each corner by lining your ruler up with the ends of the cutting lines on the print piece.

Sew each of the small print triangles to the corners. Trim the block to 5” with your Dear Jane ruler by matching the diagonal seams with the guidelines on the ruler.

Wow! They are both beautiful!! Which one should I use?