Category Archives: Dear Jane

Catching up with Jane

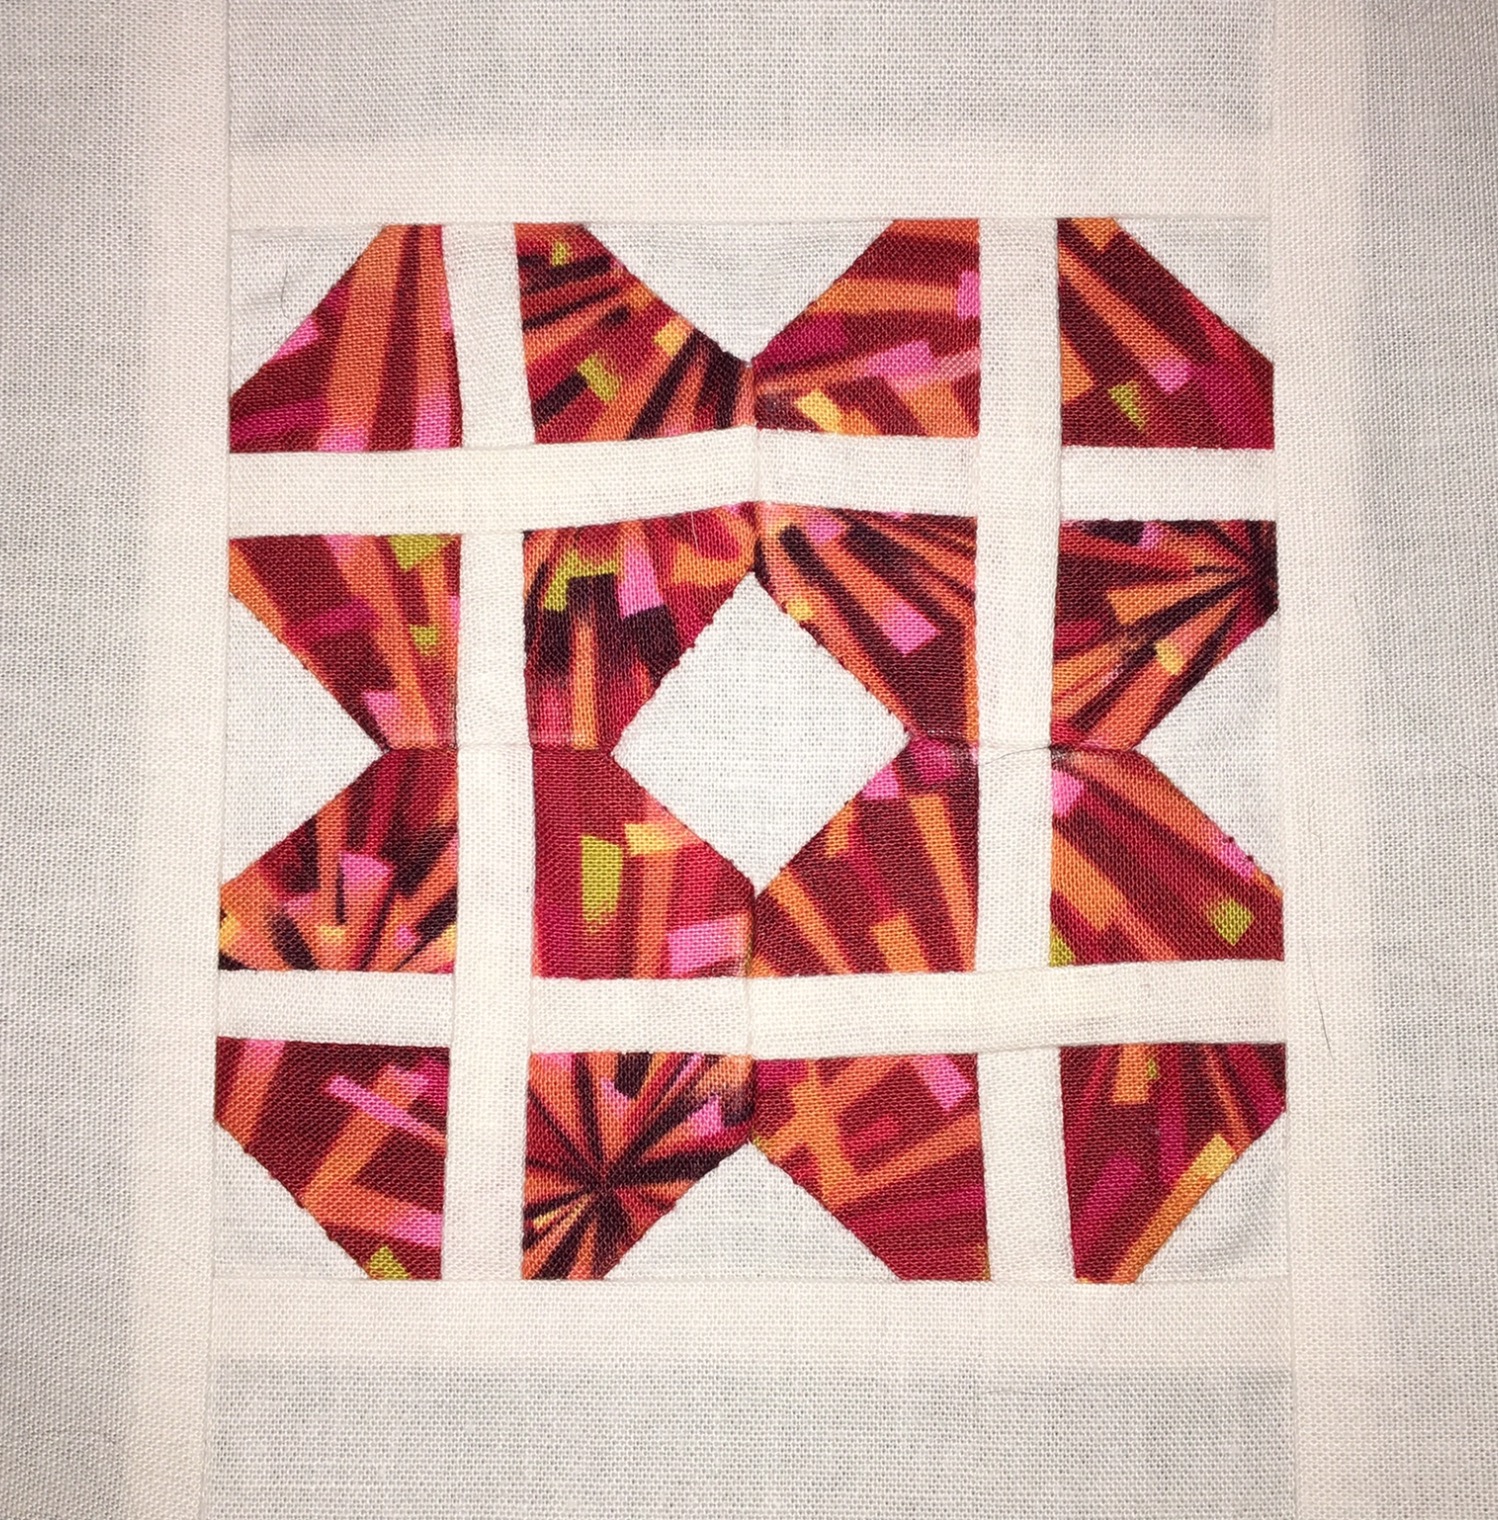
I am perpetually behind on my Jane blocks.  Our group at Quilters Common is assigned 5 blocks each month.  At one point rather early in this journey I became preoccupied with other matters of life to include work and various quilting endeavors.  So, I remain behind by at least 80 blocks and instead of proudly proclaiming that I have completed 91 Dear Jane blocks, I am always lamenting how far behind I am.

No more of that!  91 is awesome and I love each and every block.  Some are more perfect than others, but the wonkiness here and there can be attributed to many things; learning new techniques, or maybe my mood at the time, or the show on TV that I was watching with my husband …. How precise can you be when yet another bummer is occurring on Game of Thrones?

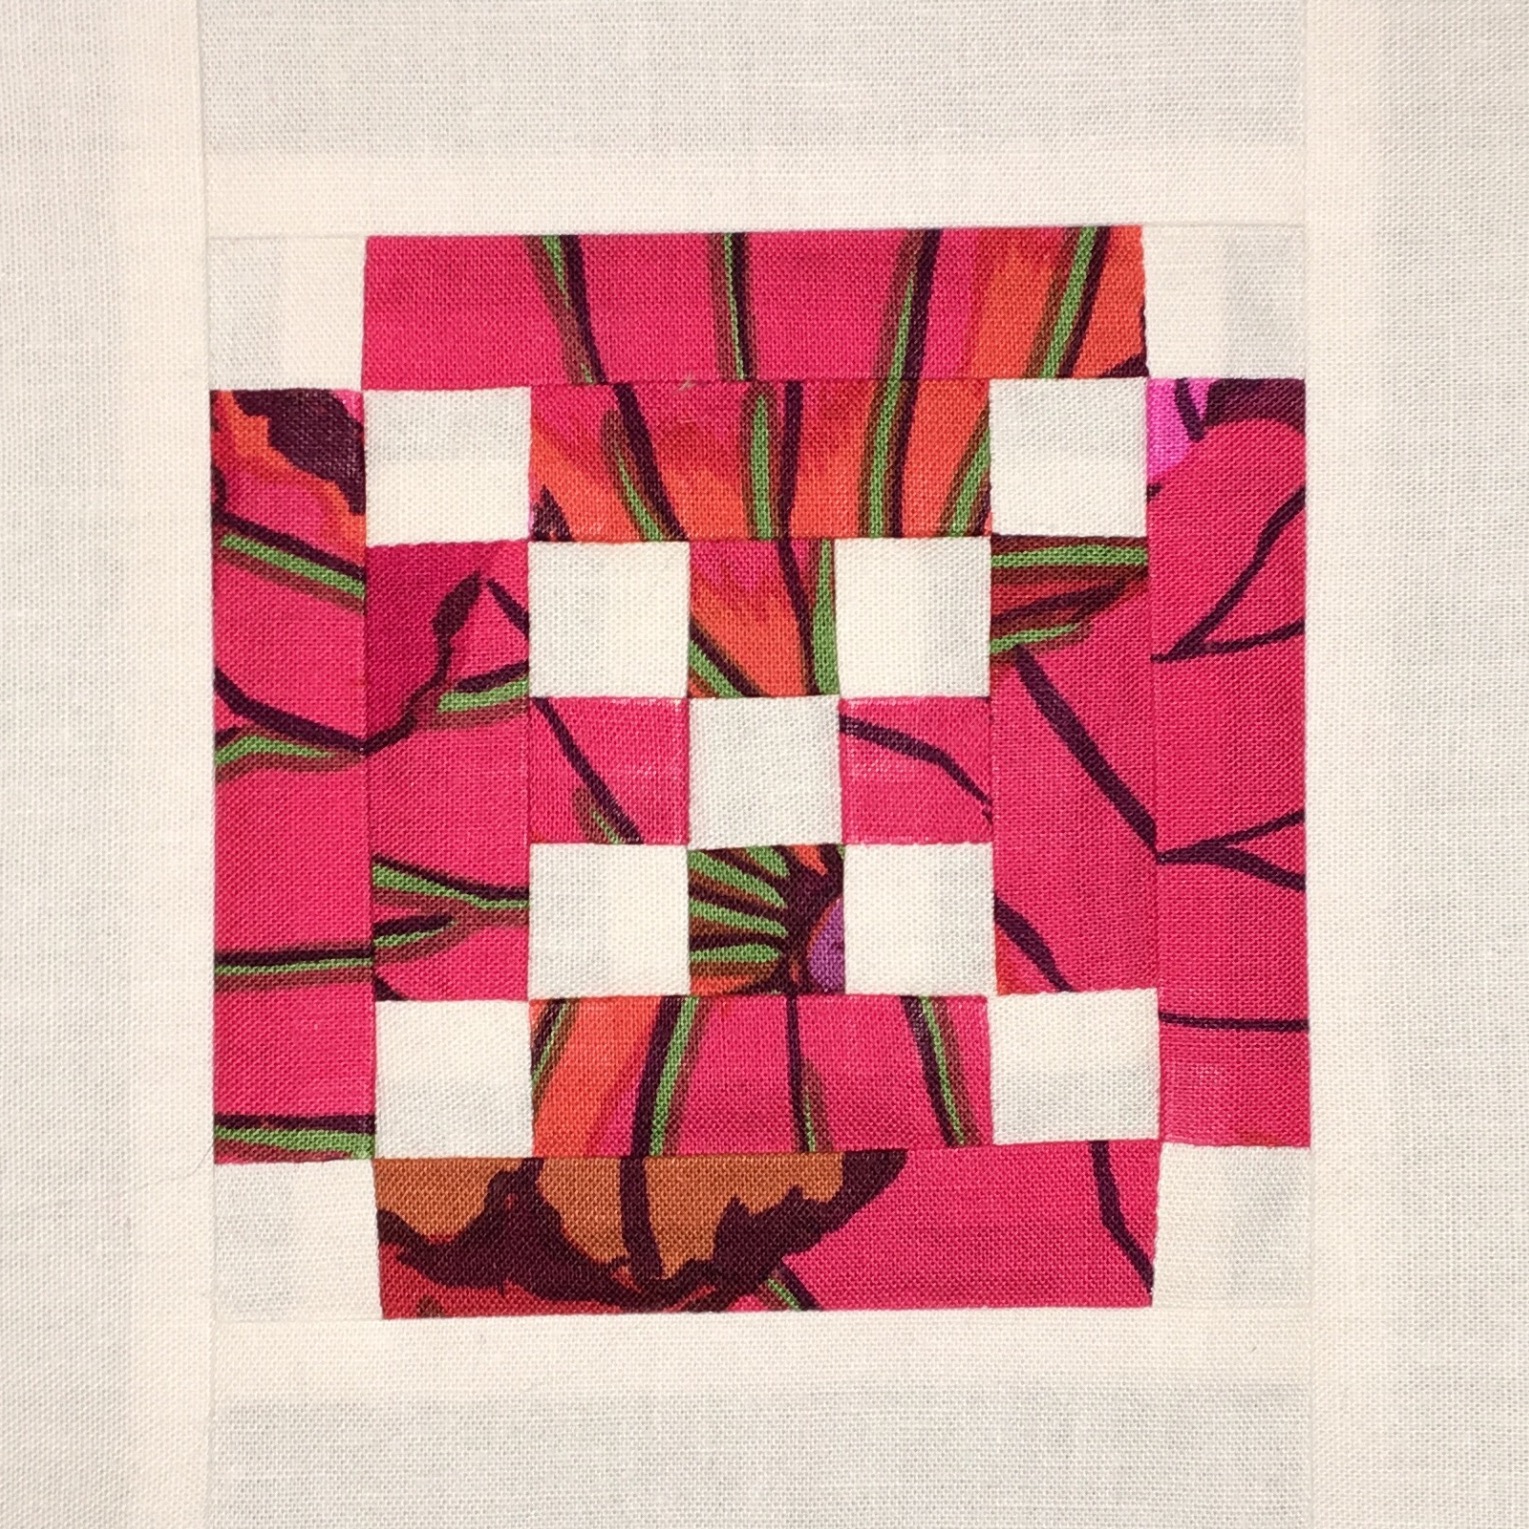
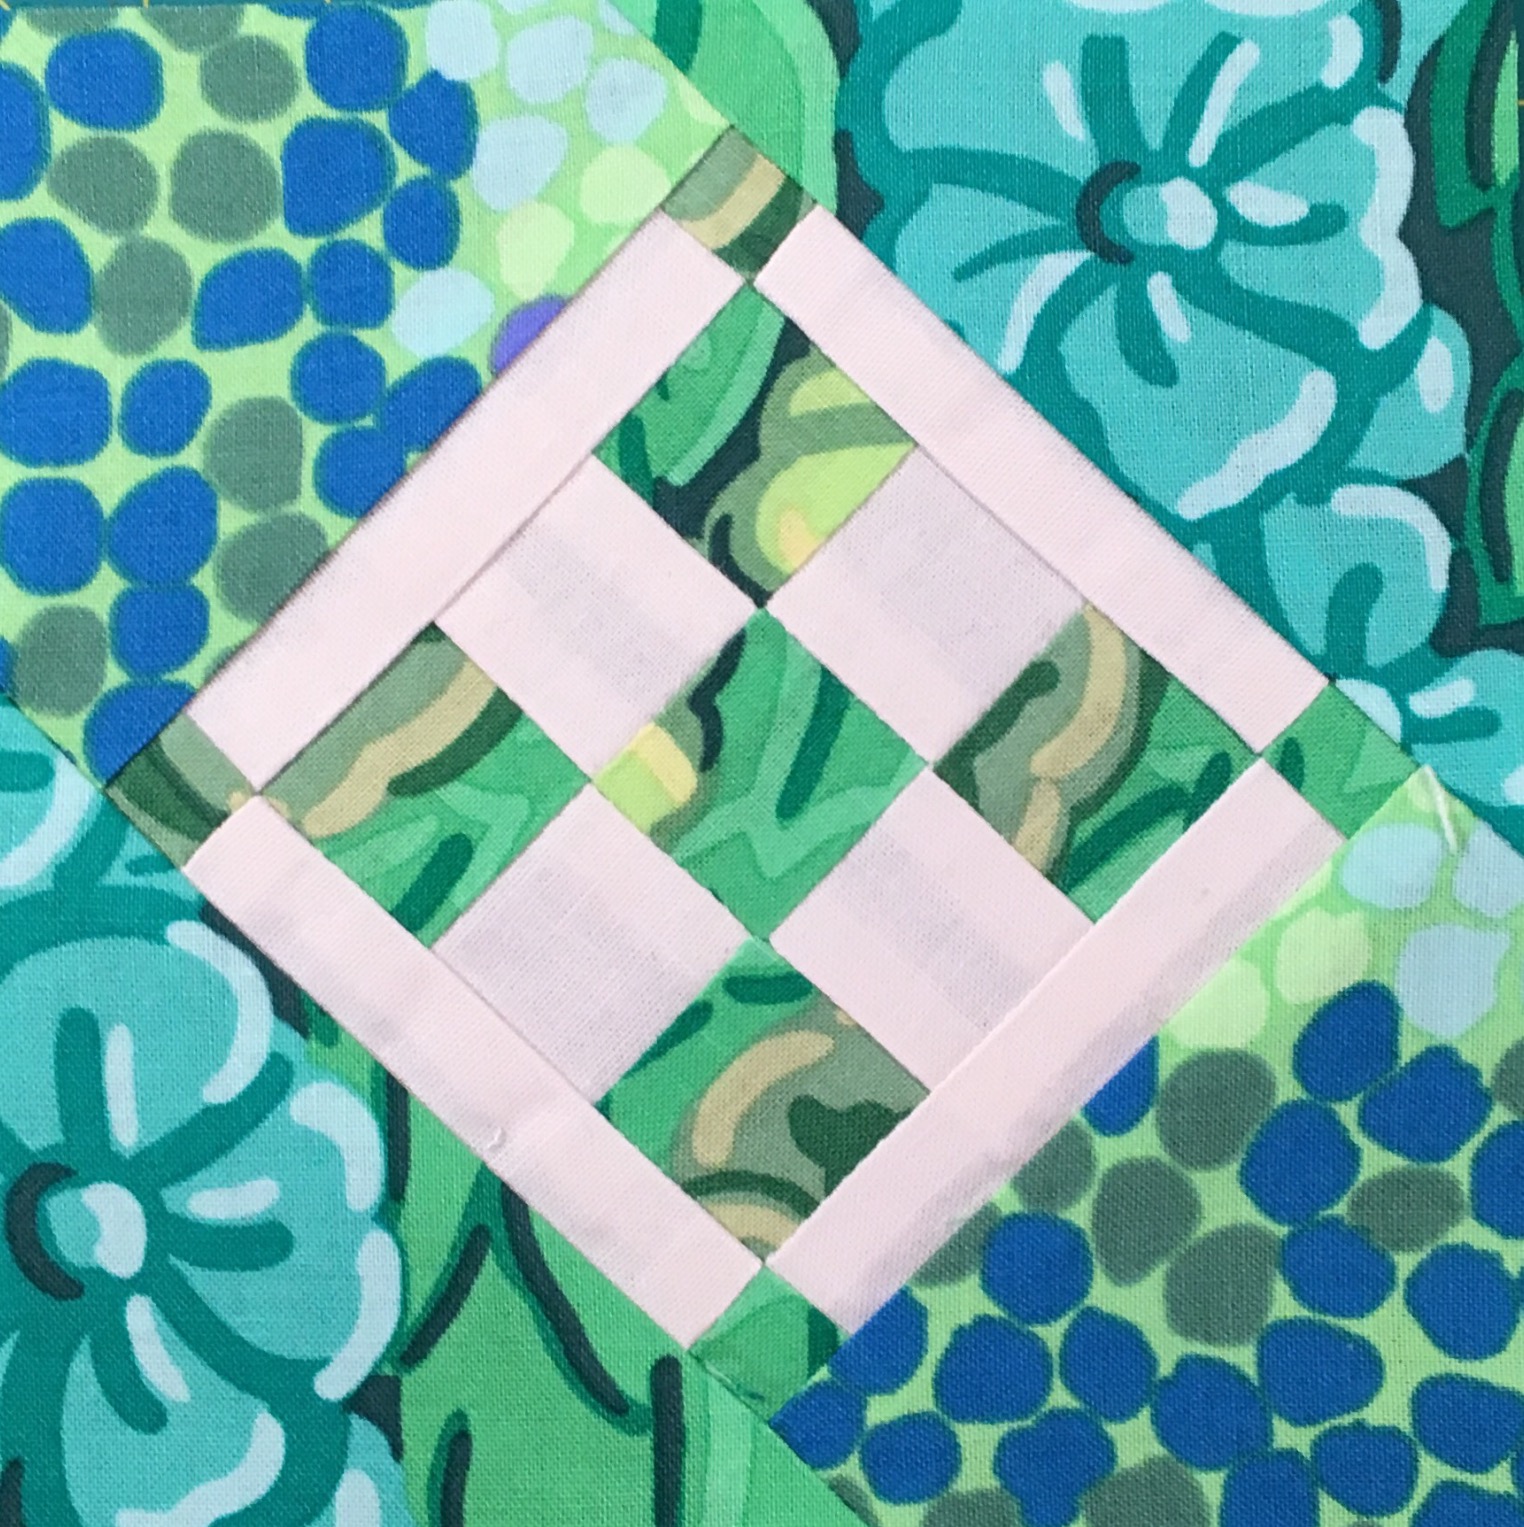
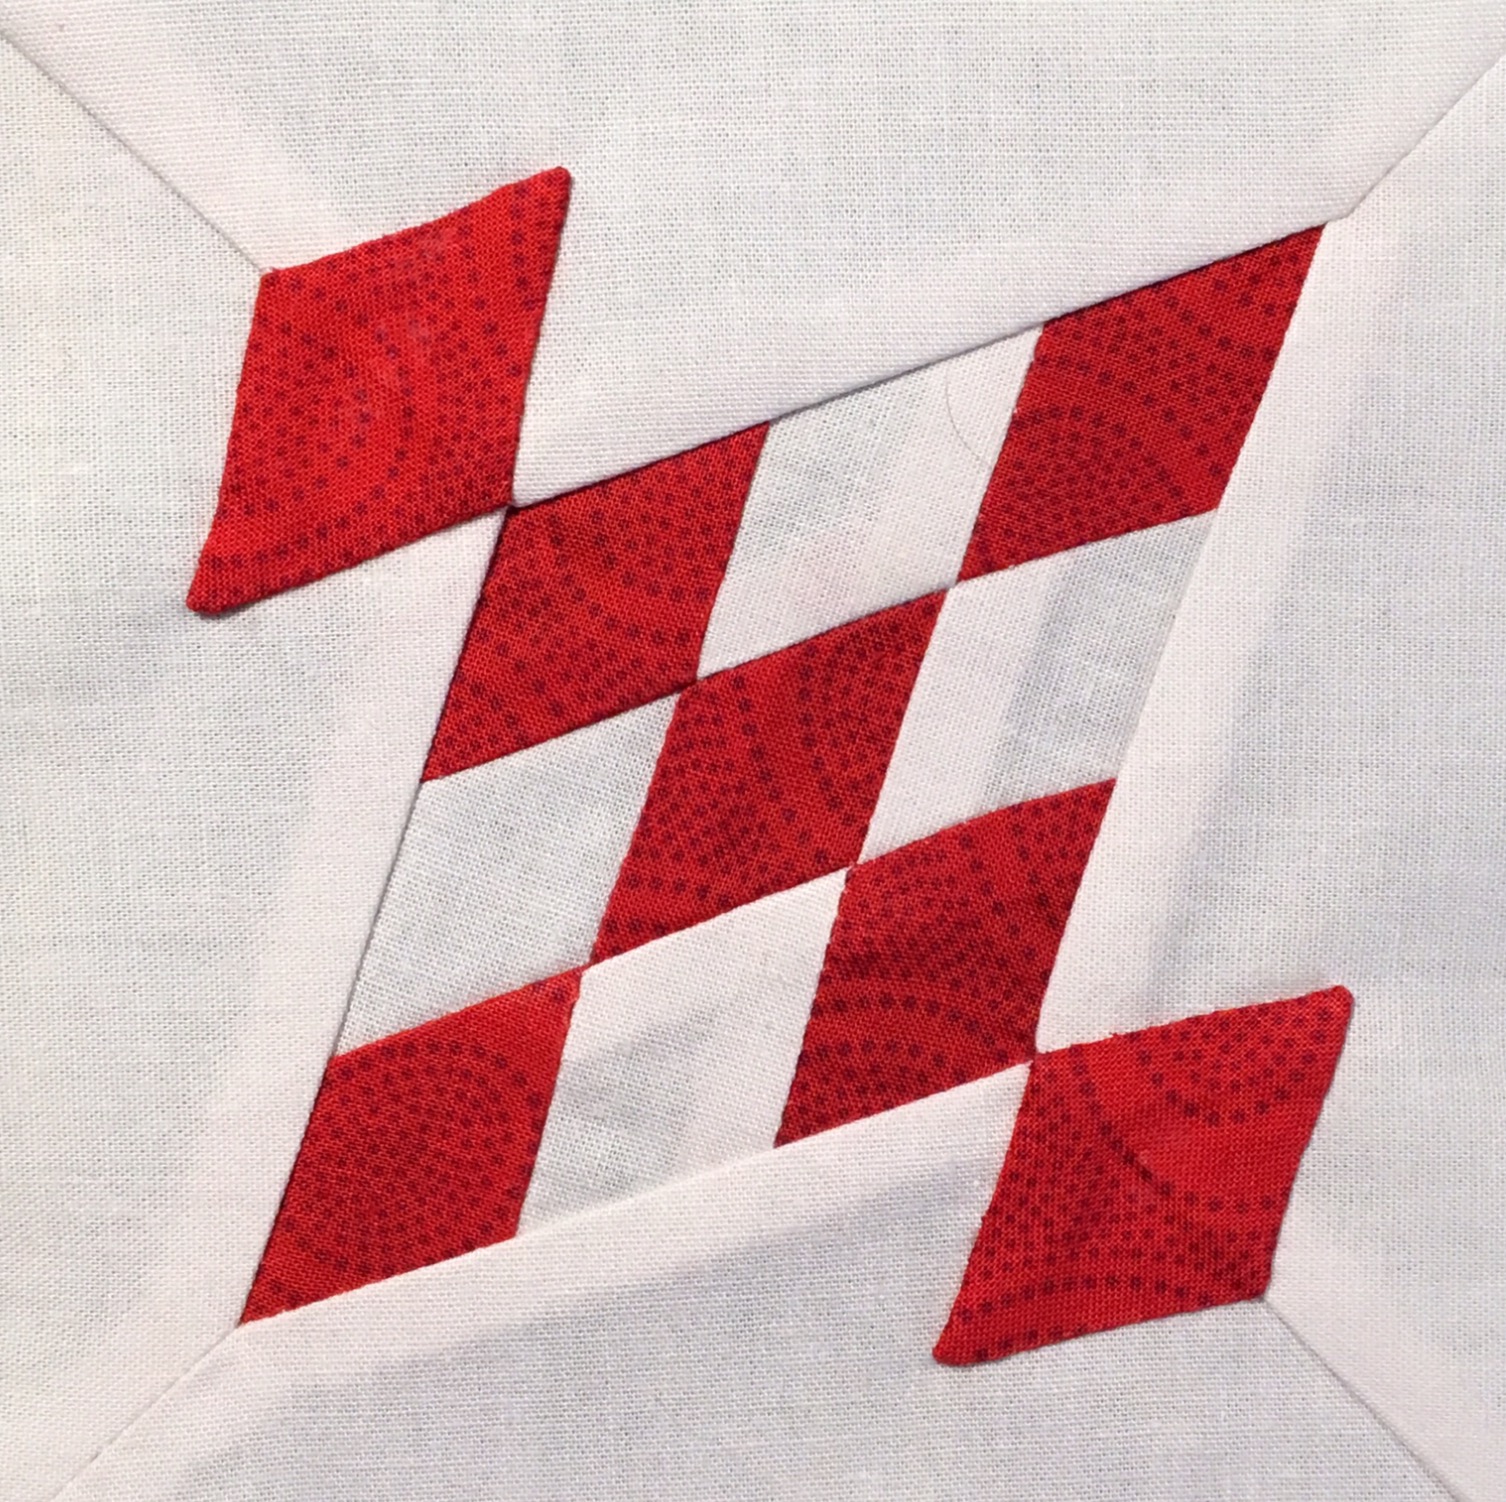
In celebration of my current accomplishments, I am sharing these finished Jane Blocks with you.


One Kite and Three Triangles

Here is the latest on my Jane Blocks.

I finally decided to do one of the corner kite blocks.  My thinking is that I have enough triangles finished to justify this accomplishment.  A wonderful reward!.  This block has octagon pieces.  I glue basted the seam allowances to card stock templates, then used Best Press to set the seams before removing the templates.  The octagons were then hand pieced together and appliquéd to the background.  I am happy with the finished block.

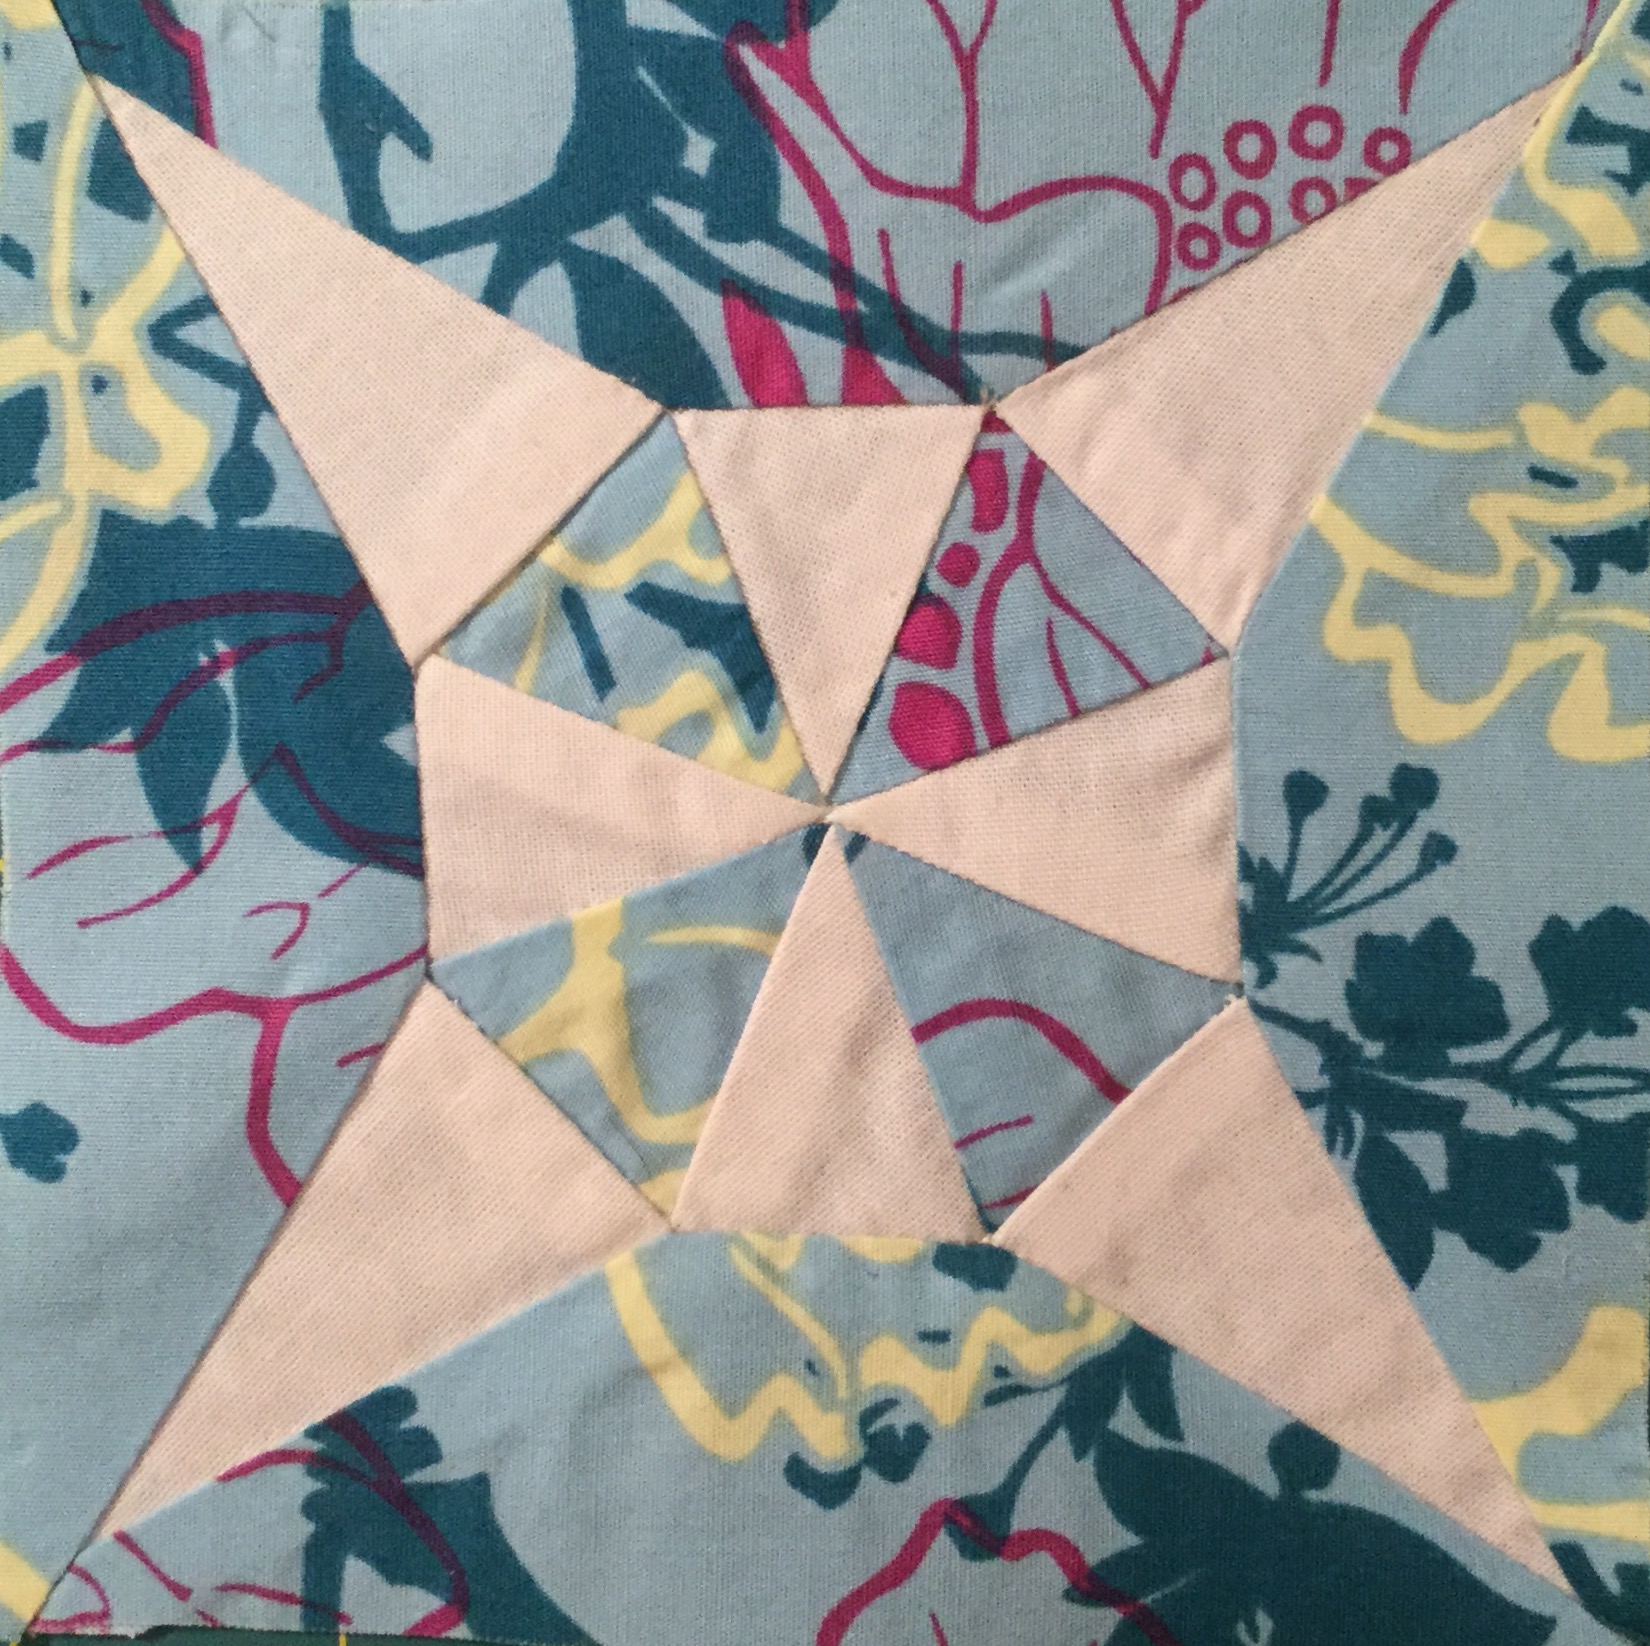
The three triangles all have some hand piecing as well as machine piecing.  BR-9 needed to be adjusted because I cut the points off of the curved background pieces, so the bottom section is wider than it should be.  This happens sometimes when you cut out the Dear Jane templates exactly as printed from the Electric Quilt software.  I am not too upset about it and am not planning to redo this one.

My color scheme for the quilt has yellow for this block.  I used a yellow with pink to add some color, so the hearts are not as obvious.  The seams for the hearts were also glue basted to templates before setting the seams.

The next block was quite an adventure.  First the diamonds and middle triangle at the bottom are appliquéd to a 6.5″ x 8.5″ piece of background fabric.  The center circle started with a 6.5″ pinwheel block.  The melons started as 3.5″ squares with just the inside curve cut on one side of each square.  The curved edges were appliquéd to the pinwheel block resulting is a 6″ square for the center.  Then the block was reverse appliquéd over the center piece.  It was not my idea.  Pat K. from Quilters Common came up with this fabulous method and it is just about the same as the one used on the That Quilt blog.  It is time consuming but was not frustrating. I am happy with this one, too.
The November Jane Wrap-Up

You have already seen some of my November Jane Blocks and my cool way to Reverse Appliqué Melons but here are the rest of blocks I finished for November:

And, yes, I did use my Reverse Appliqué method again! Twice in one month!

Jane Blocks and Color Contrast

So far this month I have one triangle and three more blocks done for my Jane Stickle quilt.  See my Last Post for a look at the triangle and to see how I am managing those pesky little melons.

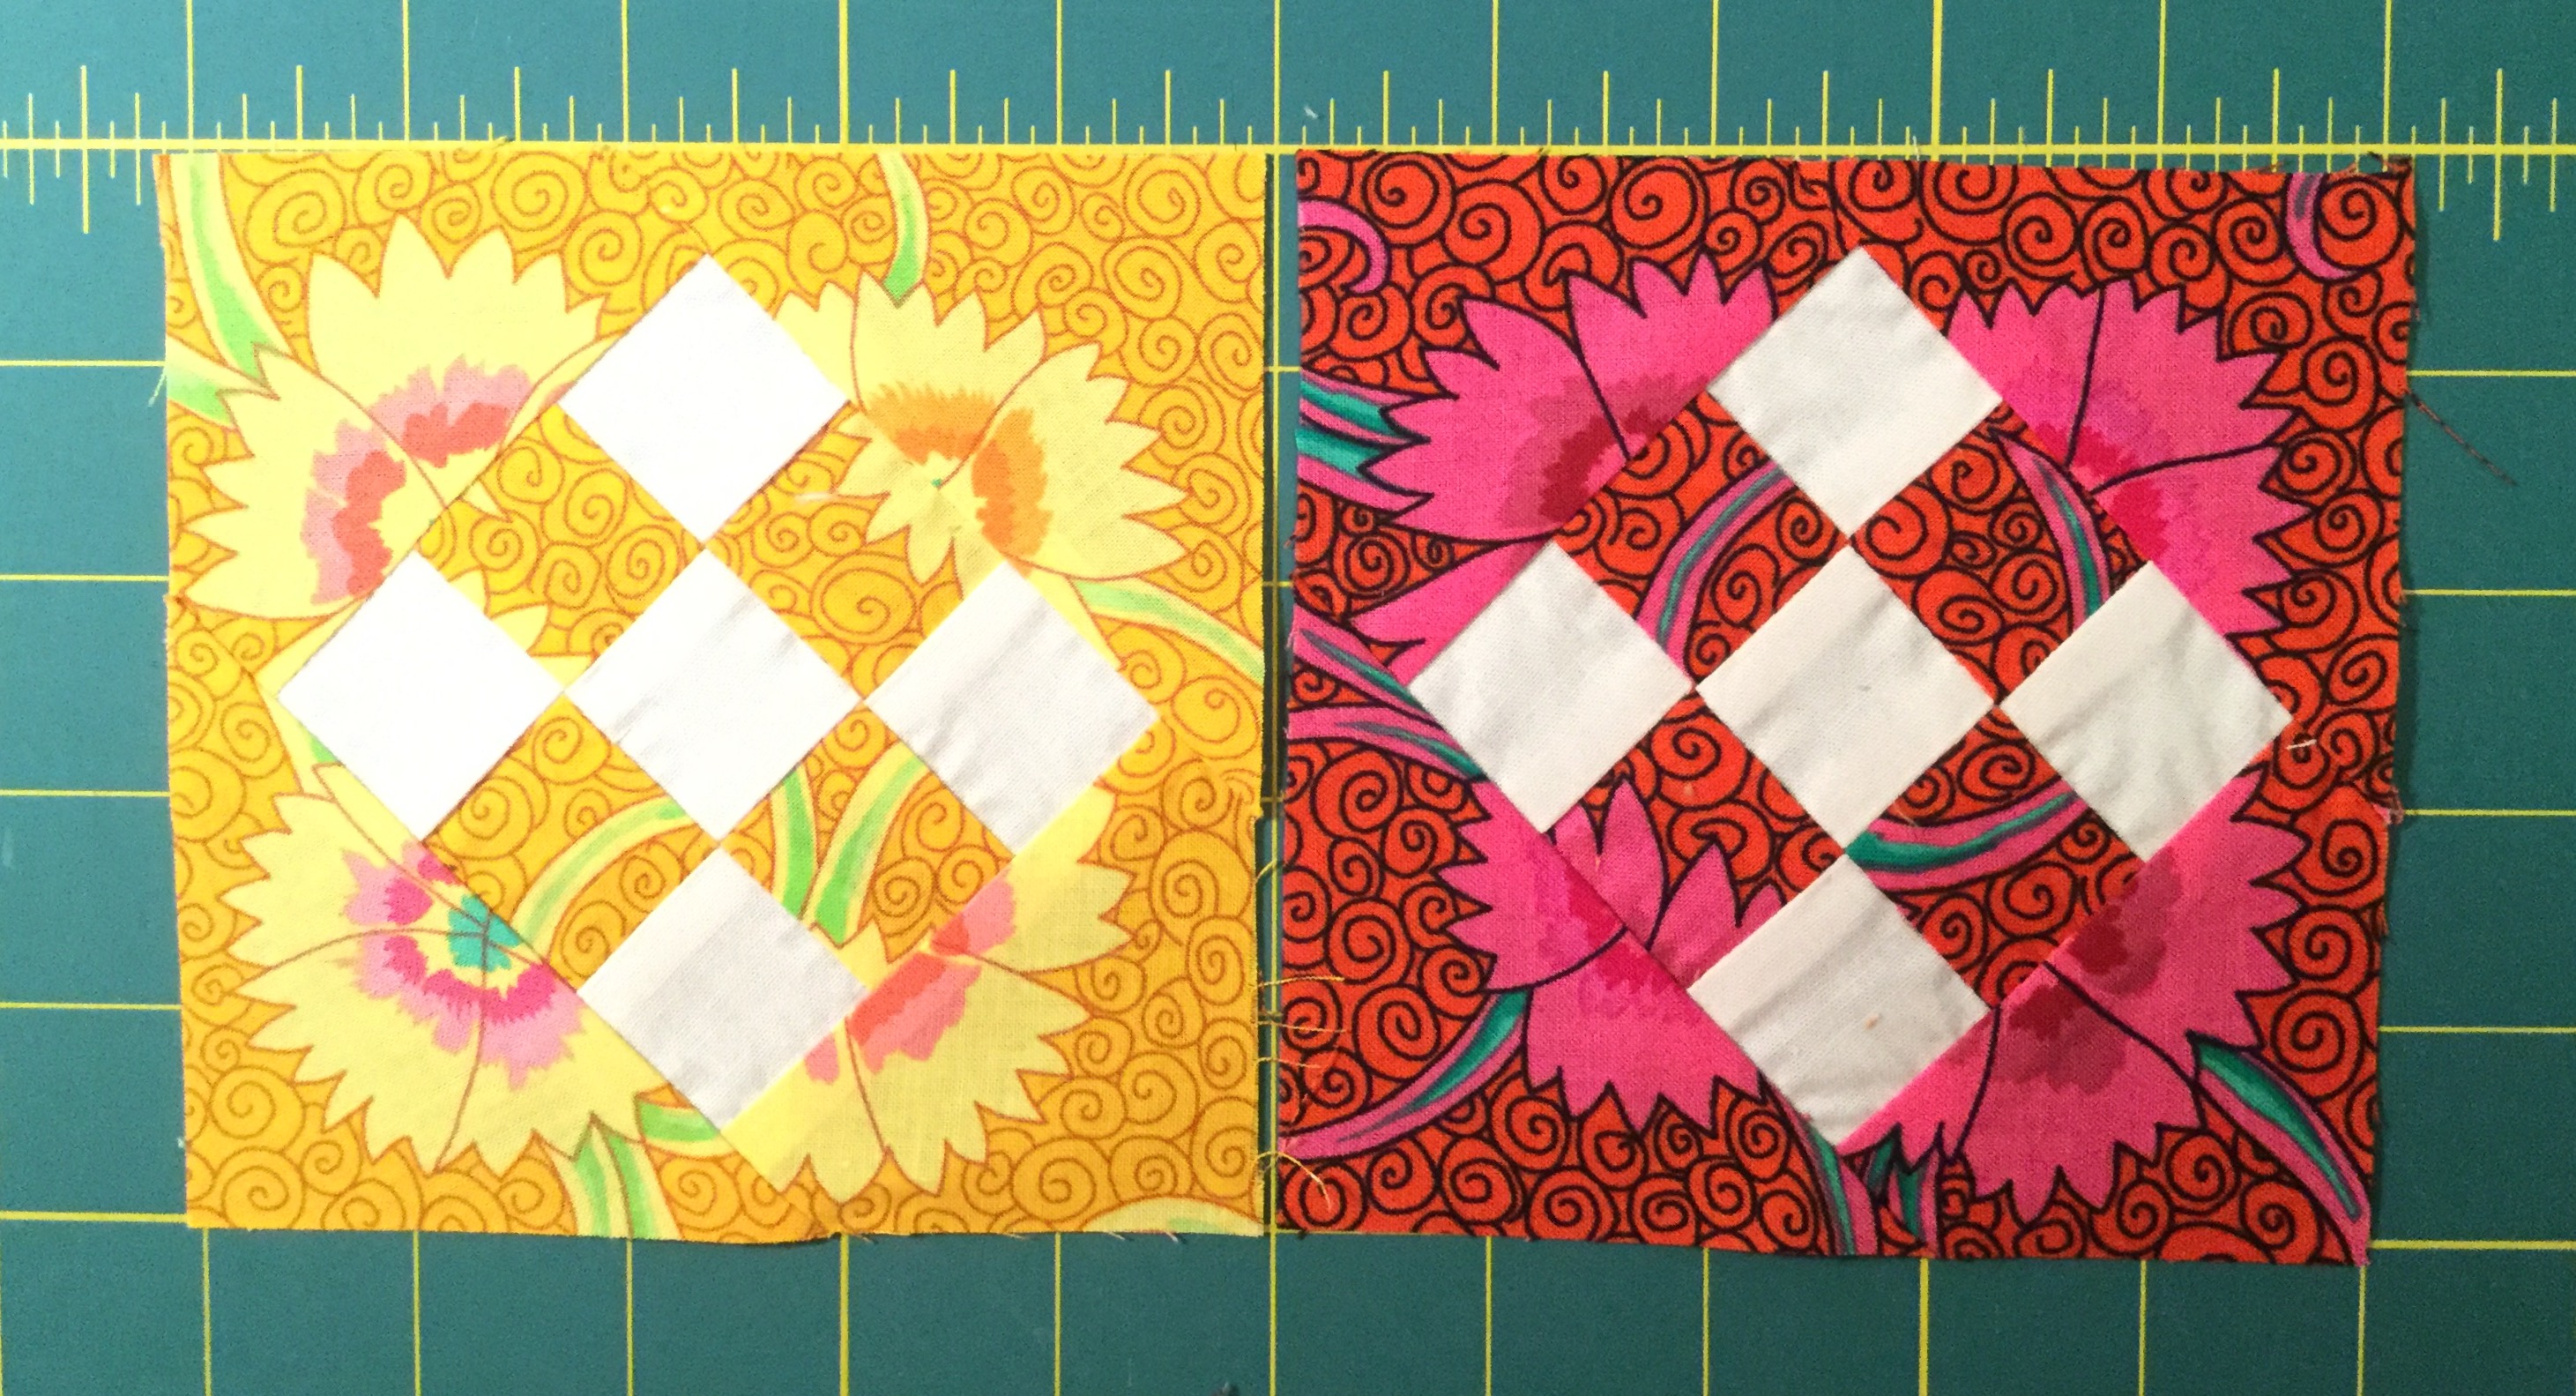
I started cutting fabric for one block and realized I had grabbed the red fabric meant for another.  I have a color scheme set up for my blocks and I am staying with the block arrangement that Jane used so I needed to switch to yellow for the block.  I went ahead and made both the red and yellow thinking I could add it to my extra blocks for a Baby Jane quilt.  The result is that I really like the red block better.  Much better color contrast.

Yellow and Red Contrast

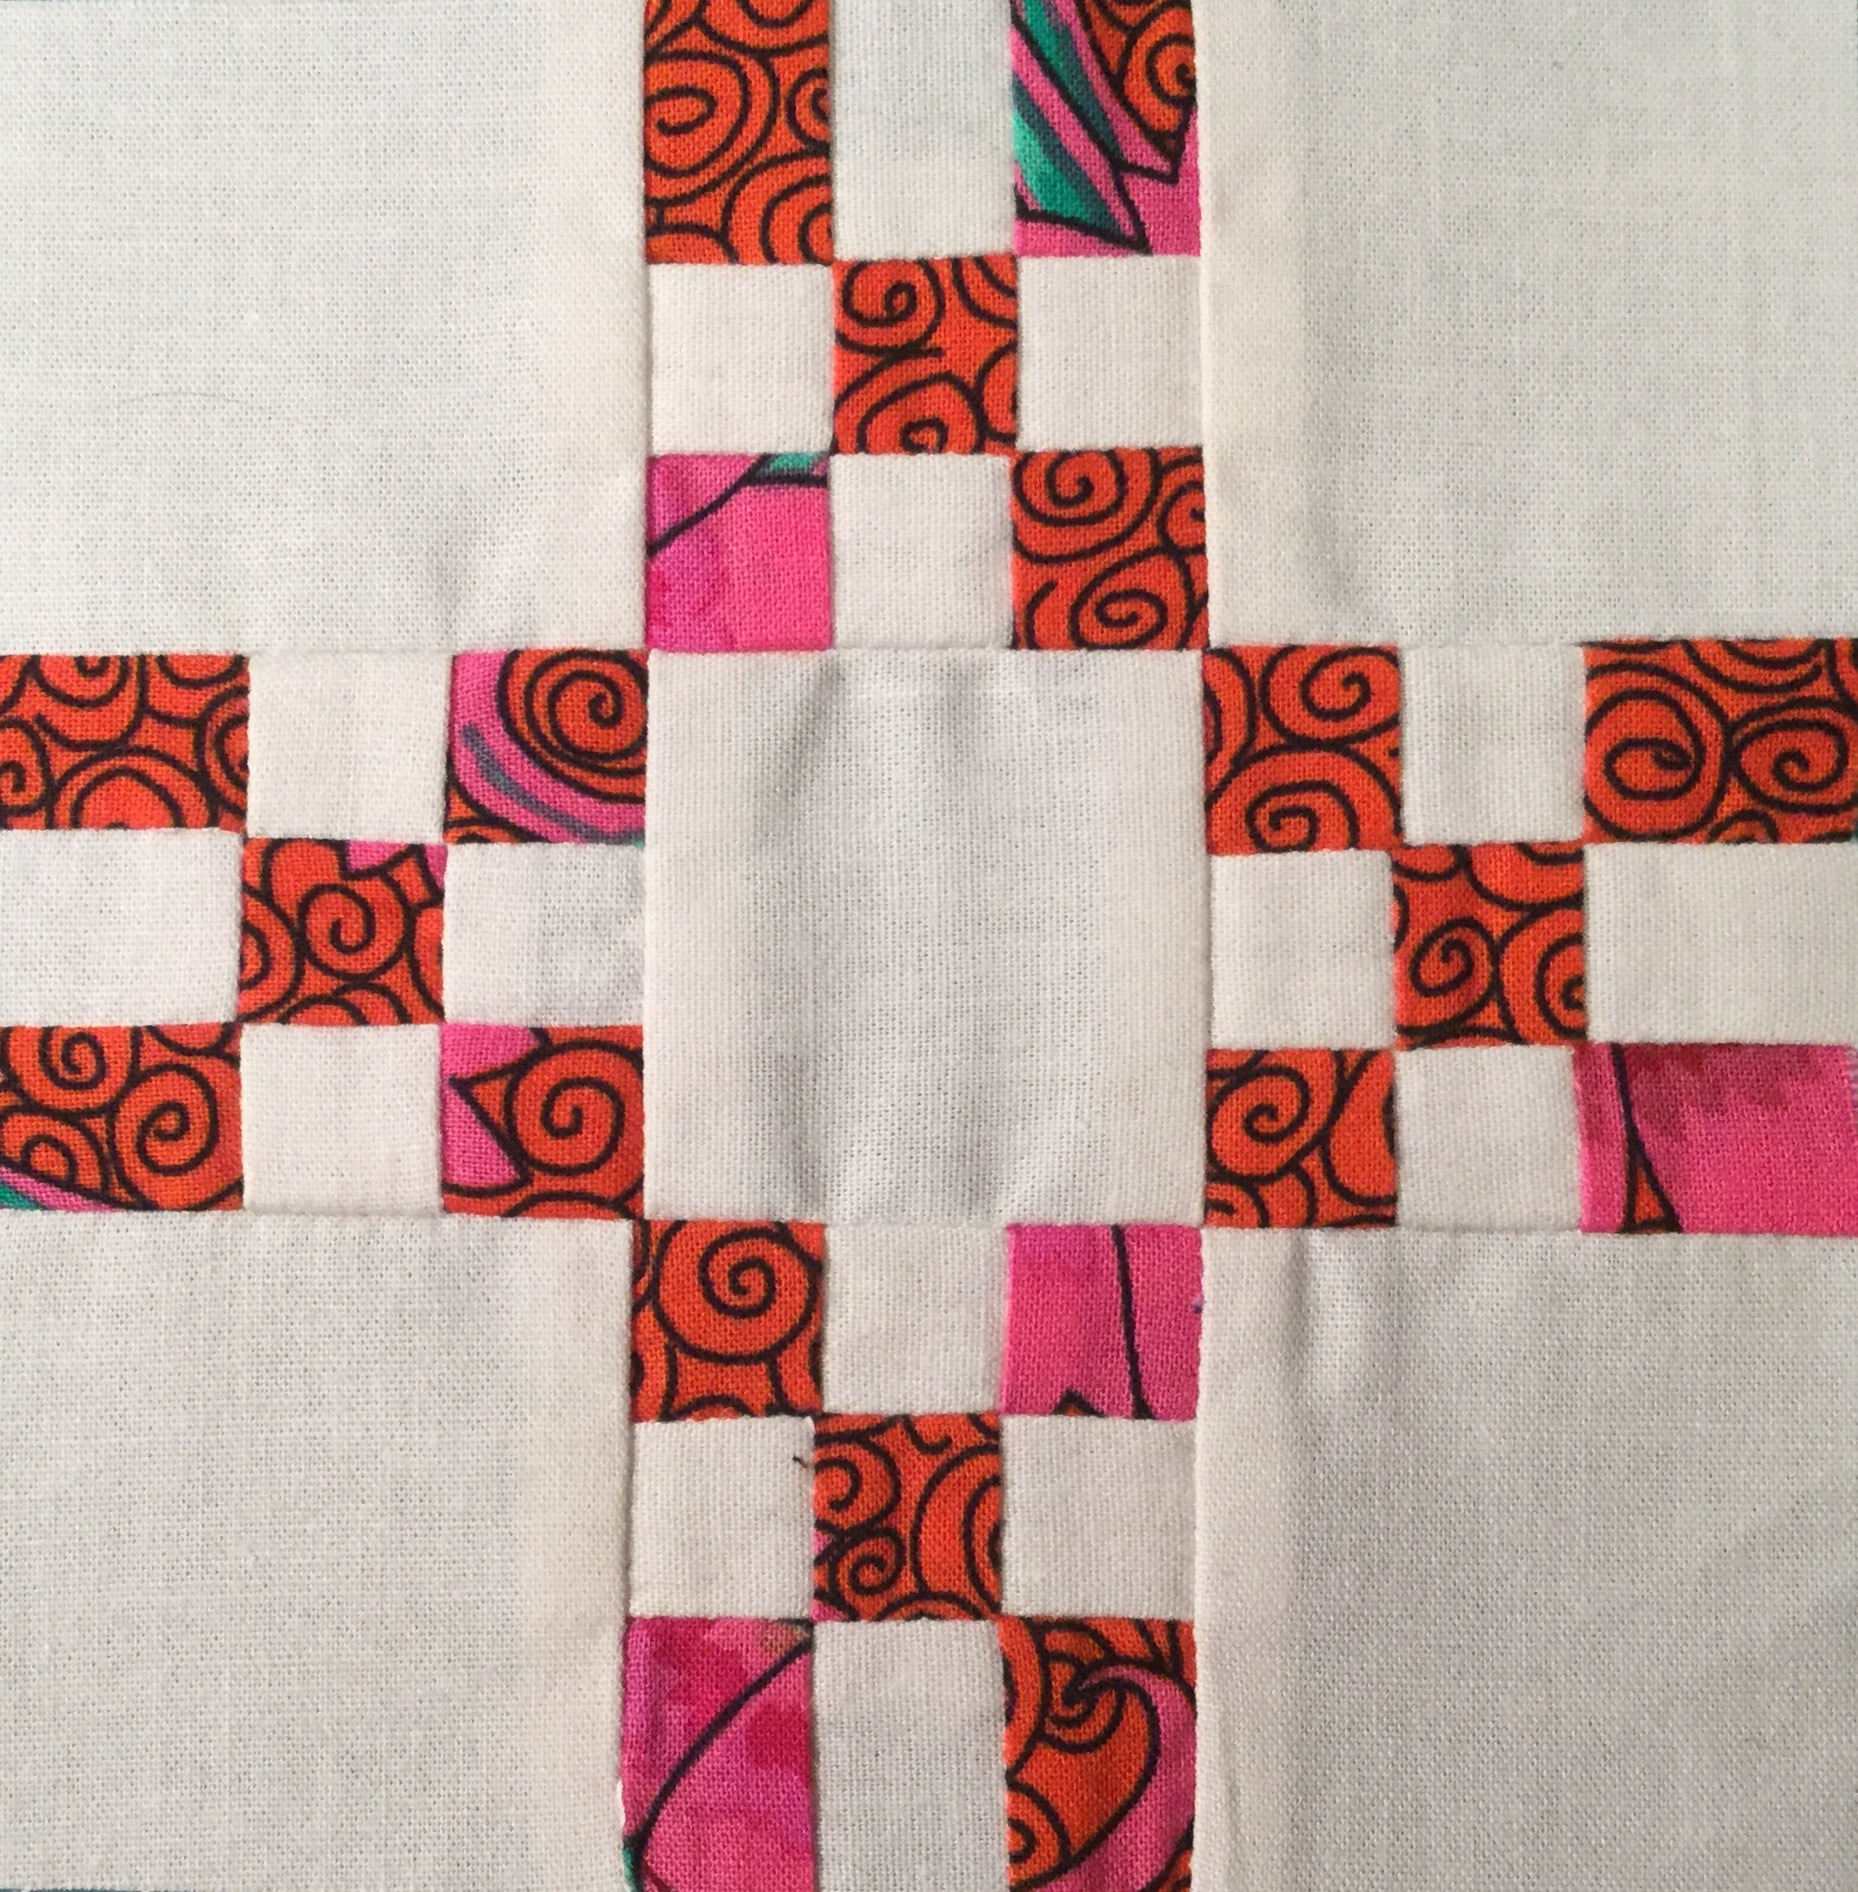
Here are the other two blocks, H-11 and J-7 … Click for a full size look at them.

 image image

Reverse Applique on Seam Lines

I have discovered that reverse appliquéing Jane melons in the middle of a seam is much easier than regular reverse appliqué and certainly much easier than appliqué, especially for those annoying teeny tiny melons! It’s much easier because you don’t have to manage the raw edges at the points; you are stitching up to the folded seam. I came across this method in the That Quilt Blog Tutorial for Block F-5.  Once I realized how neat the melons came out I decided to use this method whenever possible, even modifying blocks to add seams if necessary.

Here is how I modified the TR-6 triangle to use this for a very small melon and a diamond:

I replaced the top triangle piece with two rectangles sewn together which will be trimmed at the end.

If you find an opportunity to use this method try it. I bet you will like it.