Tag Archives: raw edge

November Jane Blocks

I am now up to date with my Jane Blocks.  This month I was working with my Singer 301 Sewing Machine which just got cleaned and had some adjustments made.  It is such a nice machine.  It has a great stitch and is amazingly light.  Perfect for taking to class.

I also wanted to comment on this month’s triangle block.  Instead of appliqueing the curved piece on the bottom I decided to just sew it on with the machine because it is not much of a curve.  And I cheated with the little melon.  Yes, I did.  It is fused in place with steam a seam and machine stitched around the edges.  I think this will be just fine.  After all, this is a MODERN Dear Jane quilt, so I am using as many modern techniques as I can!


Through the Needle Article

Yes, I have been published!!

I sent the editor, Jo Leichte, a copy of the tutorial featured in my Bird Applique Quilt article …  and now it is published in the latest issue of Bernina’s on line magazine  Through the Needle!

The article provides all the instructions for programming your embroidery machine to sew around each little applique piece when using raw edge applique for a project.  The article features my Gold Finch applique pattern which is in my Bird Applique Quilt, along with my Blue Jay.

I also made a pillow with my Mr. and Mrs. Cardinal pattern.

cardinal pillow

Please visit my Craftsy Shop if you would like to buy these patterns … and finish the applique any way you want! My method, your method … but do try applique … it is like paint by numbers combined with a jig saw puzzle and does anyone else remember colorforms???

But wait, please read on! … I must give this fabulous applique designer credit …. the majority of the patterns in the Bird Applique Quilt were designed by Peggy Anne Klinker.  These were made available for her 2011 Block of the Month quilt. You can still get some kits for a few of the birds in that quilt, as well as some from her 2012 BOM quilt.   And now Peggy Anne has a new BOM featuring Hens and Chicks … very cute, so do check it out.  Sign up!

 For a closer look at the applique embroidering click on these thumbnails of the Gold Finch and Blue Jay:

.finchfinished     finishedjay

Here is a PDF of my tutorial:  embroidering-raw-edge-applique


Landscape Applique Class

I have been wanting to do a little art quilt of my house for awhile now.  I was thinking in terms of pieces cut and sewn together, but when Quilters Common was offering a class by Sue Colozzi featuring landscaping with raw edge applique I decided to give that a try.  The class project was a house … a standard center entrance colonial.  My house is a rather unique L shaped cape with a garage underneath.  Very 50’s!

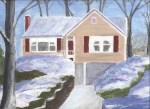
Not to be deterred I decided to go ahead, with encouragement from Sue, and used a picture of my house for the project.  But, I needed to enlarge the picture and rearrange things a bit.  I did not want the tree in front of the house!  I started with an acrylic painting that I had done, enlarged that and then referred to a photo taken in the summer.  I had to add the squirrel, but Bob wanted me to put a car in the driveway …. of course he did!  Maybe next time.

I am happy with the result, which I think is nicer than the painting.  I work better with fabric!

Of course, I still need to take the time to finish this quilt.  The edges of each piece need to be sewn down, borders added and the whole thing needs to be quilted.  My plan is to use my embroidering method, which will mean taking the time to scan the quilt and “program” the stitches and then let my embroidery machine finish it for me!

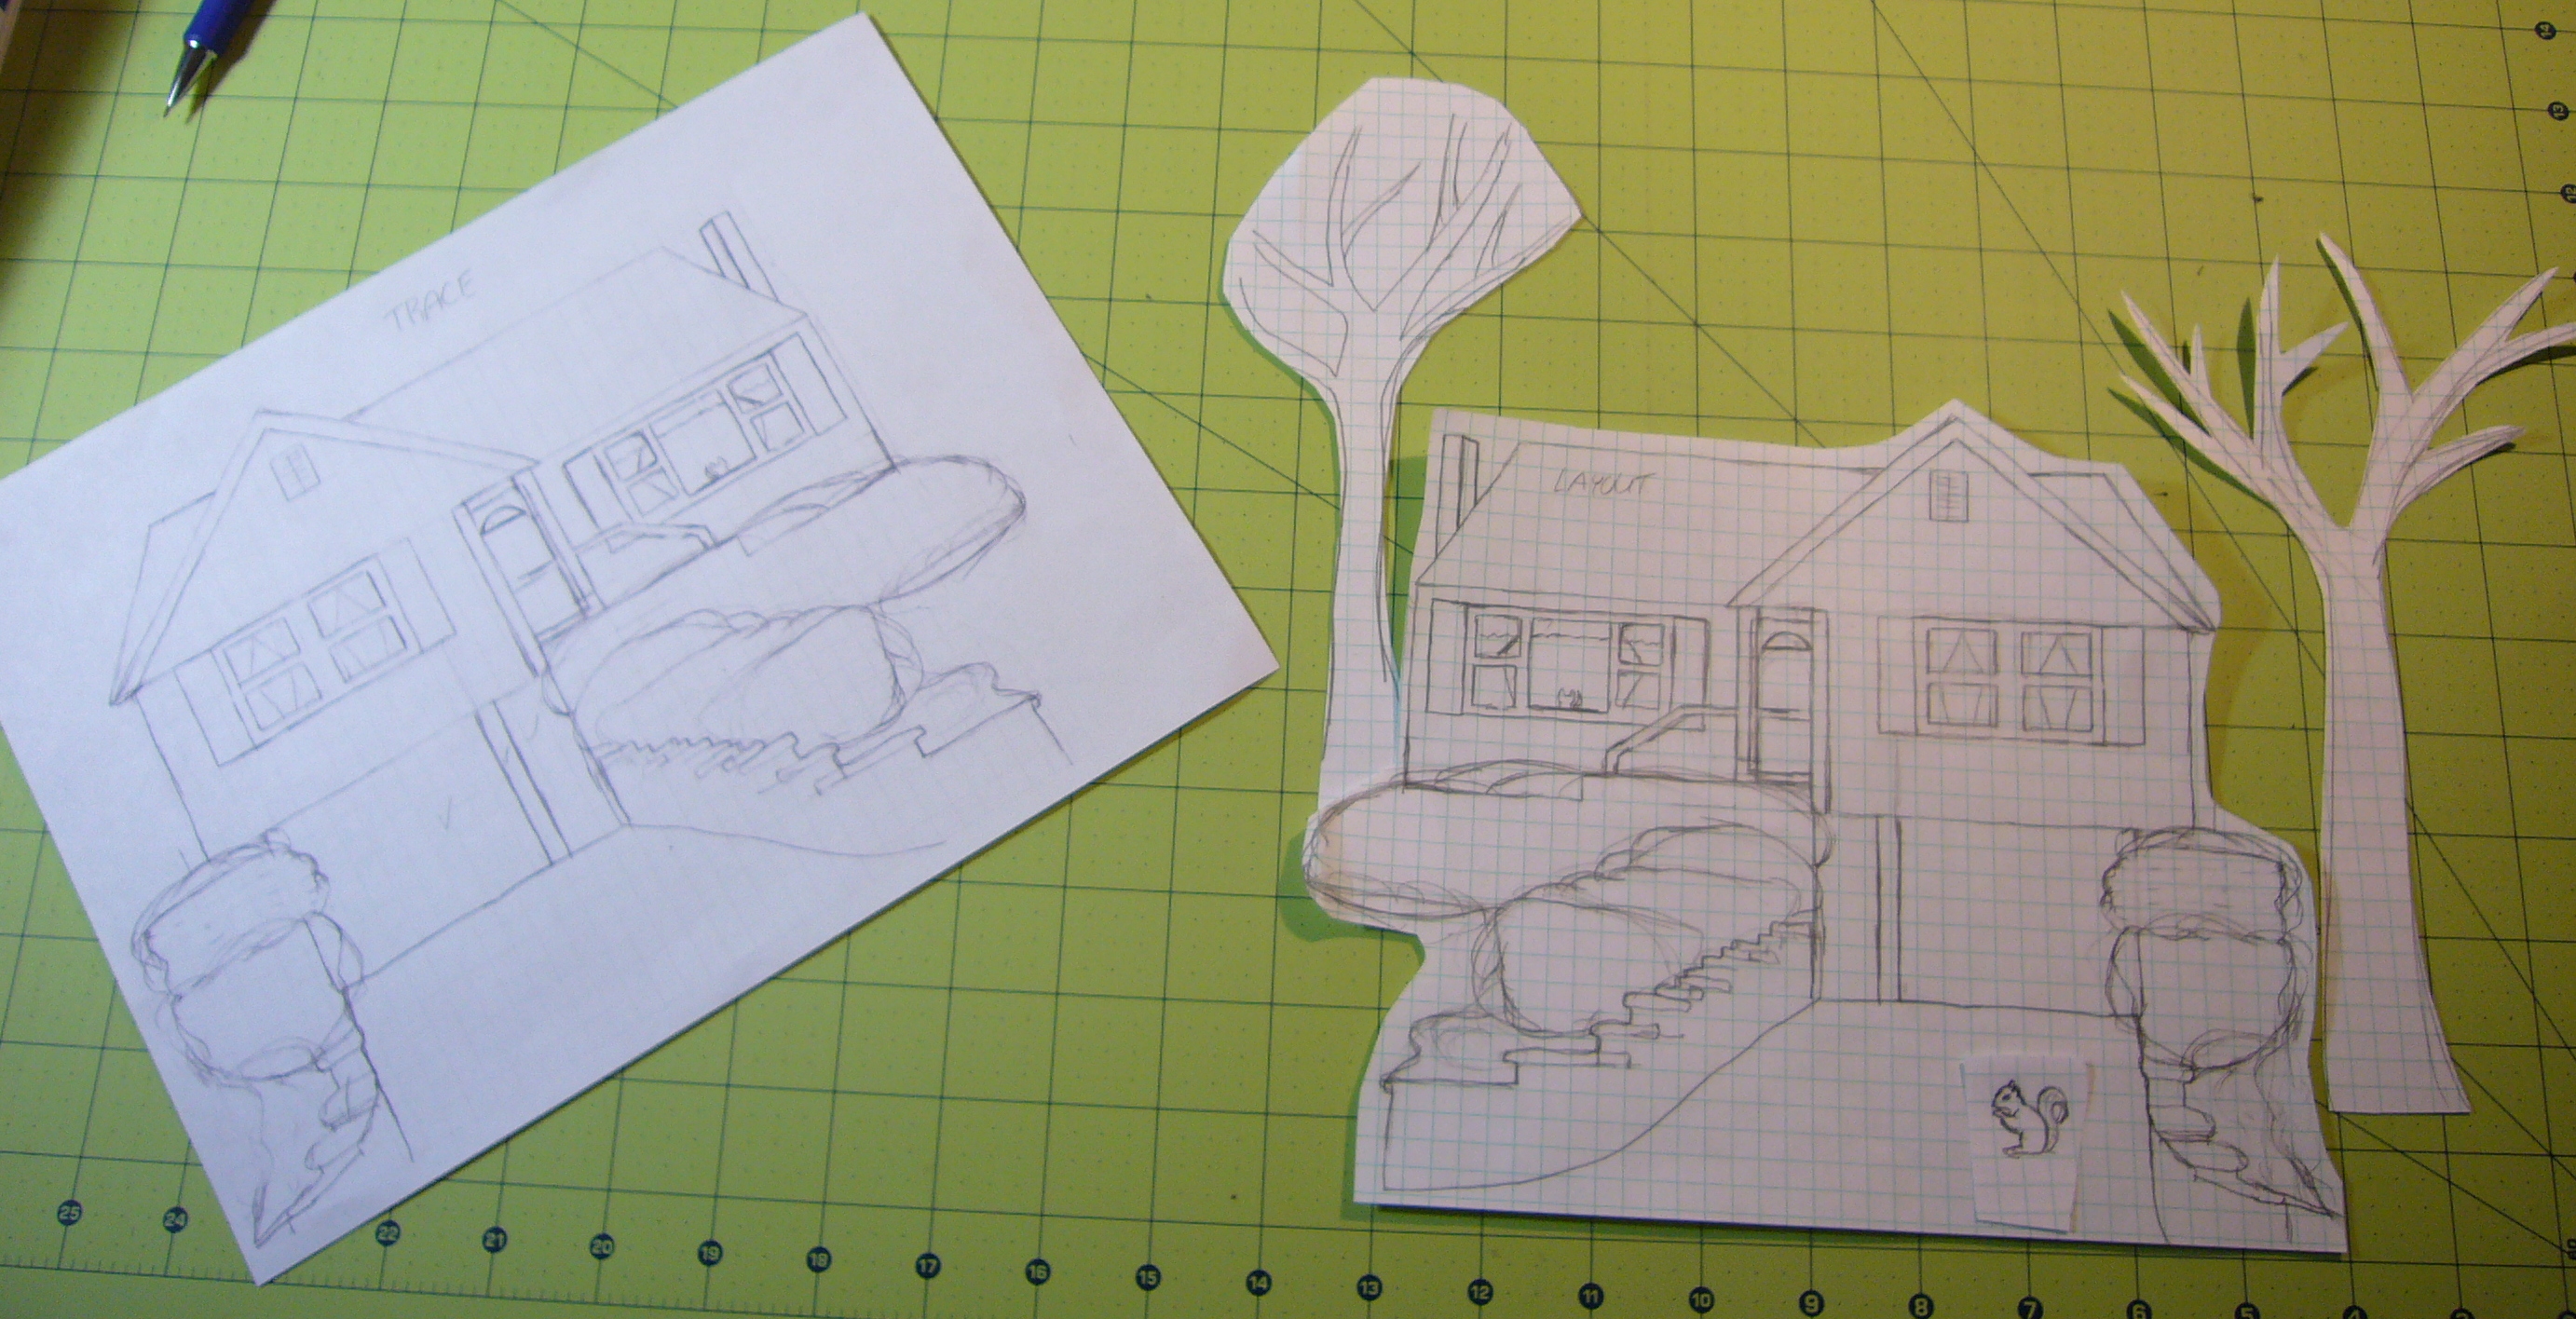
If you decide to try this here is the method I used for fusing the shapes to the background.  I first drew the house, then I scanned the drawing and printed a  mirror image of it.  I then took a sheet of Steam a Seam 2, which is a doubled sided fusible web, and traced the shapes from the mirror image, grouping shapes by color.  Then I cut out each group of pieces and fused it to the back of the appropriate fabric.  Then I cut out the individual pieces and used the original drawing for a guide to place the pieces on the background fabric.

drawings