Tag Archives: quilt

Why do Quilters use the Painter’s Color Wheel?

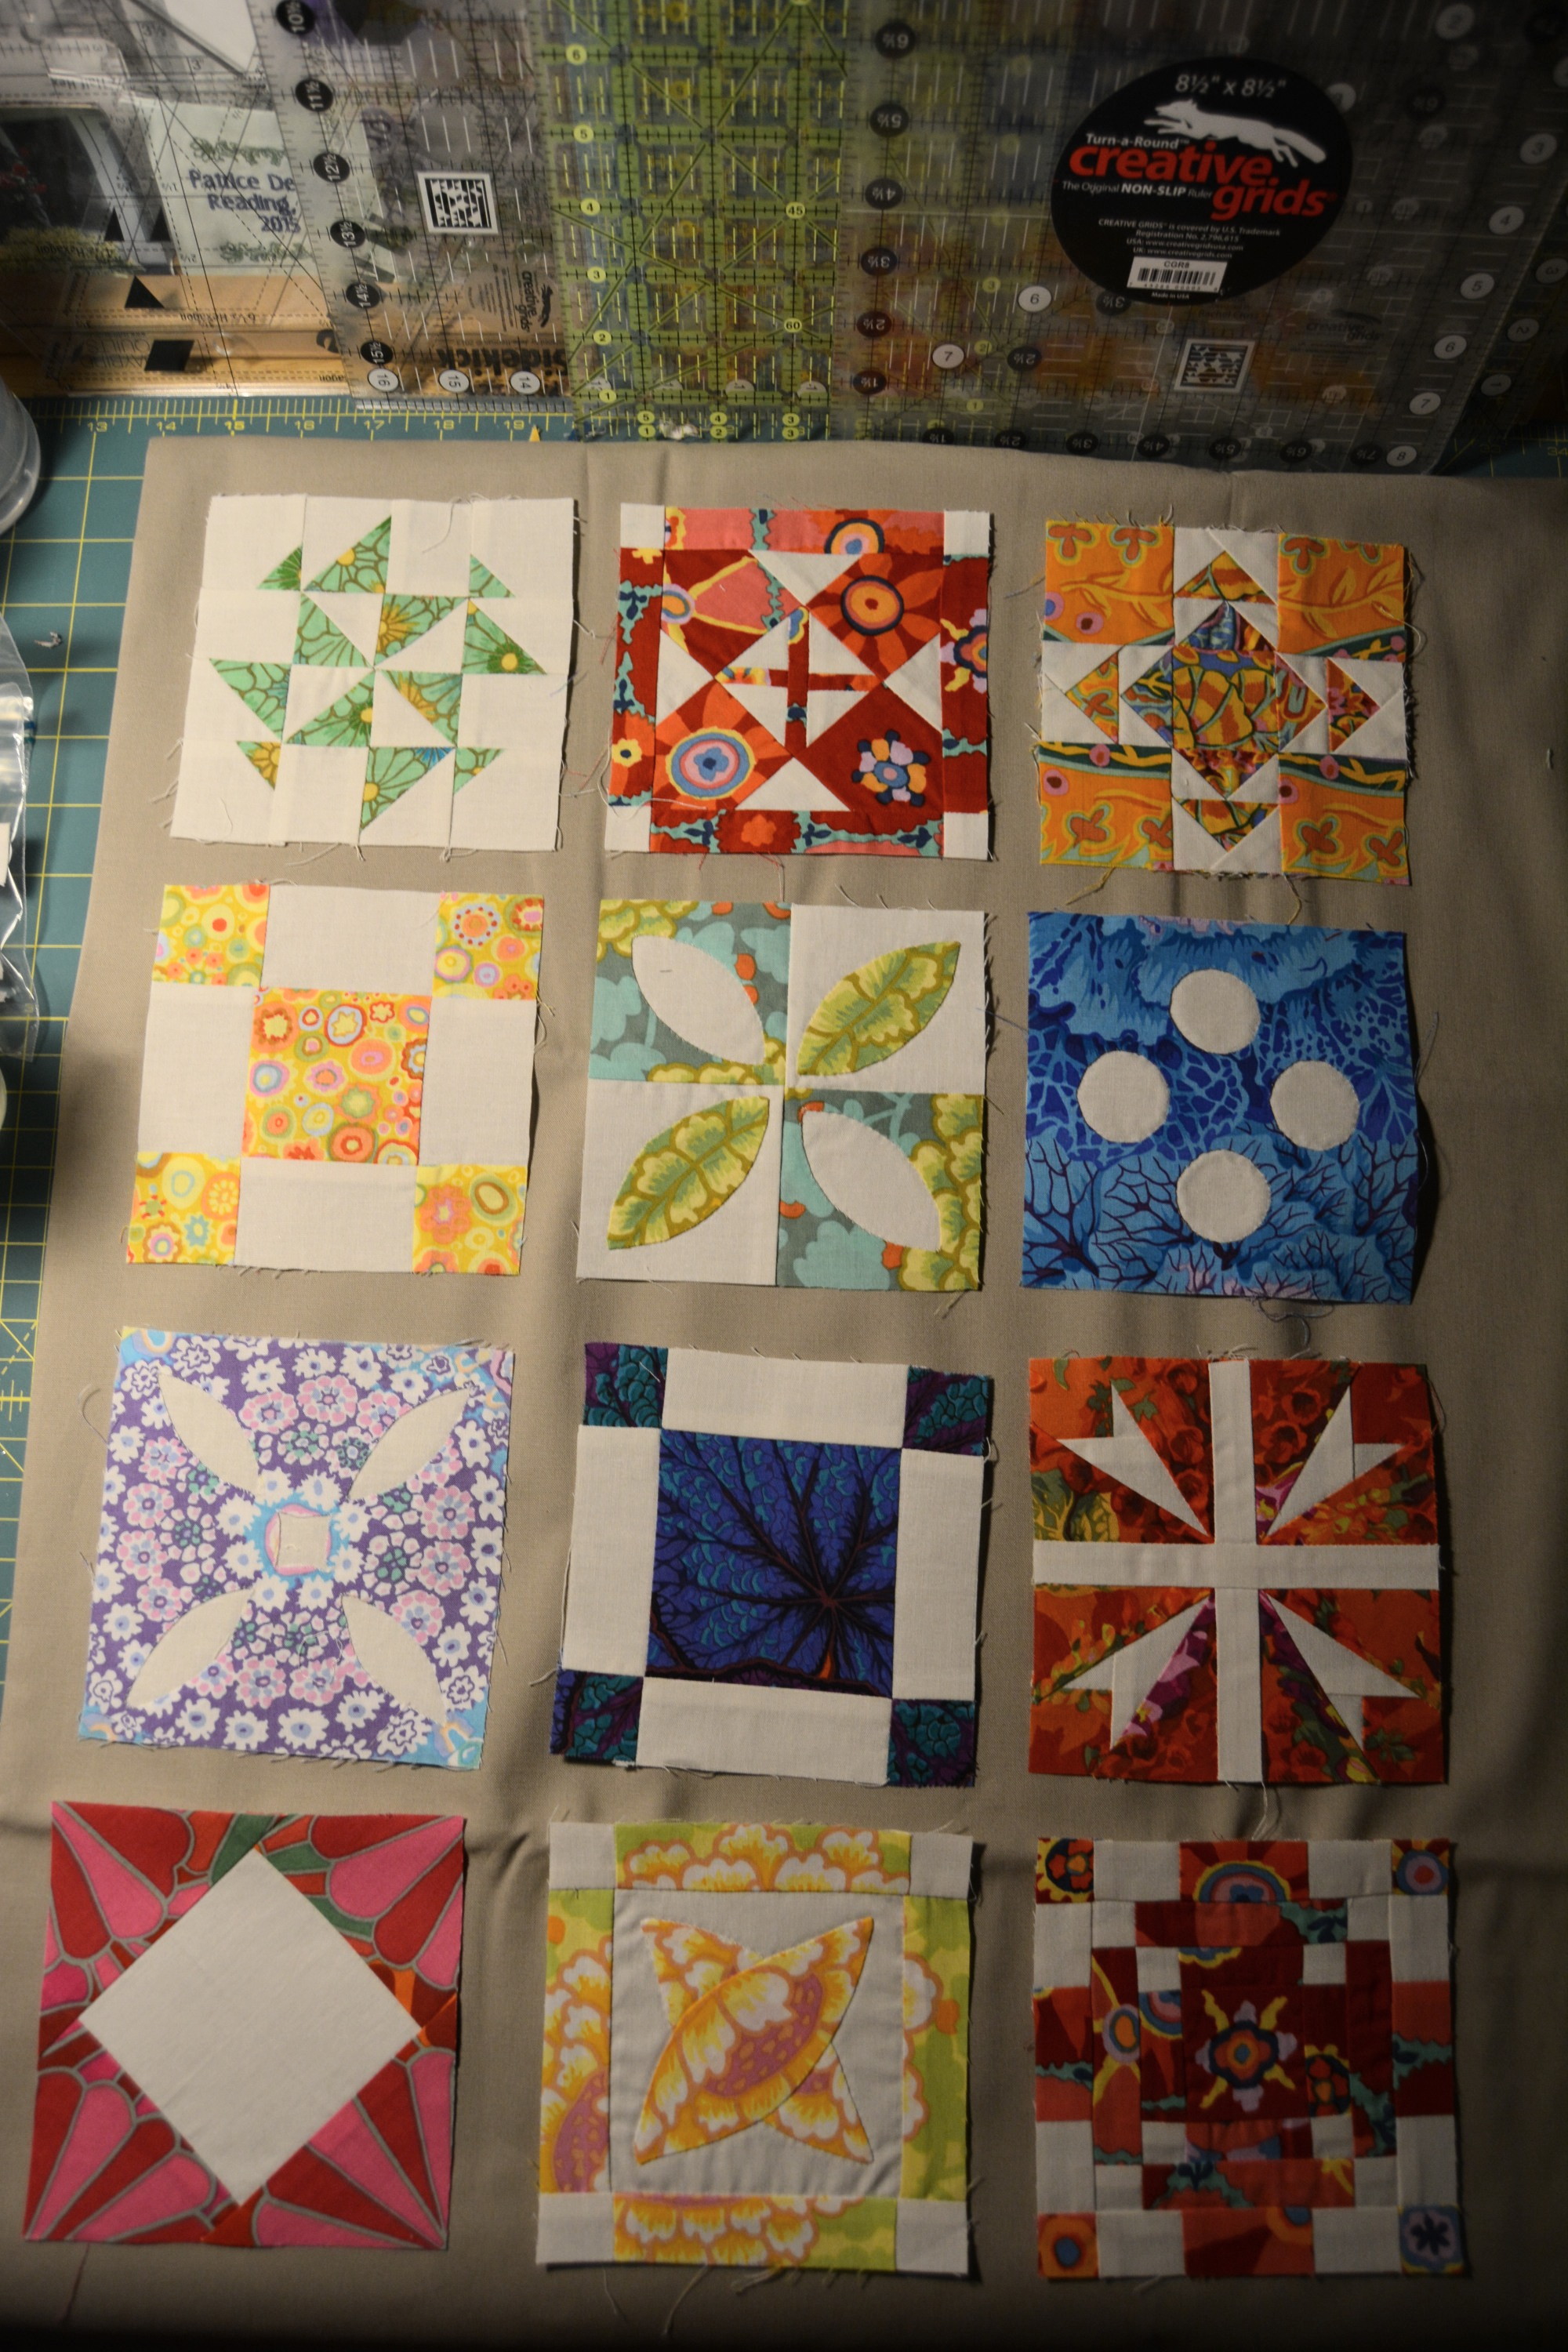
I am taking a virtual quilting workshop that is basically a lot of fun, BUT, the instructor is relying on the traditional Red, Yellow and Blue color wheel for choosing the colors to use in our quilts.

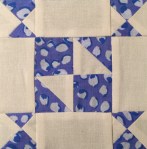
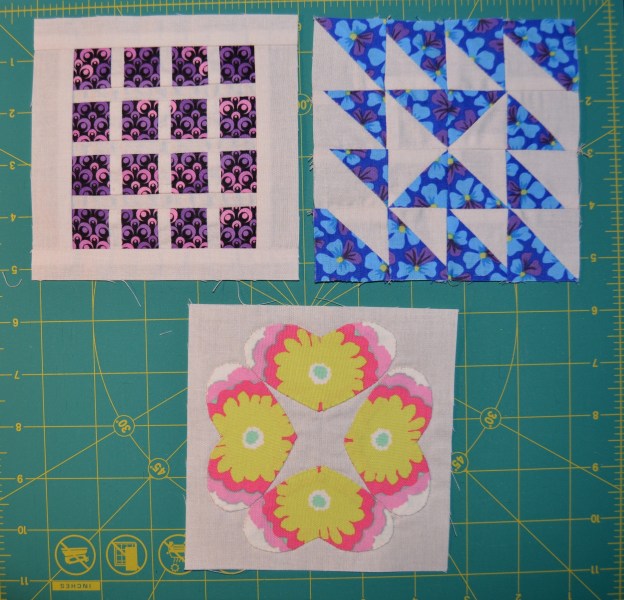
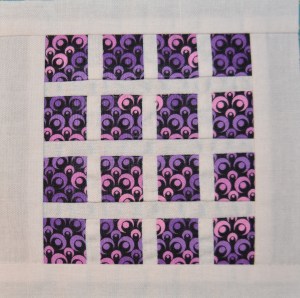
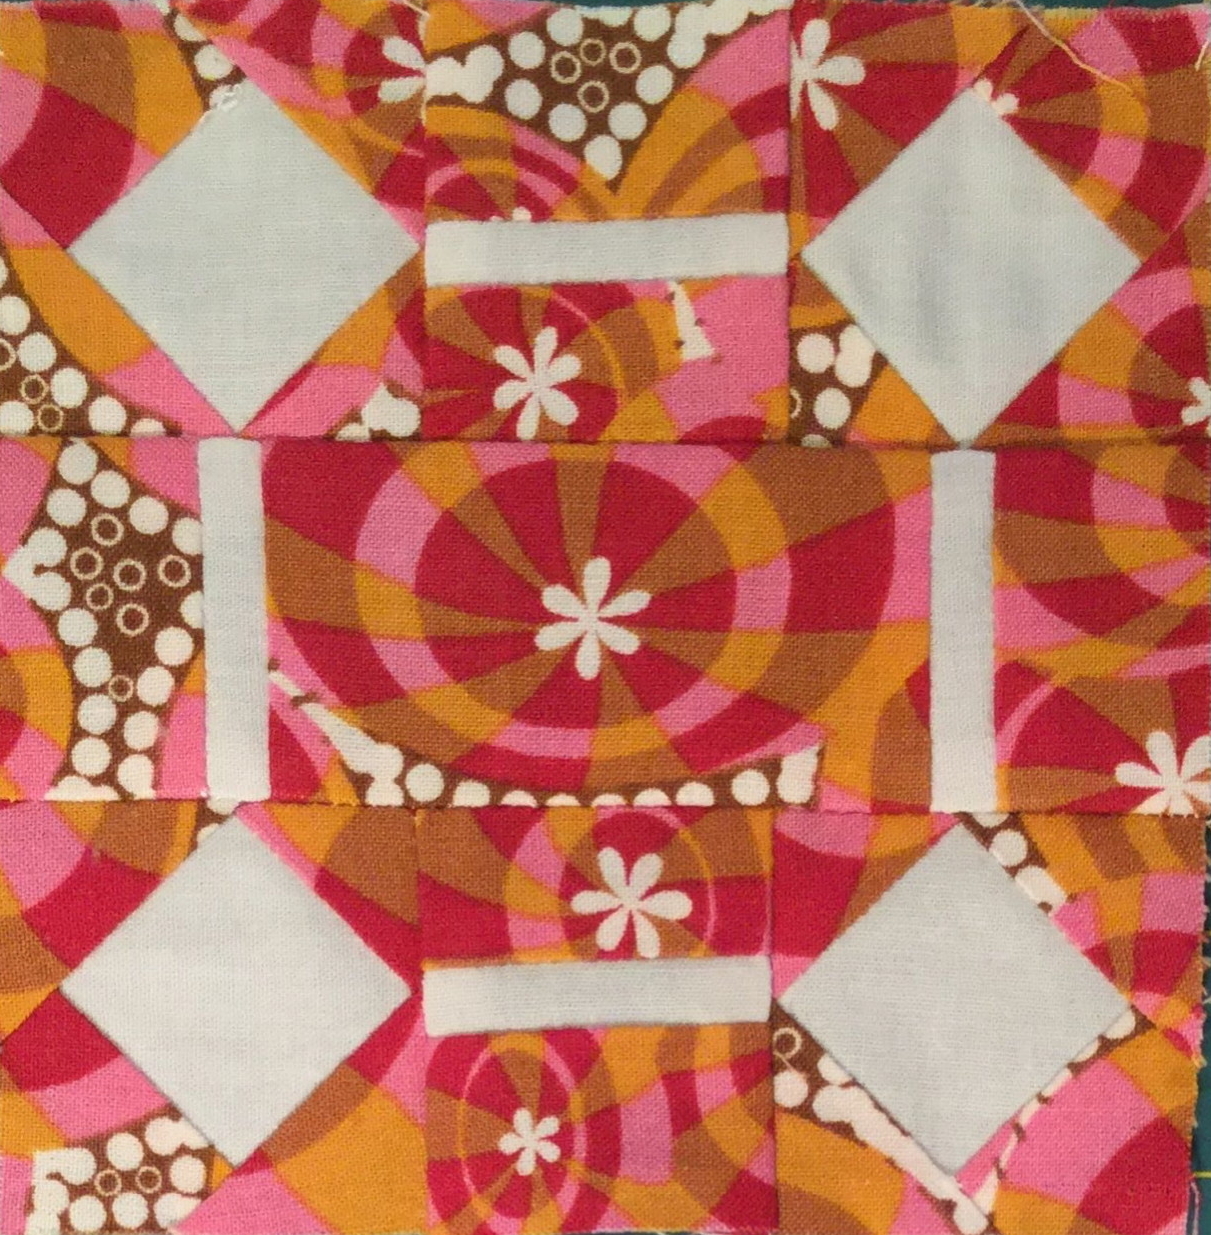
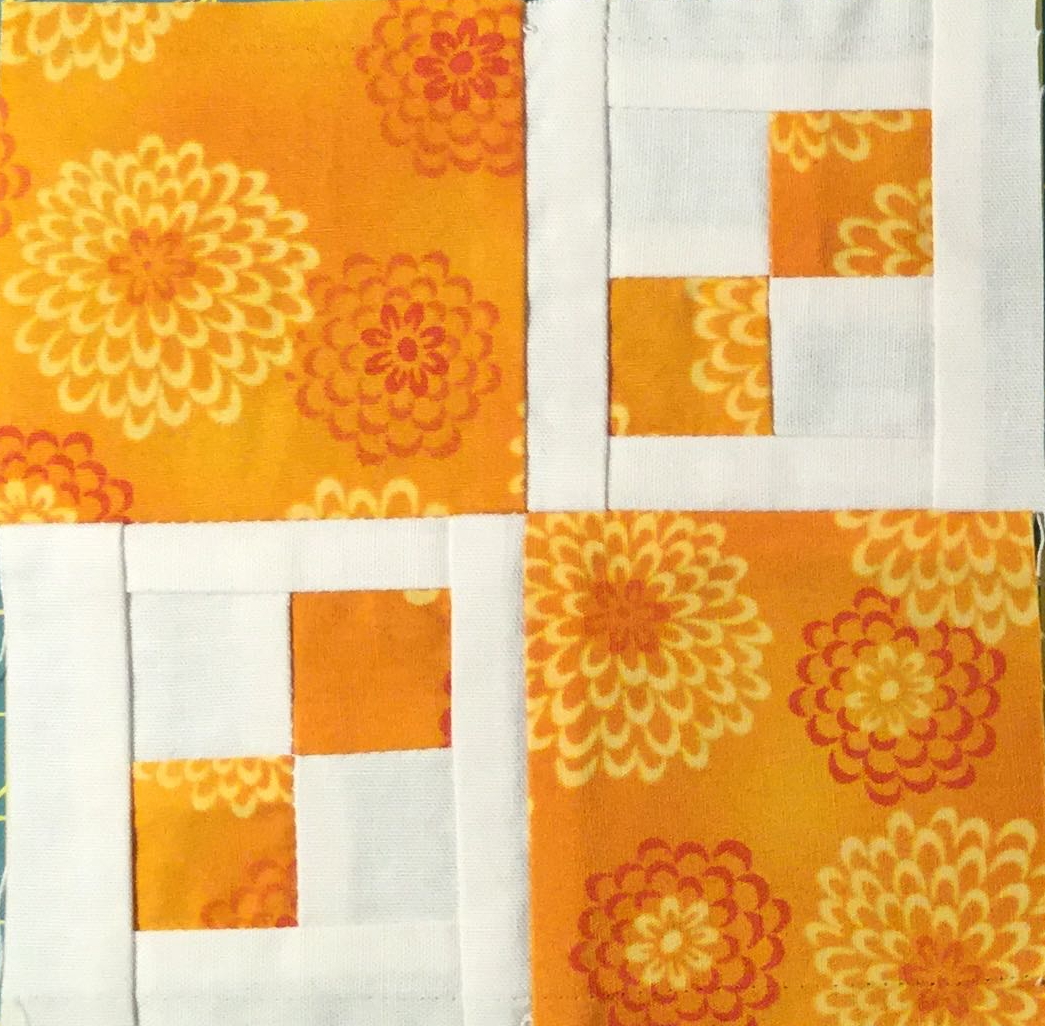
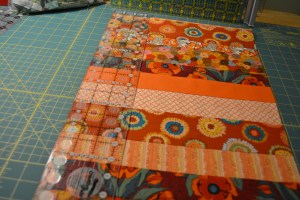
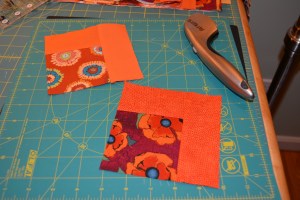
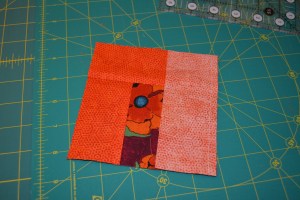
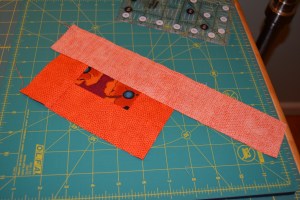
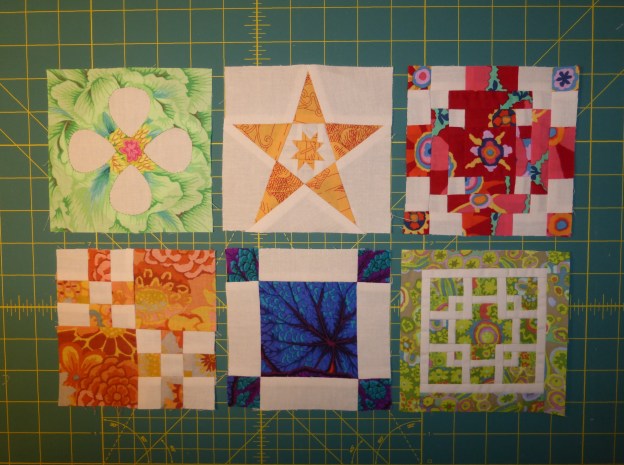
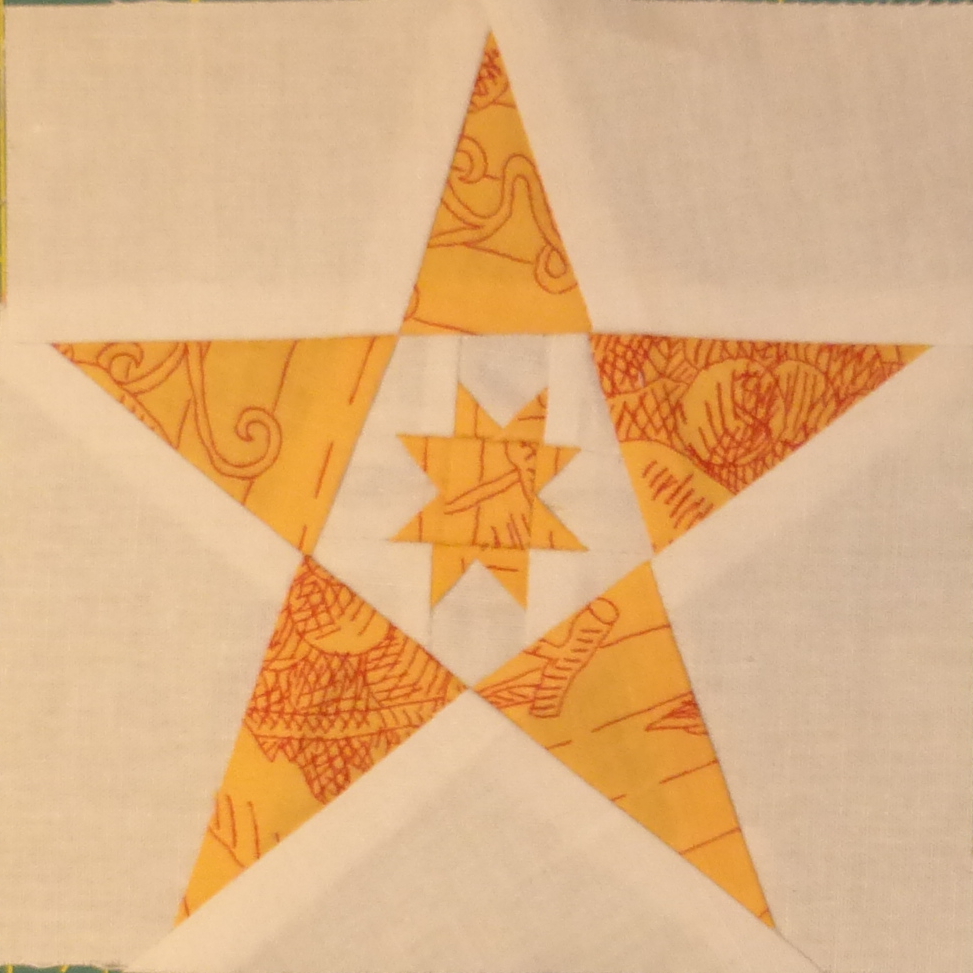
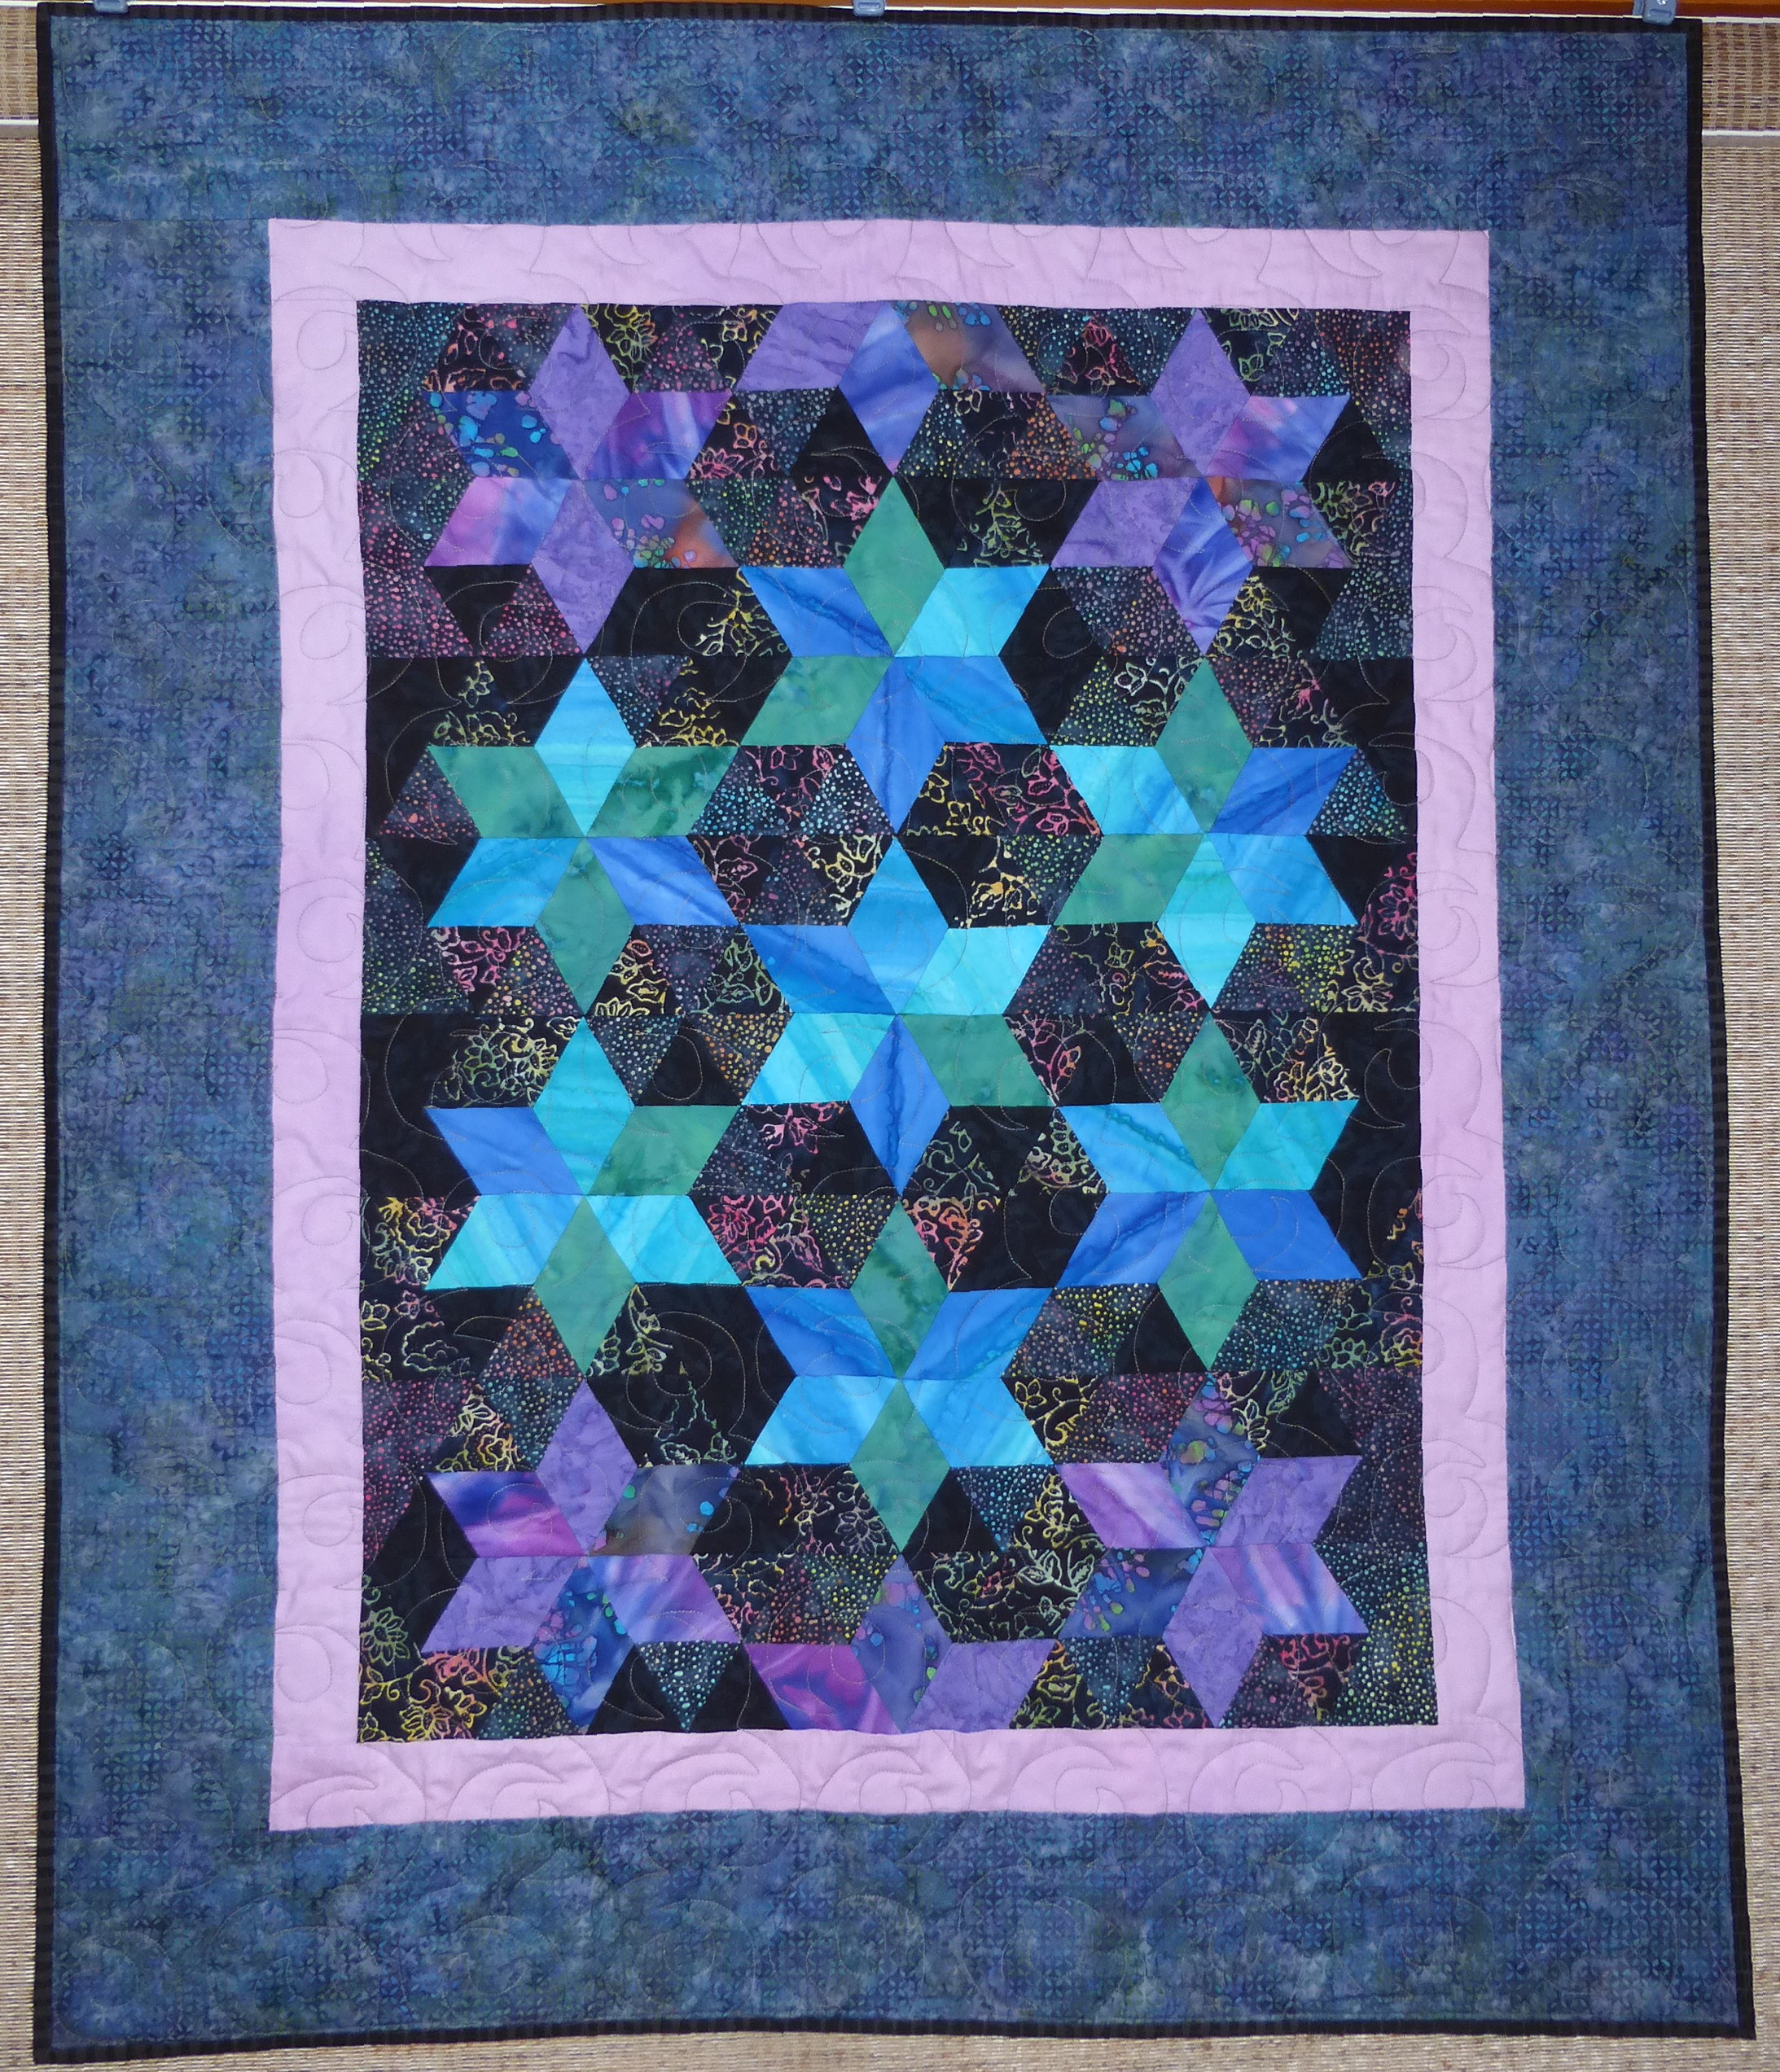
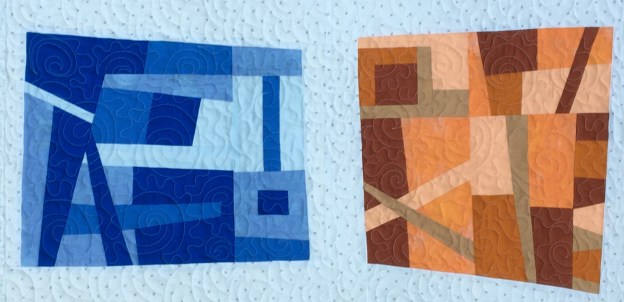
For example, I randomly chose Tetrad Blue. So, I made an improv quilt with two sets of complimentary colors: Blue/Orange and Red-Violet/Yellow-Green. The idea was to start with monochromatic blocks with different values of the colors and then mix them all together. The mixing proved too chaotic and I felt it was a non-harmonic clashing mess. So rather than merge it all together, I softened the look with negative space and came up with this:

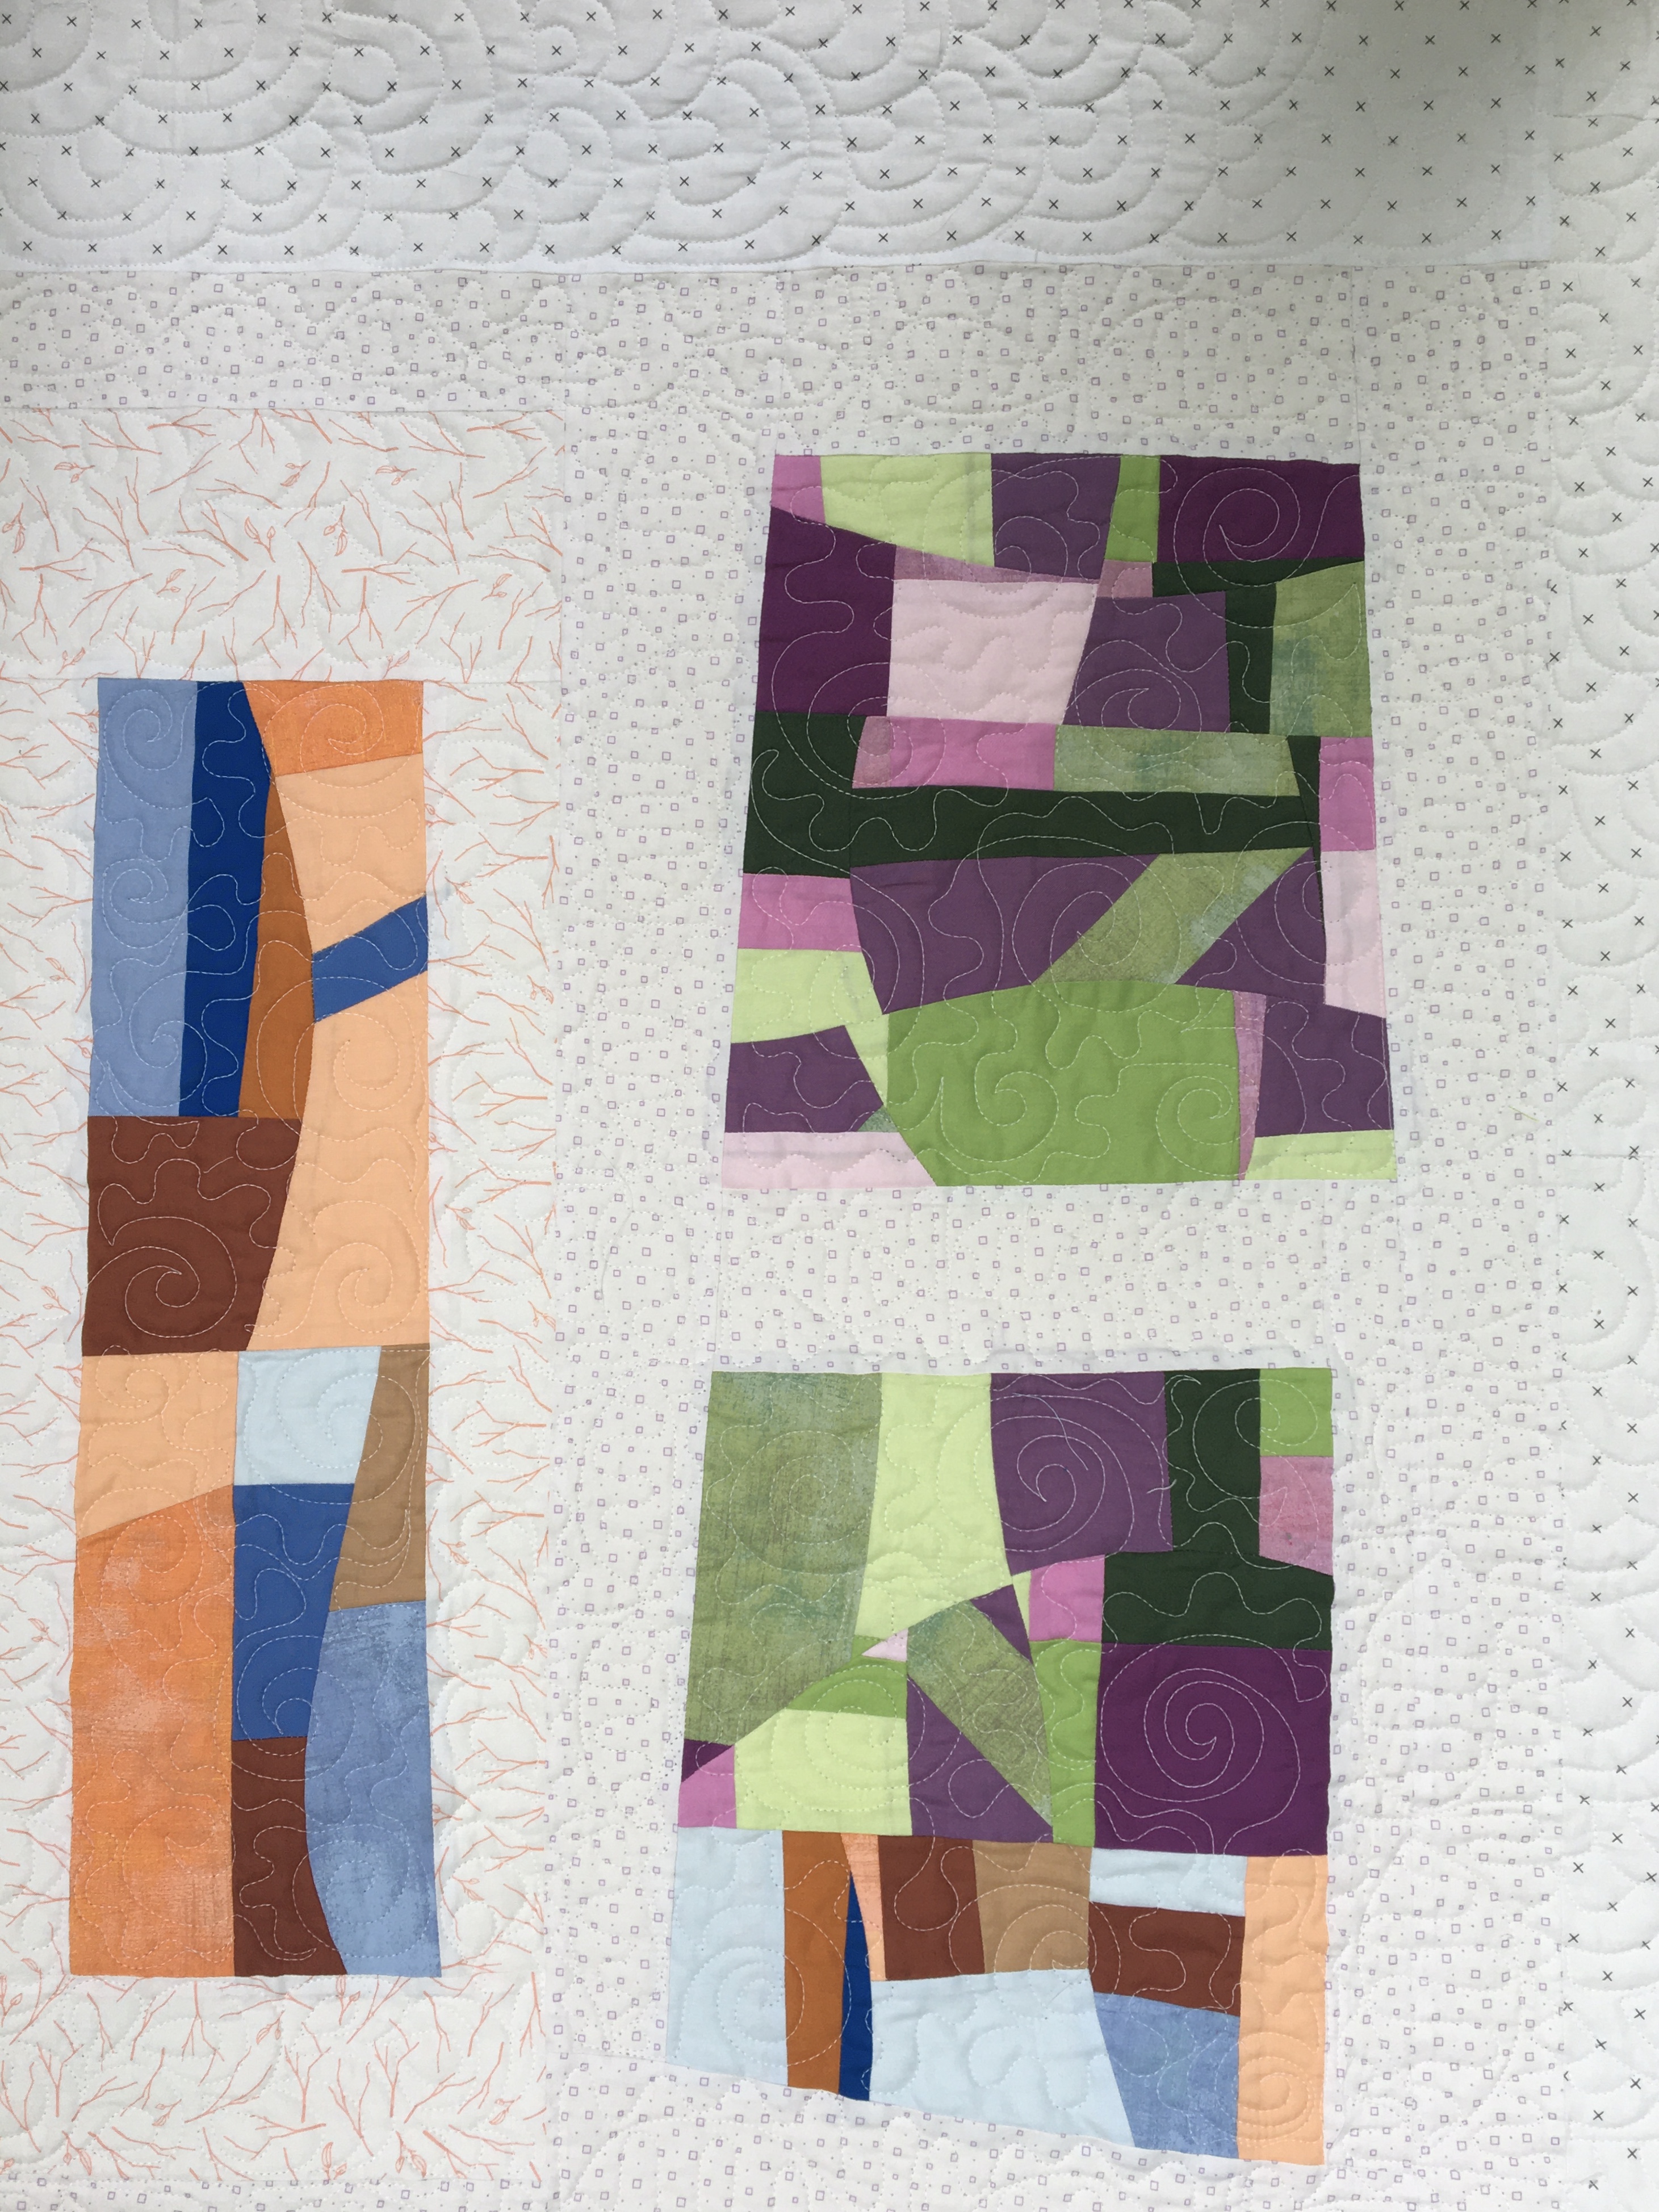
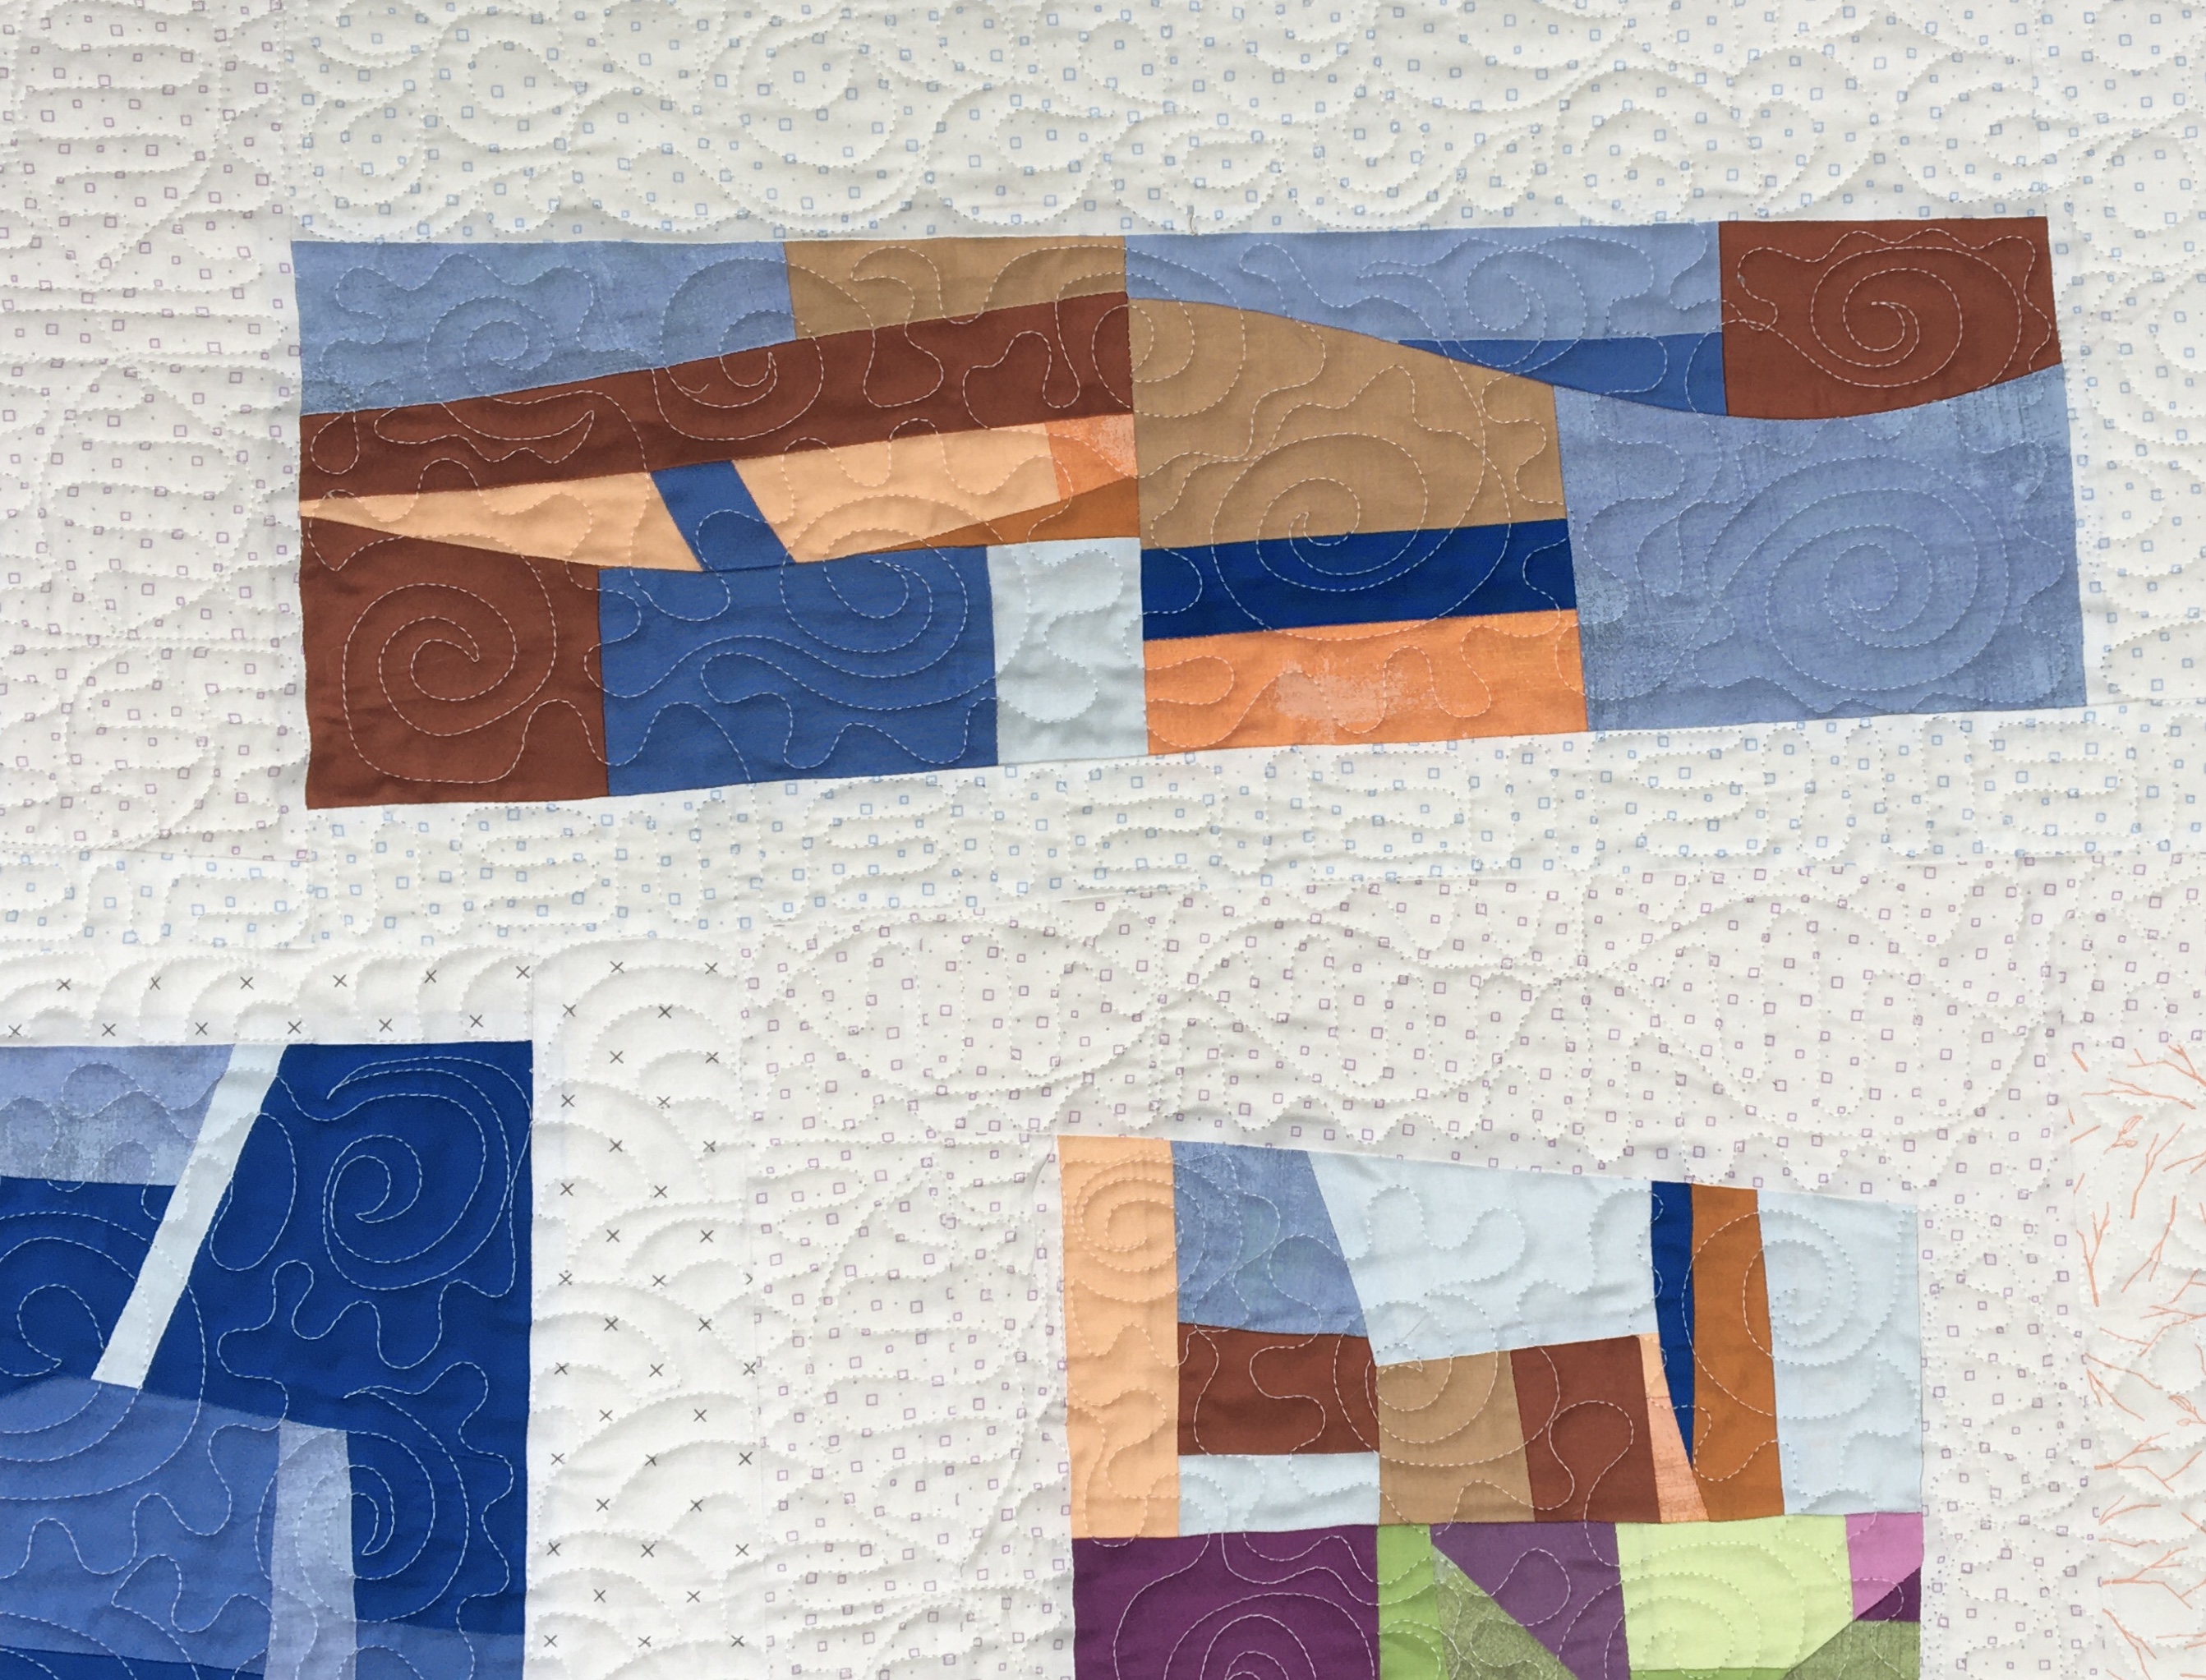
And I ended up liking it. Sometimes I even love it. It definitely looks better in person.

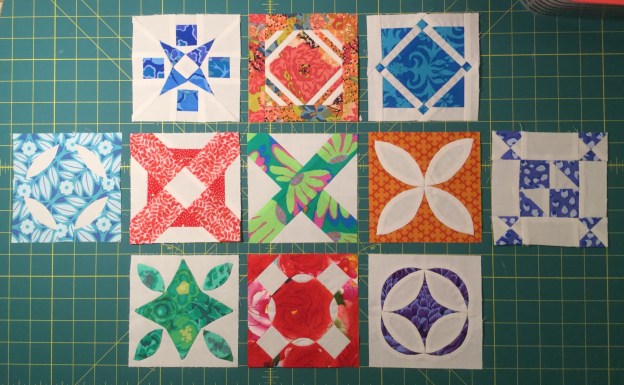
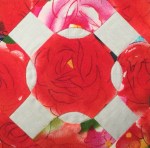
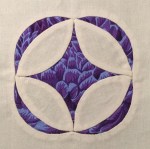
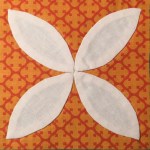
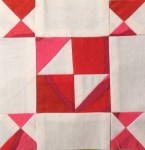
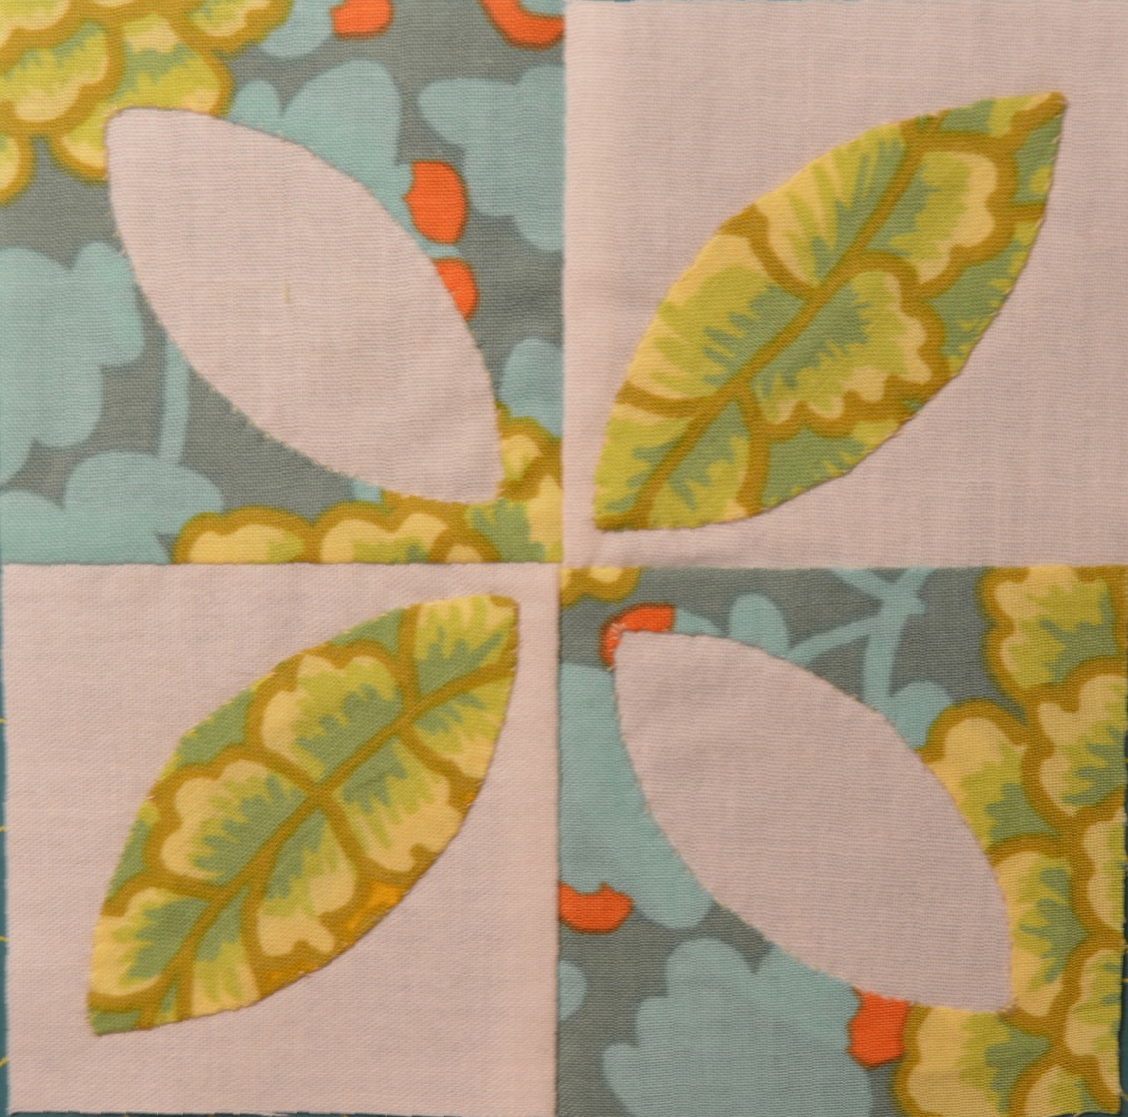
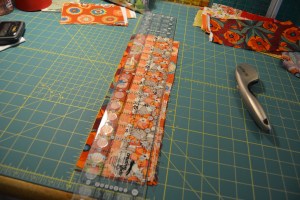
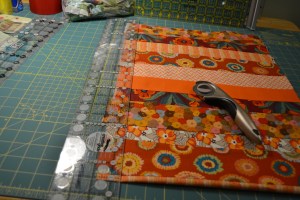
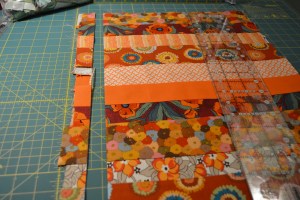
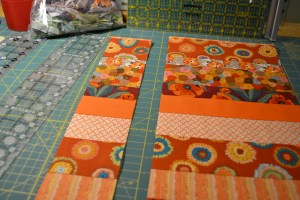
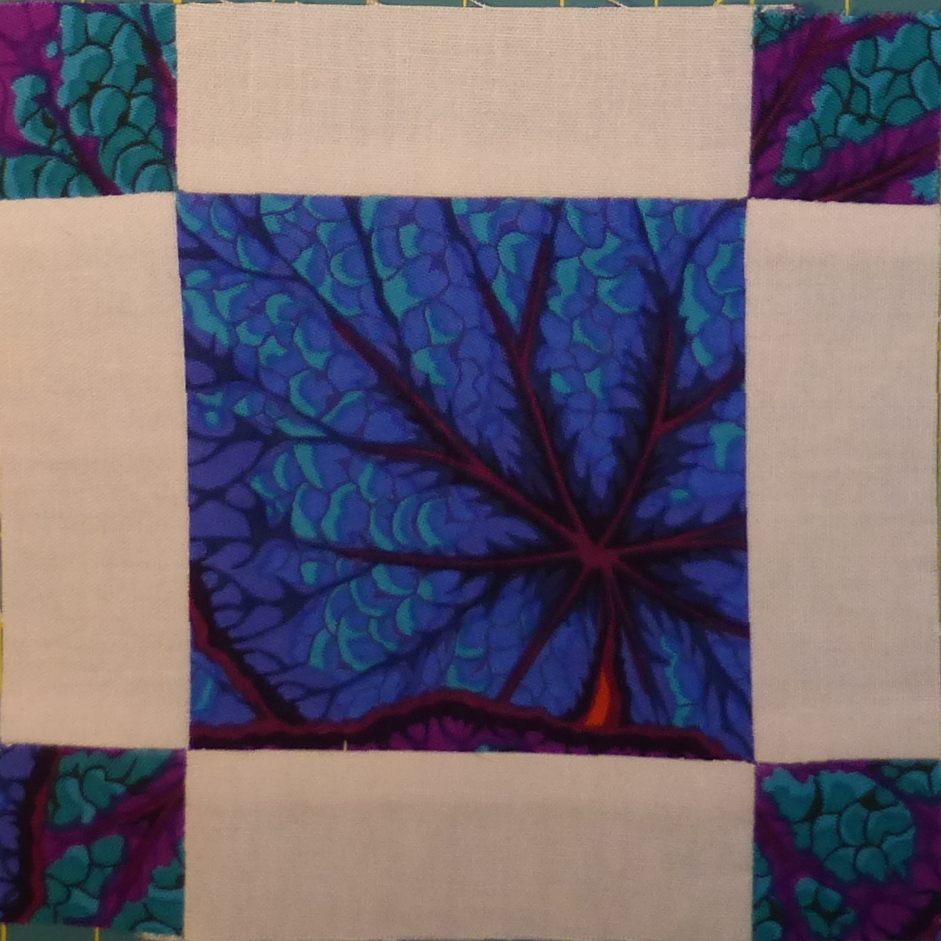
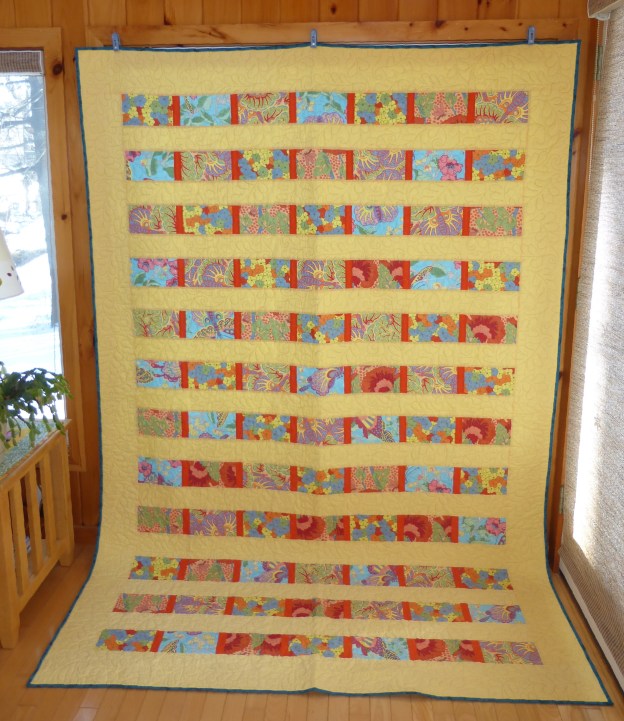
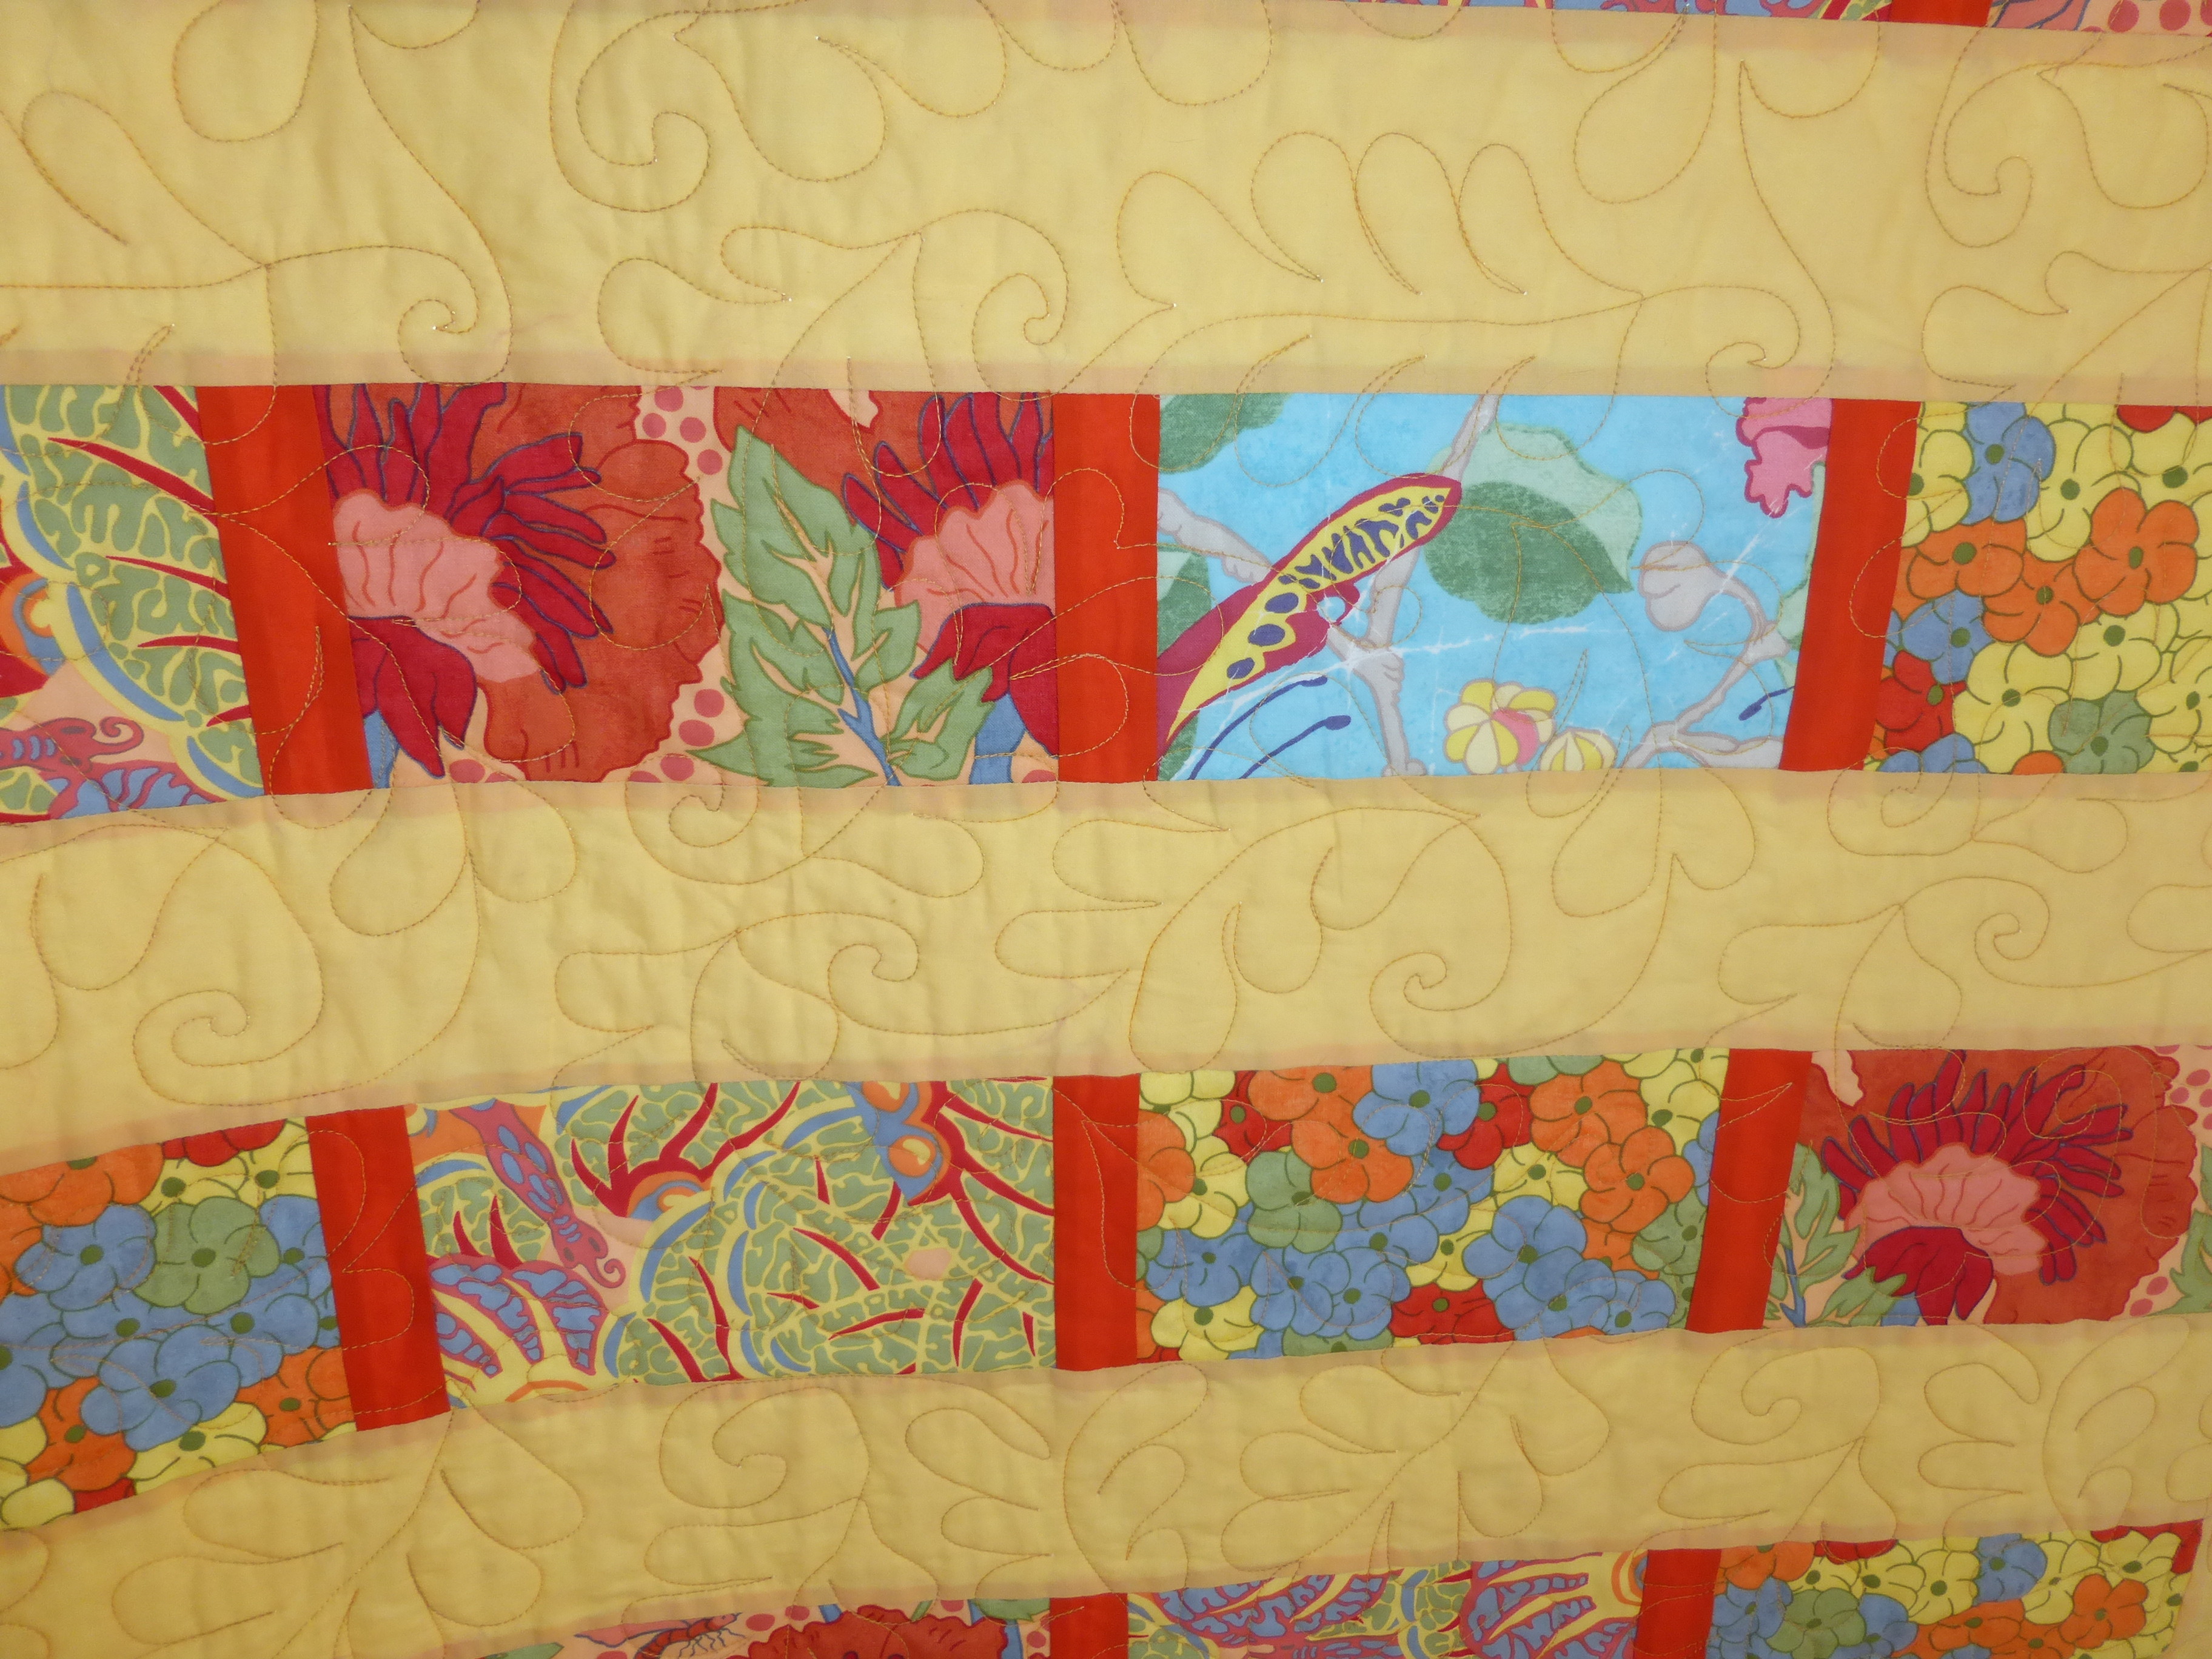
Next up was a small minimalistic quilt. I tried working with the color wheel but ultimately the blue fabric I picked seemed to look really interesting with the yellow and yellow green fabrics I pulled out of my stash. But, even though I thought it all looked okay together, I could not make it work on the color wheel. I pulled out my Ultimate 3-in-1 Color Tool by Joen Wolfrom and still could not justify the use of my colors. Regardless, I decided to use the colors:

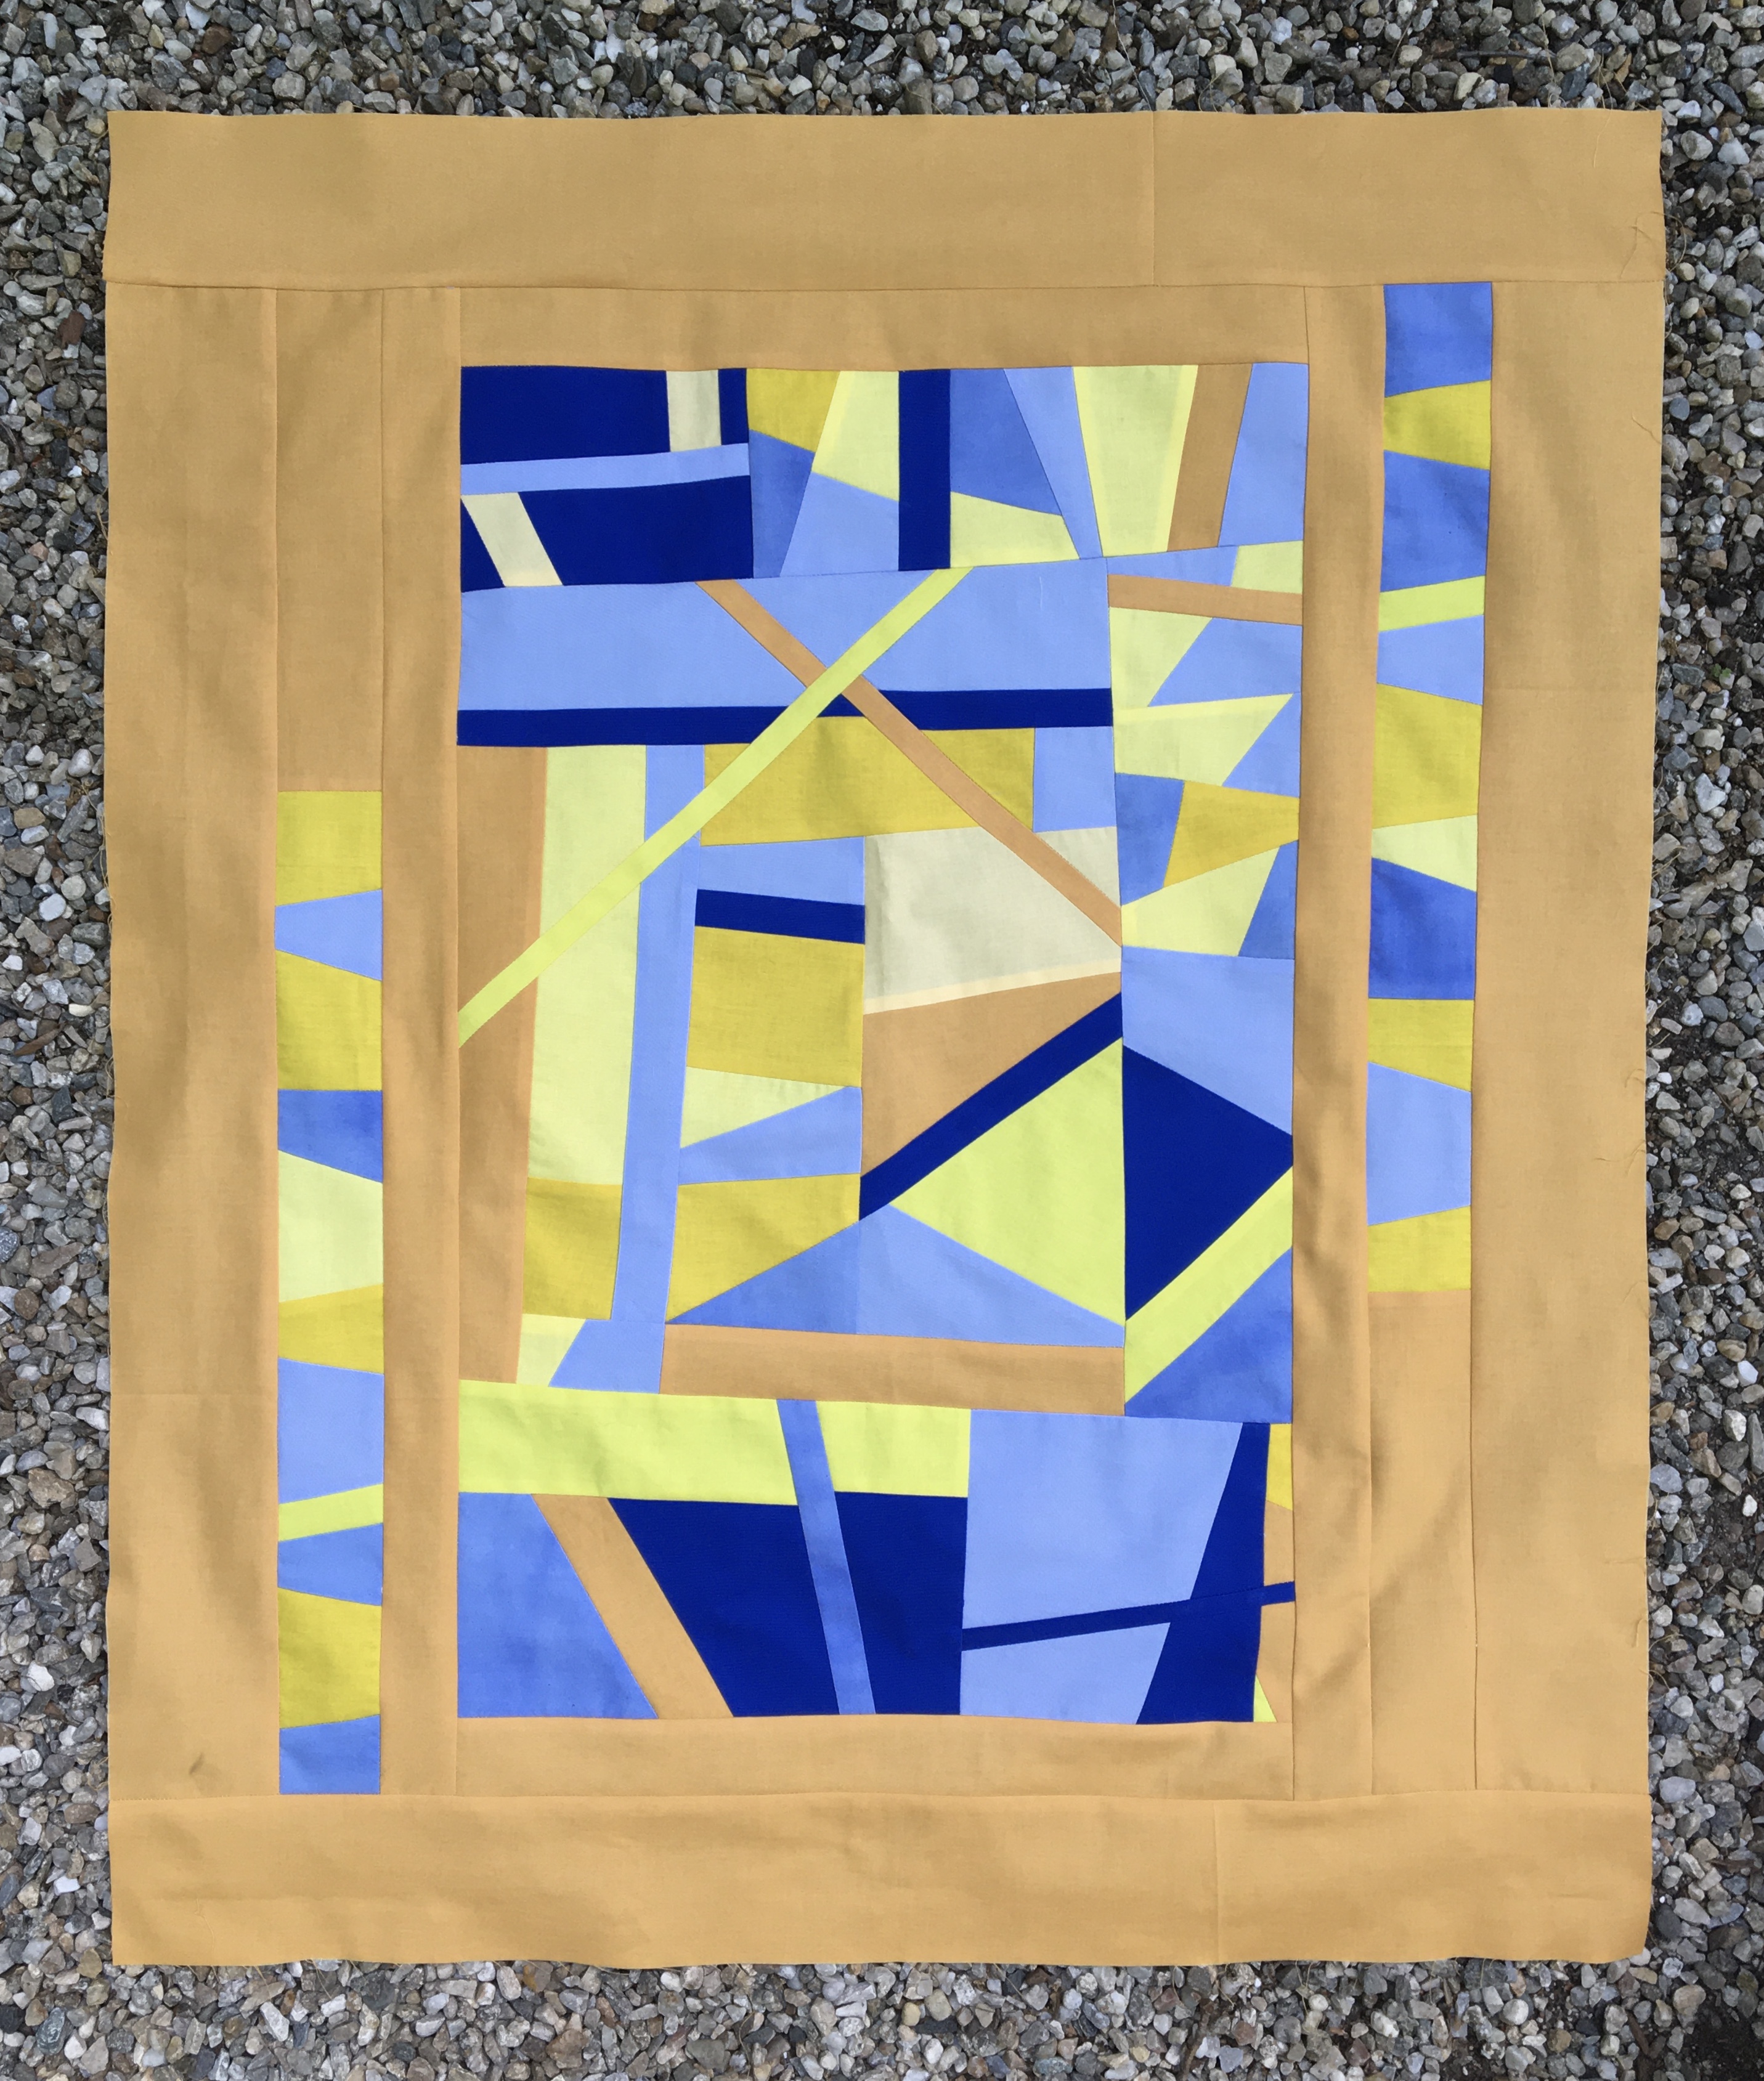
Maybe improv is not your thing, but I do think the colors work, and it was a fun time putting it together. And, yes, it went beyond minimalistic, but never mind about that!

So I began wondering about the use of the color wheel for quilting. Should I be relying on it to pick “complimentary” colors? Do orange and blue go together? Here is an article I came across: https://blog.asmartbear.com/color-wheels.html

If you read through the article you will see alternative color wheels. Both the wheel based on light and the one based on the CMYK printing ink (process color) show yellow across from or complimenting blue, rather than orange. And, that is what I did in my second quilt.

If I had followed the traditional mixing color wheel I would have had a violet and yellow quilt.

There is a lot of discussion regarding the traditional color wheel and its shortcomings. Here is another article: https://www.handprint.com/HP/WCL/color13.html. I have not read through the entire discussion, but the point it this: the Wheel is controversial! My favorite quote from that article is this: “Experienced artists learn to use the color wheel as a compass to color improvisation

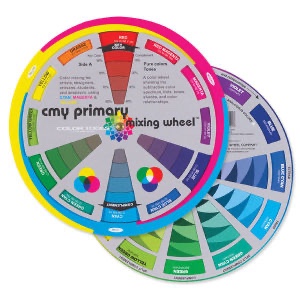
I am looking at a CMY Mixing Color Wheel which I think makes more sense.

I also have another tool that my friend Peggy Anne recommended years ago, The Color Scheme Bible by Anna Starmer. She used this to put quilt kits together for her shop for years with great success. I did not find any schemes that featured Orange and Blue in Anna’s book.

Me and Jane, Jane and I

Jane and I are getting re-acquainted.  The group I am working with at Quilters Common receives the patterns and tips for 5 blocks each month.  Between one thing and another I found myself way behind … a year and a half behind!  So, this past month I was determined to get back to work on my Jane blocks.  I have established a new goal of 8 blocks a month, which I must meet if I want to have a quilt finished for the groups planned quilt show.

I was quite busy and so far I have 9 new blocks and I also redid 2 blocks. Click on the thumbnails to enlarge these photos. When finished viewing them click on the “x” in the upper left corner of the page to return back to this post!

This is my redo of F-5.  The original was a combo of machine piecing and hand piecing for the curved “melons”.  I was so annoyed with the result that in protest I designed a curve free version of the block which I discussed in a previous Jane post.  But, then I came across the “That Quilt” blog and redid the block using reverse applique for the melons.  I am now a fan of reverse applique!  The difference is very obvious (at least to me).  No more wonky squares in the corners!

image

I redid H-10 because the color was wrong.  My scheme calls for this to be a purple block, but I did it in red!

I also came up with my own way of finishing I-10.  The sections are paper pieced and then I sewed them together by hand.  My method of sewing the pieces together was to treat the block like a very modified nine patch with three rows.  I am happy with the result.

That’s it for now … still planning to finish one more new block by the end of this week!

Jane for April 2015

This month I managed to finish 3 blocks before the monthly meeting.

I am finding some different modern fabrics to work with that I think work well with all of the Kaffe fabrics that I have been using.

Here are my blocks:

My heart’s are looking more like a flower, but I needed to use Green and Green Hearts did not seem very appealing to me so I went with pink and bright green fussy cut flowers.

If you look at Mohawk Trail you will see that I haven’t stayed with the program once again! The center block is rotated.  I think this looks better and several of the ladies in my group thought so, too. Sorry Jane!

I have decided what I will use for sashing fabric, although at only 61 blocks finished perhaps I am thinking too far ahead?  But, I needed to because I discovered that I was using up my 10 yards of backing fabric much too quickly.  No doubt due to my extravagant cutting when paper piecing. I tried to get more of the same fabric, but after buying from two sources and getting two different greige goods that were not the same shade of gray (ha ha, gray greige goods!) I decided that I will be using a different color for my sashing.  And, that will be a nice light brown/gray fabric. I am using Moda Bella Stone for my sashing.

sashing

What’s Going On With Jane

I have been fitting a Jane Block in here and there, so I thought I would post pictures of them.

TR12-janesoak

Jane’s Oak has been done a bit differently.  I machine pieced the bottom instead of appliquéing it, so the white on the sides is missing.

I had a dreadful time with the Parcheesi block after trying to hand piece it and came up with a rebellious melon free solution!

f5-no-melon

F5-parchesi F6-deaniesdaisies

The block is really very similar to its neighbor Deanie’s Daisies when approached this way.  I may still do it the correct way in a year or two!

I was happy with the rest of the blocks and I found the melons in Dad’s Plaids to be very cooperative.  I sprayed the heck out of the fabric with Best Press and then used the needle turn method for both the appliqué and reverse appliqué.  I also used Jenny Haskins Template Magic as a guide for turning the fabric.  That stuff is great because it sticks to the fabric and can be reused a few times.

a7-dadsplaids g5-poof

I did not cut the back out of Poof because the seems for the piecing were not secured so I am afraid they will rip out.  Maybe some fabric glue?  Not sure so I am leaving it as is for now.

H10-bensbowtie e12-maryruthscorset

g11-decisionsdecisions m5-motherspoint

I now have 59 blocks done, but am way behind in the group I am doing this with.  I must be about 8 months behind now.  But, I am still getting them done and am pleased with the results, so I am not giving up on this!

Scrappy Monochromatic Blocks

The Boston Modern Quilt Guild is making charity quilts this year and members have been asked to donate blocks made with fabrics that are from the same color family.  The quilts will then be made with a rainbow of the different color grouped blocks.

I came up with a strategy for my blocks which involved sorting all of my fabric scraps by color and then selecting strips from each pile and sewing them together.

DSC_0104

After sorting the strips I trimmed them so they were all about the same length and so that each strip was a uniform width, but the strips are various widths!

DSC_0103 DSC_0102

Then I sewed them together.

DSC_0107

For the blocks that I decided to make I made sure that the pieced strips panel was 38″ long and about 15″ wide. This is enough to make several blocks. You do need a 38″ long strip for the log cabin block featured in this article.

DSC_0109

Trim the uneven edge and don’t forget to save your scraps that are too small to sew with.  These will be the stuffing for a pillow!

DSC_0110 DSC_0111

I cut my pieced strips 3 1/2″ wide and some are 2″ wide.

DSC_0112 DSC_0113 DSC_0114

One of the block designs is a log cabin block.  This block uses one of the 3 1/2″ wide strips with other fabric scraps.  The center is a 3 1/2″ square bordered with 2″ strips.

DSC_0120 DSC_0121 DSC_0123

Sew the strips and then trim them to the correct size.  Use a square ruler to make sure your cuts are correct.  The center block will be 6 1/2″ square.

DSC_0125DSC_0126

Then continue adding the 3 1/2″ wide pieced strips.  Sew then trim to the correct size as you go.  Once the block was larger than 6 1/2″ I got out my 12 1/2″ ruler to trim the block.

DSC_0127

The block will be 12 1/2″ square when completed.  These are two of the blocks:

.DSC_0128 DSC_0131

Here are some made with purple and green strips.

DSC_0004 DSC_0005

Of course I got carried away and will be making a lot of these blocks, so I will make my own quilt with these blocks.   Usually I would use all different colors, but I really love the idea of using strips that are in the same color group. The finished blocks are sublimely wonderful.

Poor Neglected Jane

After many moths of neglecting my Jane quilt I finally got some blocks put together for the July meeting.

Here are each of my blocks.  The Star block was a bit of a challenge, but the method we used for the center was to fold a little square in half which worked out wonderfully.

c9 E-8

L-6 G6 b13 I-1

I did have a bit of a hard time getting one of the background pieces lined up correctly when paper piecing the star.  After ripping out three times I grabbed a 6″ width of fabric strip, placed the paper on top off that and ran it through the machine.  Plenty of room and no wasted fabric  after I trimmed it … how’s that for a new paper piecing method!

paper-piecing


Seven Celestial Sisters

This is the second Tumbling Block, Hexi-Star quilt that I put together with Fabric Foundation. When I made the first one I was thinking I could piece one to emphasize seven of the stars for a Seven Sisters Quilt.  I have a secret desire to make a traditional seven sisters quilt, but it will probably be awhile before I take that on. For now I have this little quilt.  It is about 39″ x 35″ and the fabric gives this a genuine celestial look just like the Pleiades Constellation that the pattern is named for.

seven-sisters


P1030531

I do have a seven sisters quilt top that I quilted.   The top is a vintage top purchased on eBay so I don’t have any idea who made it and where it was made, but the fabrics look like 1940s to me.

vintage-seven

Hmmmm, looks like I need to find time to put a binding on that quilt!

a Very Bright Quilt

This is about the cheeriest quilt I have ever made.  I think the very cold, very long winter inspired this quilt.  Makes me long to sit on the beach and soak up some sun! This quilt is made with Melissa White Fairlyte Garden fabrics.  The quilt is 98″ x 67″ which works well for an extra-long twin bed.  The pattern is from All People Quilt.

sunshine_quilt

fairlyte


Autumn Splendor

Well, the splendor of autumn has past, and now we are faced with bare trees until Spring.  I really did enjoy the change of the season this year and was inspired by all of the bright autumn colors in the trees.  Also, one of my Block of the Month projects fit right in, because I chose the Harvest Road color scheme for my BOM that I am doing at Quilter’s Common.harvestroad

So, for one last bit of autumn inspiration in my quilting I put this table runner together for my friends who were kind enough to invite my husband, his Mom and I for Thanksgiving Dinner.  I picked three of the block patterns from the BOM and stayed close to the colors that Antoinette chose for two of them, but decided to go with green instead of yellow for the center block.

fall-table-runner

Now I am going to have to be inspired by the colors of the Holiday and also the ice blue skies of winter.