Tag Archives: modern

Playing with Convergence Quilts

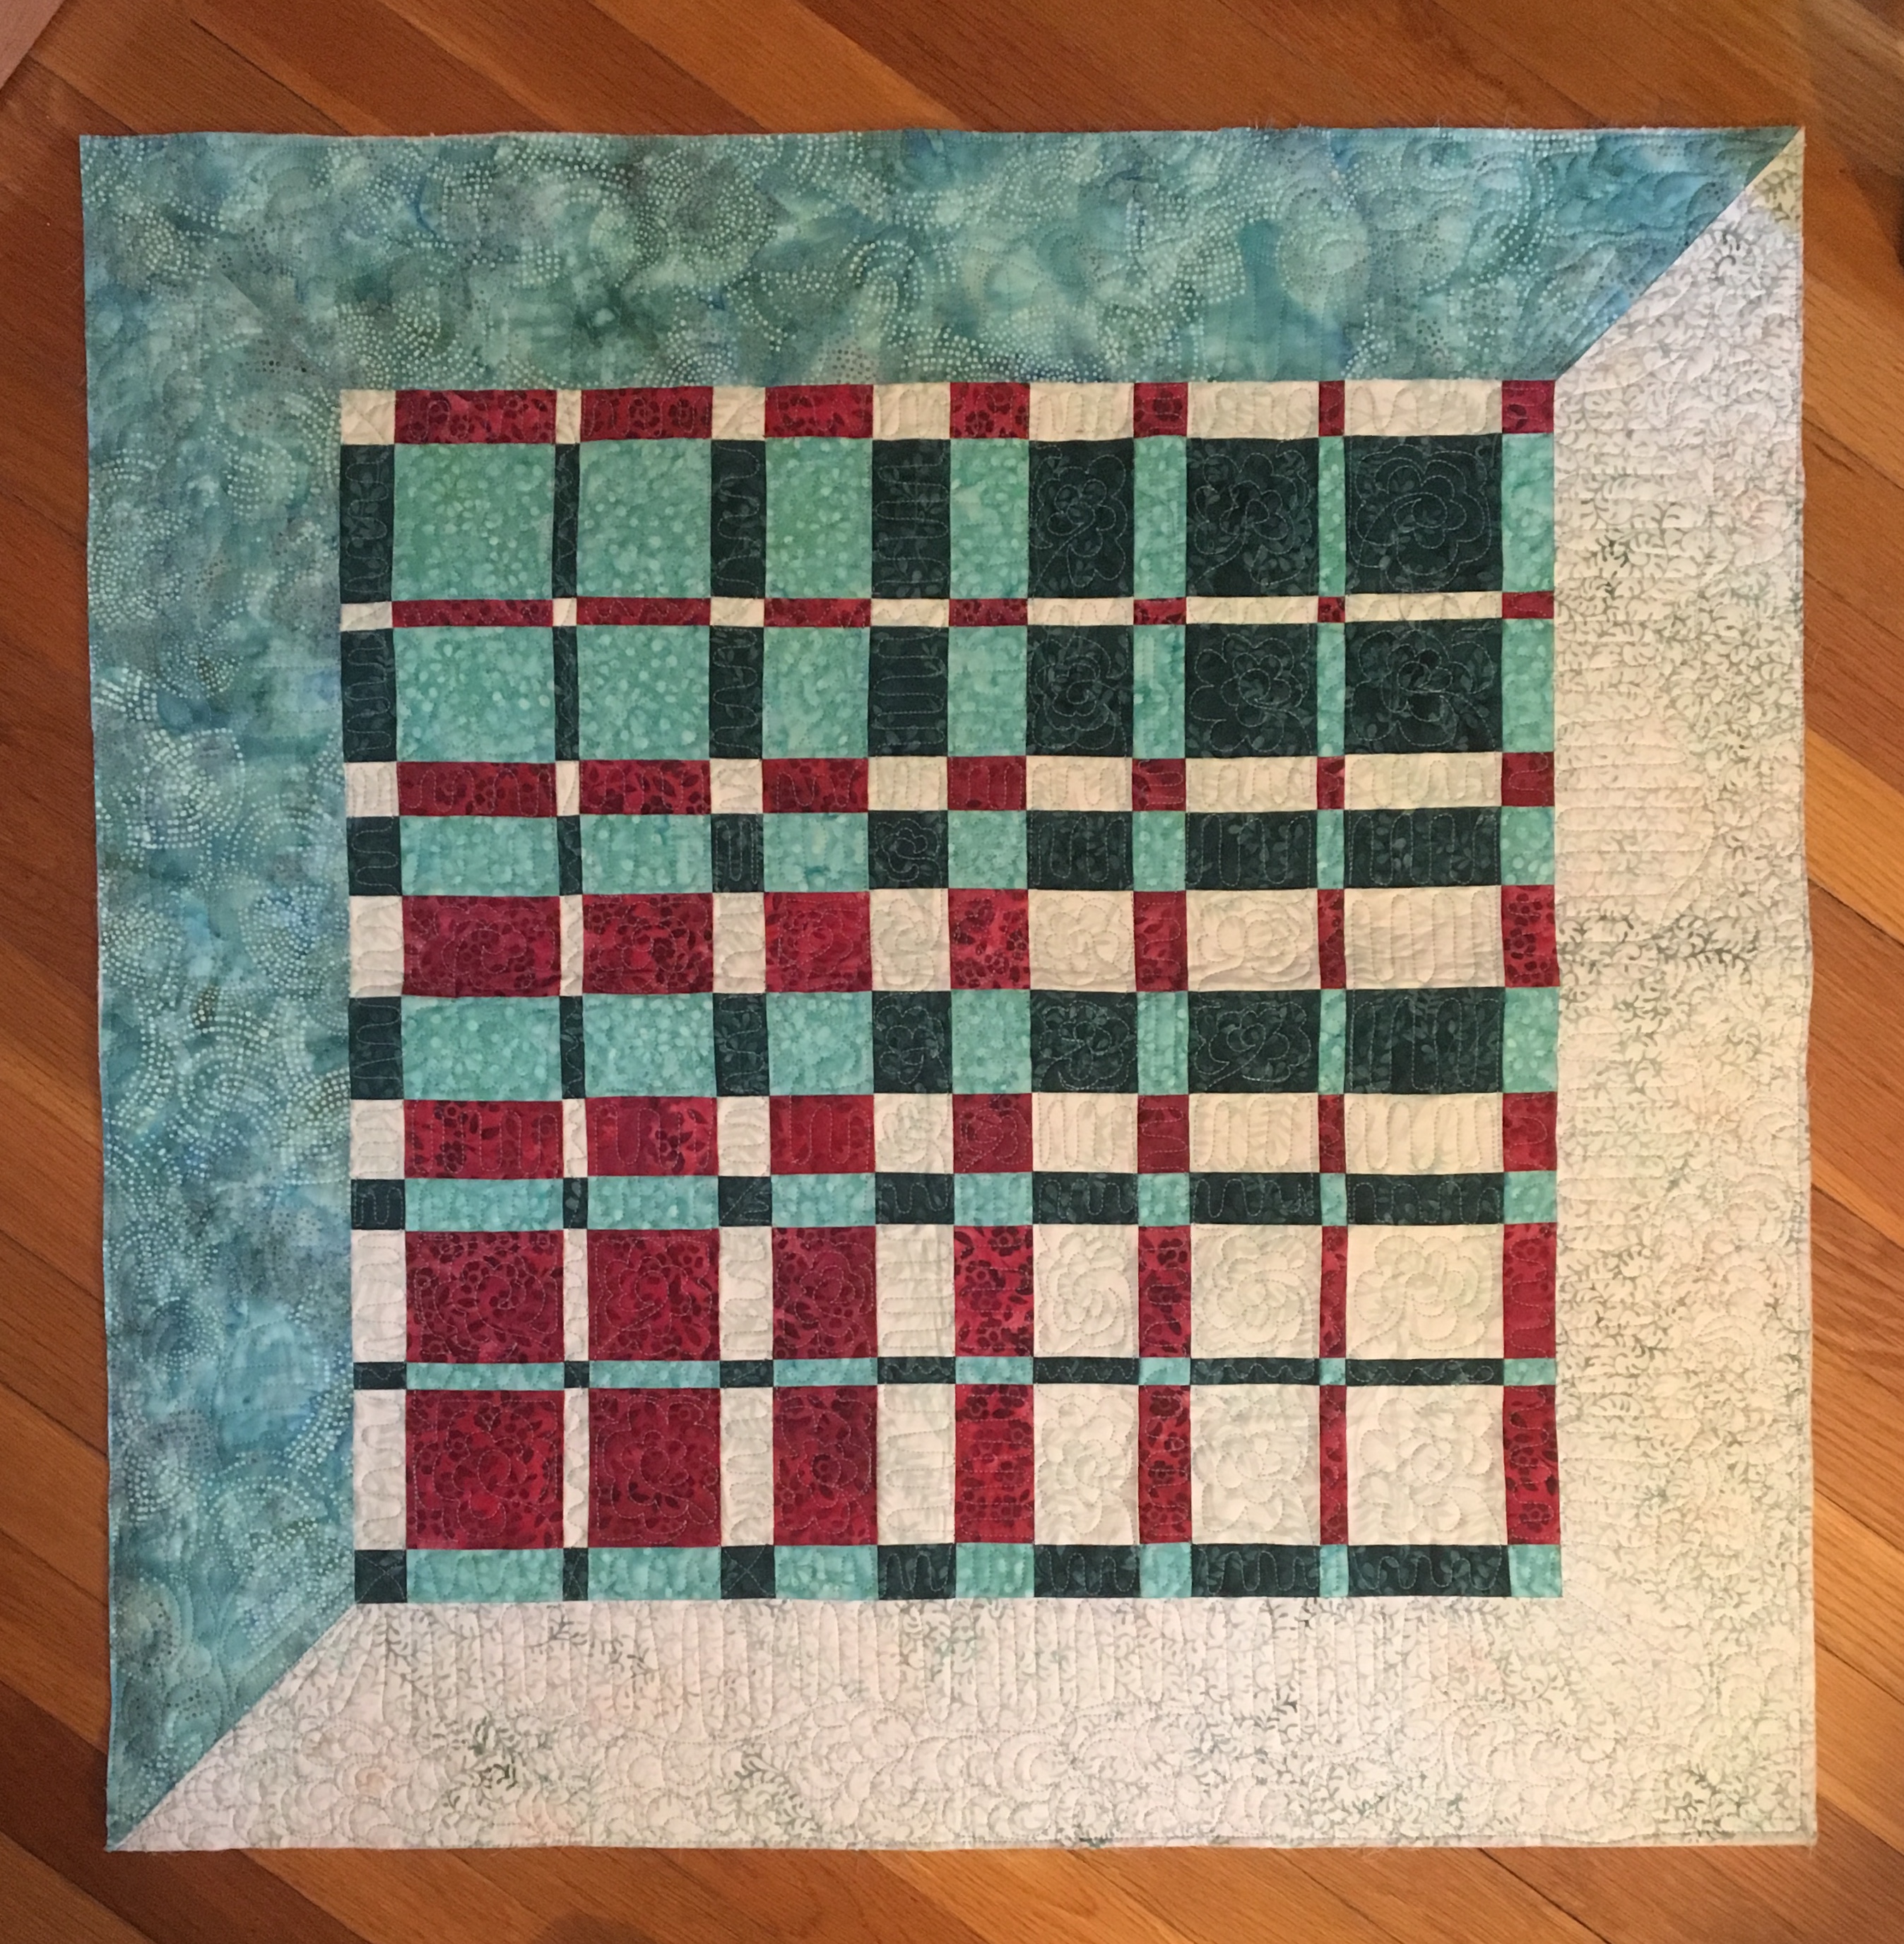
Ricky Tims published his Convergence Quilts book in 2003.  I was brainstorming with Jolene at Quilters Common trying to come up with a good idea for a workshop.  She mentioned that she had seen some Harmonic Convergence quilts on the internet, perhaps Pinterest?   So of course I did some researching as soon as I got home and discovered his book.  I checked a copy of the book out from the incredible New England Quilt Museum research and lending library.  (I volunteer there on Thursdays).  The book has a lot of interesting projects to try, but the trick is finding the right fabric combinations.  I found his original Harmonic Convergence project the easiest to work with.  In fact I found it so easy that I could hardly stop picking out fabrics and making them.  It is fun and easy to put these stunning little quilts together.  Here are the ones I have put together (so far!)

Here is a pictorial overview of the process:

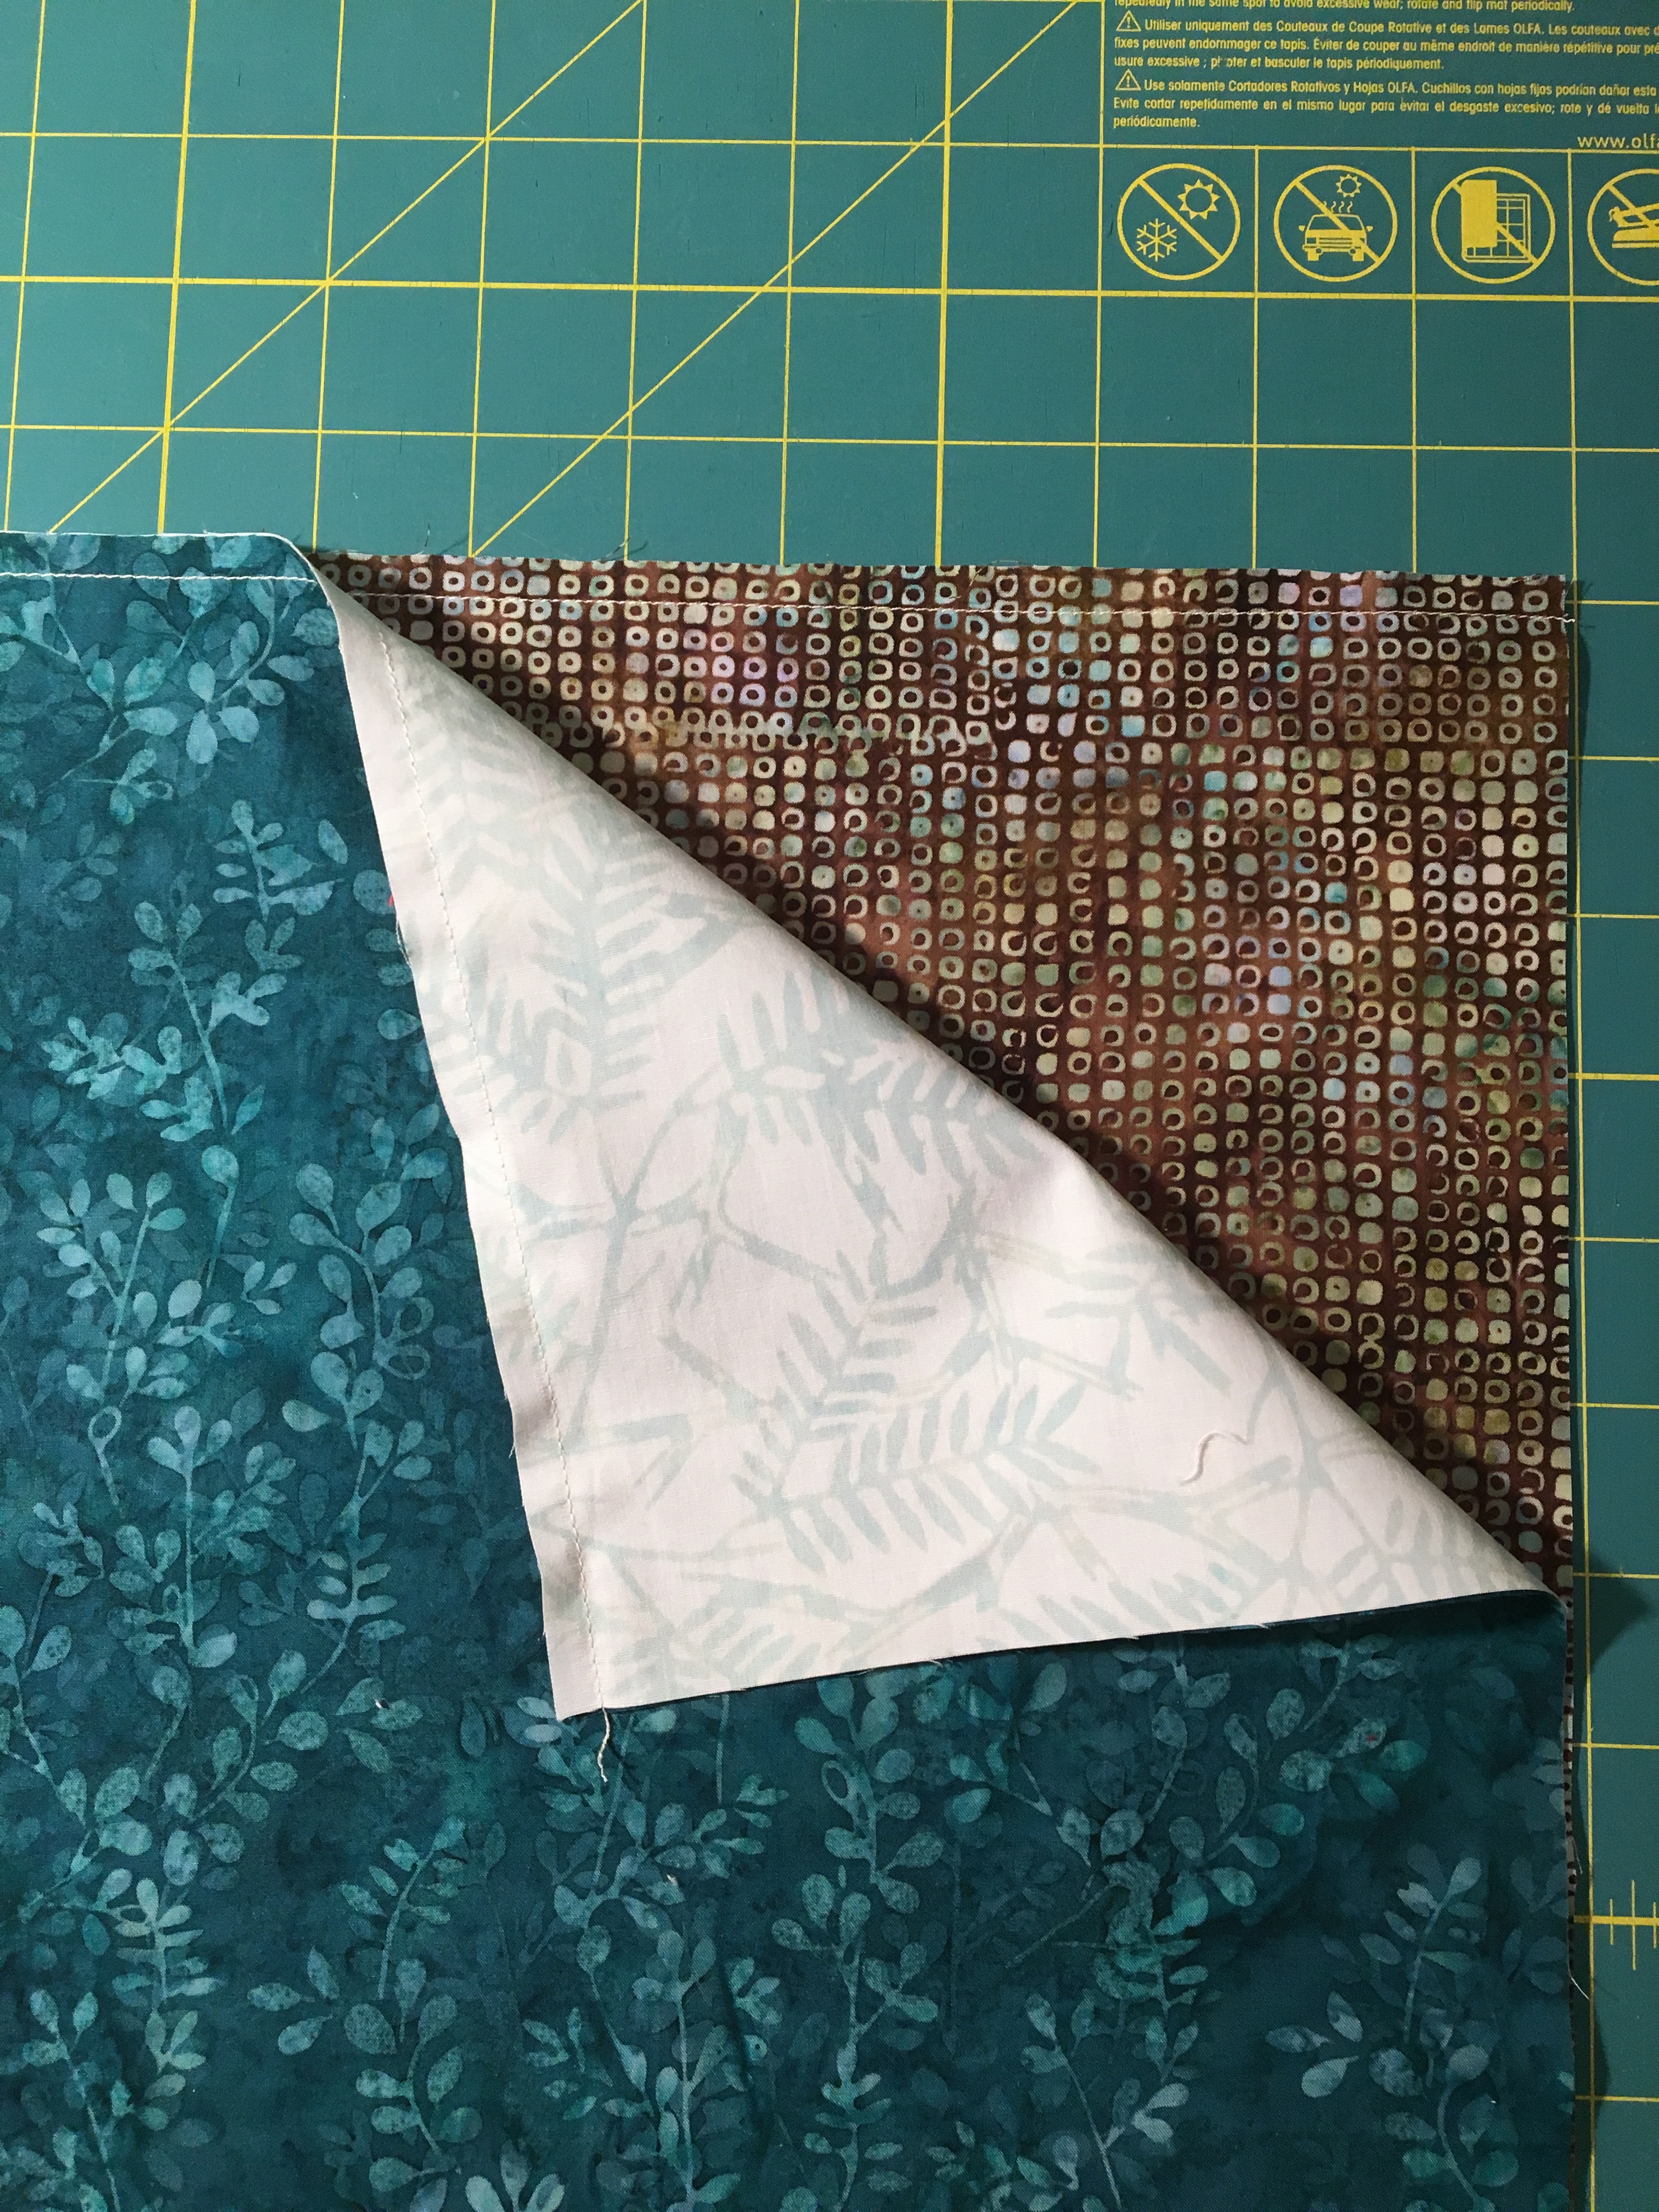
Start with four 16″ squares.  Sew them together is pairs, layer the four squares and then cut strips increasing in size by half an inch from 1″ to 3 1/2″.  For the quilt in the photos there was enough fabric left over, so I cut an extra 1″ strip and used it as a border.
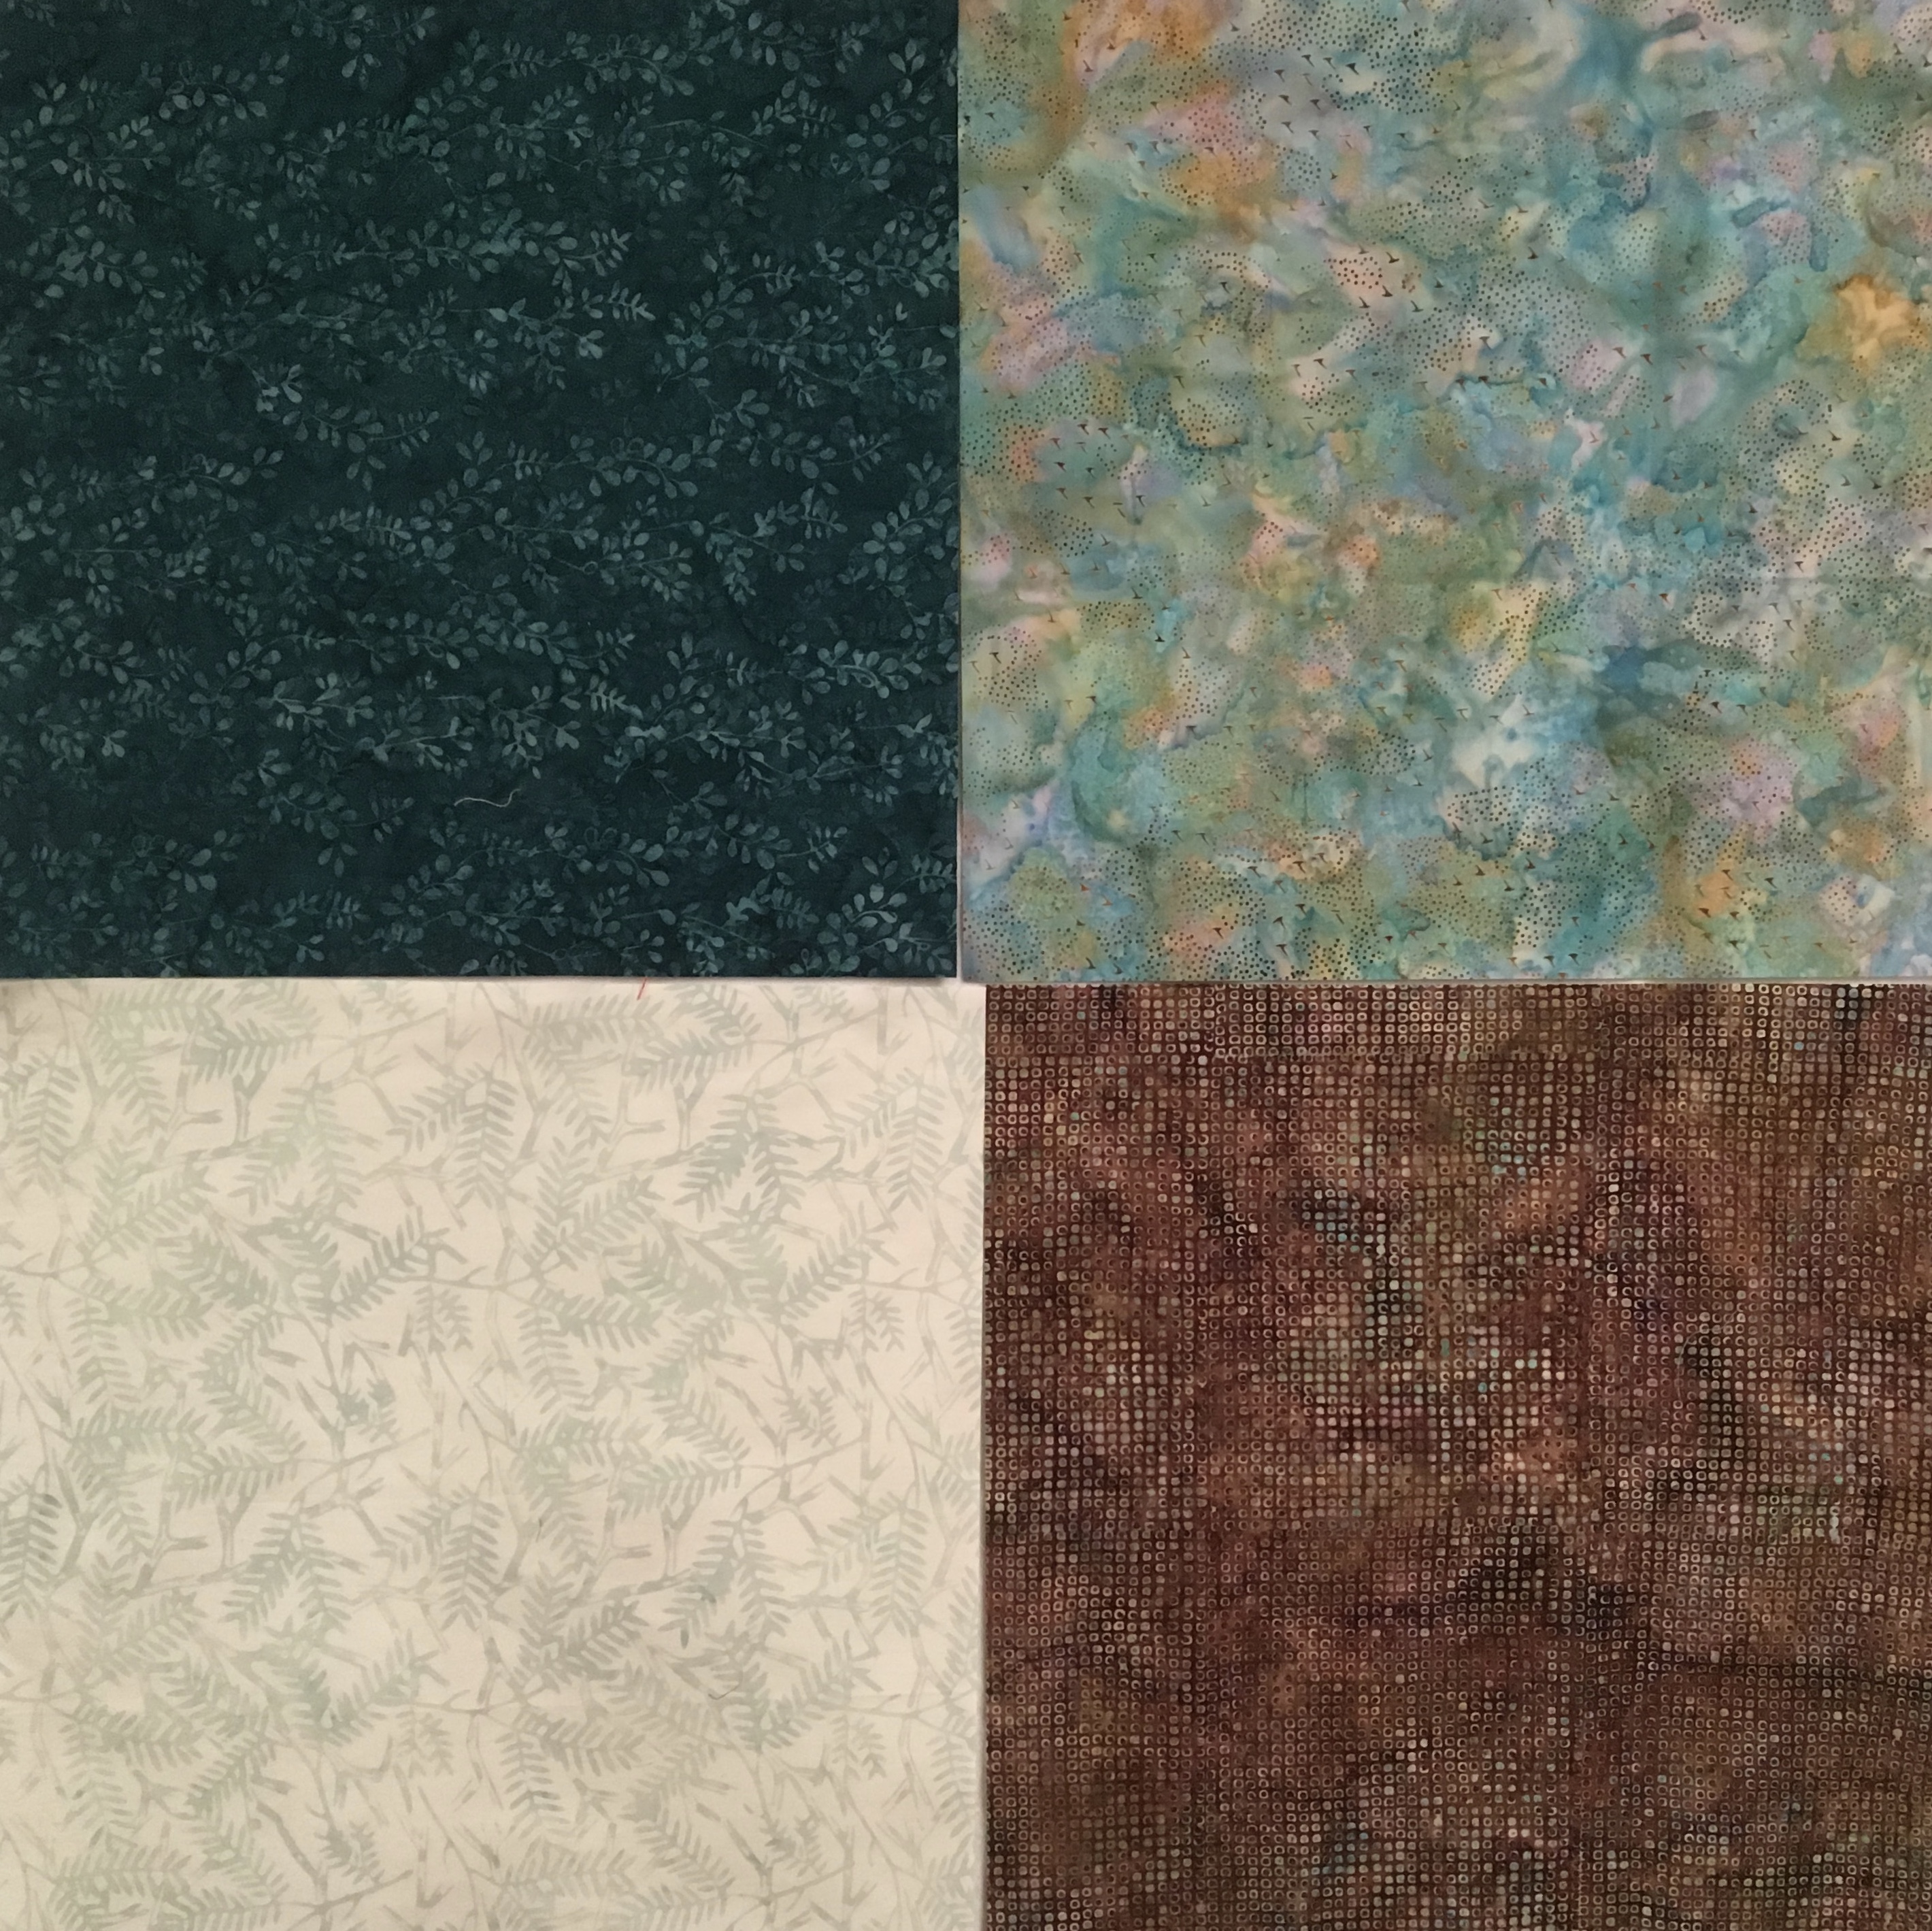
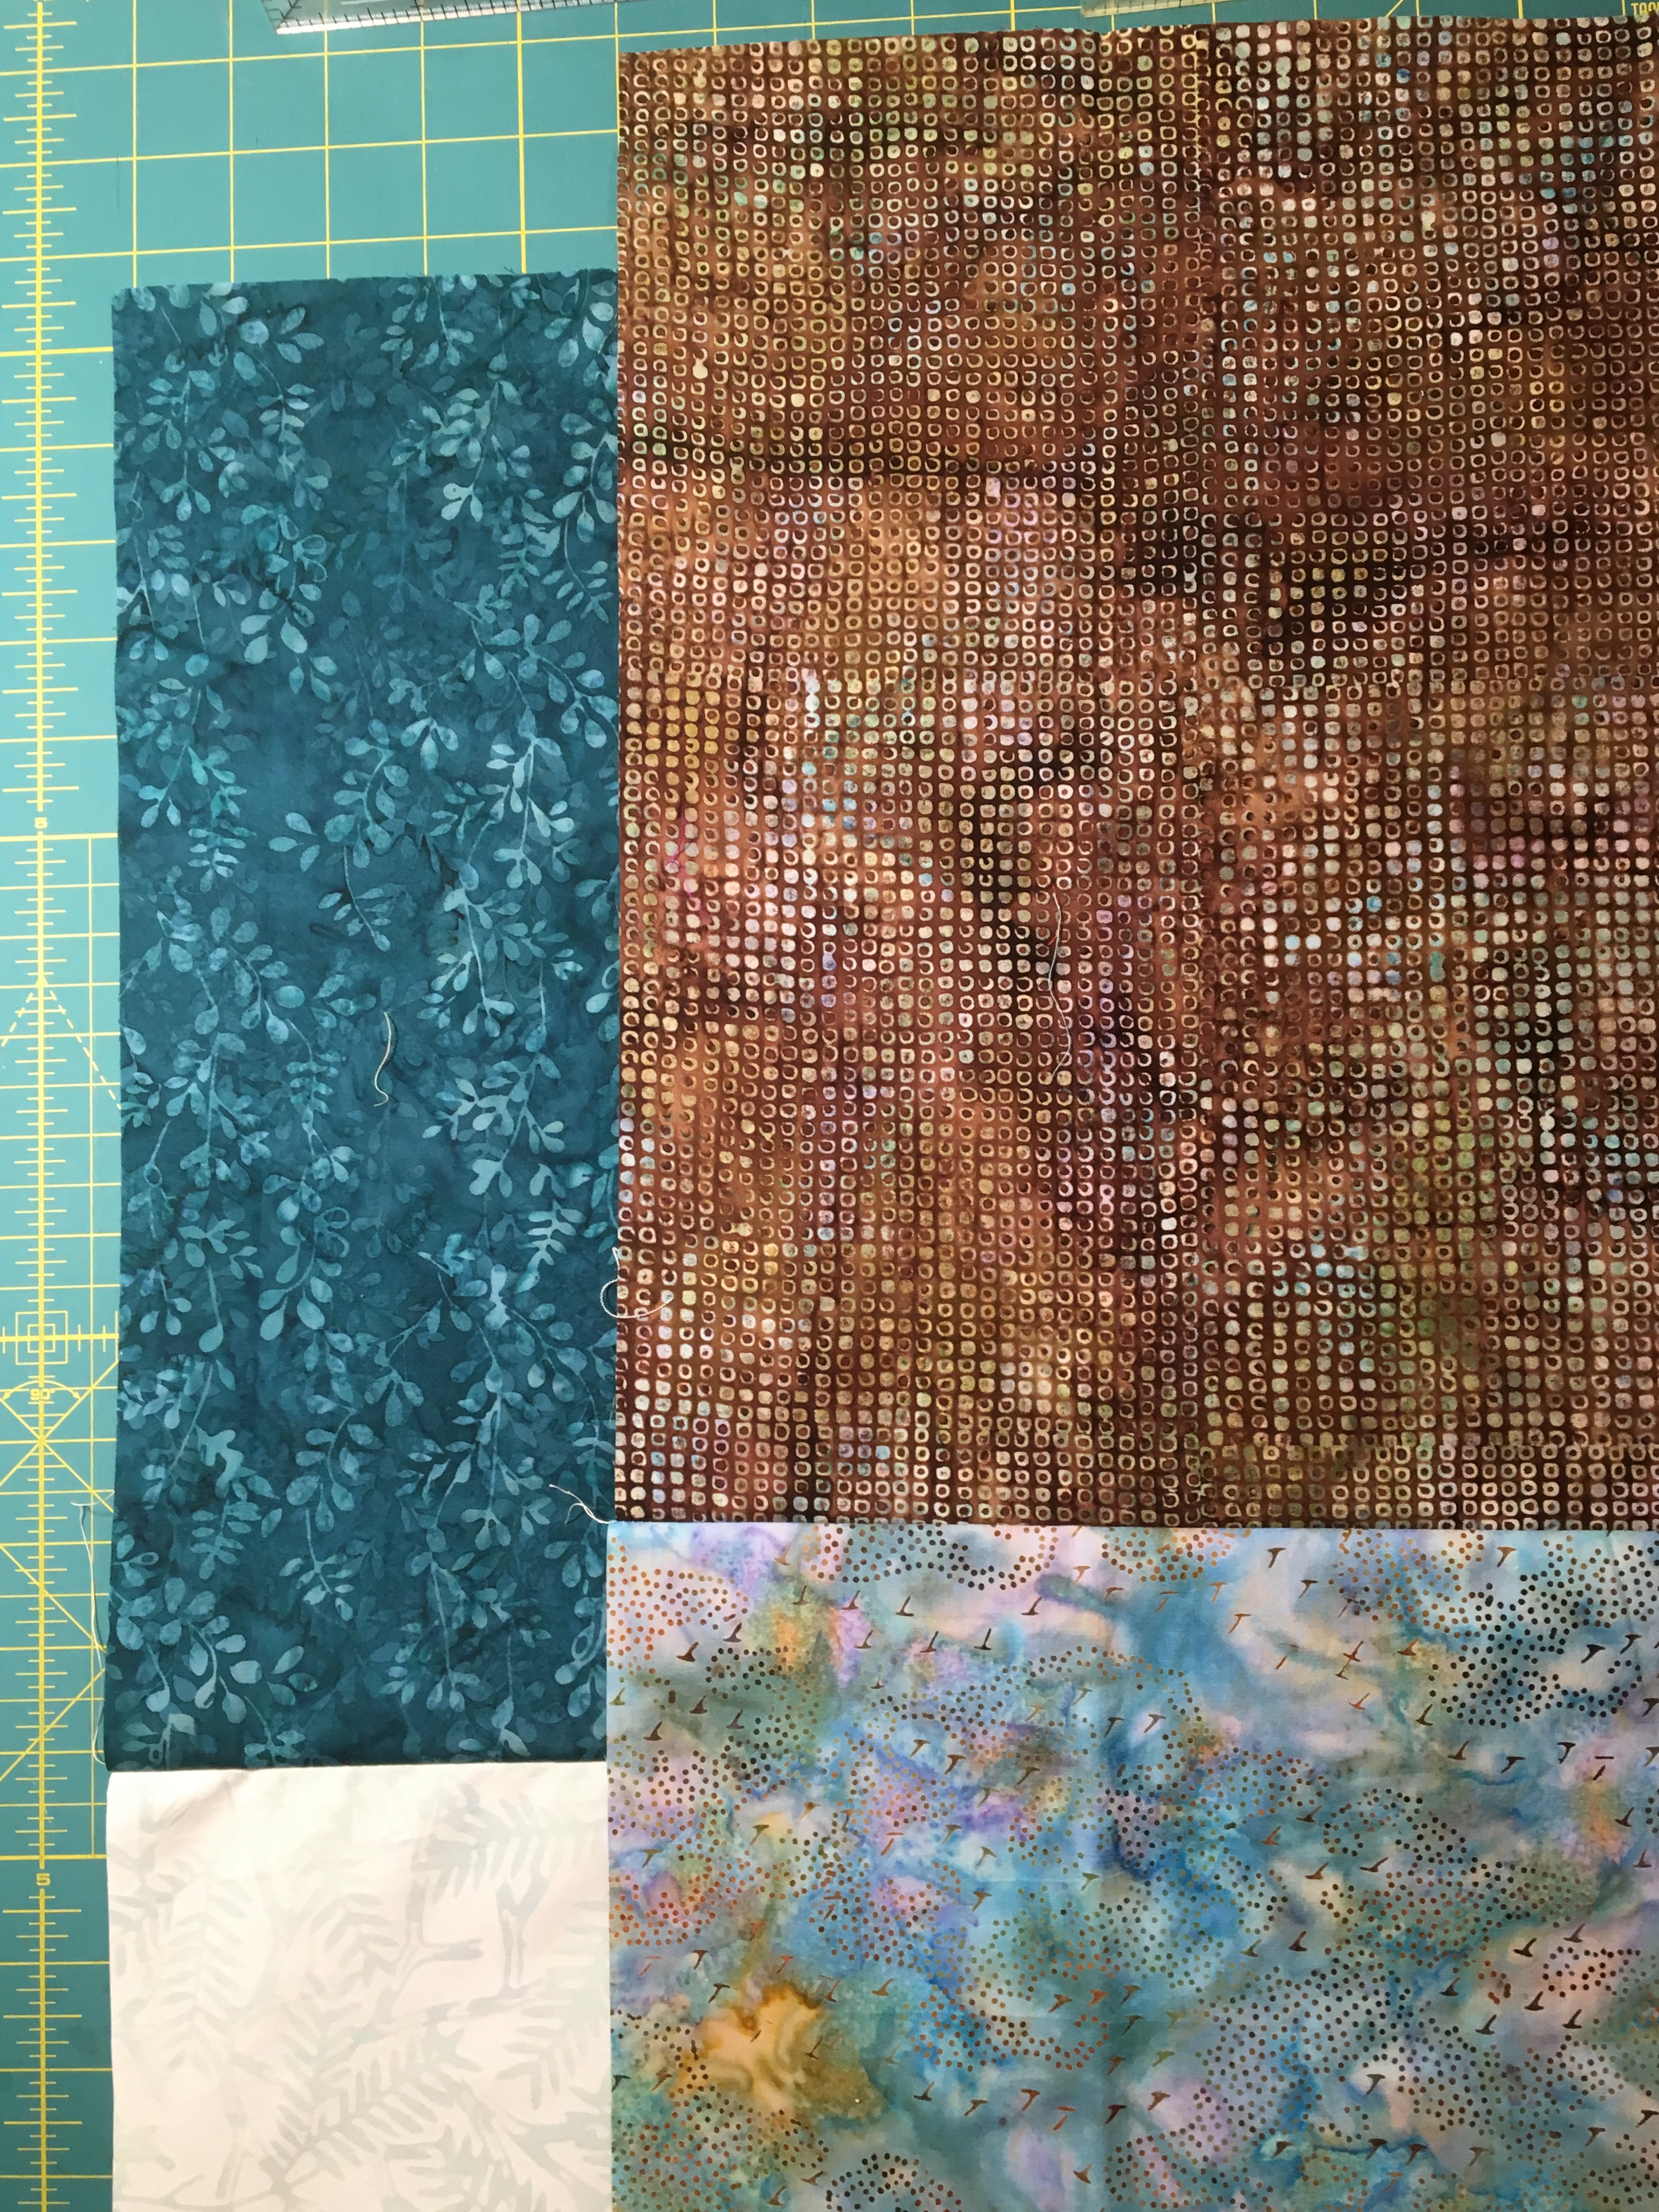
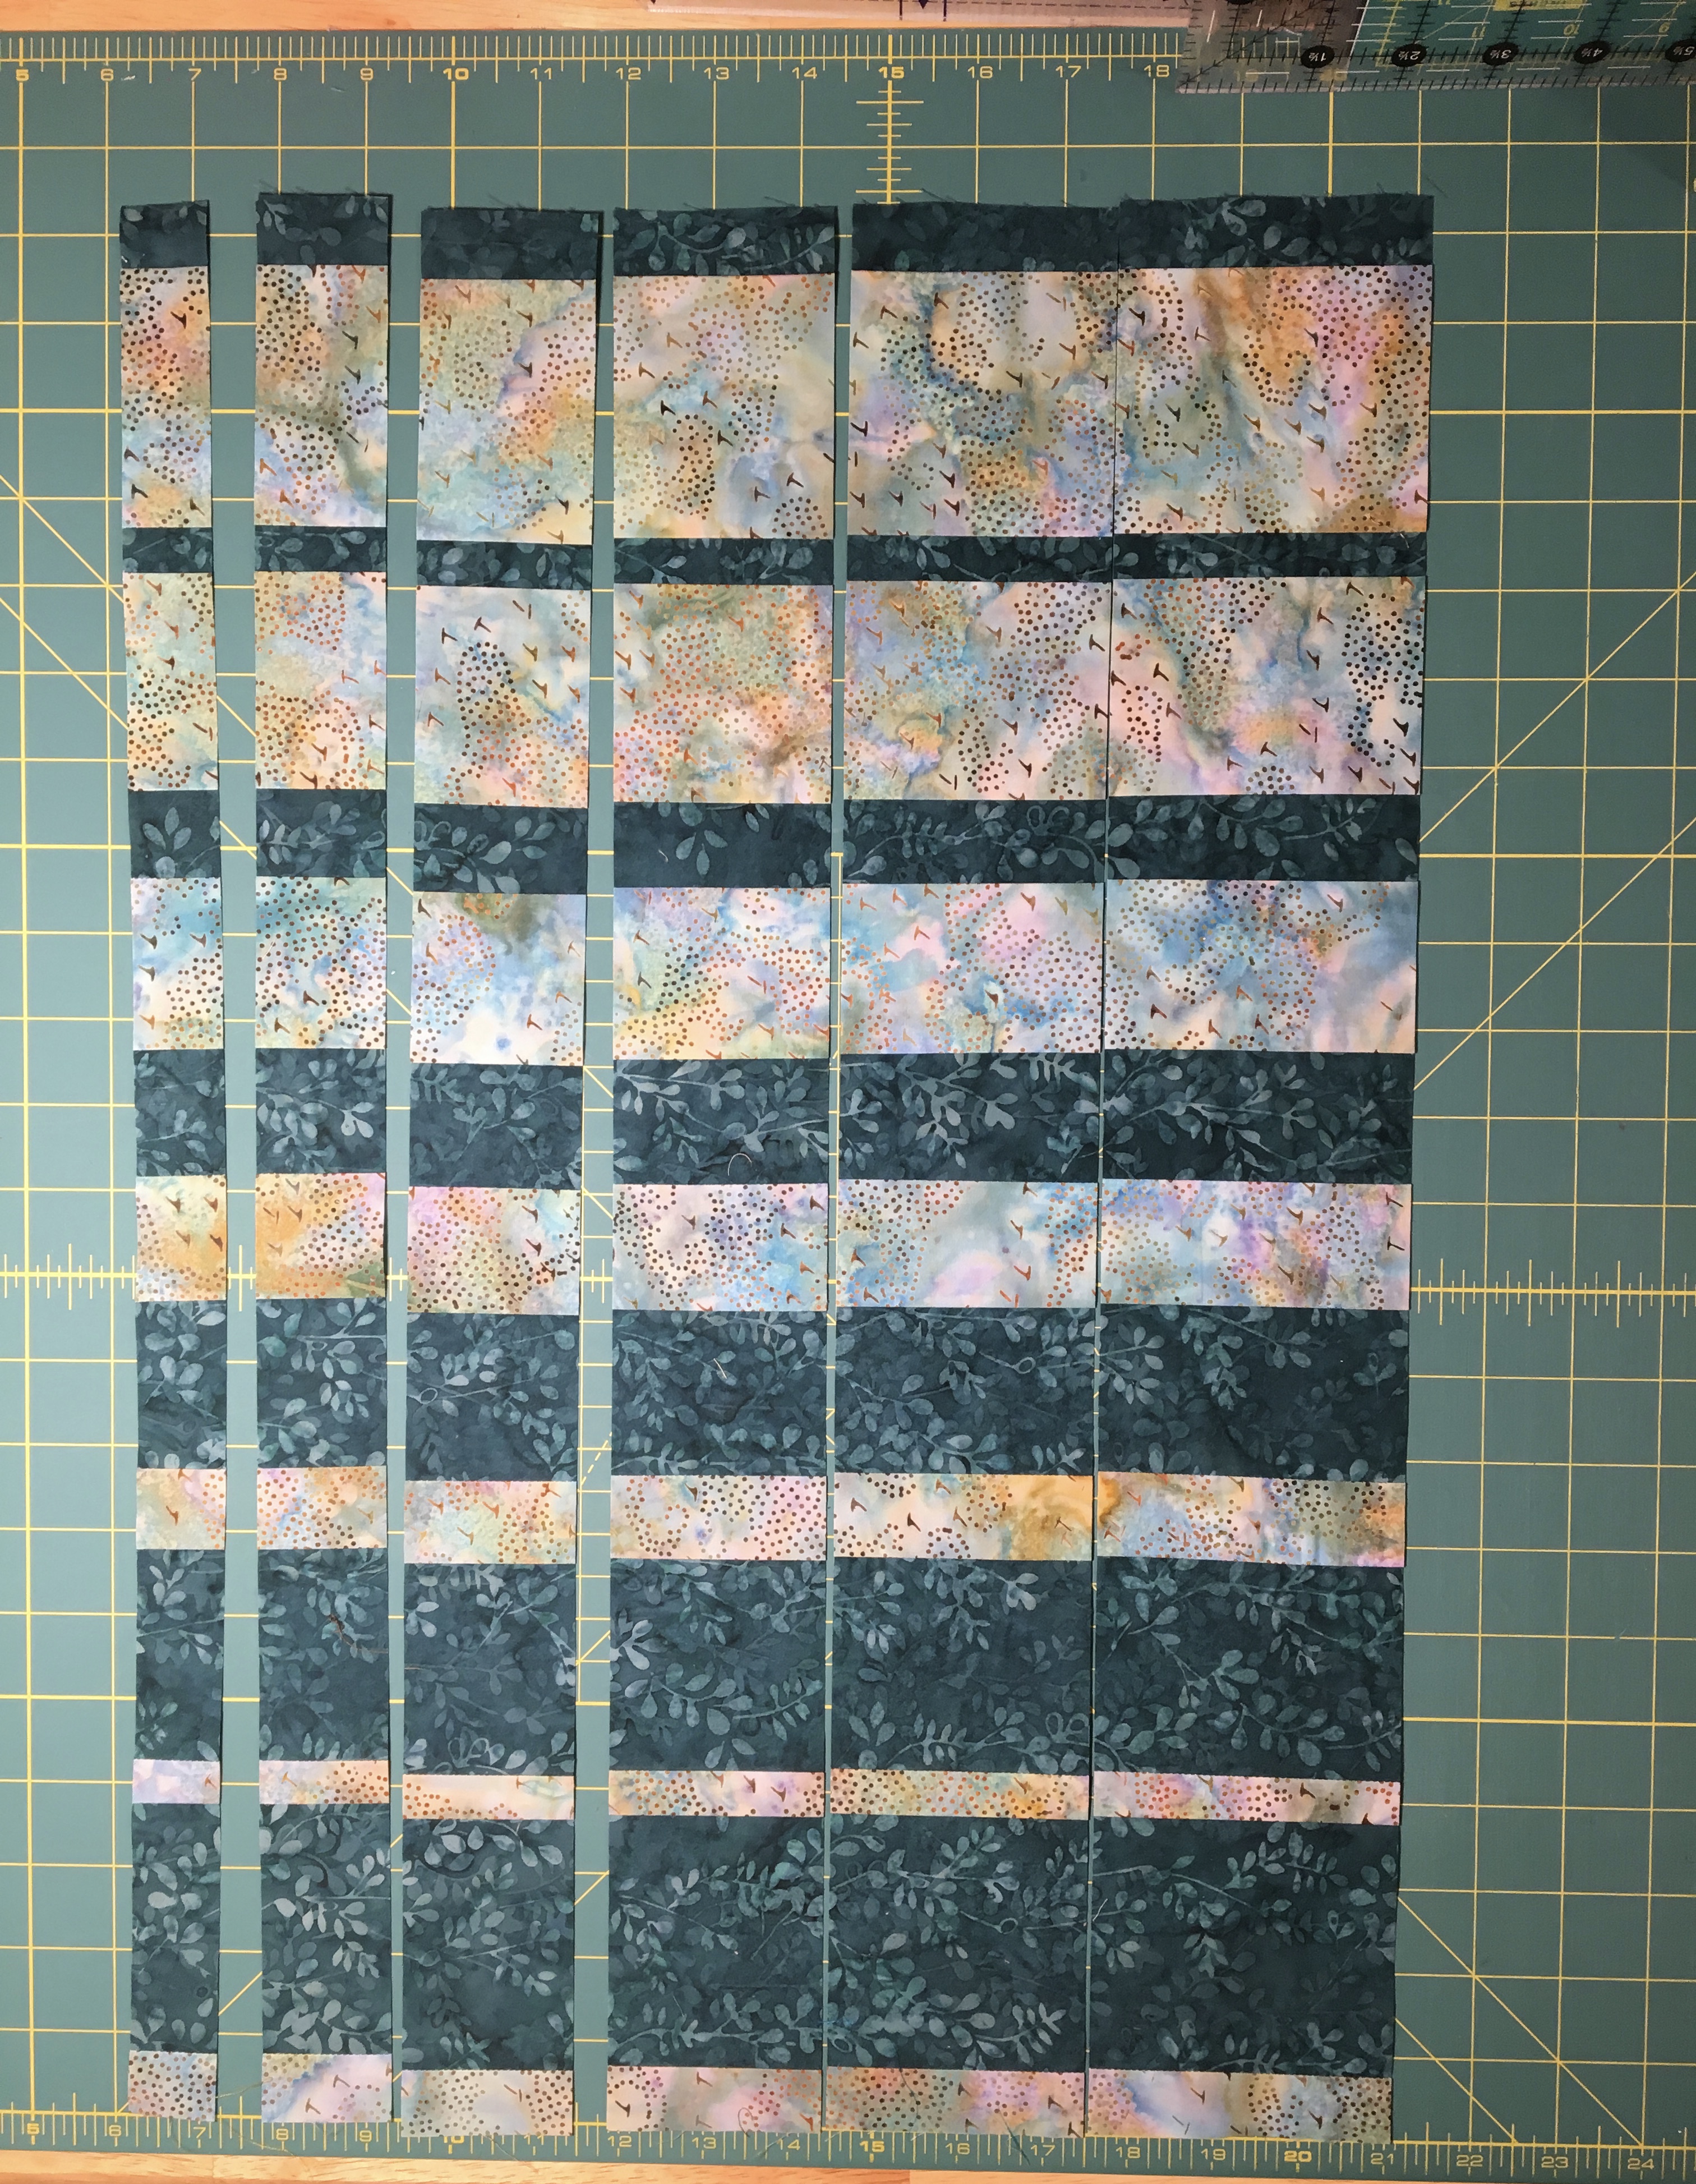
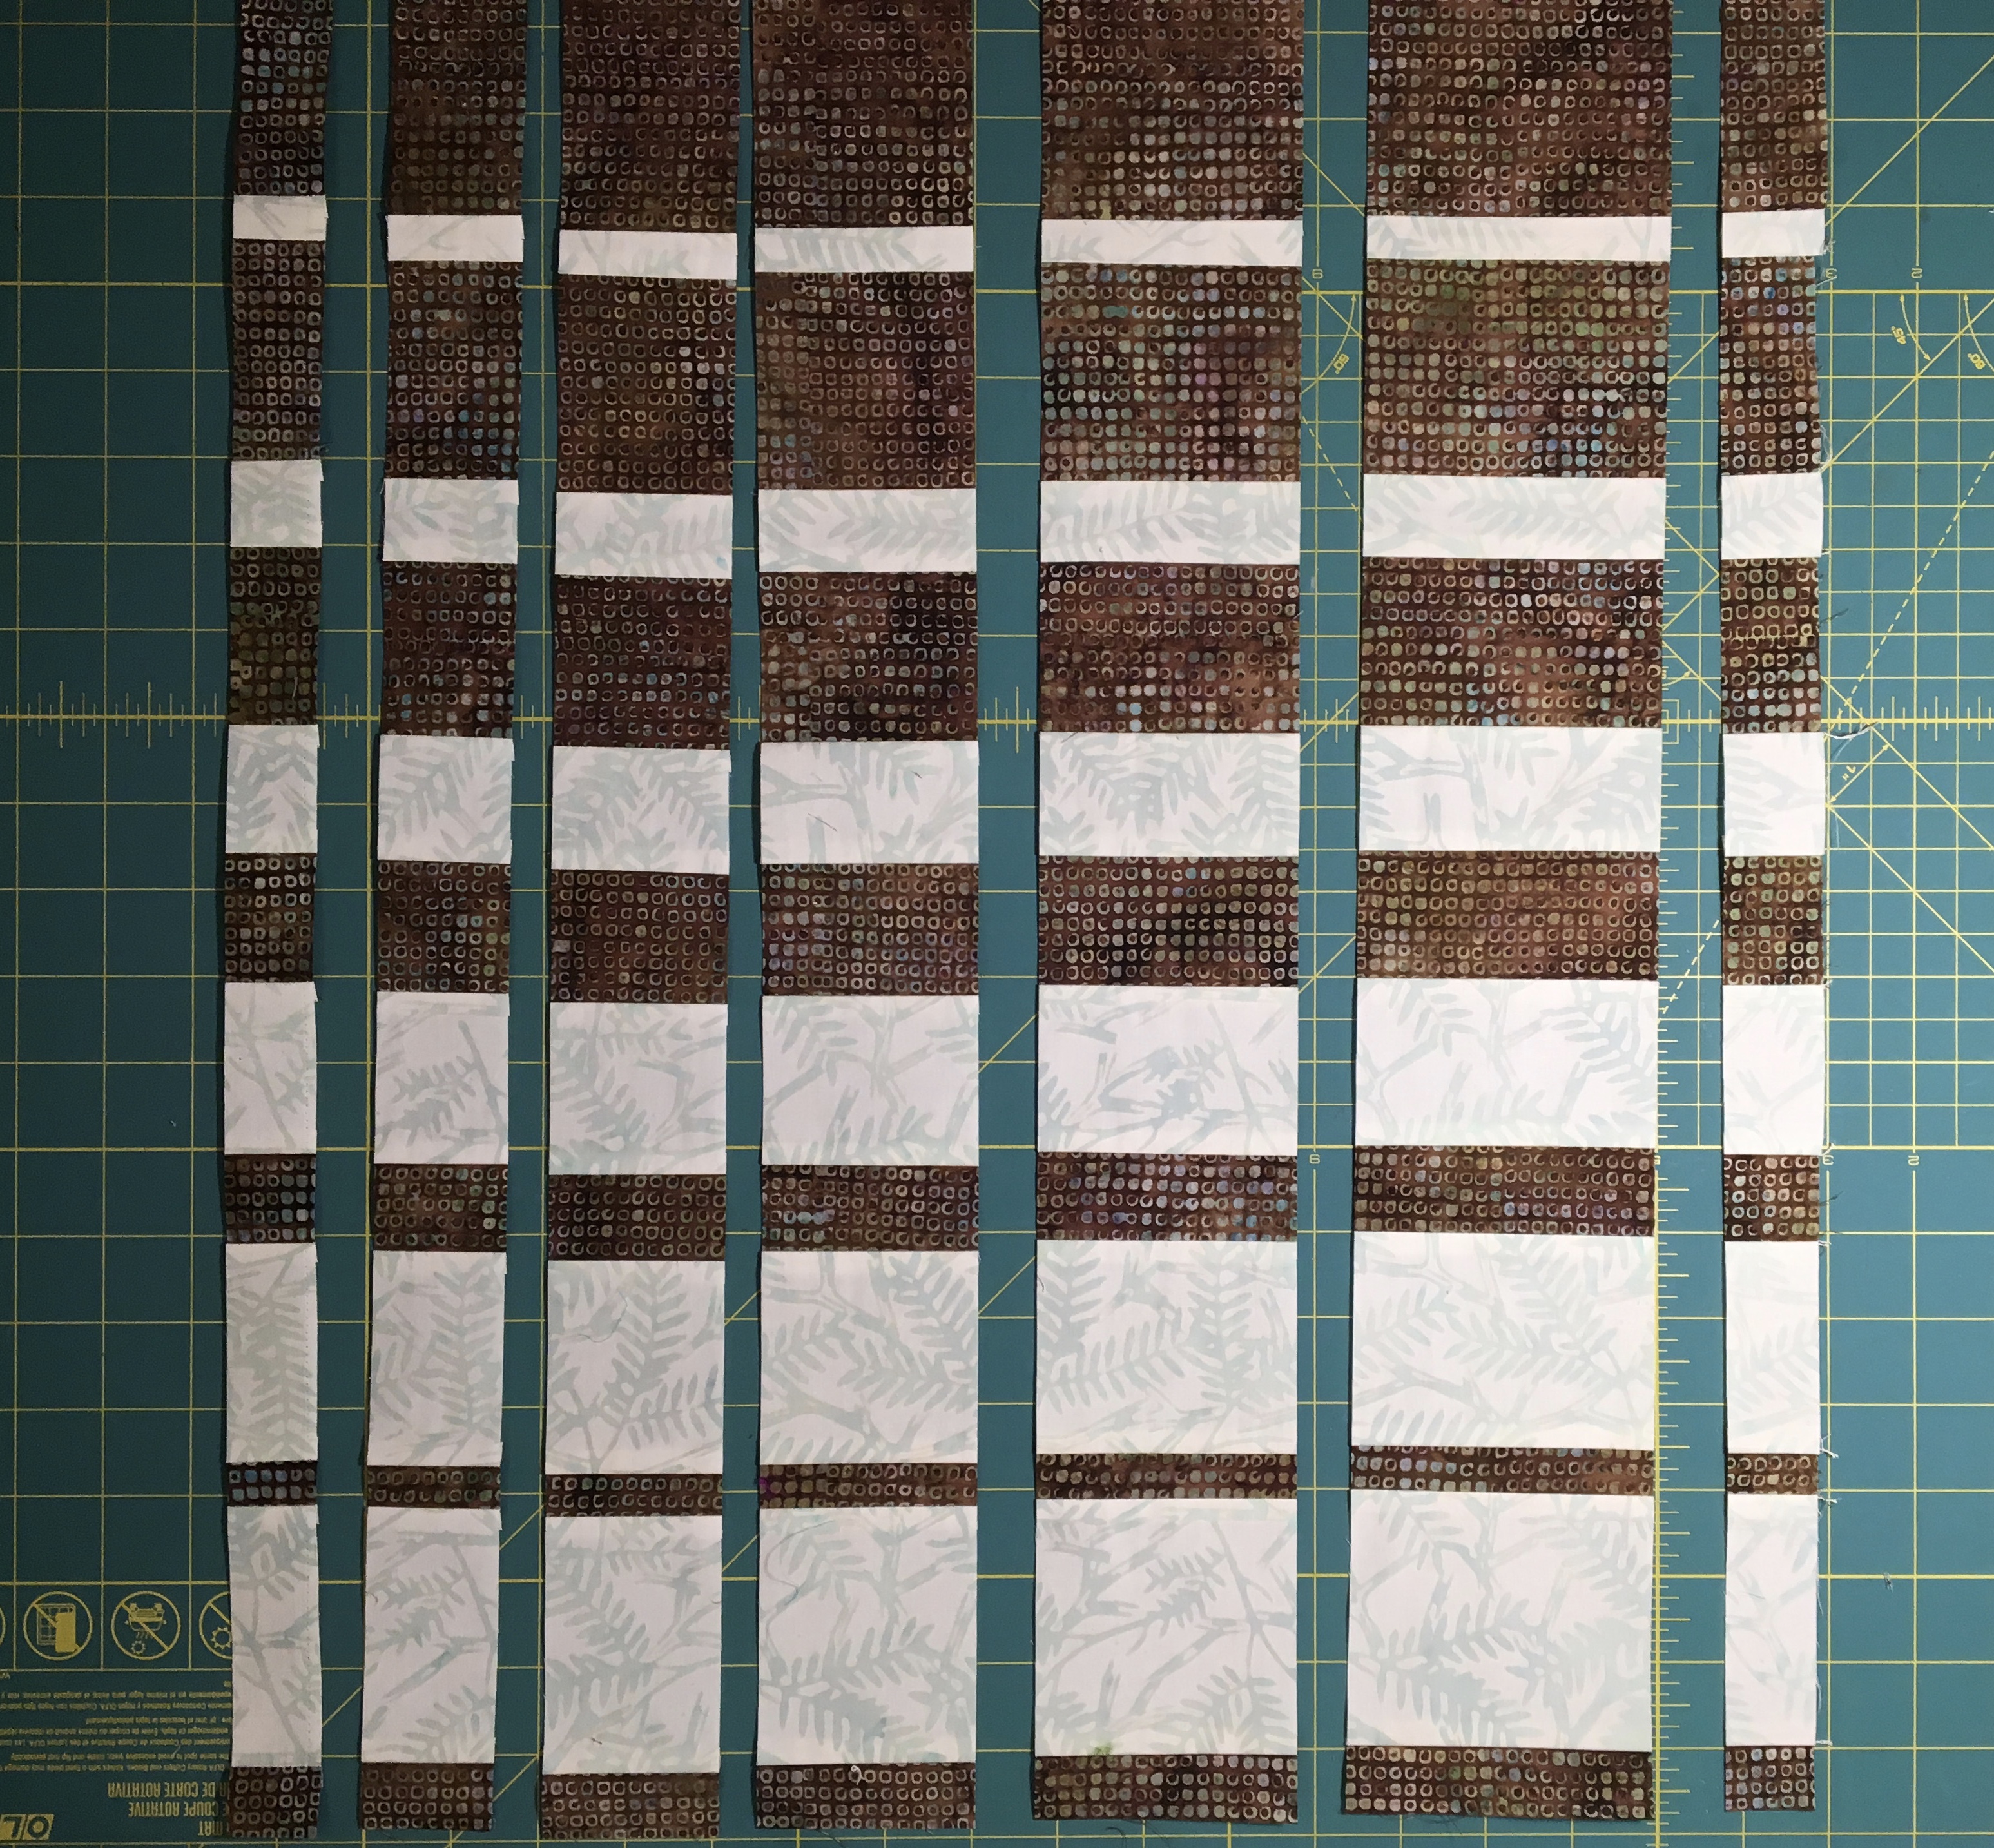
Open up the strips and then rearrange them as shown here (click to zoom in on any of these photos).
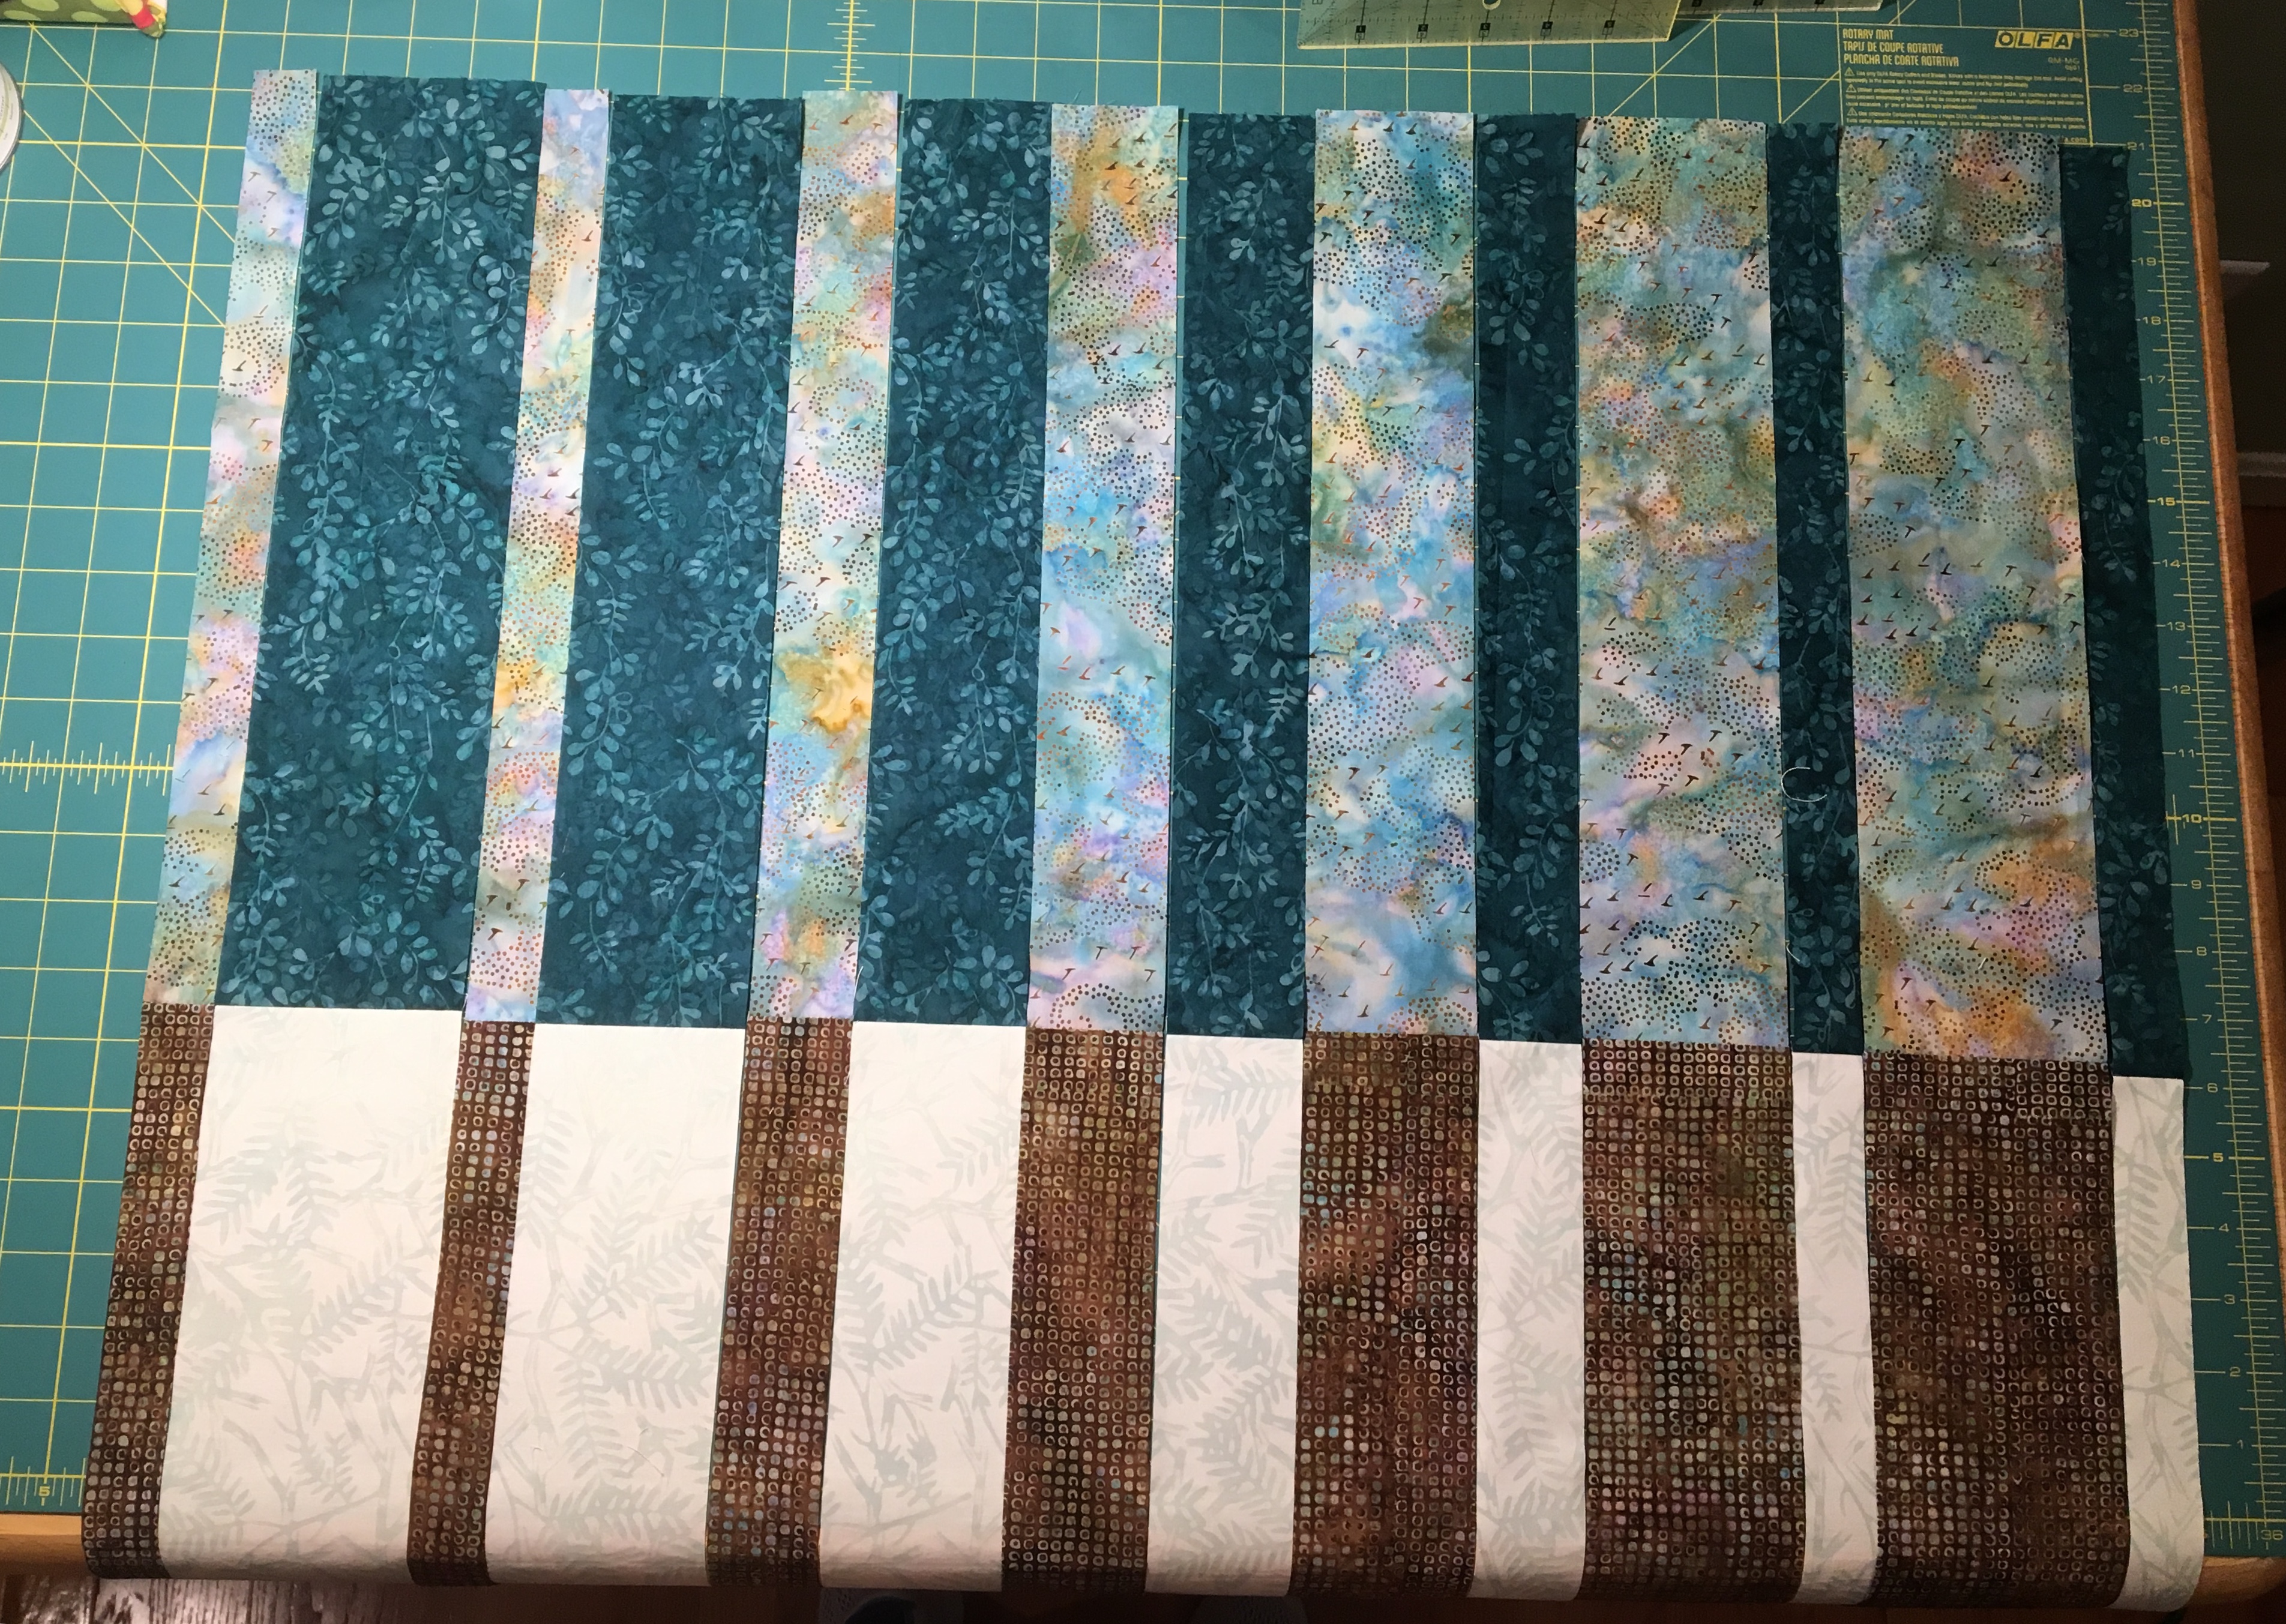
Looking at the photos of my finished quilt tops above, I am going to point out that on my turquoise and red quilt the strips are not arranged correctly!  Can you see what I did wrong?  Does it matter???

Once the strips are arranged CORRECTLY, sew them all together.  When I was pressing the seams, I spun the seams so that half of the seam was pressed to one side and the other to the opposite side.  Trust me, do this and it will be much easier to sew the second go round of strips together, because everything will nest together nicely and increase your accuracy.  If you want these to end up pressed to the dark side then remember to press to the light side when you are first sewing your squares together in pairs …. I did not do this in the example … live and learn!

Once the strips are pressed, rotate the fabric panel, and cut strips again increasing in size from 1″ to 3 1/2″, plus the extra 1″ strip if you are including the border,
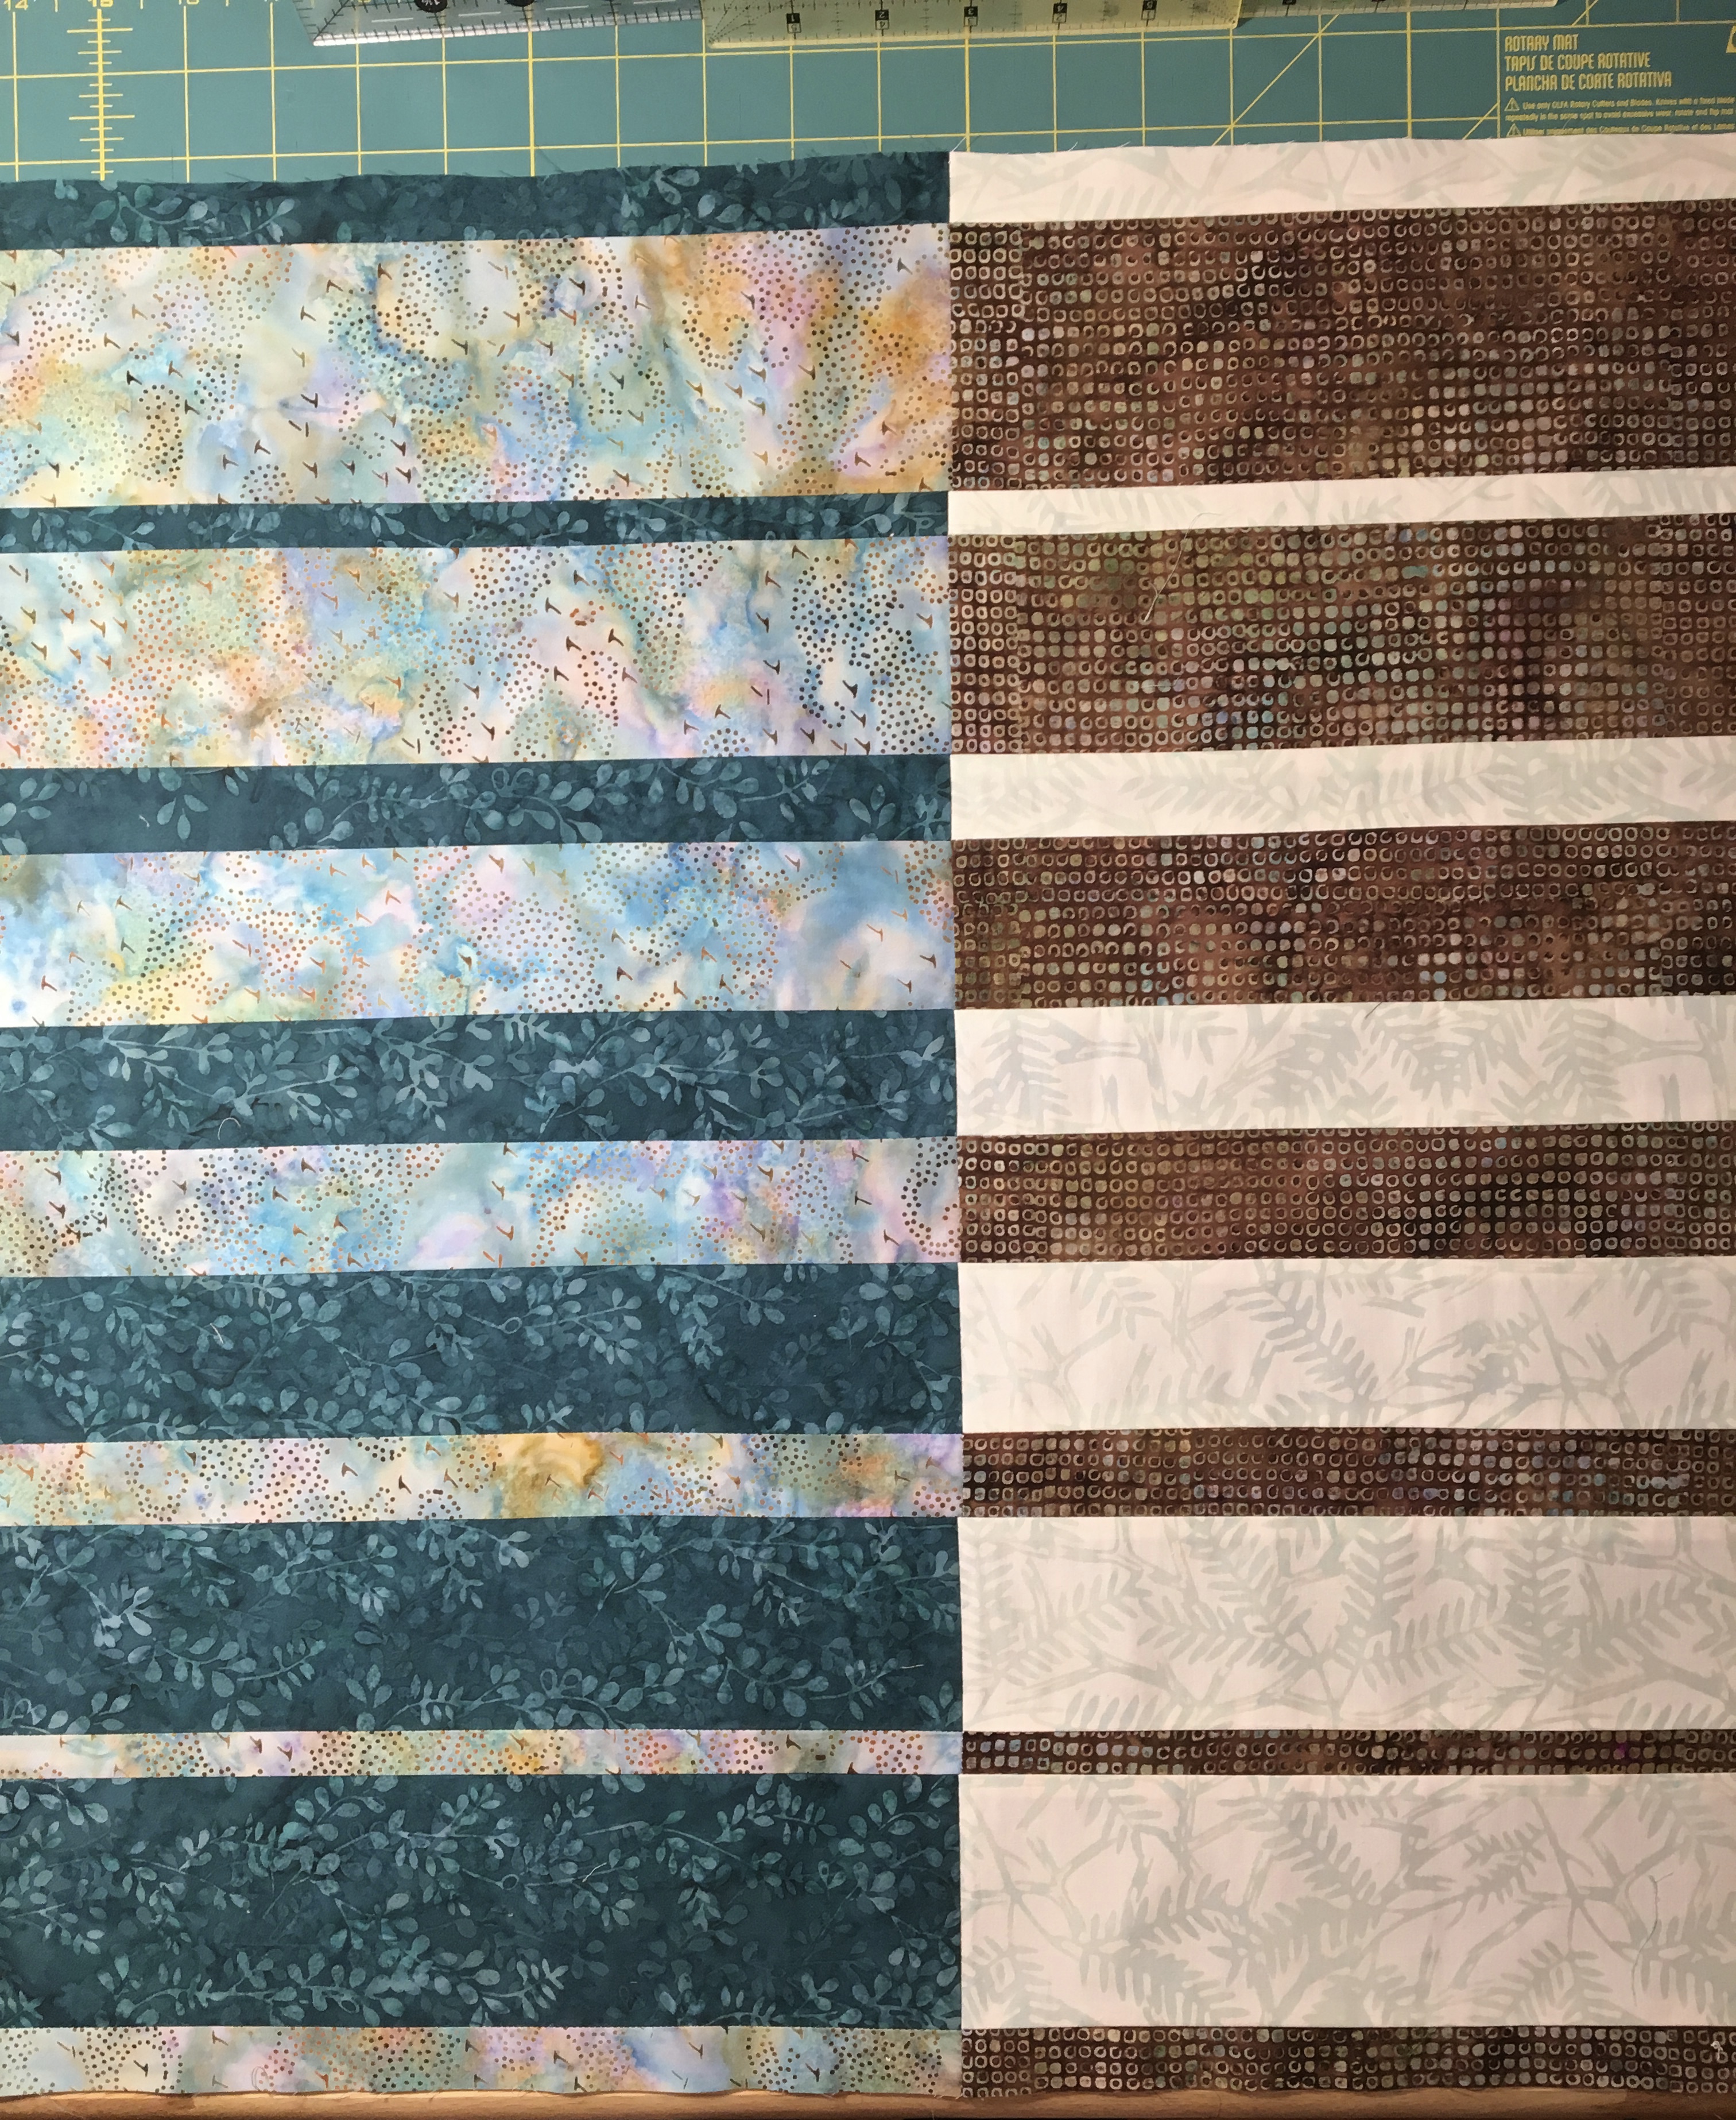
 

Rearrange them and sew them together again to complete your Harmonic Convergence square.
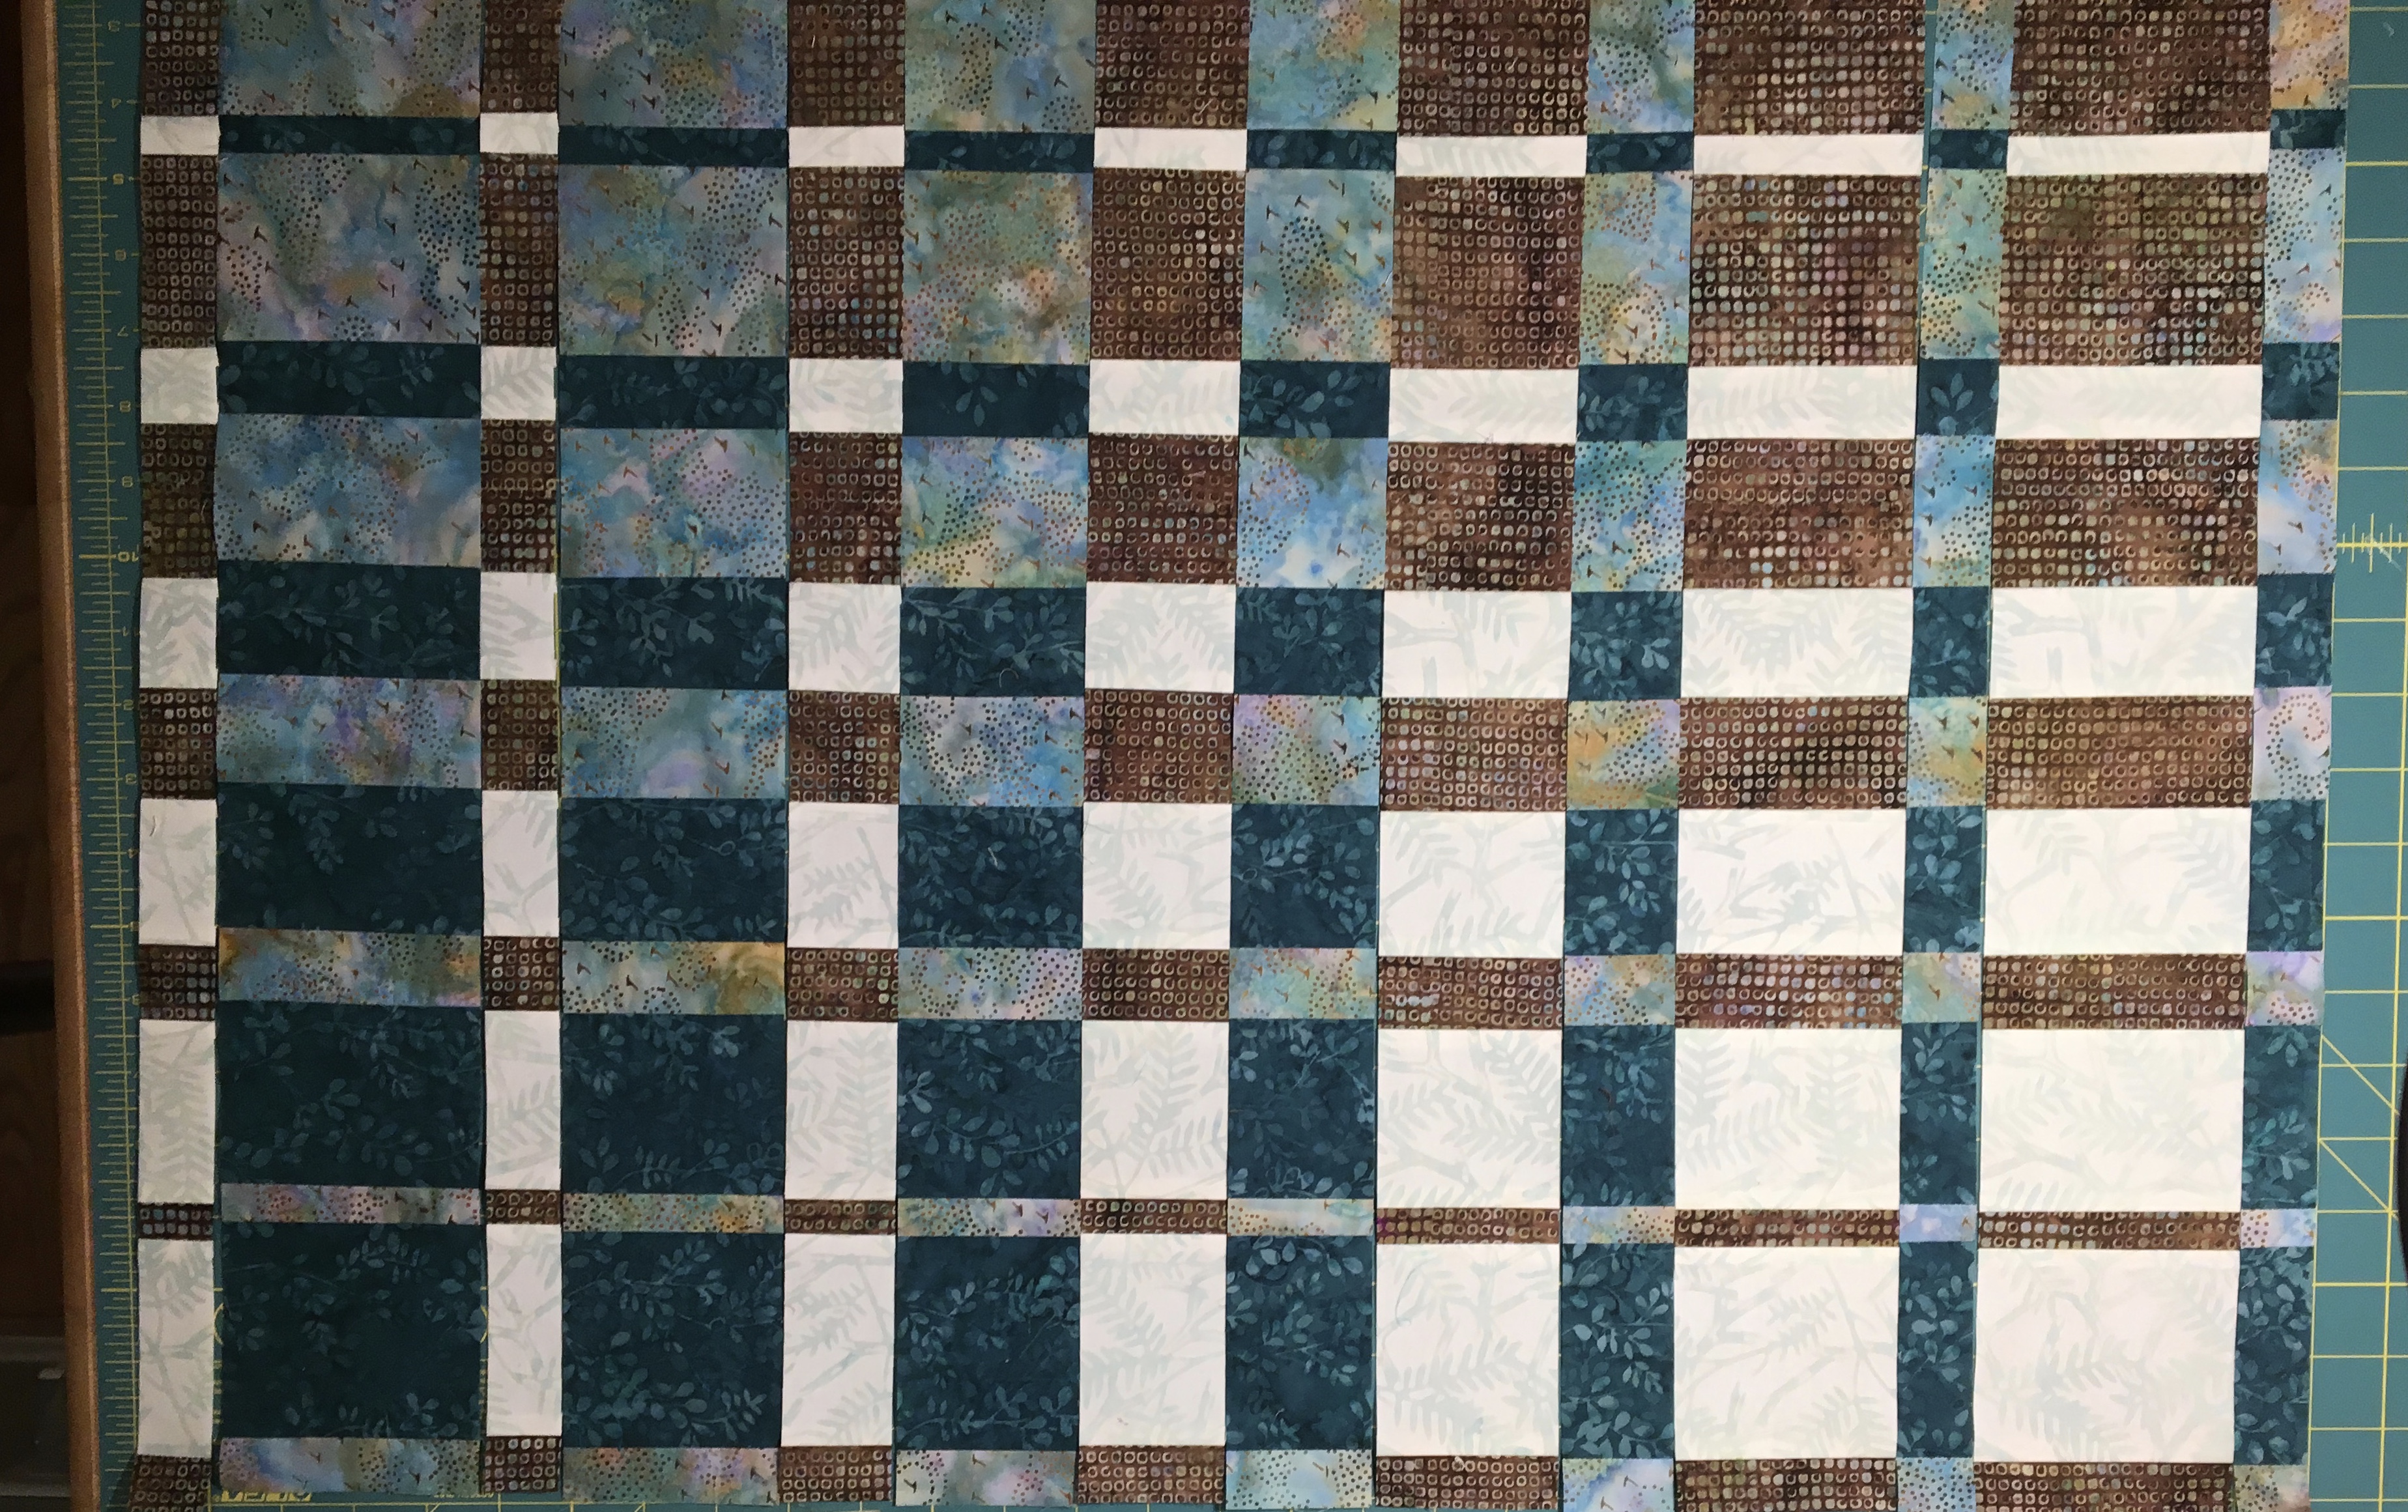
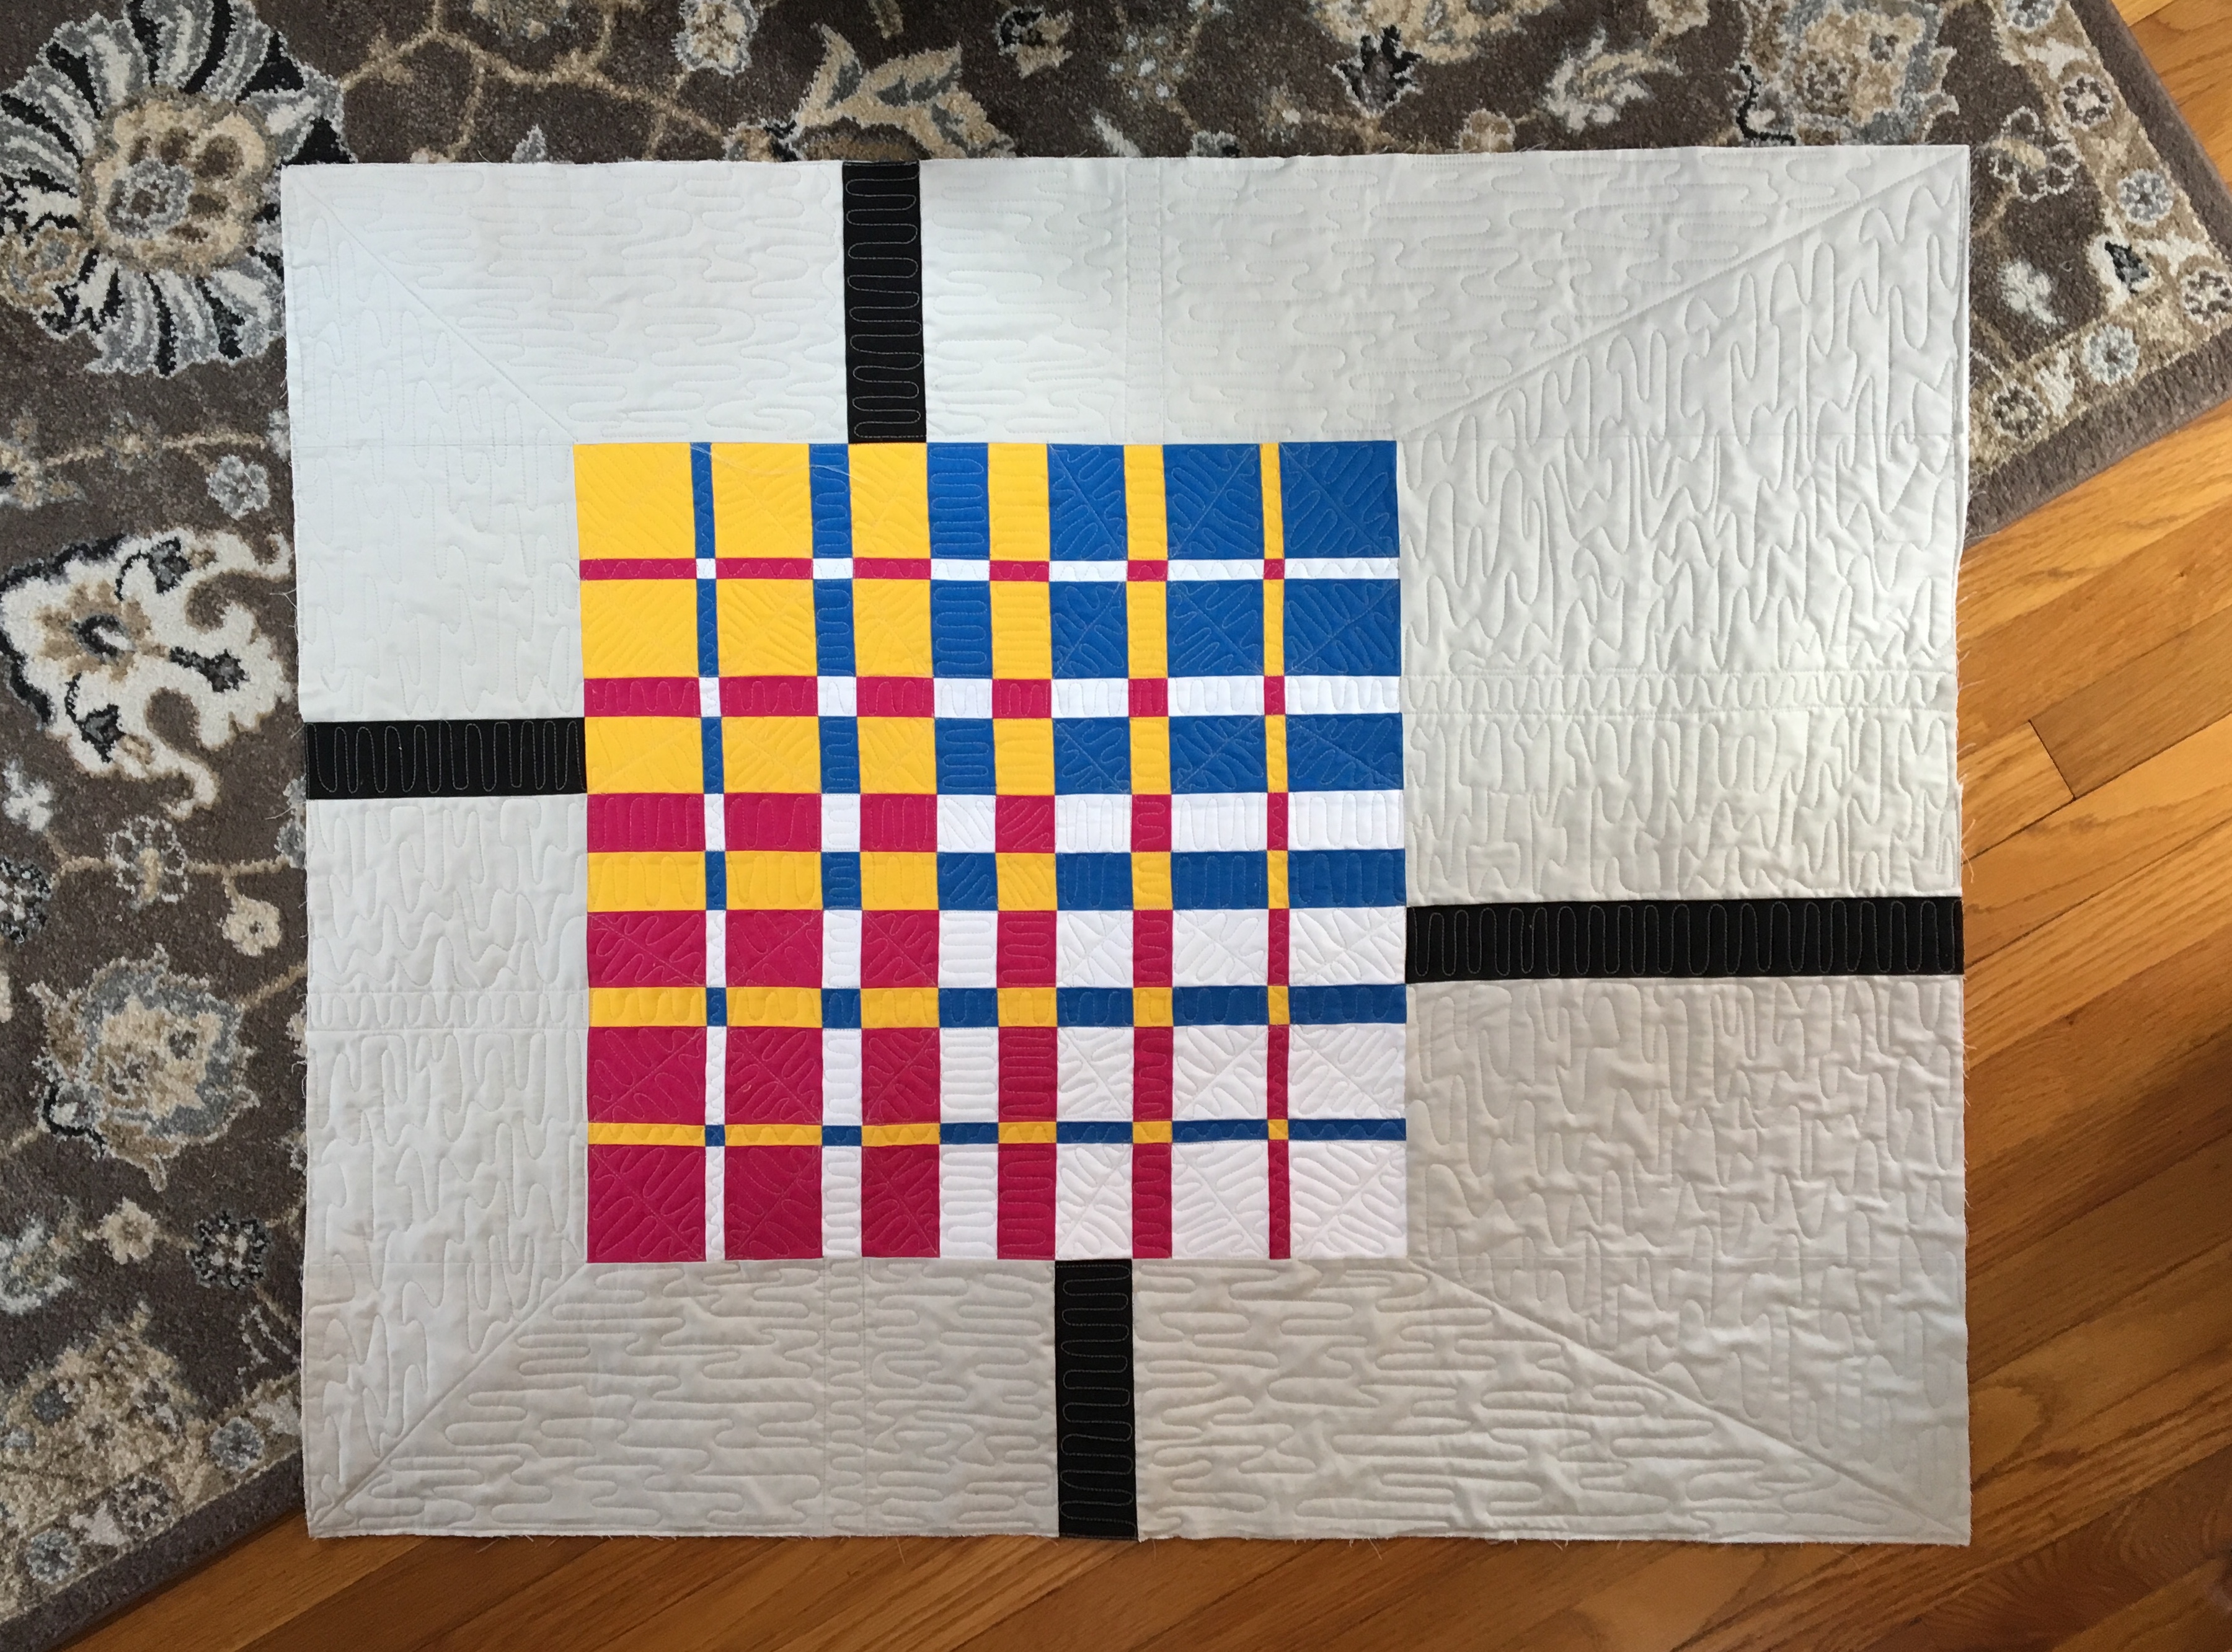
I finished one of mine on point, two of the others with borders, and the bright solid colored one is finished with some modern asymmetrical negative space.

I am I the process of quilting these, and finding they are a great way to practice my free motion quilting.
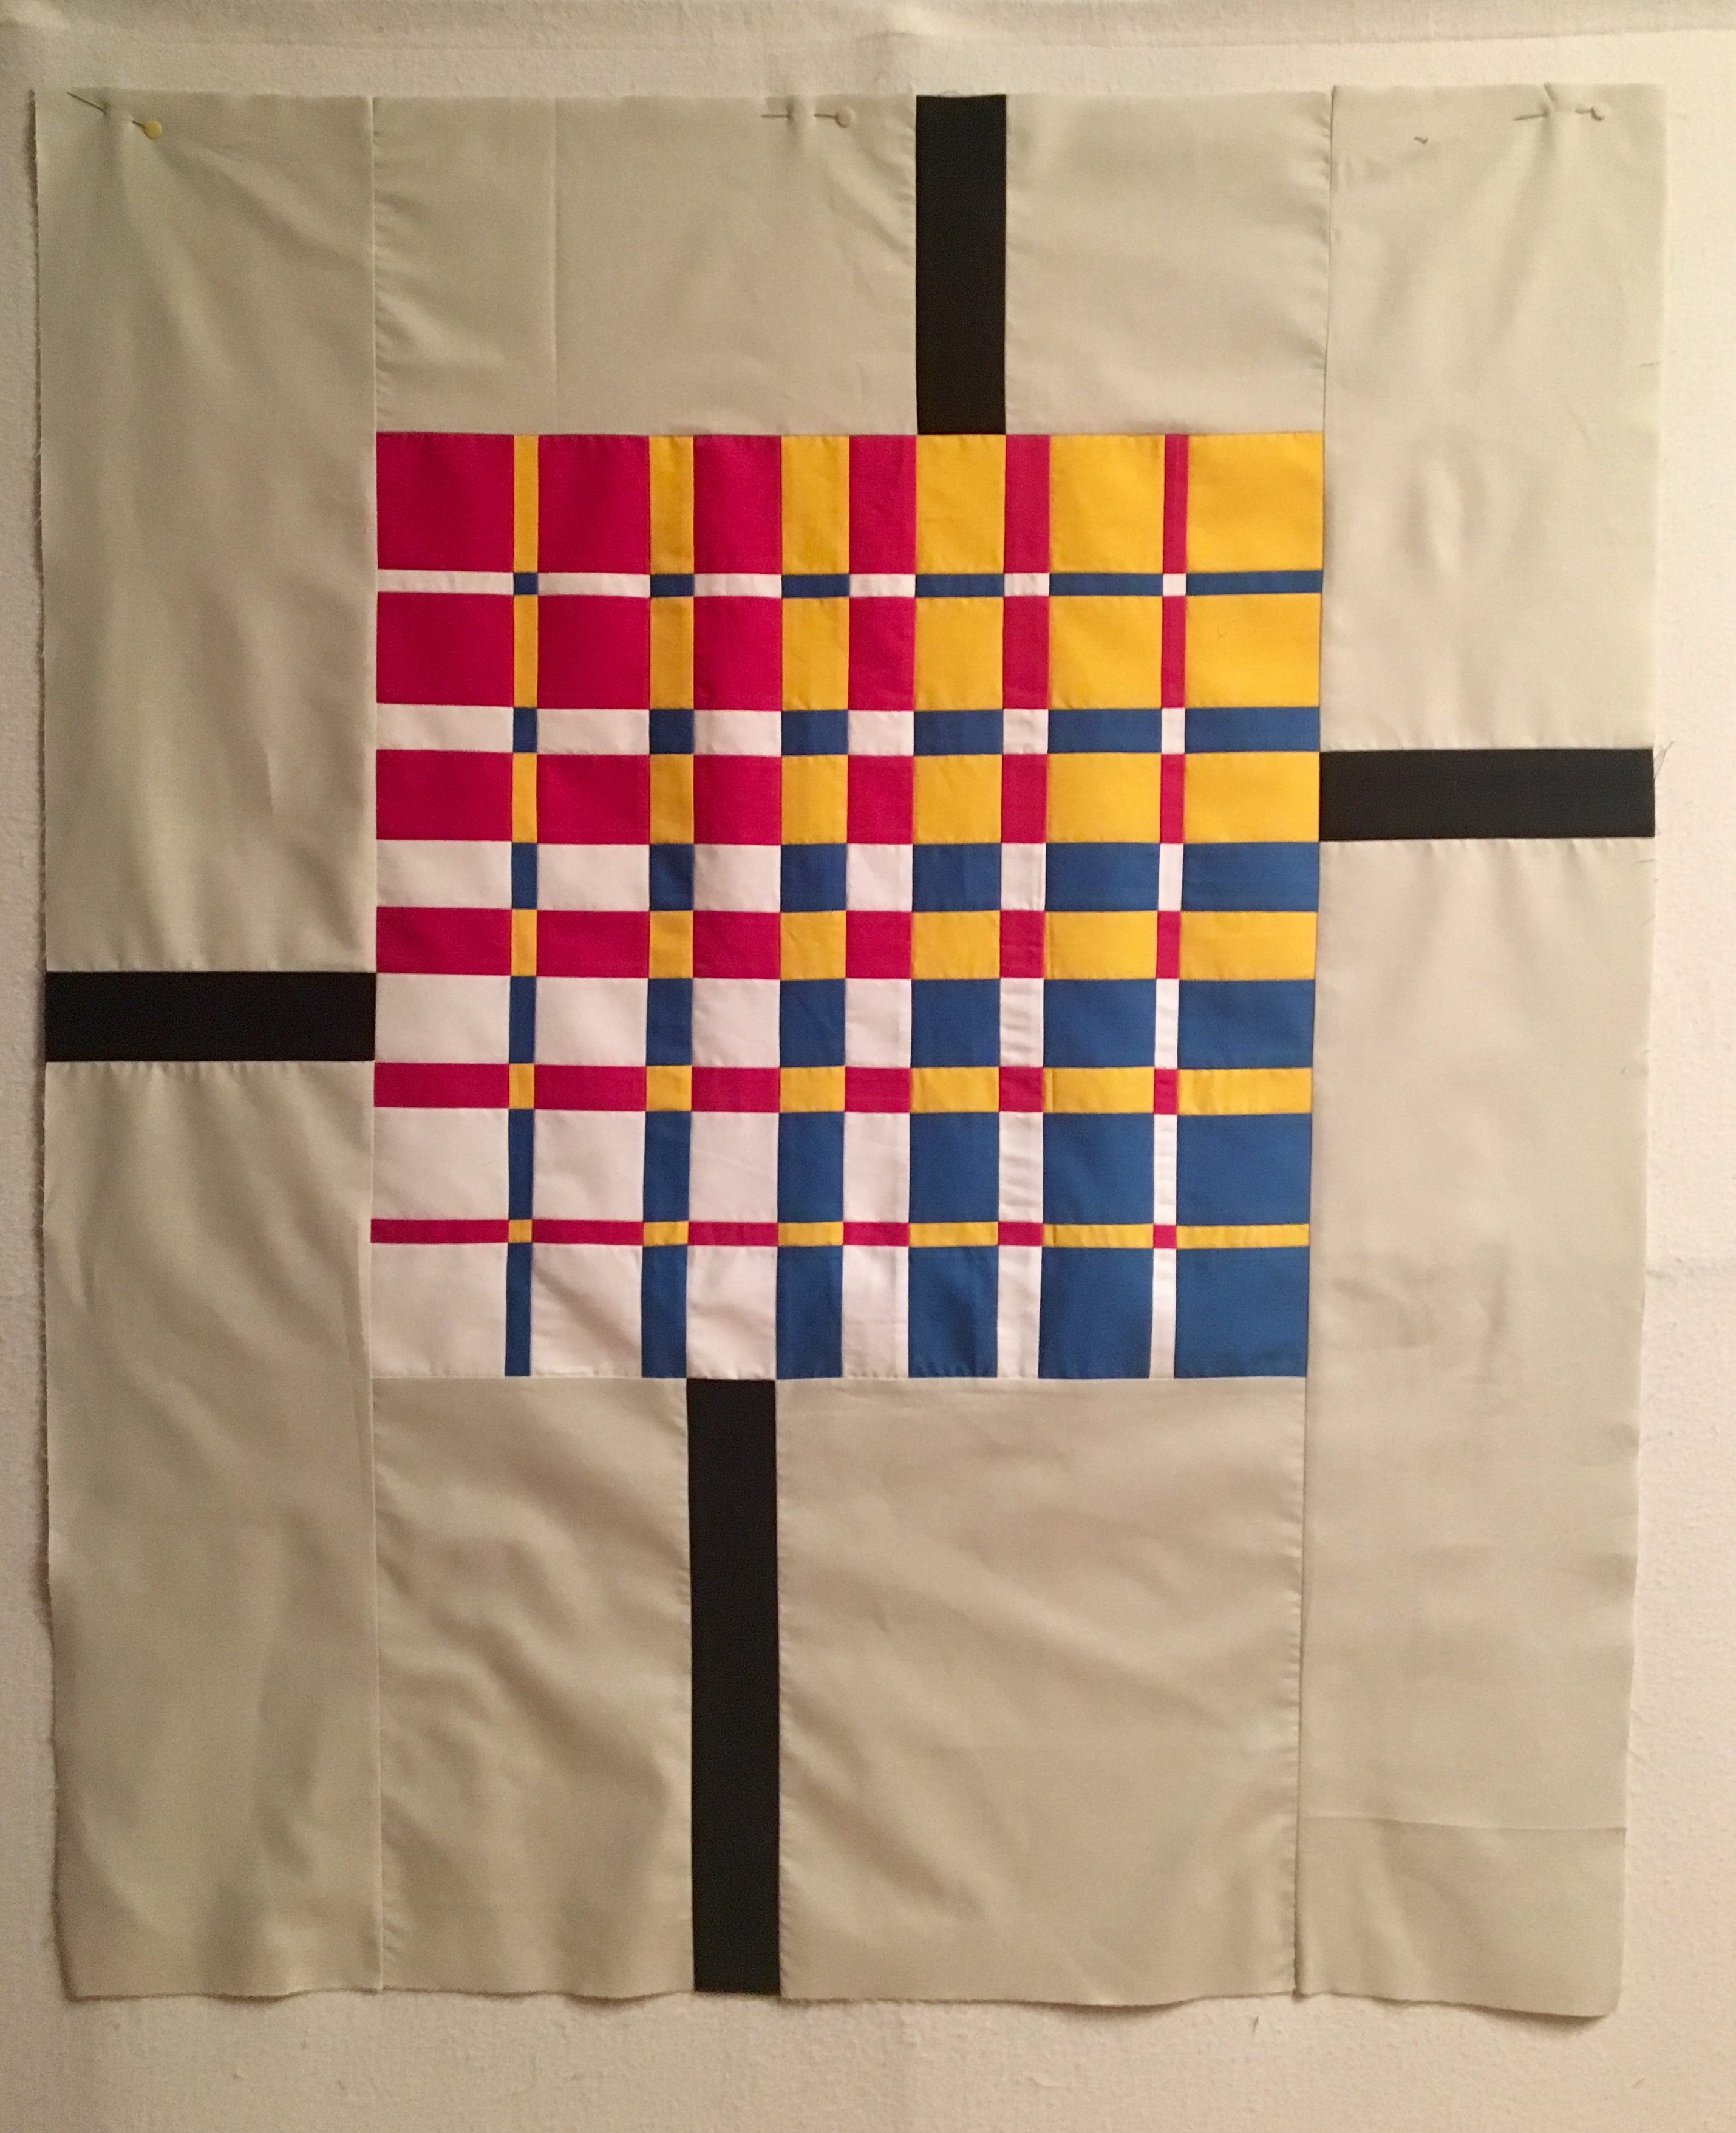
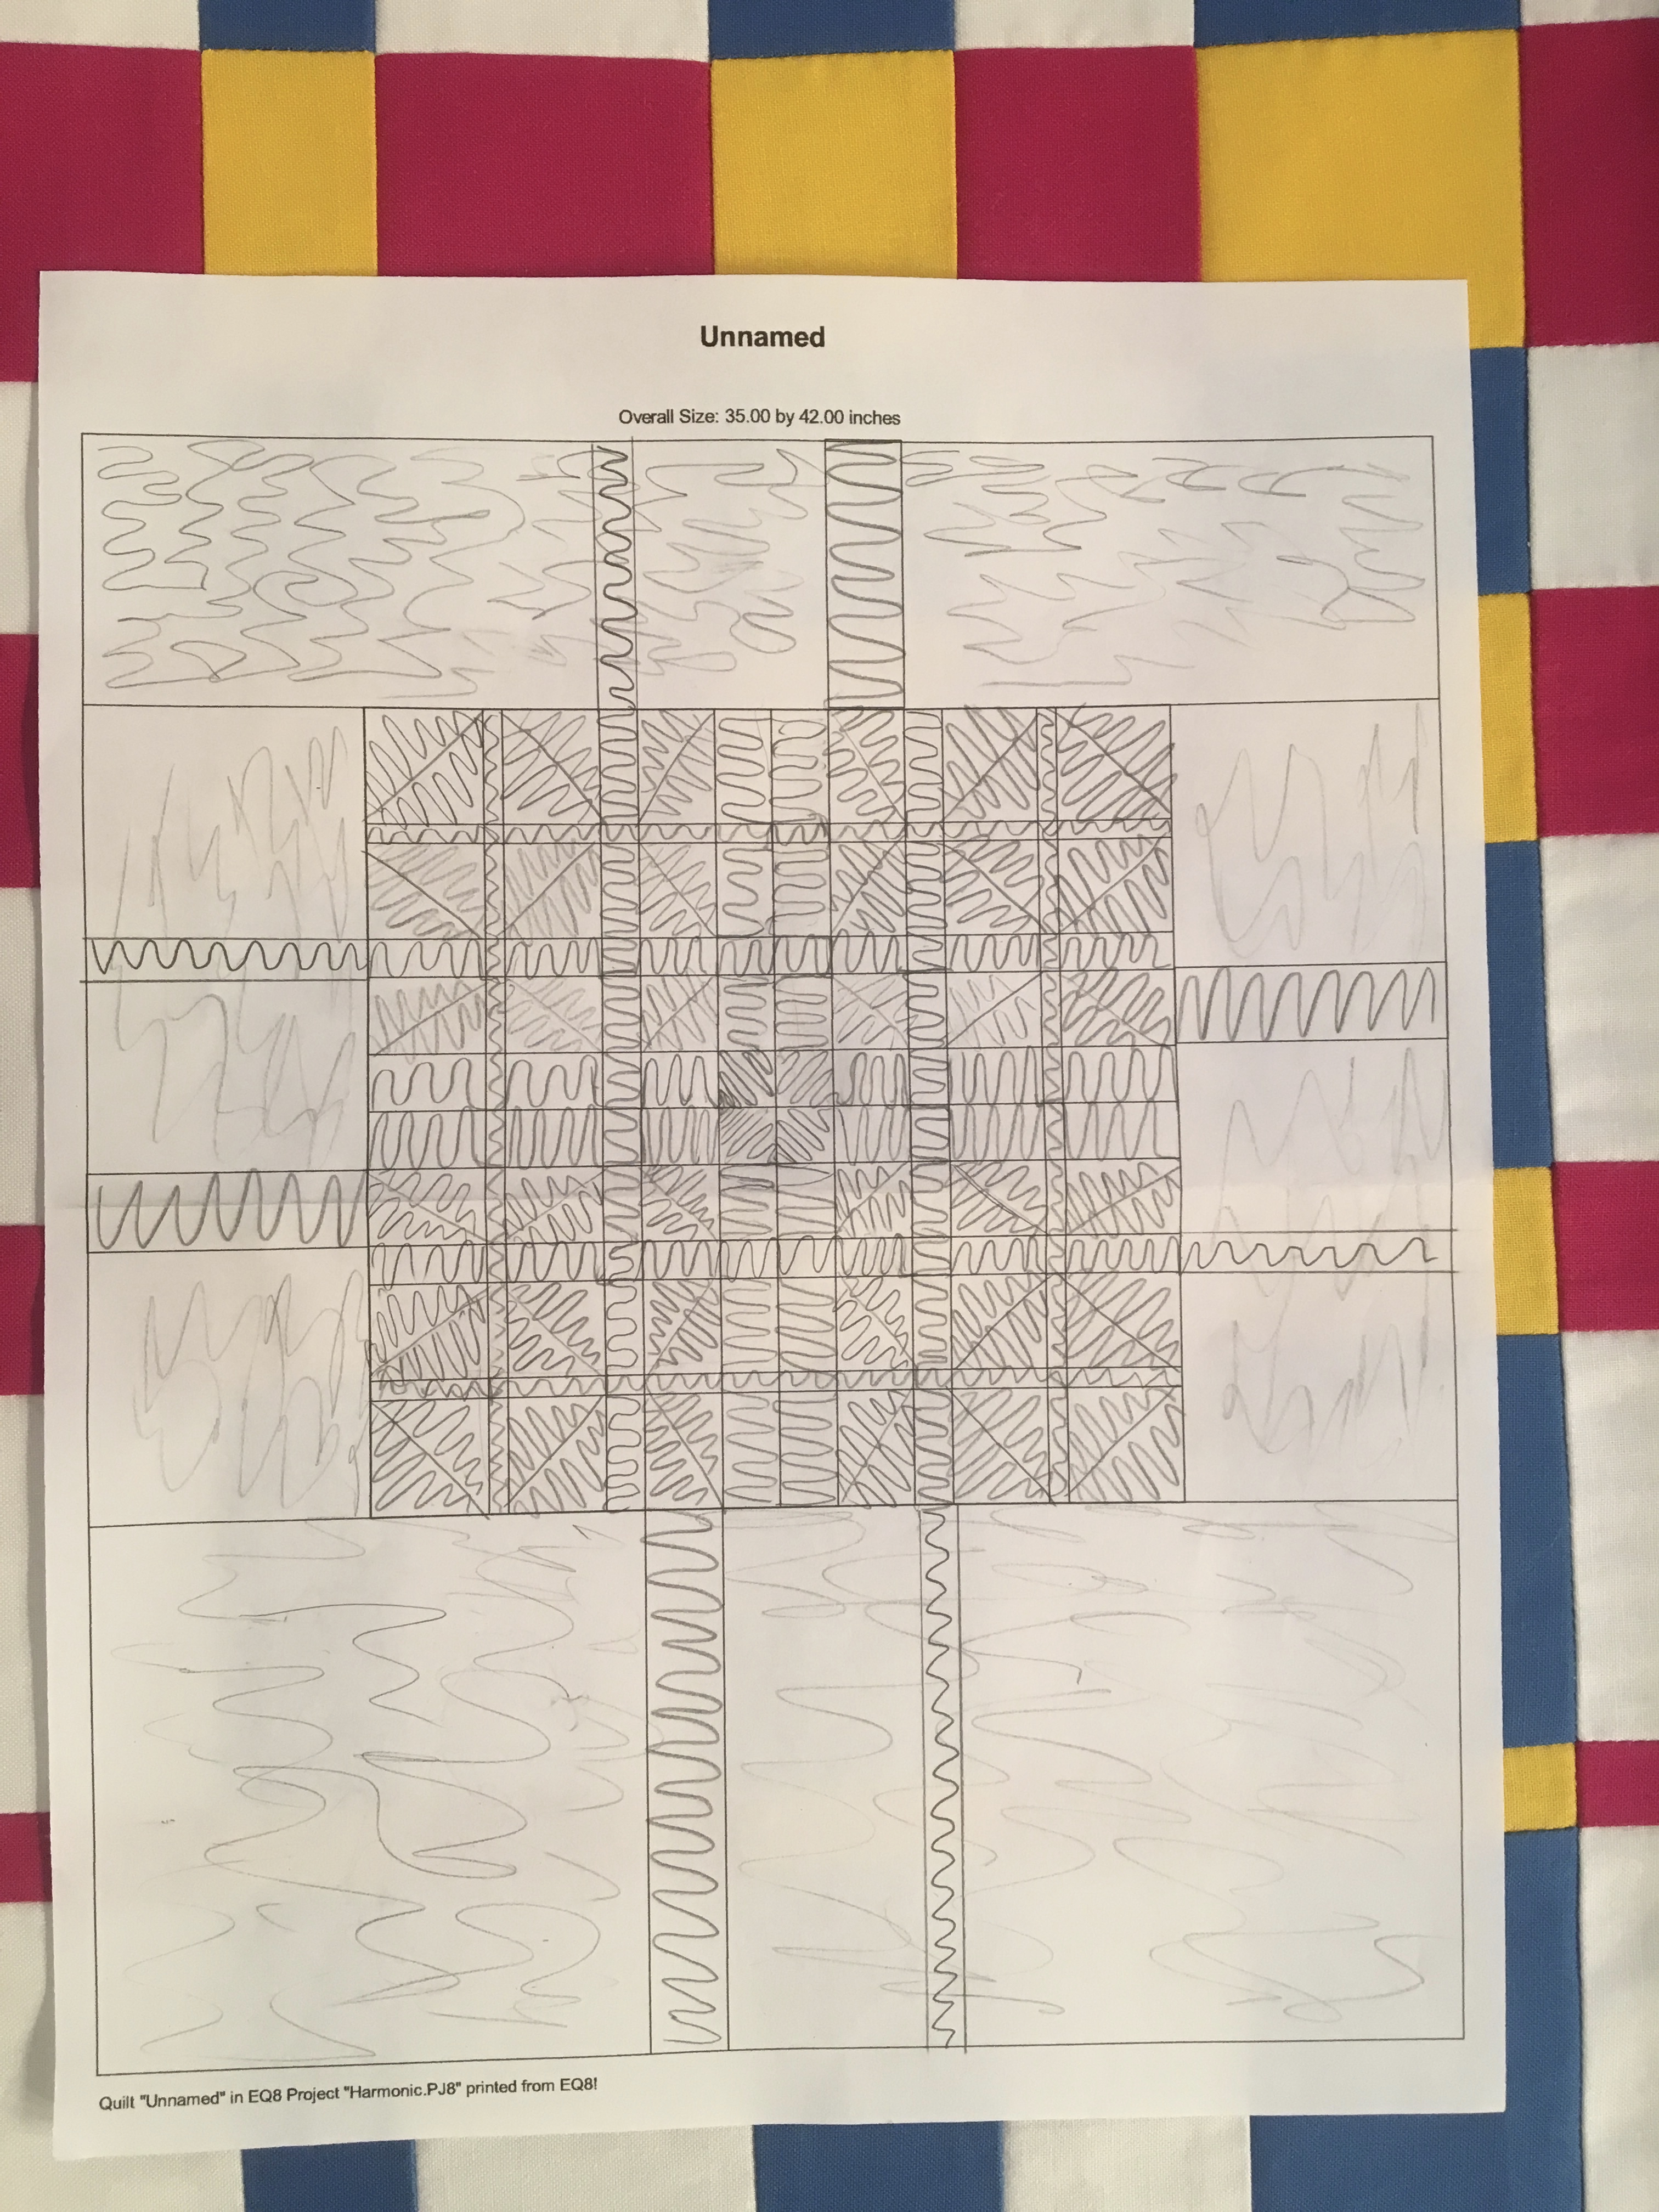
I designed my modern convergence in Electric Quilt 8 and printed an outline of the quilt to draw out my quilt plan.


Catching up with Jane

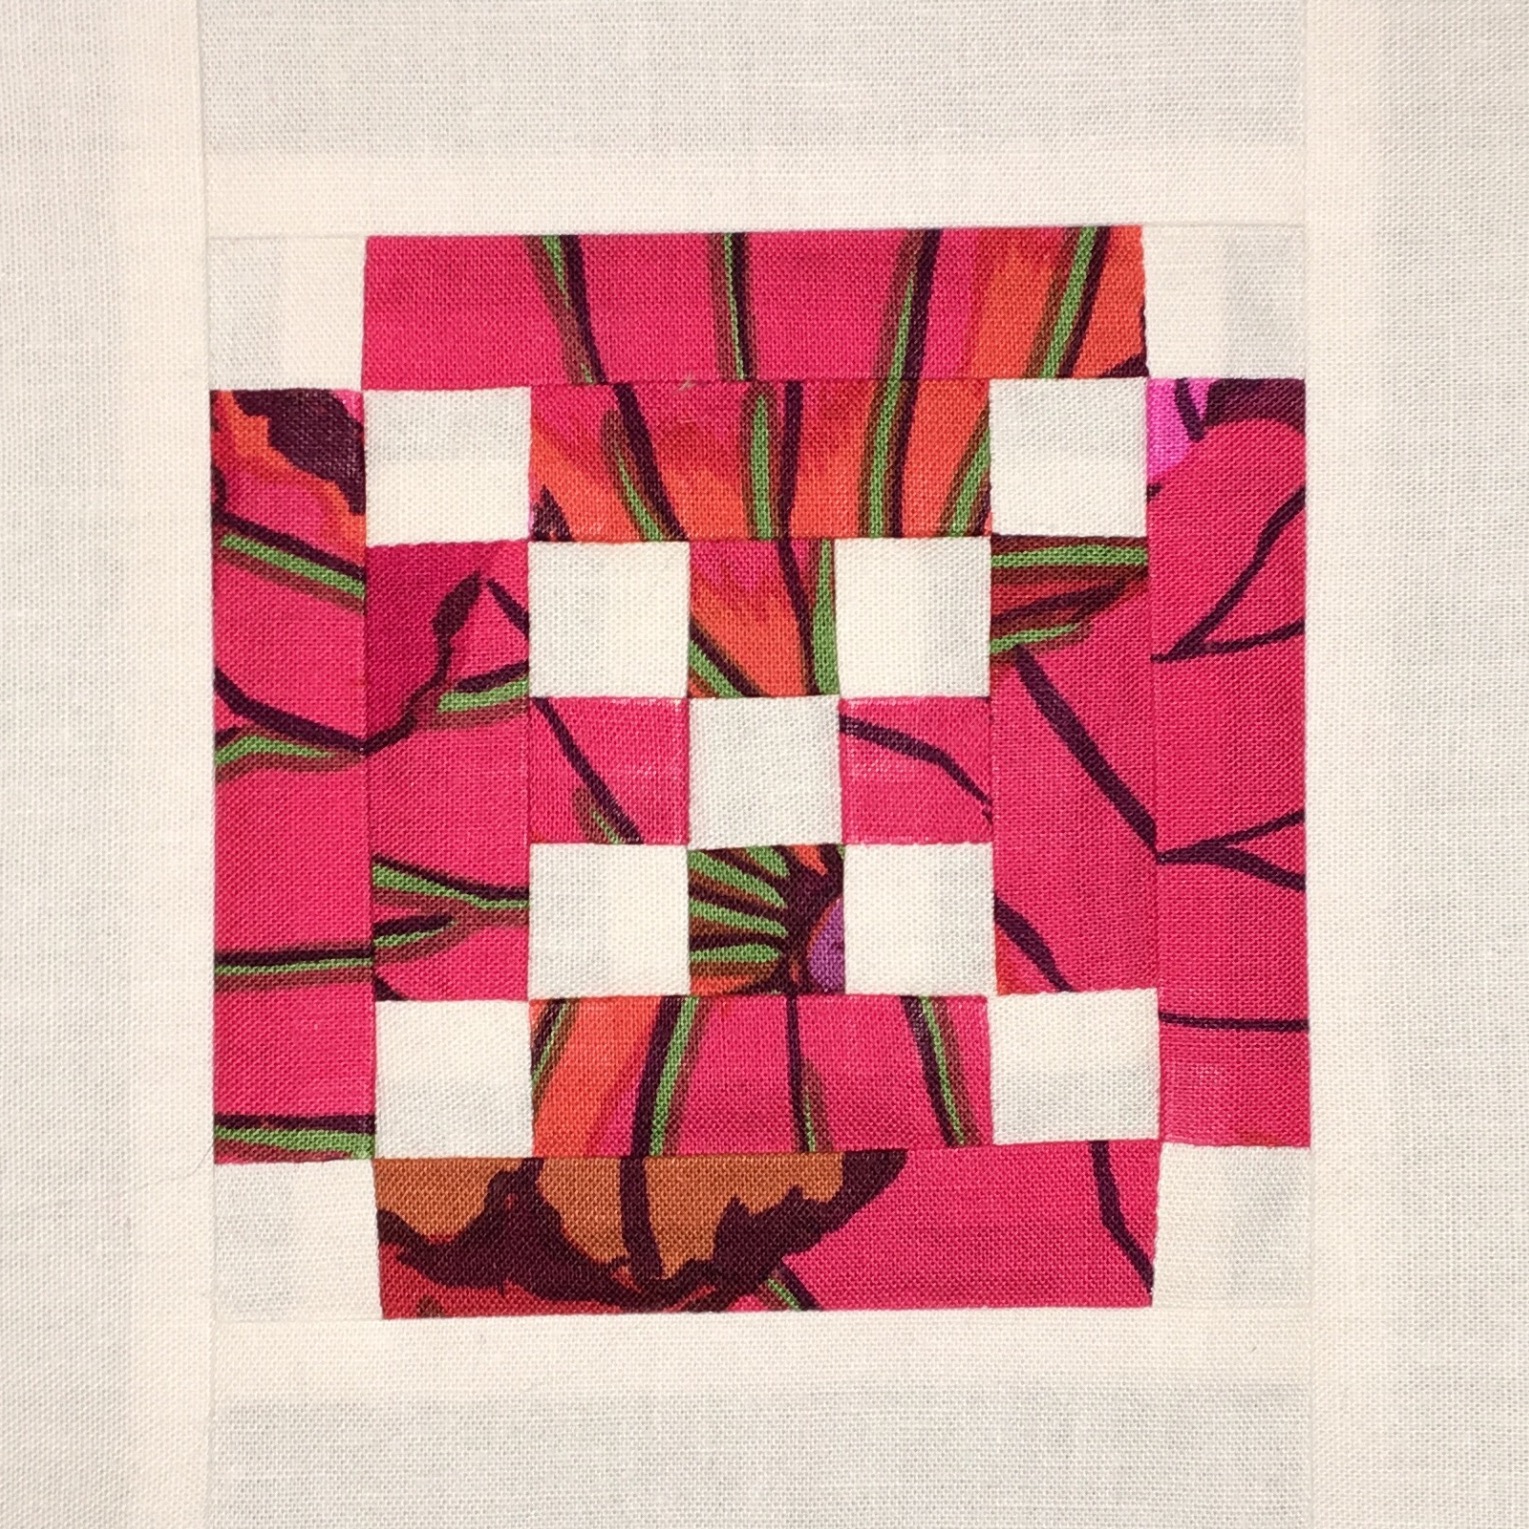
I am perpetually behind on my Jane blocks.  Our group at Quilters Common is assigned 5 blocks each month.  At one point rather early in this journey I became preoccupied with other matters of life to include work and various quilting endeavors.  So, I remain behind by at least 80 blocks and instead of proudly proclaiming that I have completed 91 Dear Jane blocks, I am always lamenting how far behind I am.

No more of that!  91 is awesome and I love each and every block.  Some are more perfect than others, but the wonkiness here and there can be attributed to many things; learning new techniques, or maybe my mood at the time, or the show on TV that I was watching with my husband …. How precise can you be when yet another bummer is occurring on Game of Thrones?

In celebration of my current accomplishments, I am sharing these finished Jane Blocks with you.


Slice and Dice Piecing

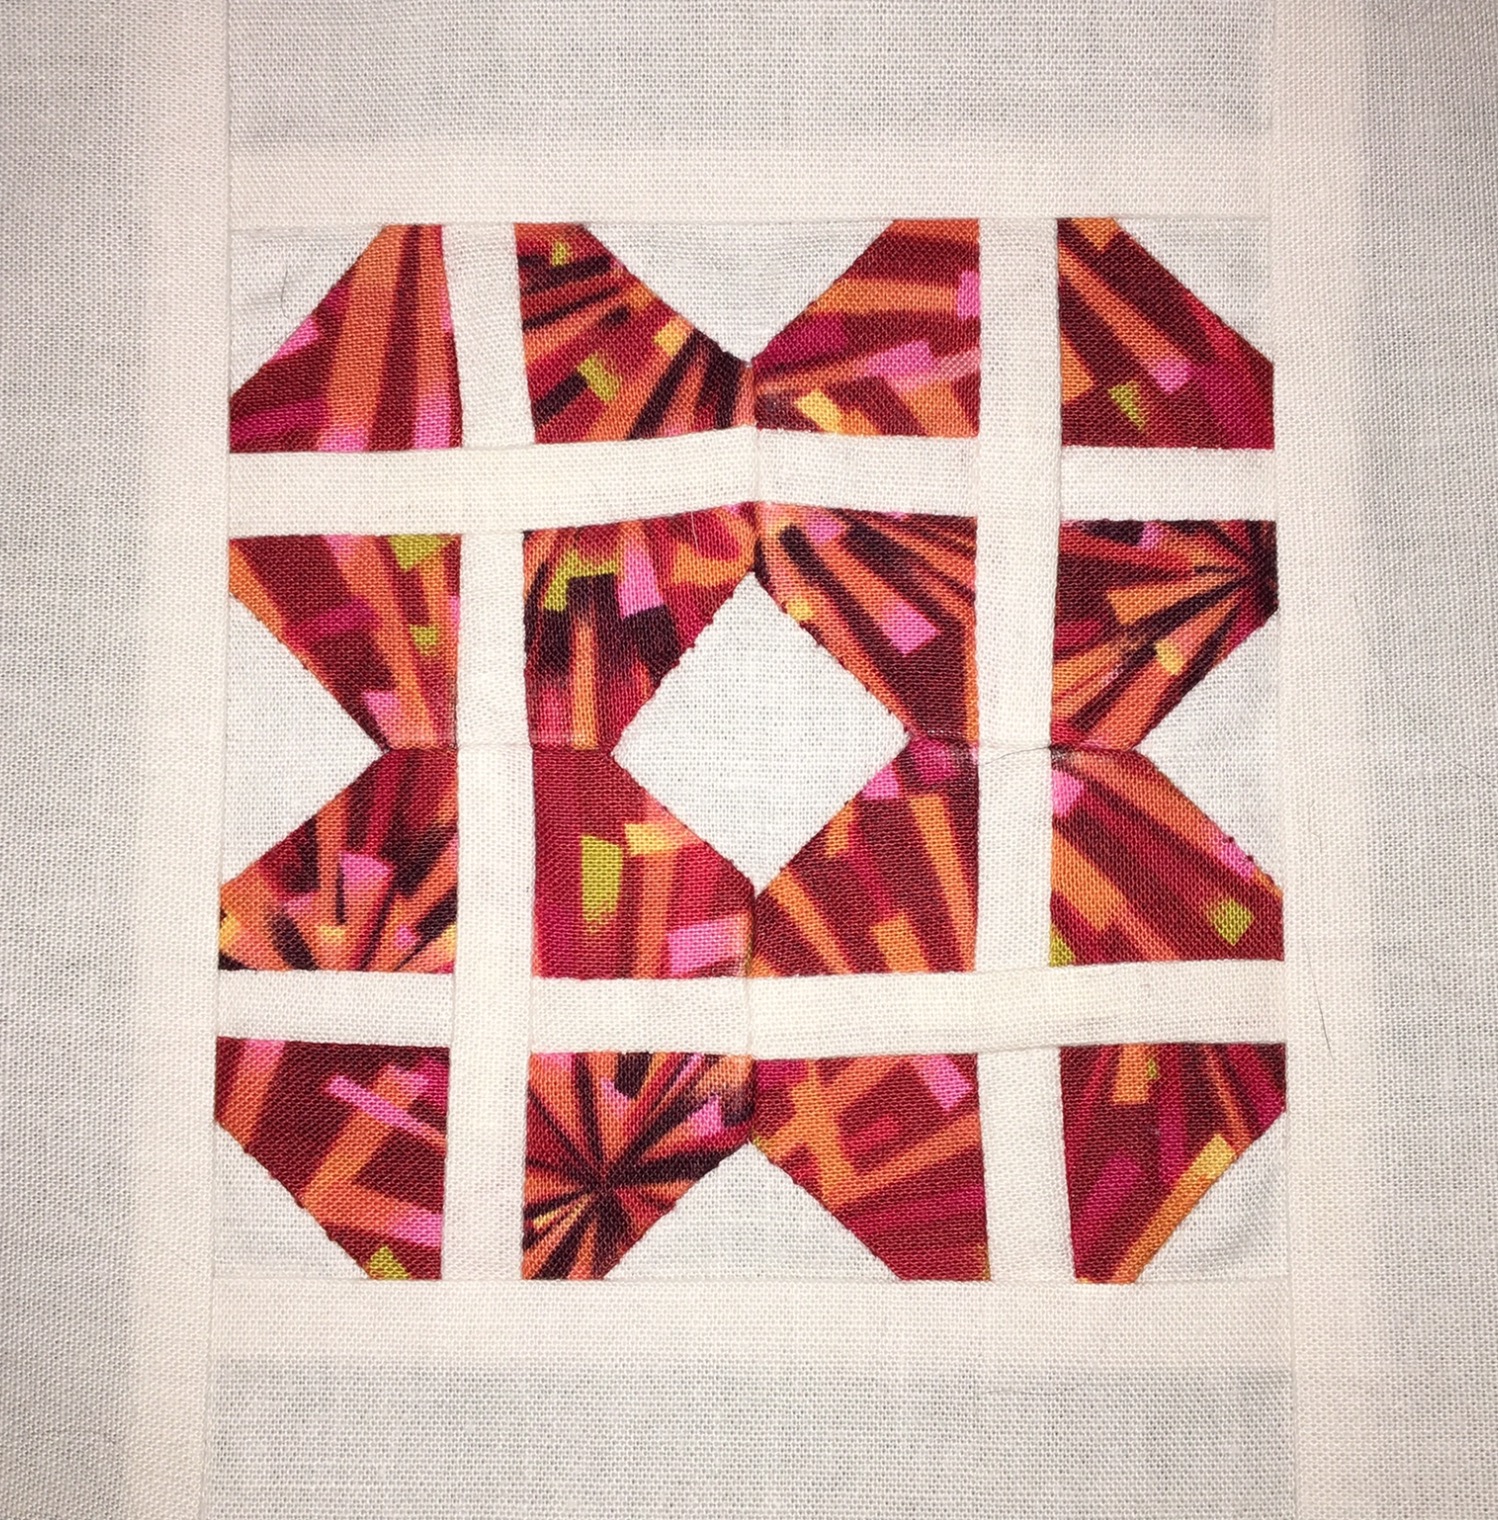
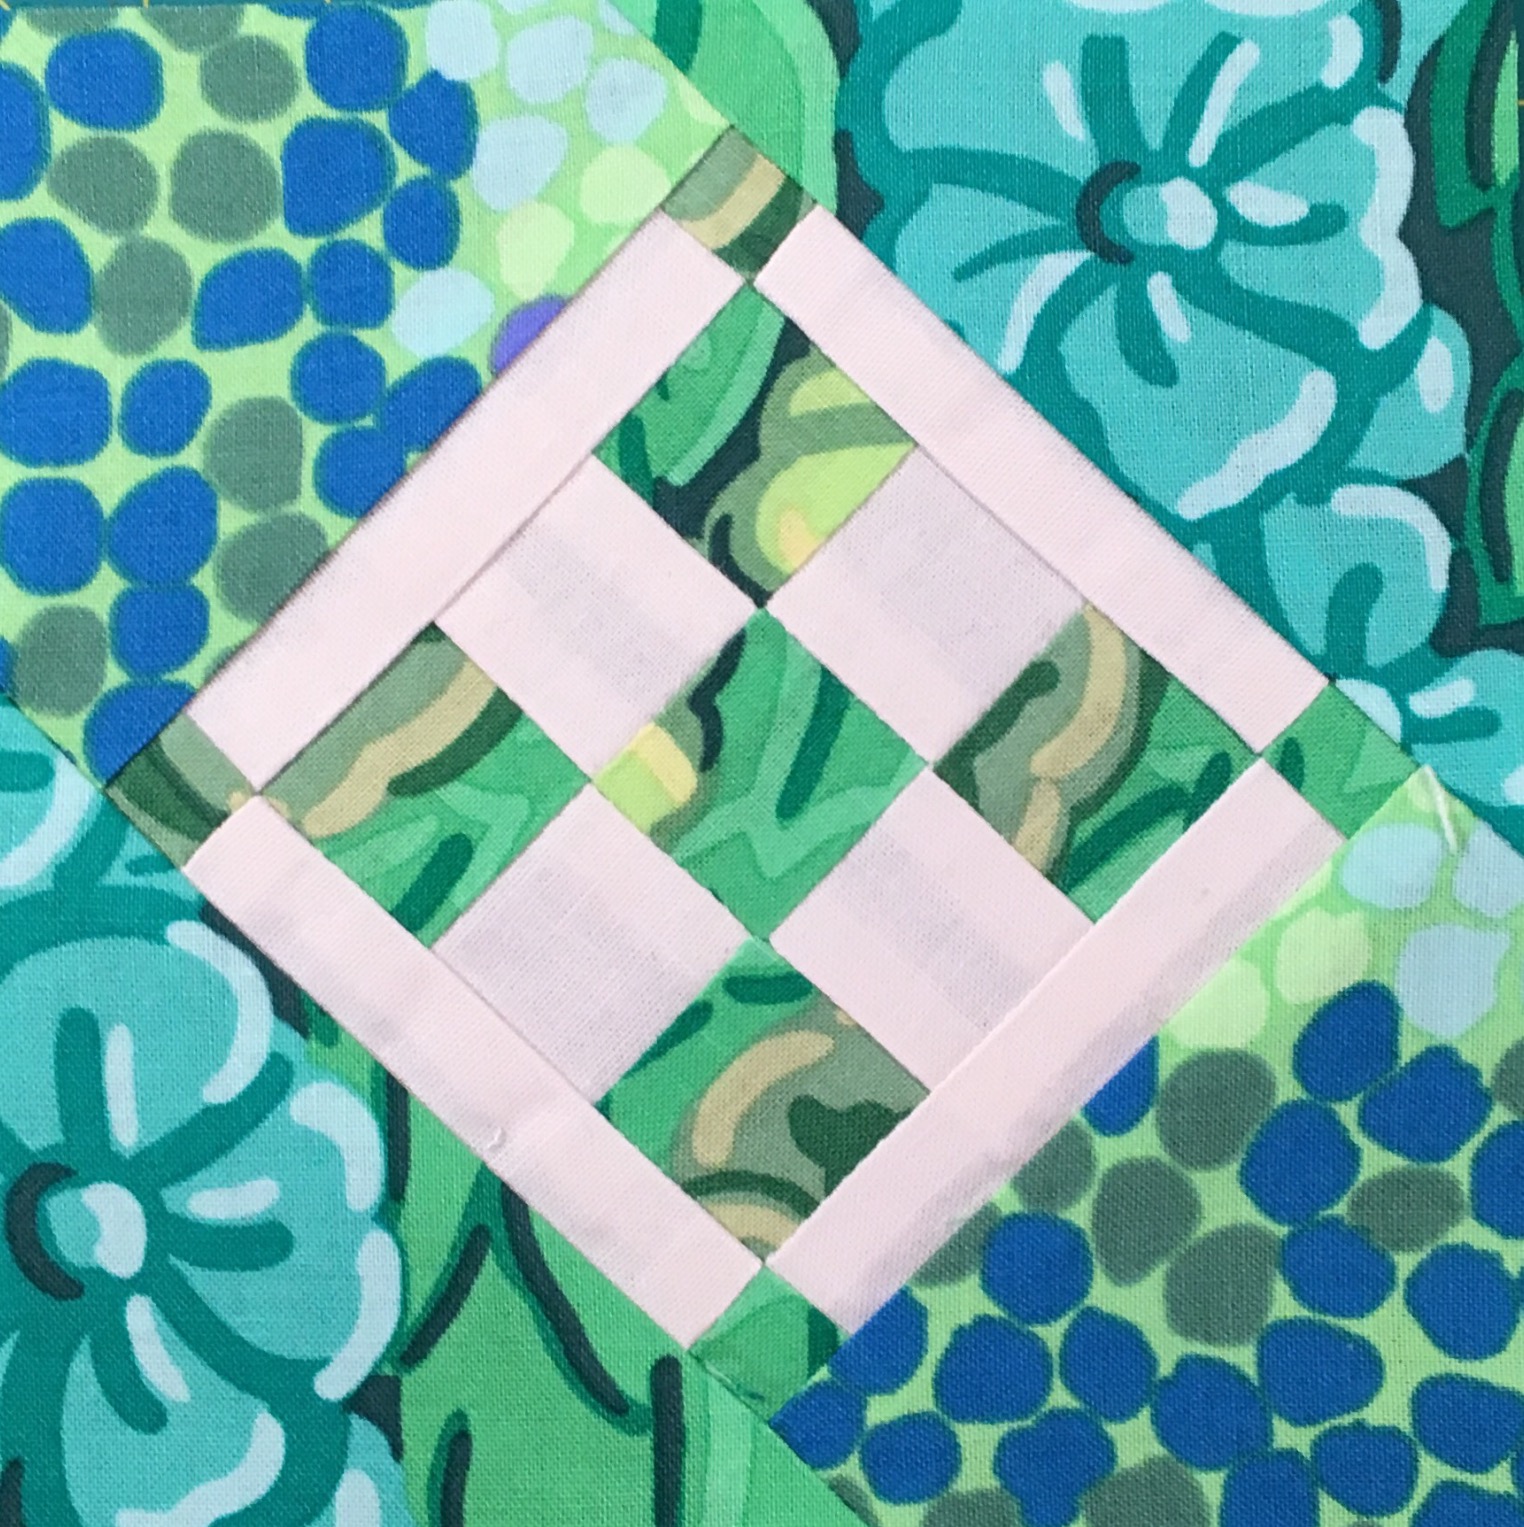
I am working on a quilt with blocks that are based on a technique in Quilting Modern by Jacquie Gering and Katie Pedersen. The book has some great ideas and illustrations, but I thought it might help to see step by step photos.  The tricky part is matching up the first set of strips after the second set has been added.  I drew a seam line to help line things up when pinning.

My plan is to make a quilt with these blocks alternating with square in a square blocks.


One Kite and Three Triangles

Here is the latest on my Jane Blocks.

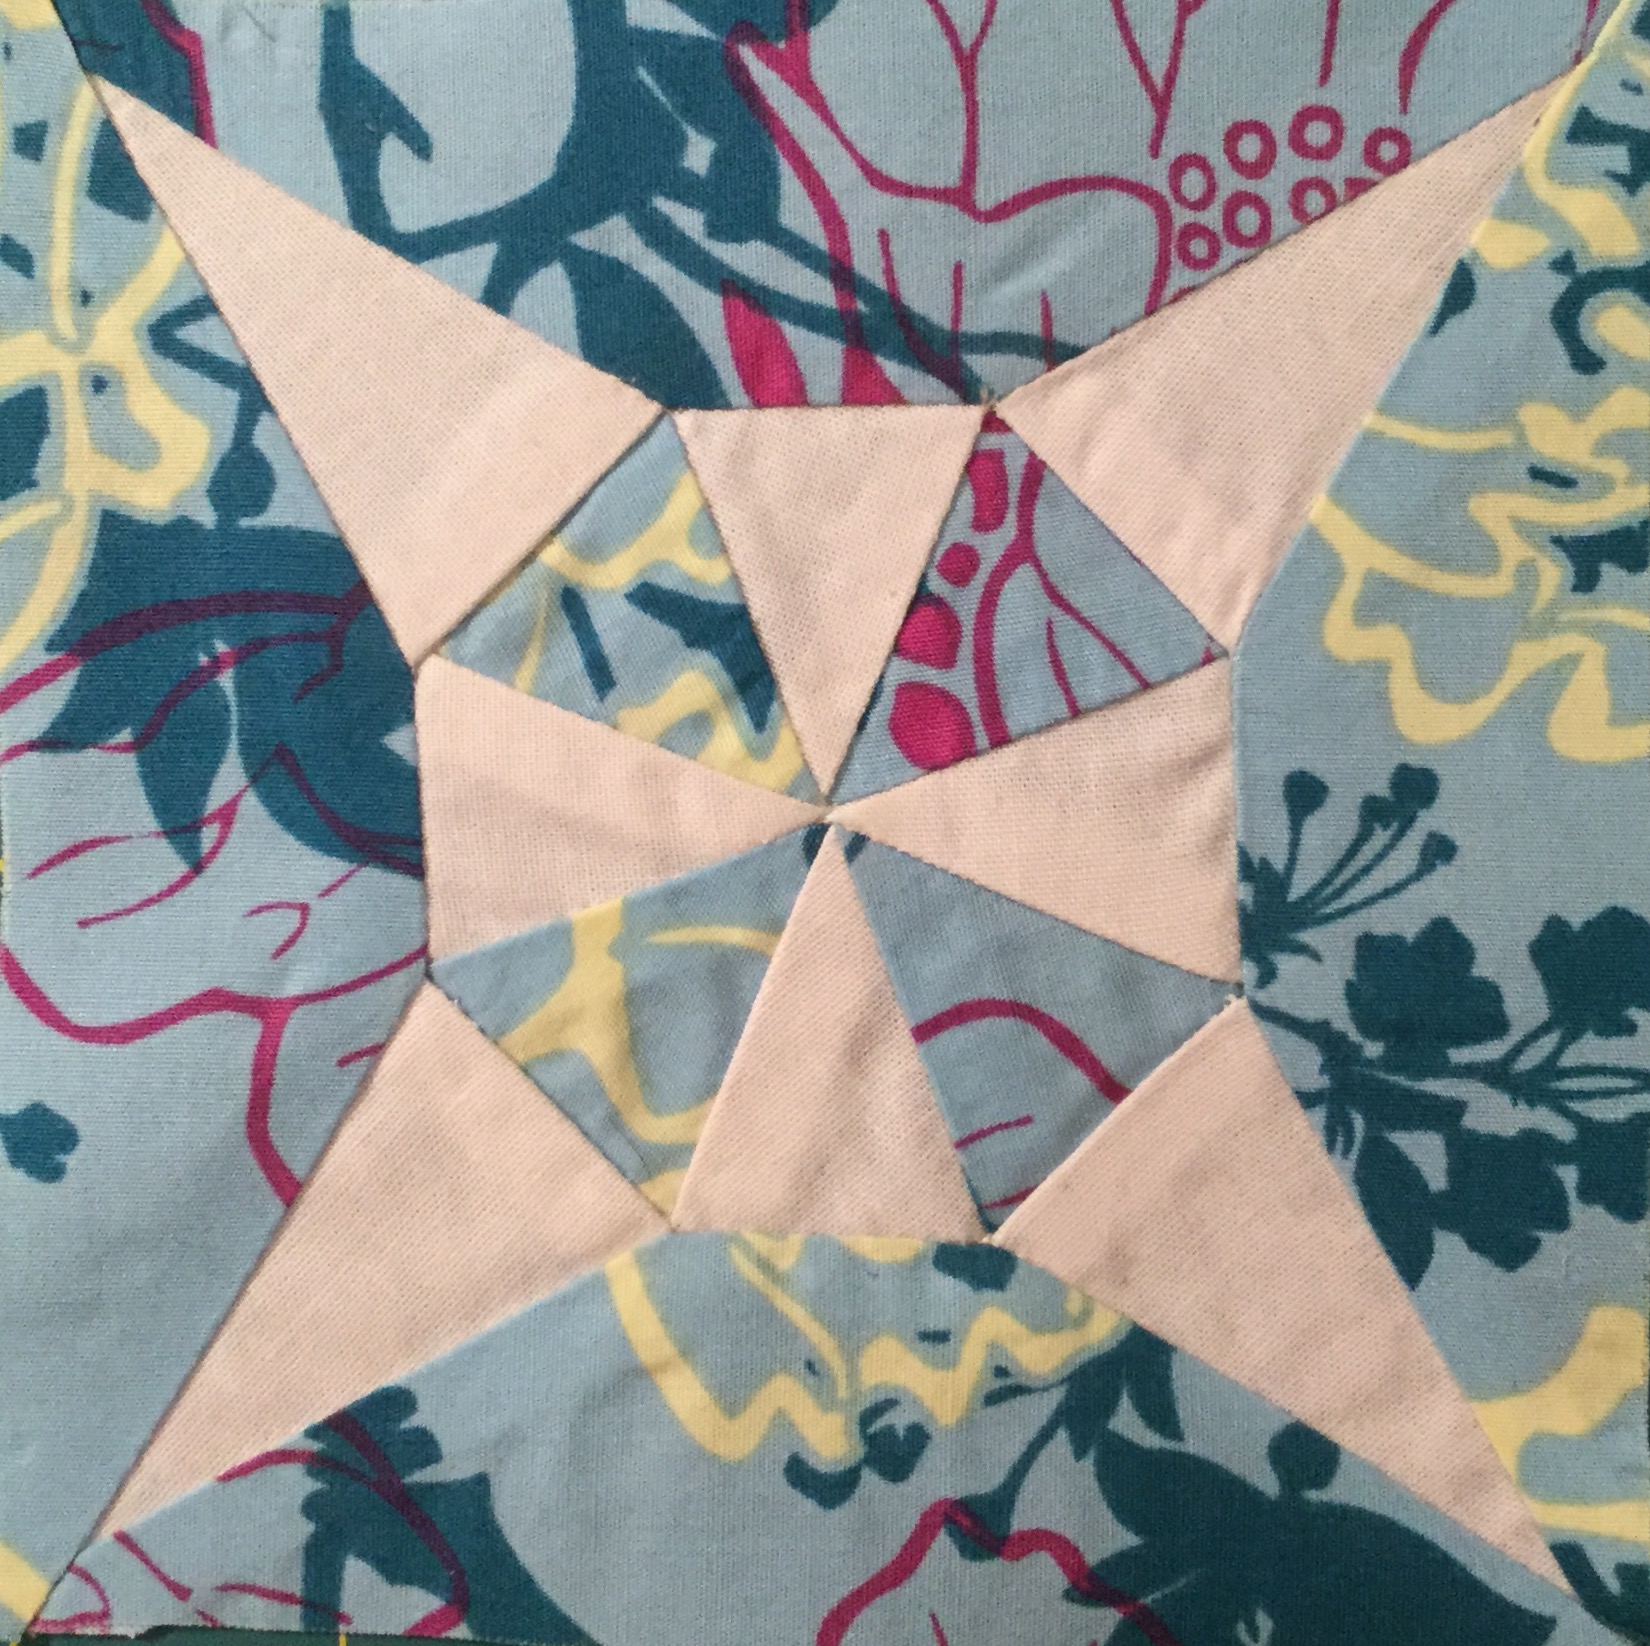
I finally decided to do one of the corner kite blocks.  My thinking is that I have enough triangles finished to justify this accomplishment.  A wonderful reward!.  This block has octagon pieces.  I glue basted the seam allowances to card stock templates, then used Best Press to set the seams before removing the templates.  The octagons were then hand pieced together and appliquéd to the background.  I am happy with the finished block.

The three triangles all have some hand piecing as well as machine piecing.  BR-9 needed to be adjusted because I cut the points off of the curved background pieces, so the bottom section is wider than it should be.  This happens sometimes when you cut out the Dear Jane templates exactly as printed from the Electric Quilt software.  I am not too upset about it and am not planning to redo this one.

My color scheme for the quilt has yellow for this block.  I used a yellow with pink to add some color, so the hearts are not as obvious.  The seams for the hearts were also glue basted to templates before setting the seams.

The next block was quite an adventure.  First the diamonds and middle triangle at the bottom are appliquéd to a 6.5″ x 8.5″ piece of background fabric.  The center circle started with a 6.5″ pinwheel block.  The melons started as 3.5″ squares with just the inside curve cut on one side of each square.  The curved edges were appliquéd to the pinwheel block resulting is a 6″ square for the center.  Then the block was reverse appliquéd over the center piece.  It was not my idea.  Pat K. from Quilters Common came up with this fabulous method and it is just about the same as the one used on the That Quilt blog.  It is time consuming but was not frustrating. I am happy with this one, too.

Jane Blocks and Color Contrast

So far this month I have one triangle and three more blocks done for my Jane Stickle quilt.  See my Last Post for a look at the triangle and to see how I am managing those pesky little melons.

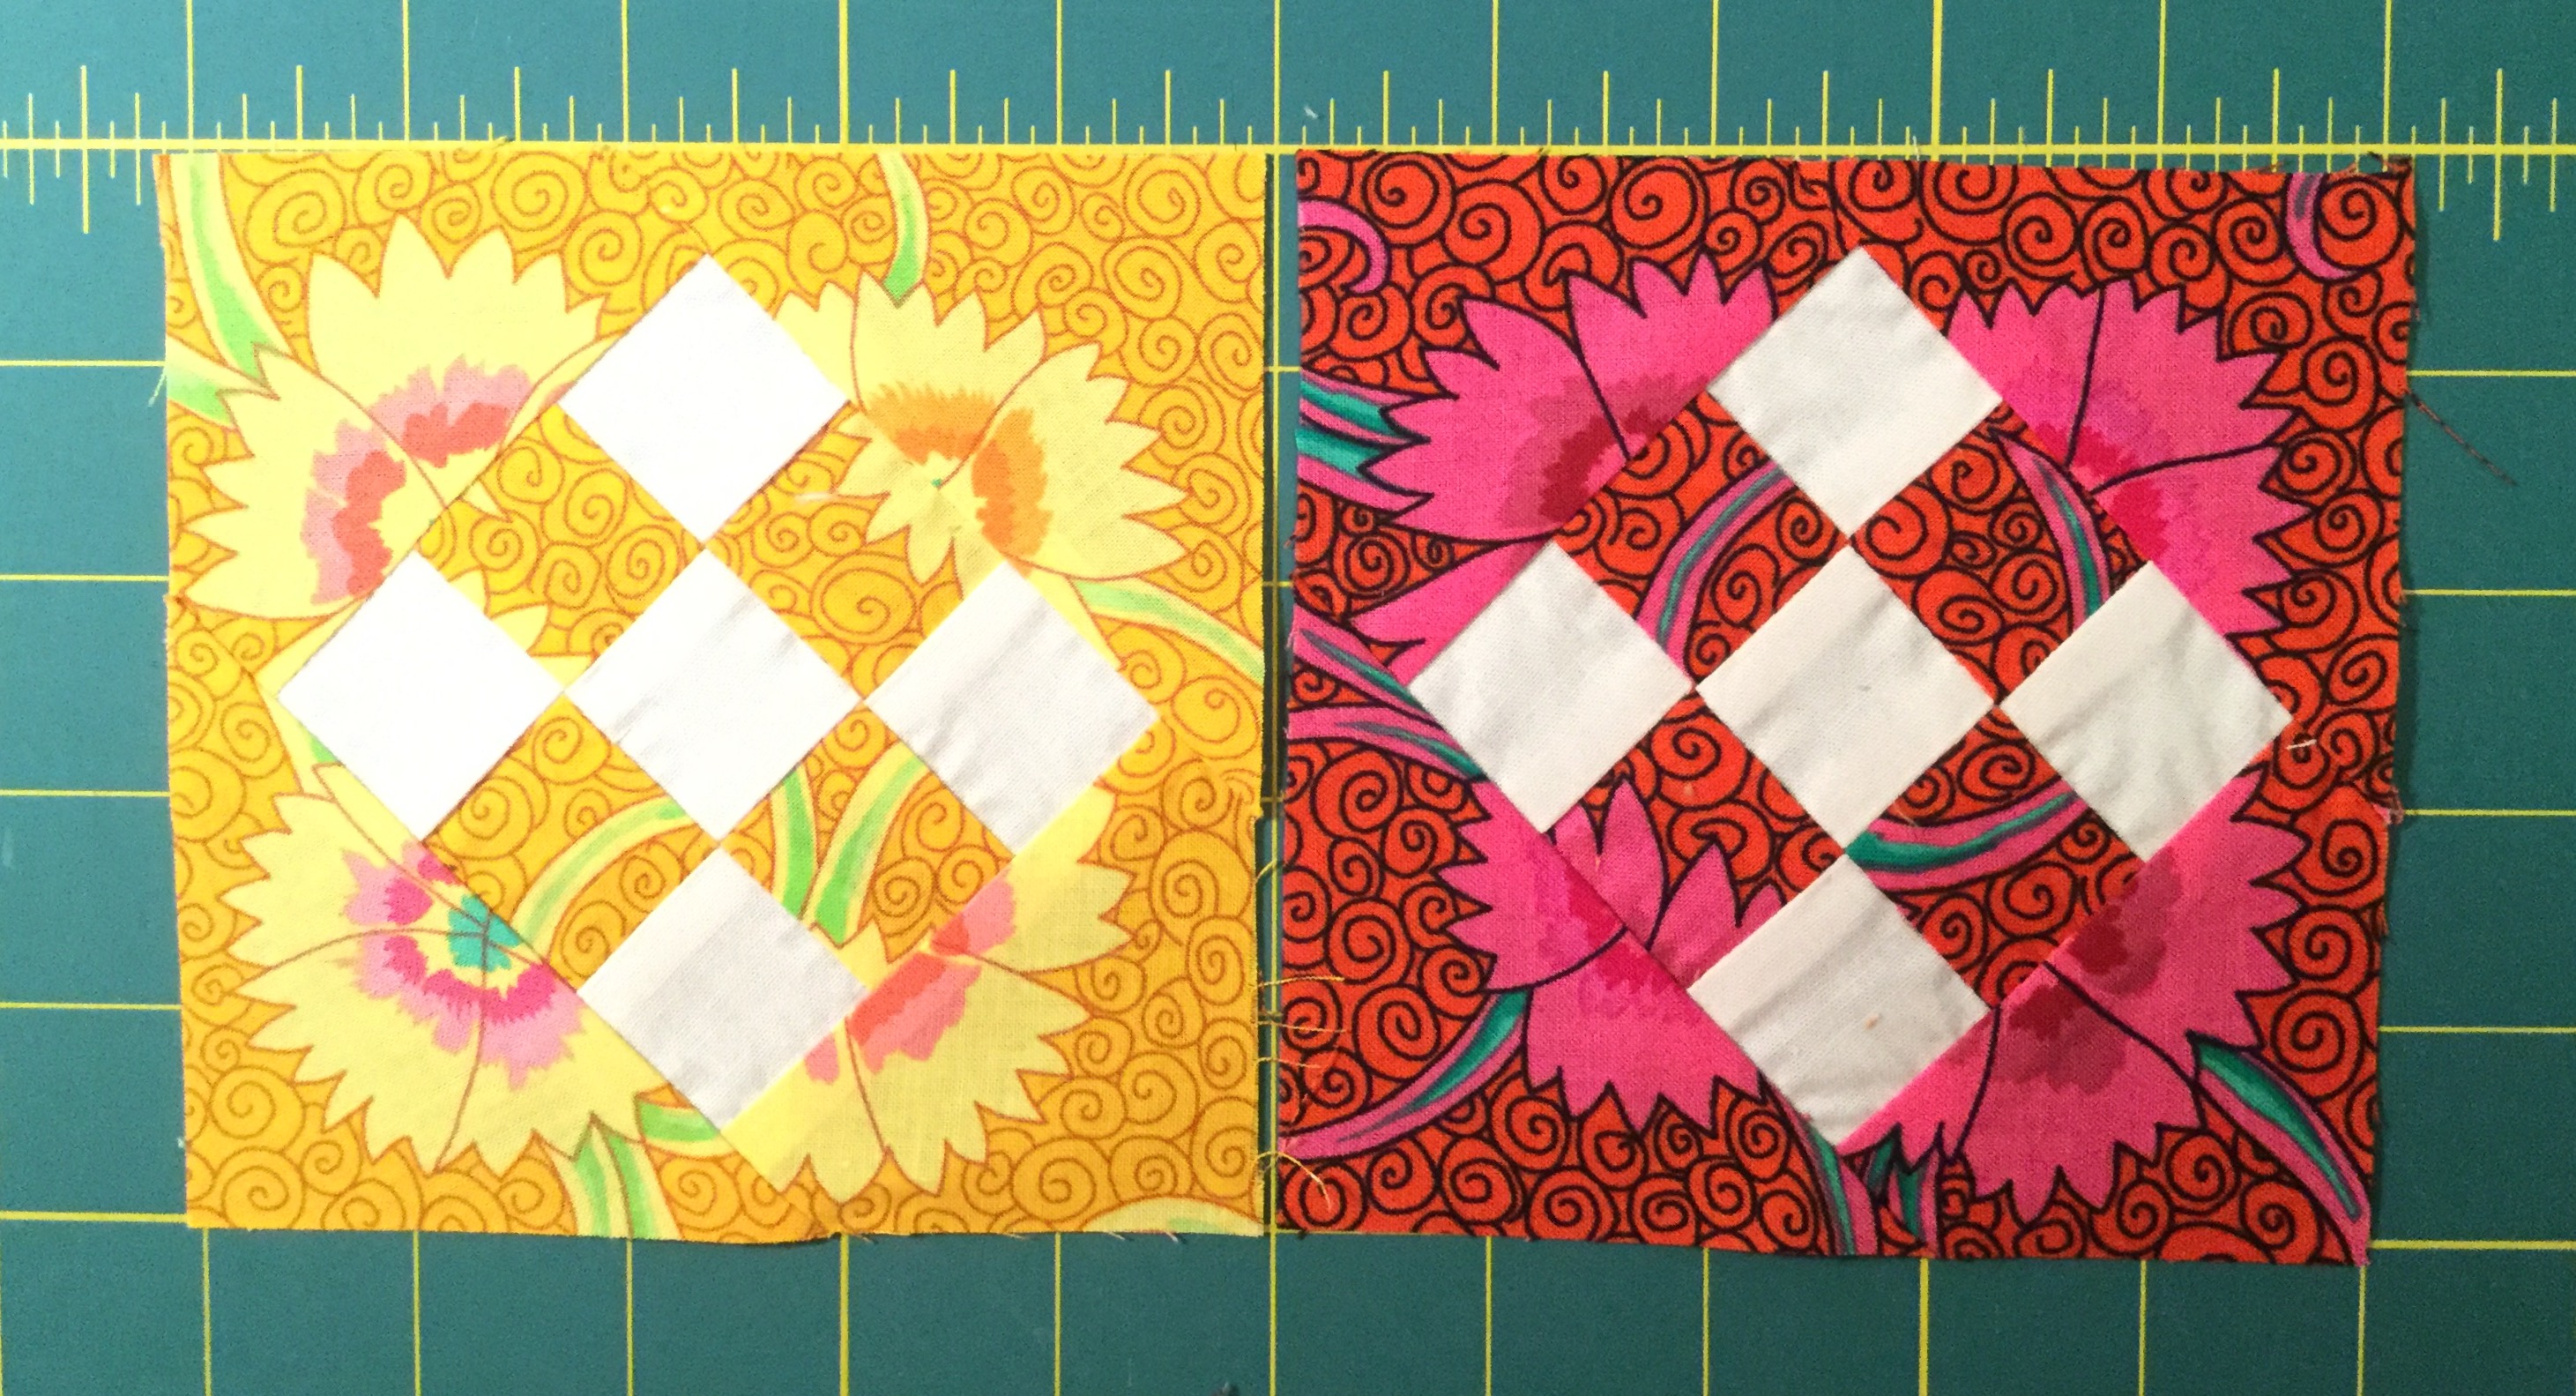
I started cutting fabric for one block and realized I had grabbed the red fabric meant for another.  I have a color scheme set up for my blocks and I am staying with the block arrangement that Jane used so I needed to switch to yellow for the block.  I went ahead and made both the red and yellow thinking I could add it to my extra blocks for a Baby Jane quilt.  The result is that I really like the red block better.  Much better color contrast.

Yellow and Red Contrast

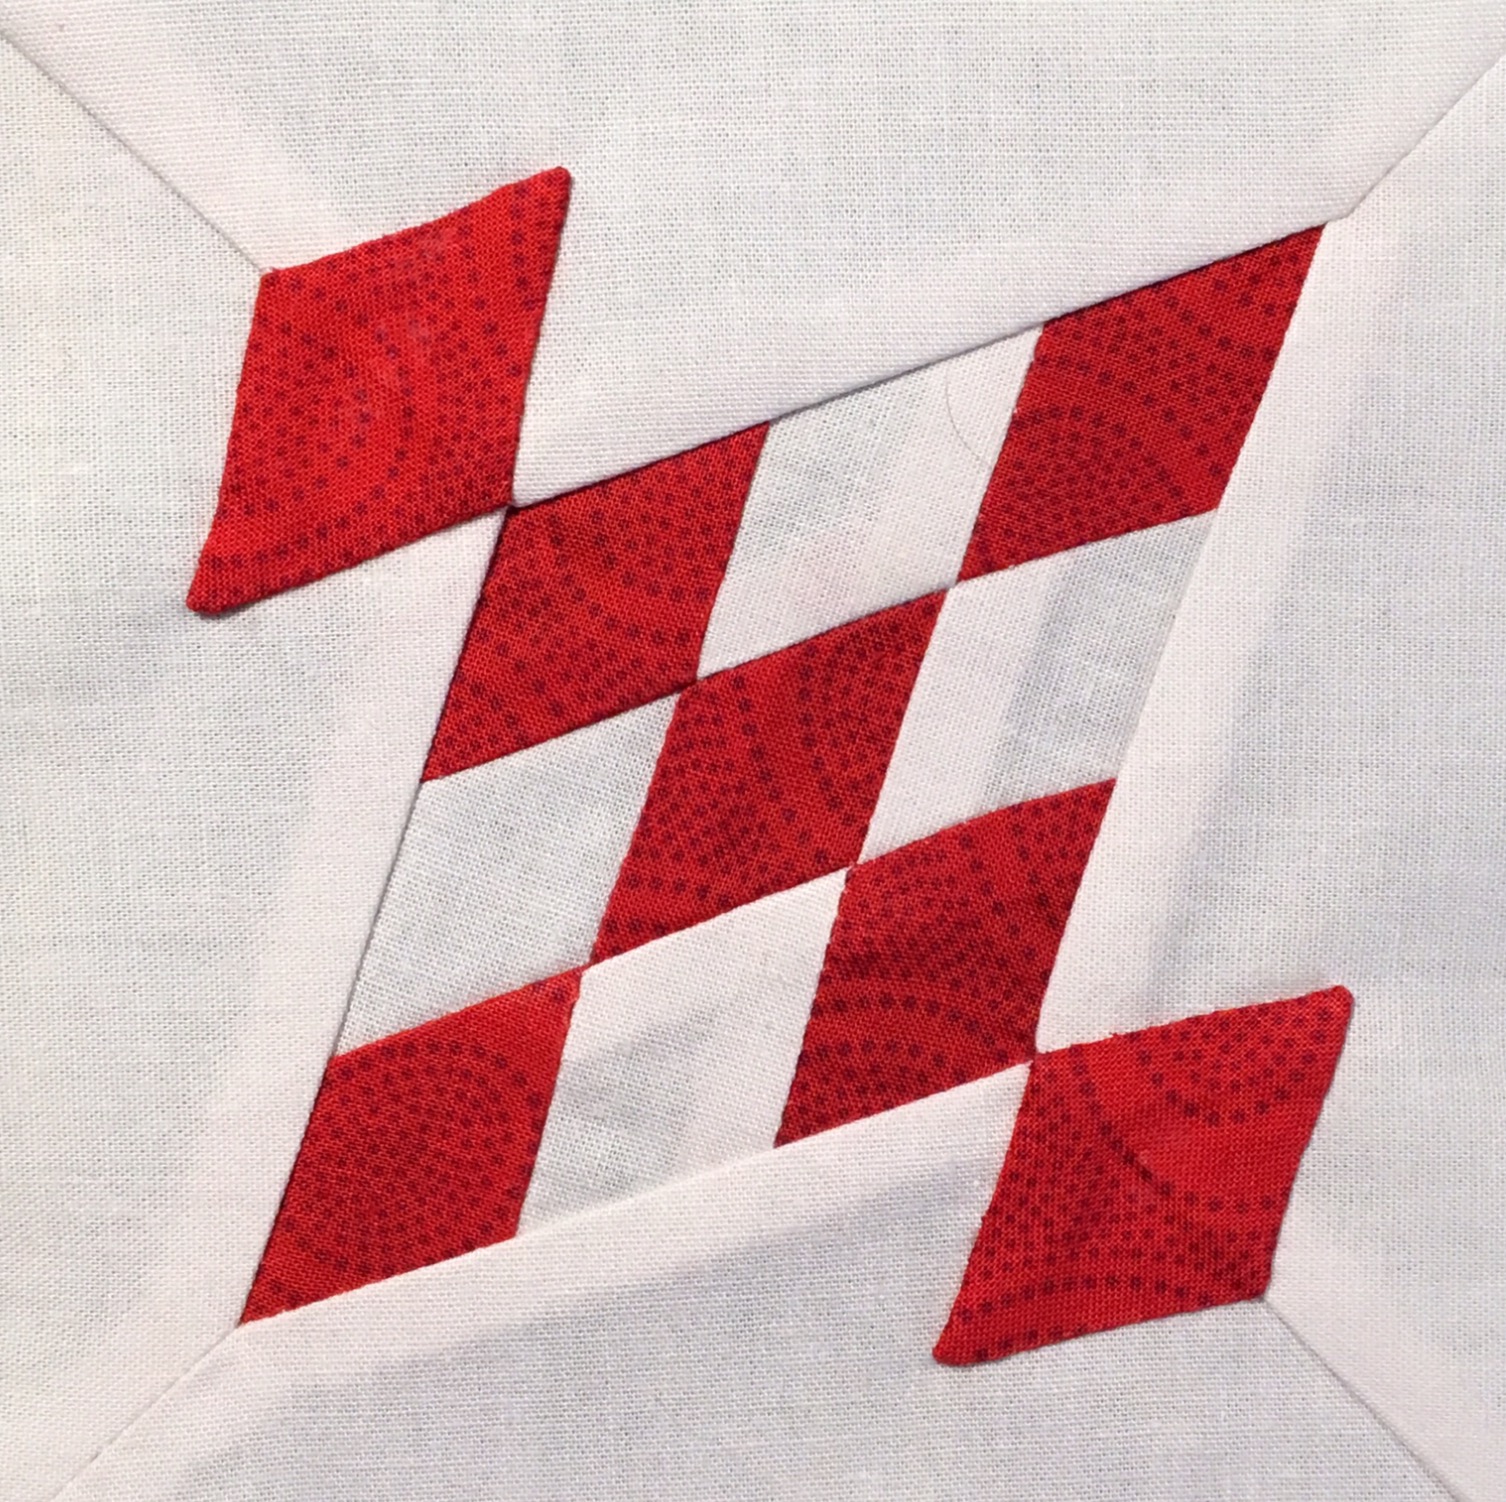
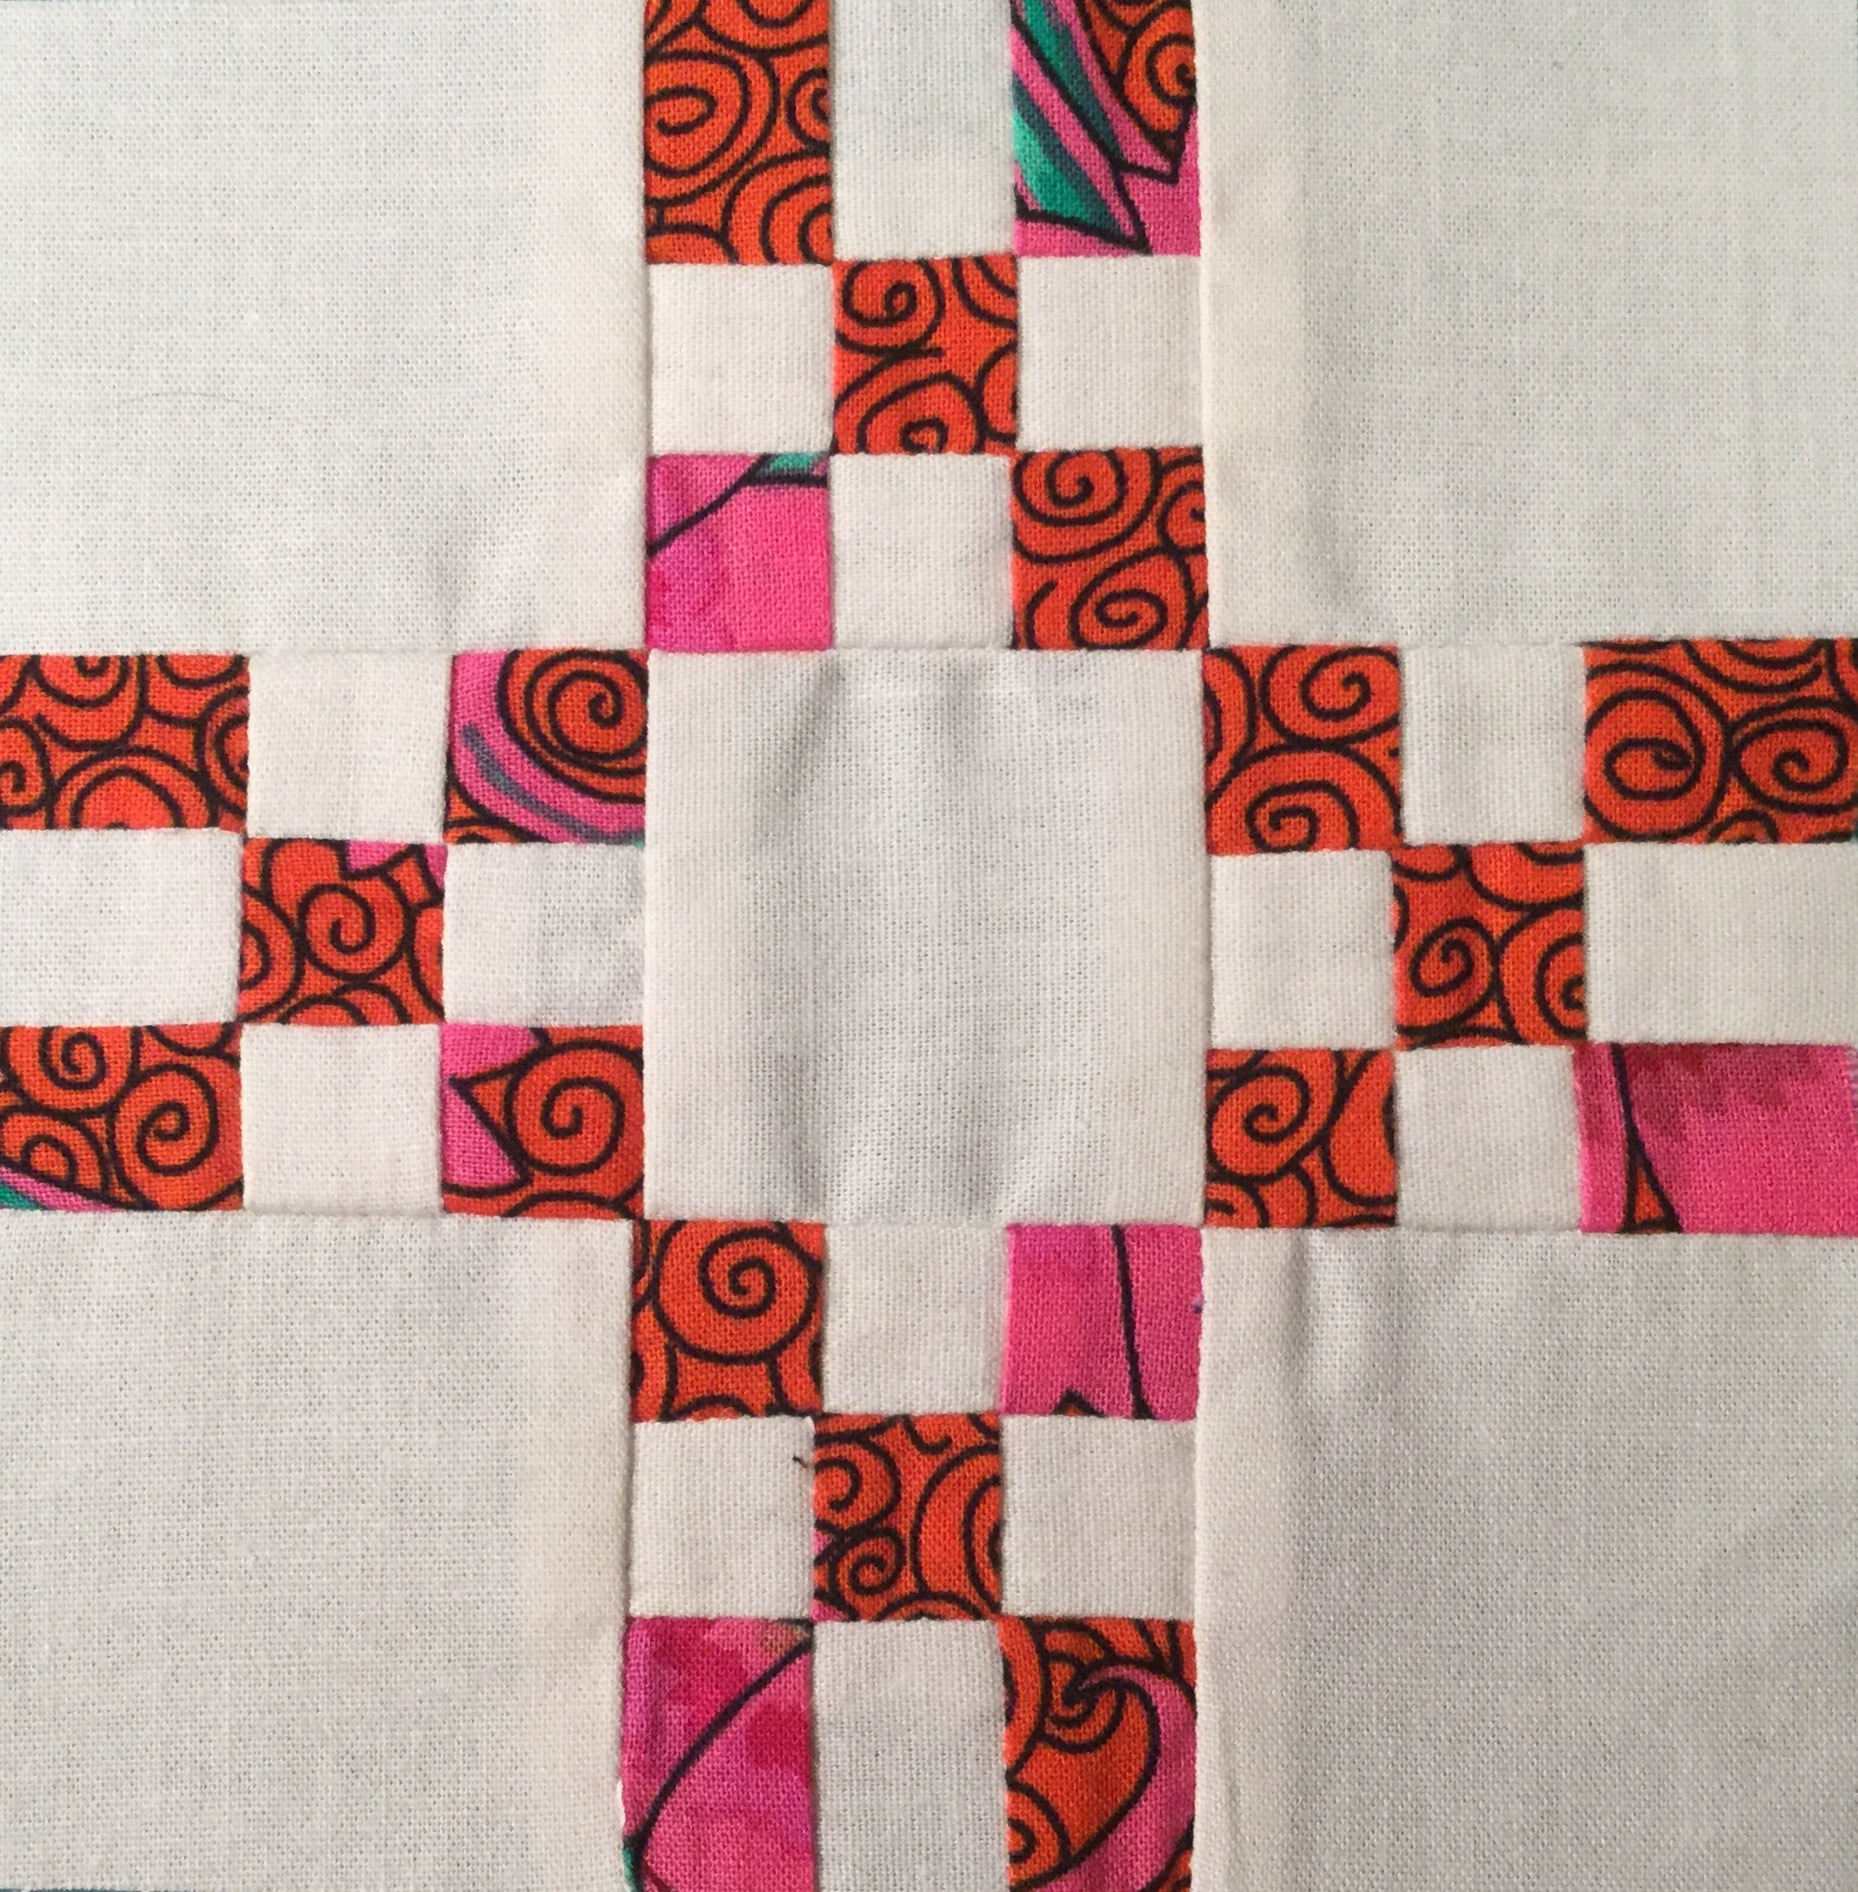
Here are the other two blocks, H-11 and J-7 … Click for a full size look at them.

 image image