Author Archives: pmegio

What Happened to Sweet Jane

After almost four years of playing with my Jane blocks I accumulated 81 squares, 18 triangles and 1 corner square for my quilt,  That does not include a few extras that were the wrong color, or that I just did not think were good enough for one reason or another.

The goal was to have everything done in four years and I just knew that I could never catch up. Of course, I was considering continuing on at my own pace.  Then I saw a Tula Pink City Sampler quilt on Pinterest with the Trellis sashing and I knew it was the perfect thing to do with my blocks.  I came up with a design to use the exact number of blocks that I had completed.  But, once I started playing with a color scheme it became obvious that I had too many green and red blocks.  So I did end up making a few more blocks,

So, now I have my own version of a Jane Stickle Quilt.  There is a lot of Kaffe Fassett fabric in this quilt, but I also started using whatever fabric I thought would work with my modernized version of a Jane Stickle Quilt.

And then I put all those other left over blocks together to make a little quilt that I can practice my quilting on.

So stay tuned for my finished quilt which will occur once I am brave enough to dive into quilting it!

Kaleidoscope Magic

I have been having too much fun making kaleidoscope blocks lately.  Every time I look at a fabric now I am wondering how well it might work for kaleidoscope blocks.

Bethany Reynolds has books on this technique which includes patterns for blocks with 45 degree triangle quilts as well as 60 degree triangle quilts, and she also includes patterns using diamonds and half square triangles.  Her books are Stack-n-Whack and Stack-n-Whackier.  Check out your local quilt shop to see if either is available.  They might even order a copy of them for you.   Or you can just make some blocks and create your own quilt or quilts with them.

This week I will be sharing my enthusiasm at Quilters Common  in Wakefield, MA.  I am teaching a workshop on the process for making these quilts.  I also have a pattern available for this quilt which is available exclusively at Quilters Common.

Here is a quick rundown on the process.

I like to look for fabrics with large prints that have different shapes and colors.  You need to pay attention to the repeat of the design on the fabric. You can work with any repeat, but I have found that I like working with a 24″ repeat, which is usually pretty standard with the larger print fabrics.

Since the classic Kaleidoscope block consists of 8 45 degree triangle blocks, you need 8 repeats of the fabric.  8 times 45 is 360, which gives you a full circle!  Plan on buying at least 5 1/2 yards of fabric of your kaleidoscope fabric.

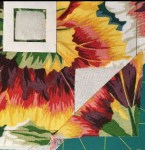
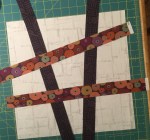
The first thing I do is cut my fabric in half lengthwise.  This way you will be working with half of the width of fabric and this will allow you to have some flexibility with your fabric.  You can either set up two sets of repeats of the fabric for cutting triangles, or you can use the other half of the width of fabric for length of fabric borders.  What you do with the fabric depends on what you have in mind for a quilt.

You can snip and rip your fabric down the length or carefully rotary cut it.  To do this I just rolled the fabric as I went to keep it out of the way.  Snipping if faster and more fun, but it may pull at the threads in the fabric, so don’t do this if your fabric is not a robust weave!

(As you view the photos in this article remember you can click on each to enlarge it.).

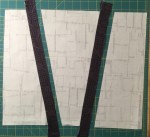
Layer the 8 repeats on your cutting board with the salvage on top.  The next thing to do is to carefully cut eight repeats of the fabric.  Each piece should be about 22″ x 24″ and they all should be pretty much the same.  Once you have all eight repeats cut, layer them and match them up by placing a pin through the same spot in all eight layers.  Secure that area that you have pinned by placing a second flat  head pin in and out of the eight layers.  Repeat this process with a few pins about 2″ in and each about 3″ apart from the side of the layers of fabric.

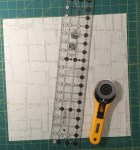
Once you have the pins in place you can take a look at the edge of the layers to see how well lined up they are.  Make some adjustments by repining if necessary.  If everything is lined up then go ahead a cut one strip of fabric for your blocks.  For my pattern I cut 5 1/2″ strips.

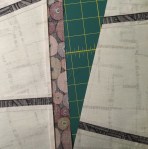
Next cut the triangles.  Bethany provides paper templates in her book, but I like using a 45 degree acrylic ruler.  Mine is the Simpli-EZ Ruler by EZ Quilting.  You should get 7 sets if triangles from each strip of fabric.  Cut through all eight layers at once.  Be sure you have a new blade in your rotary cutter.  I like using a larger 60 mm cutter because you get better leverage and a quicker cut.

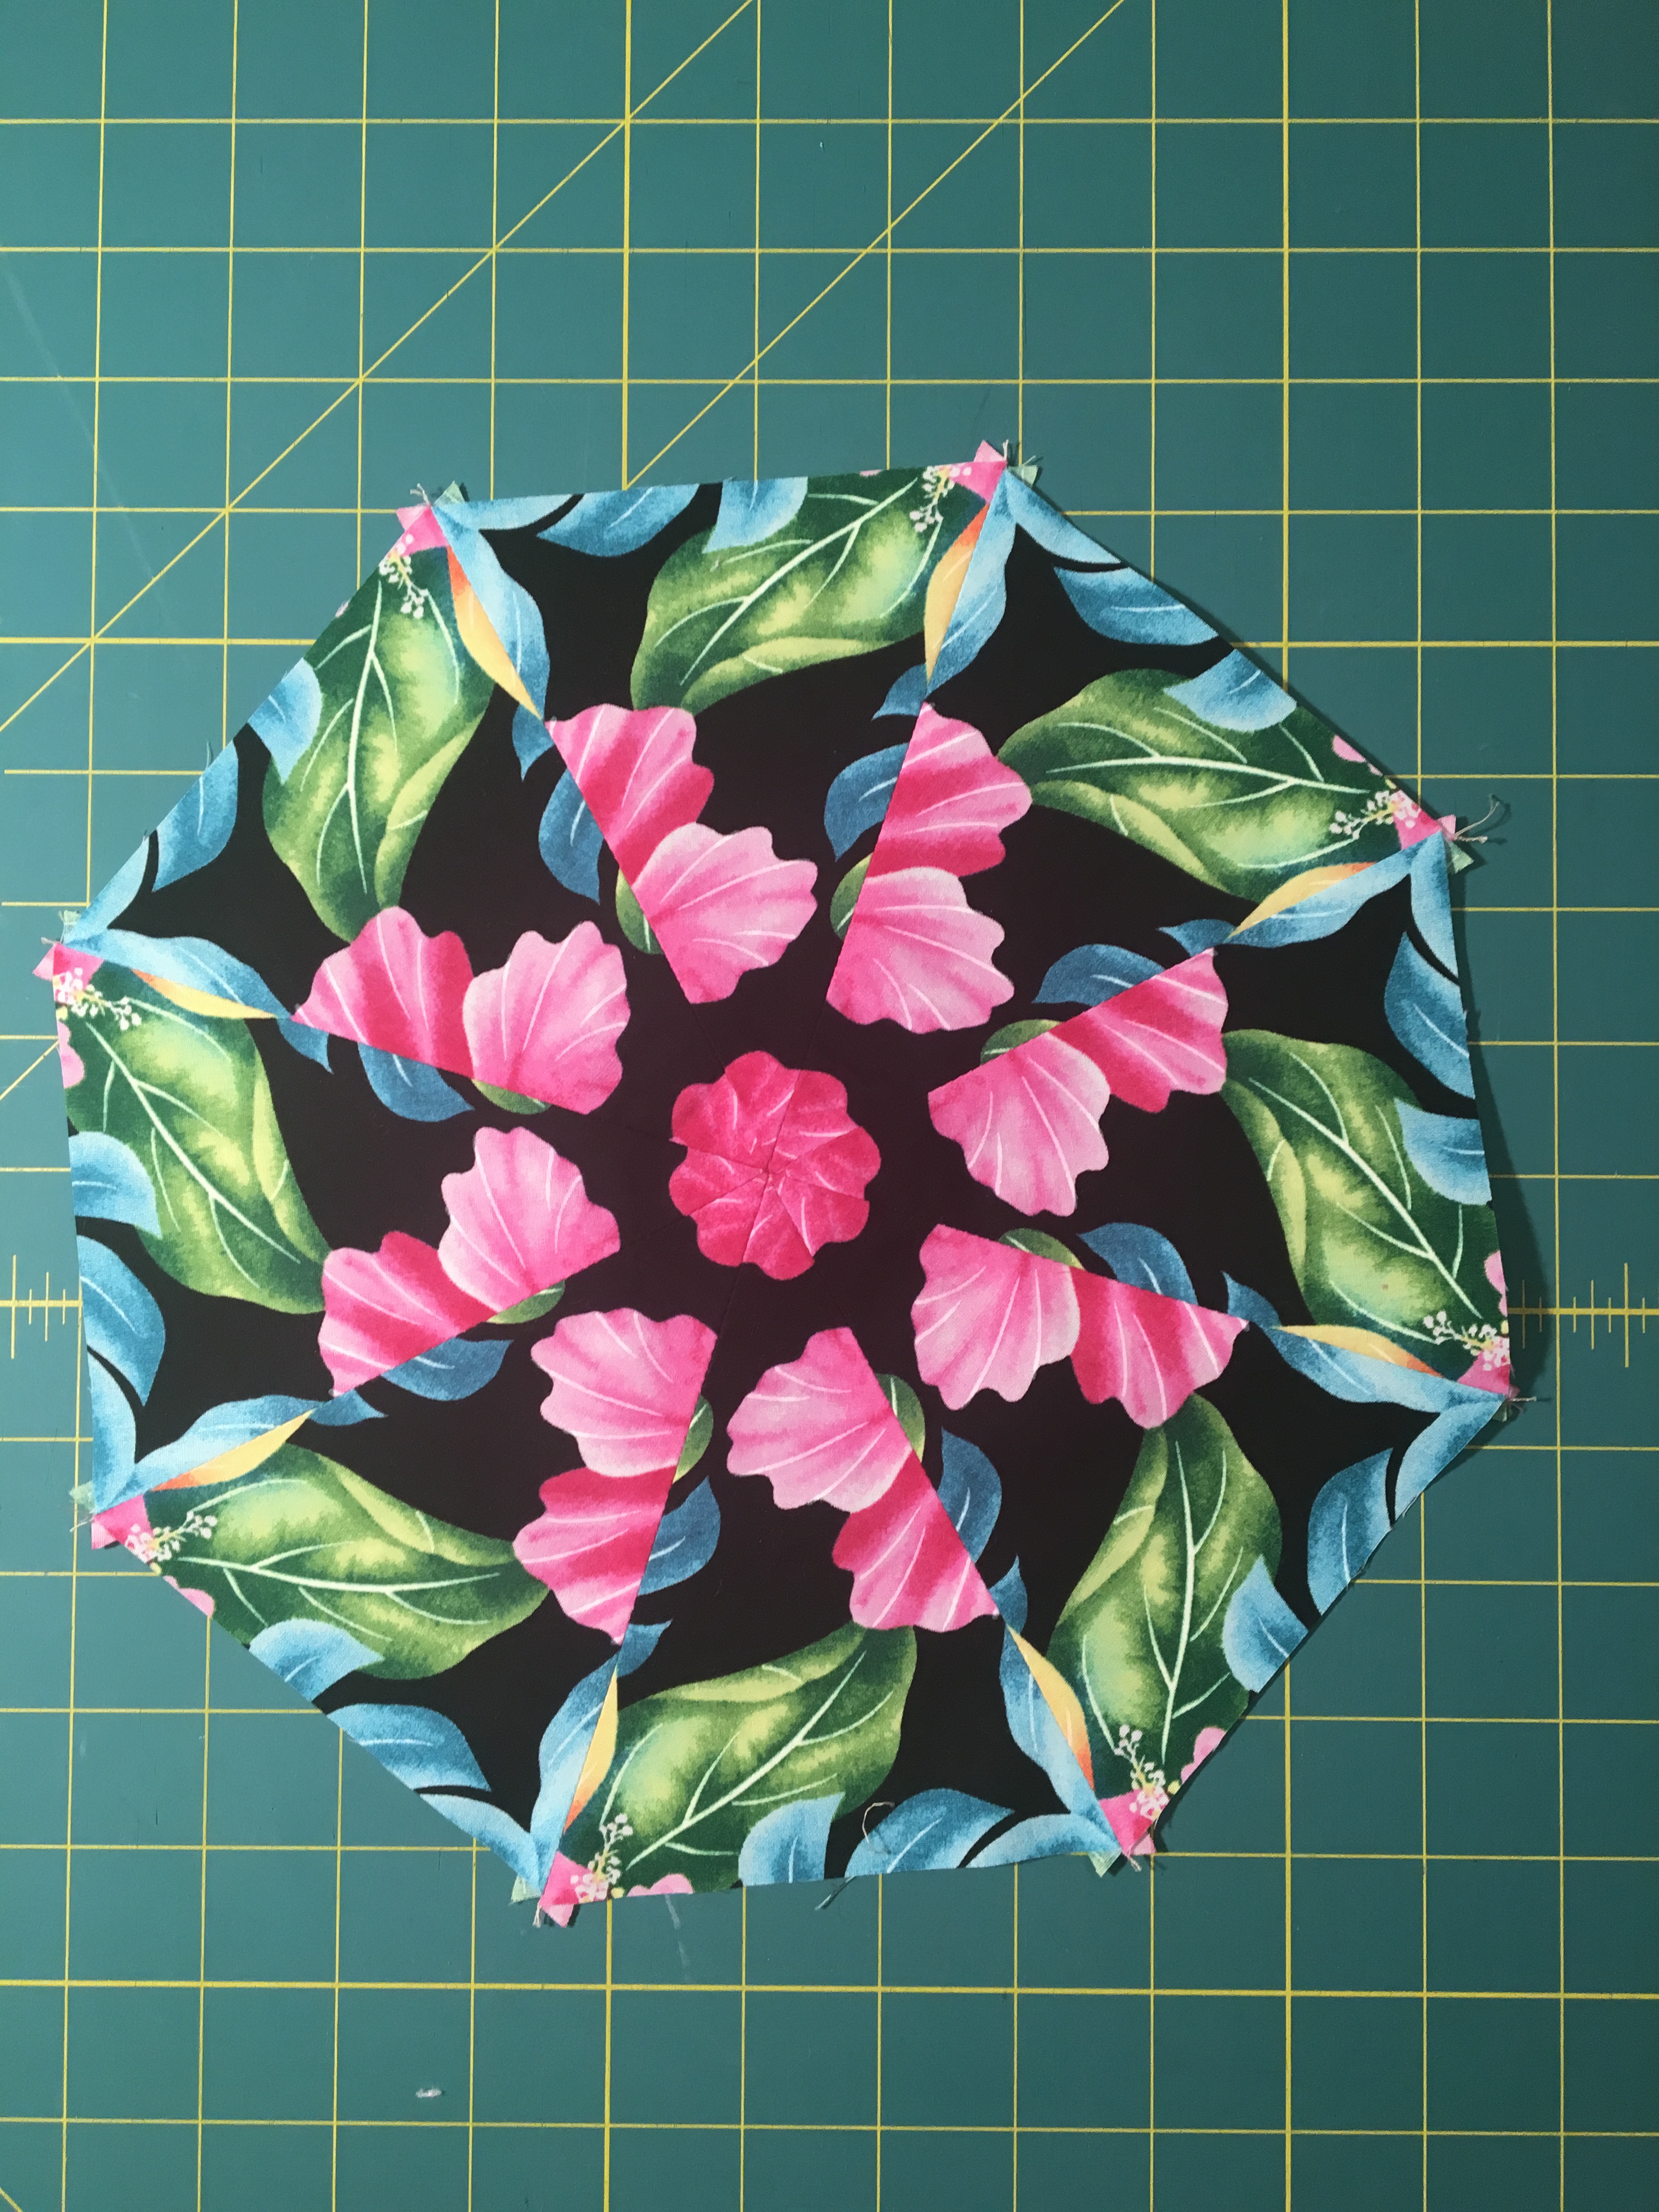
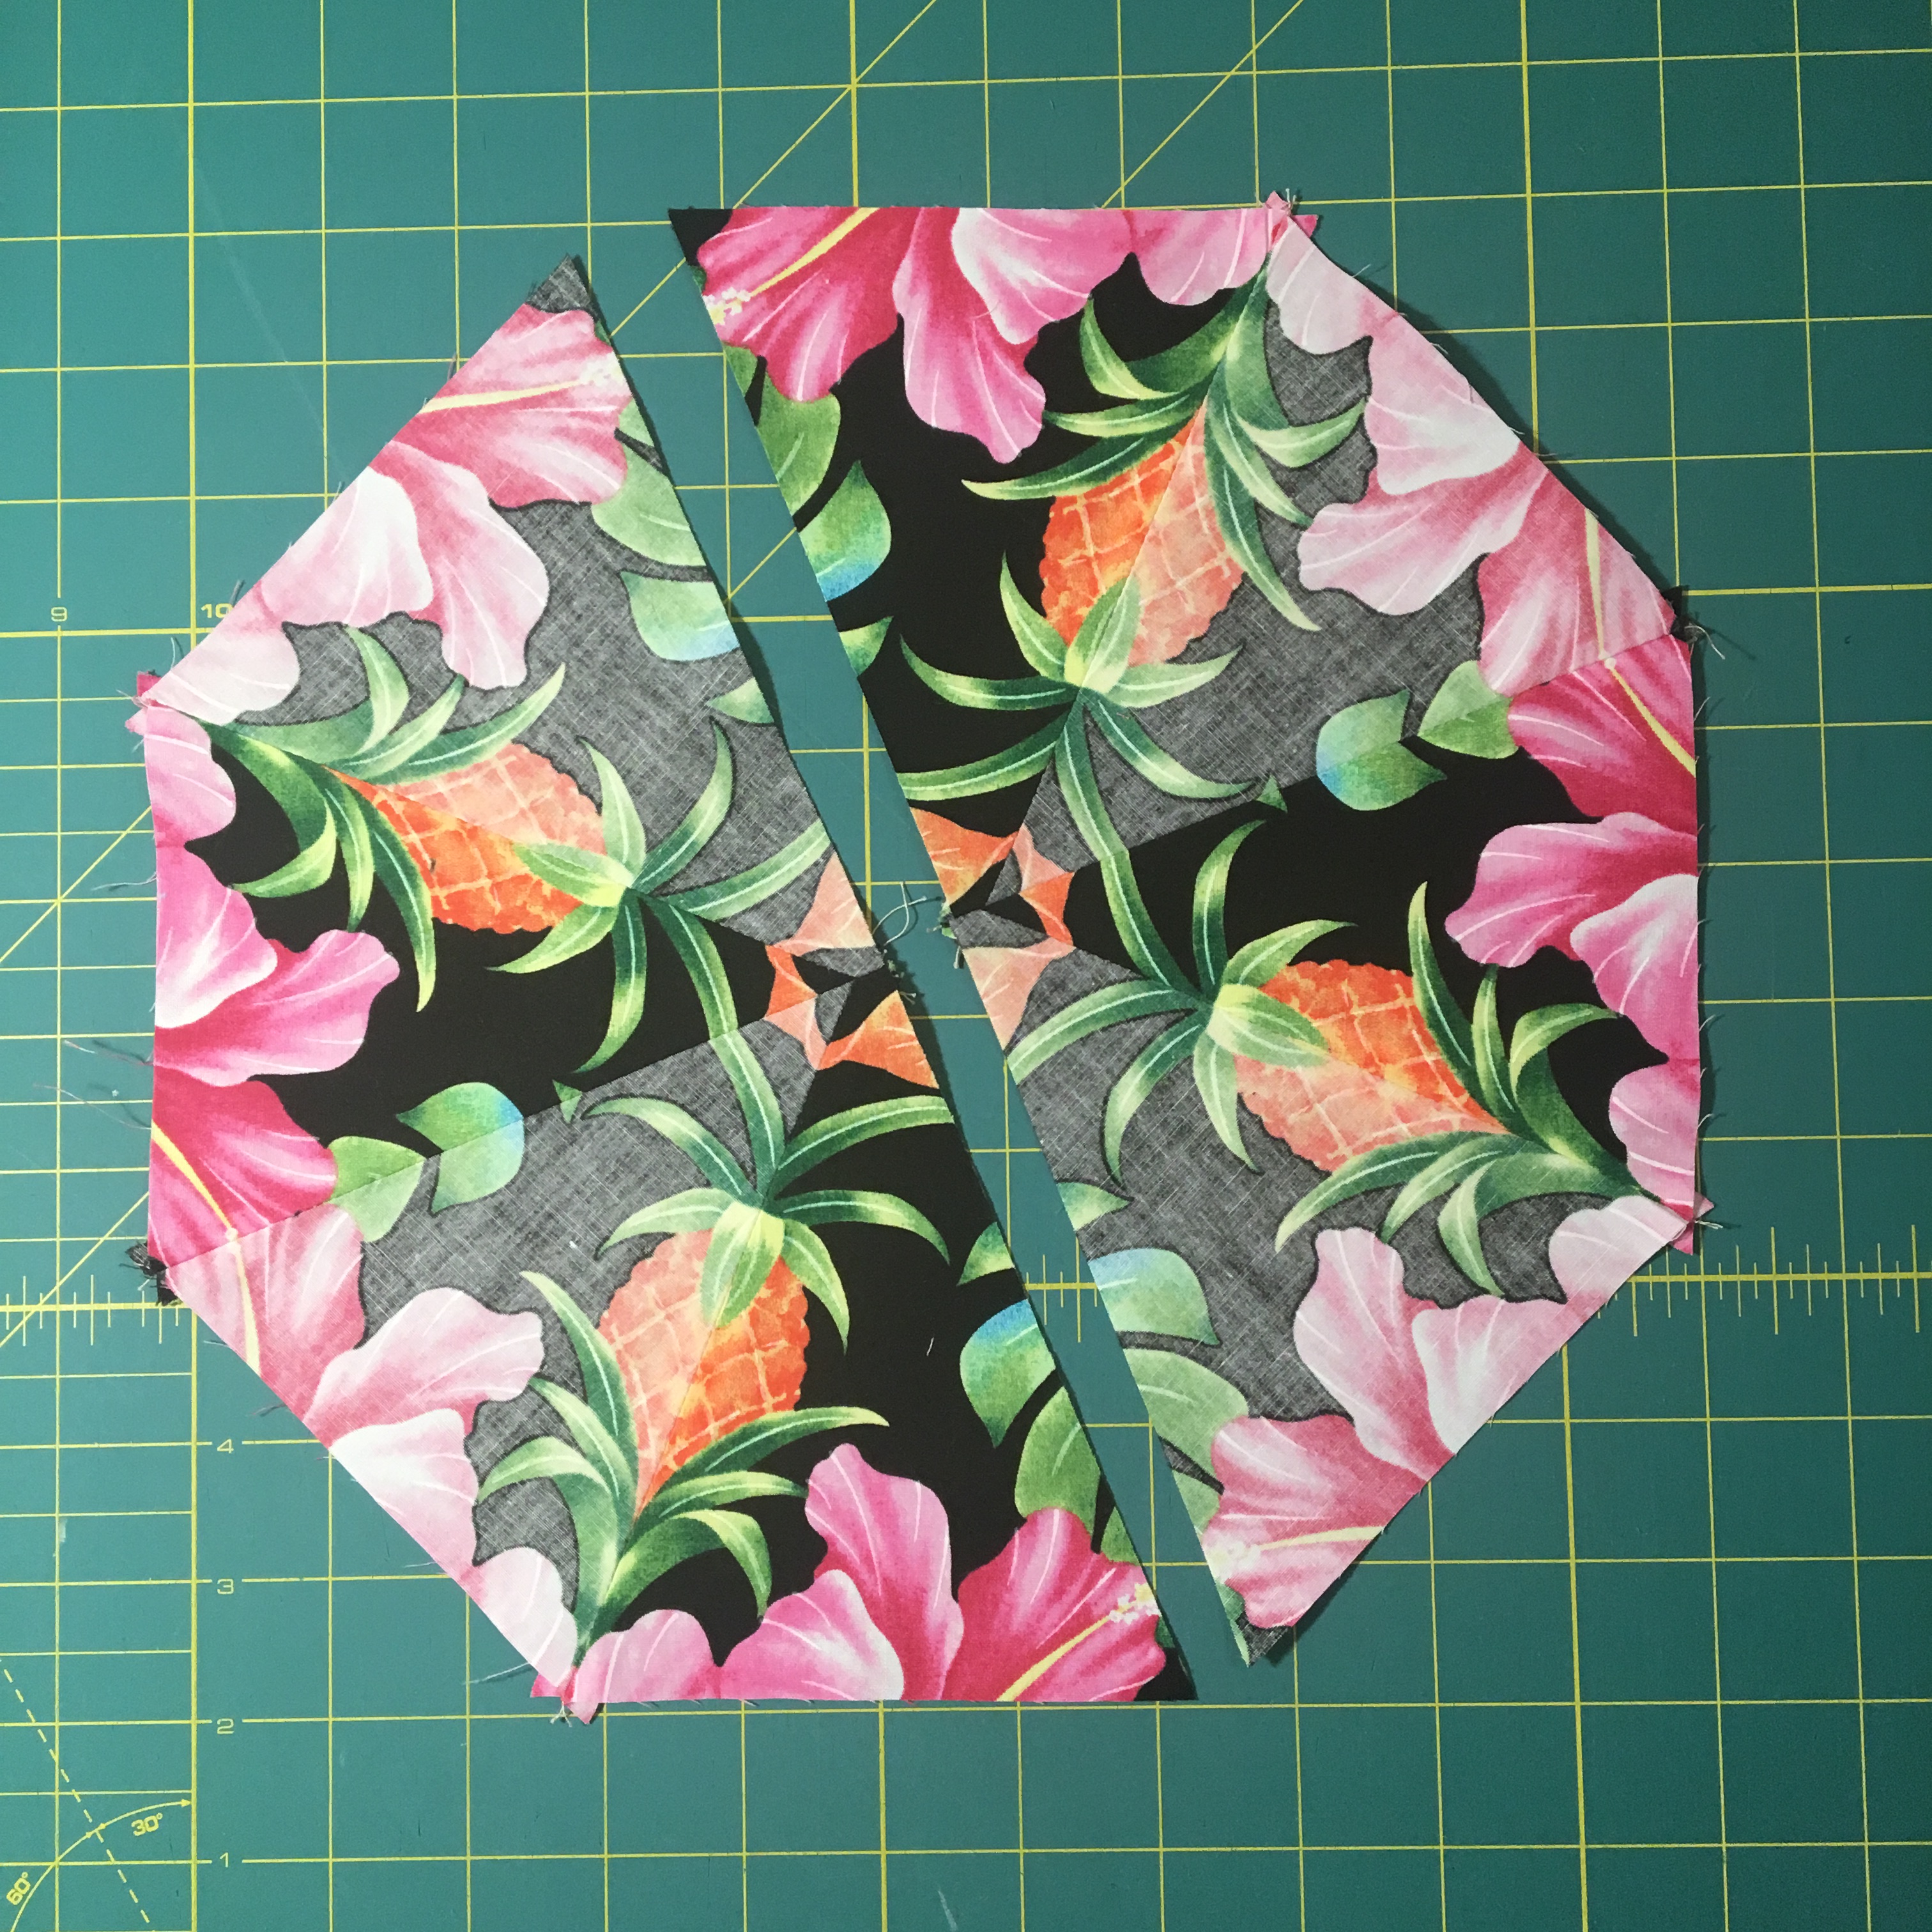
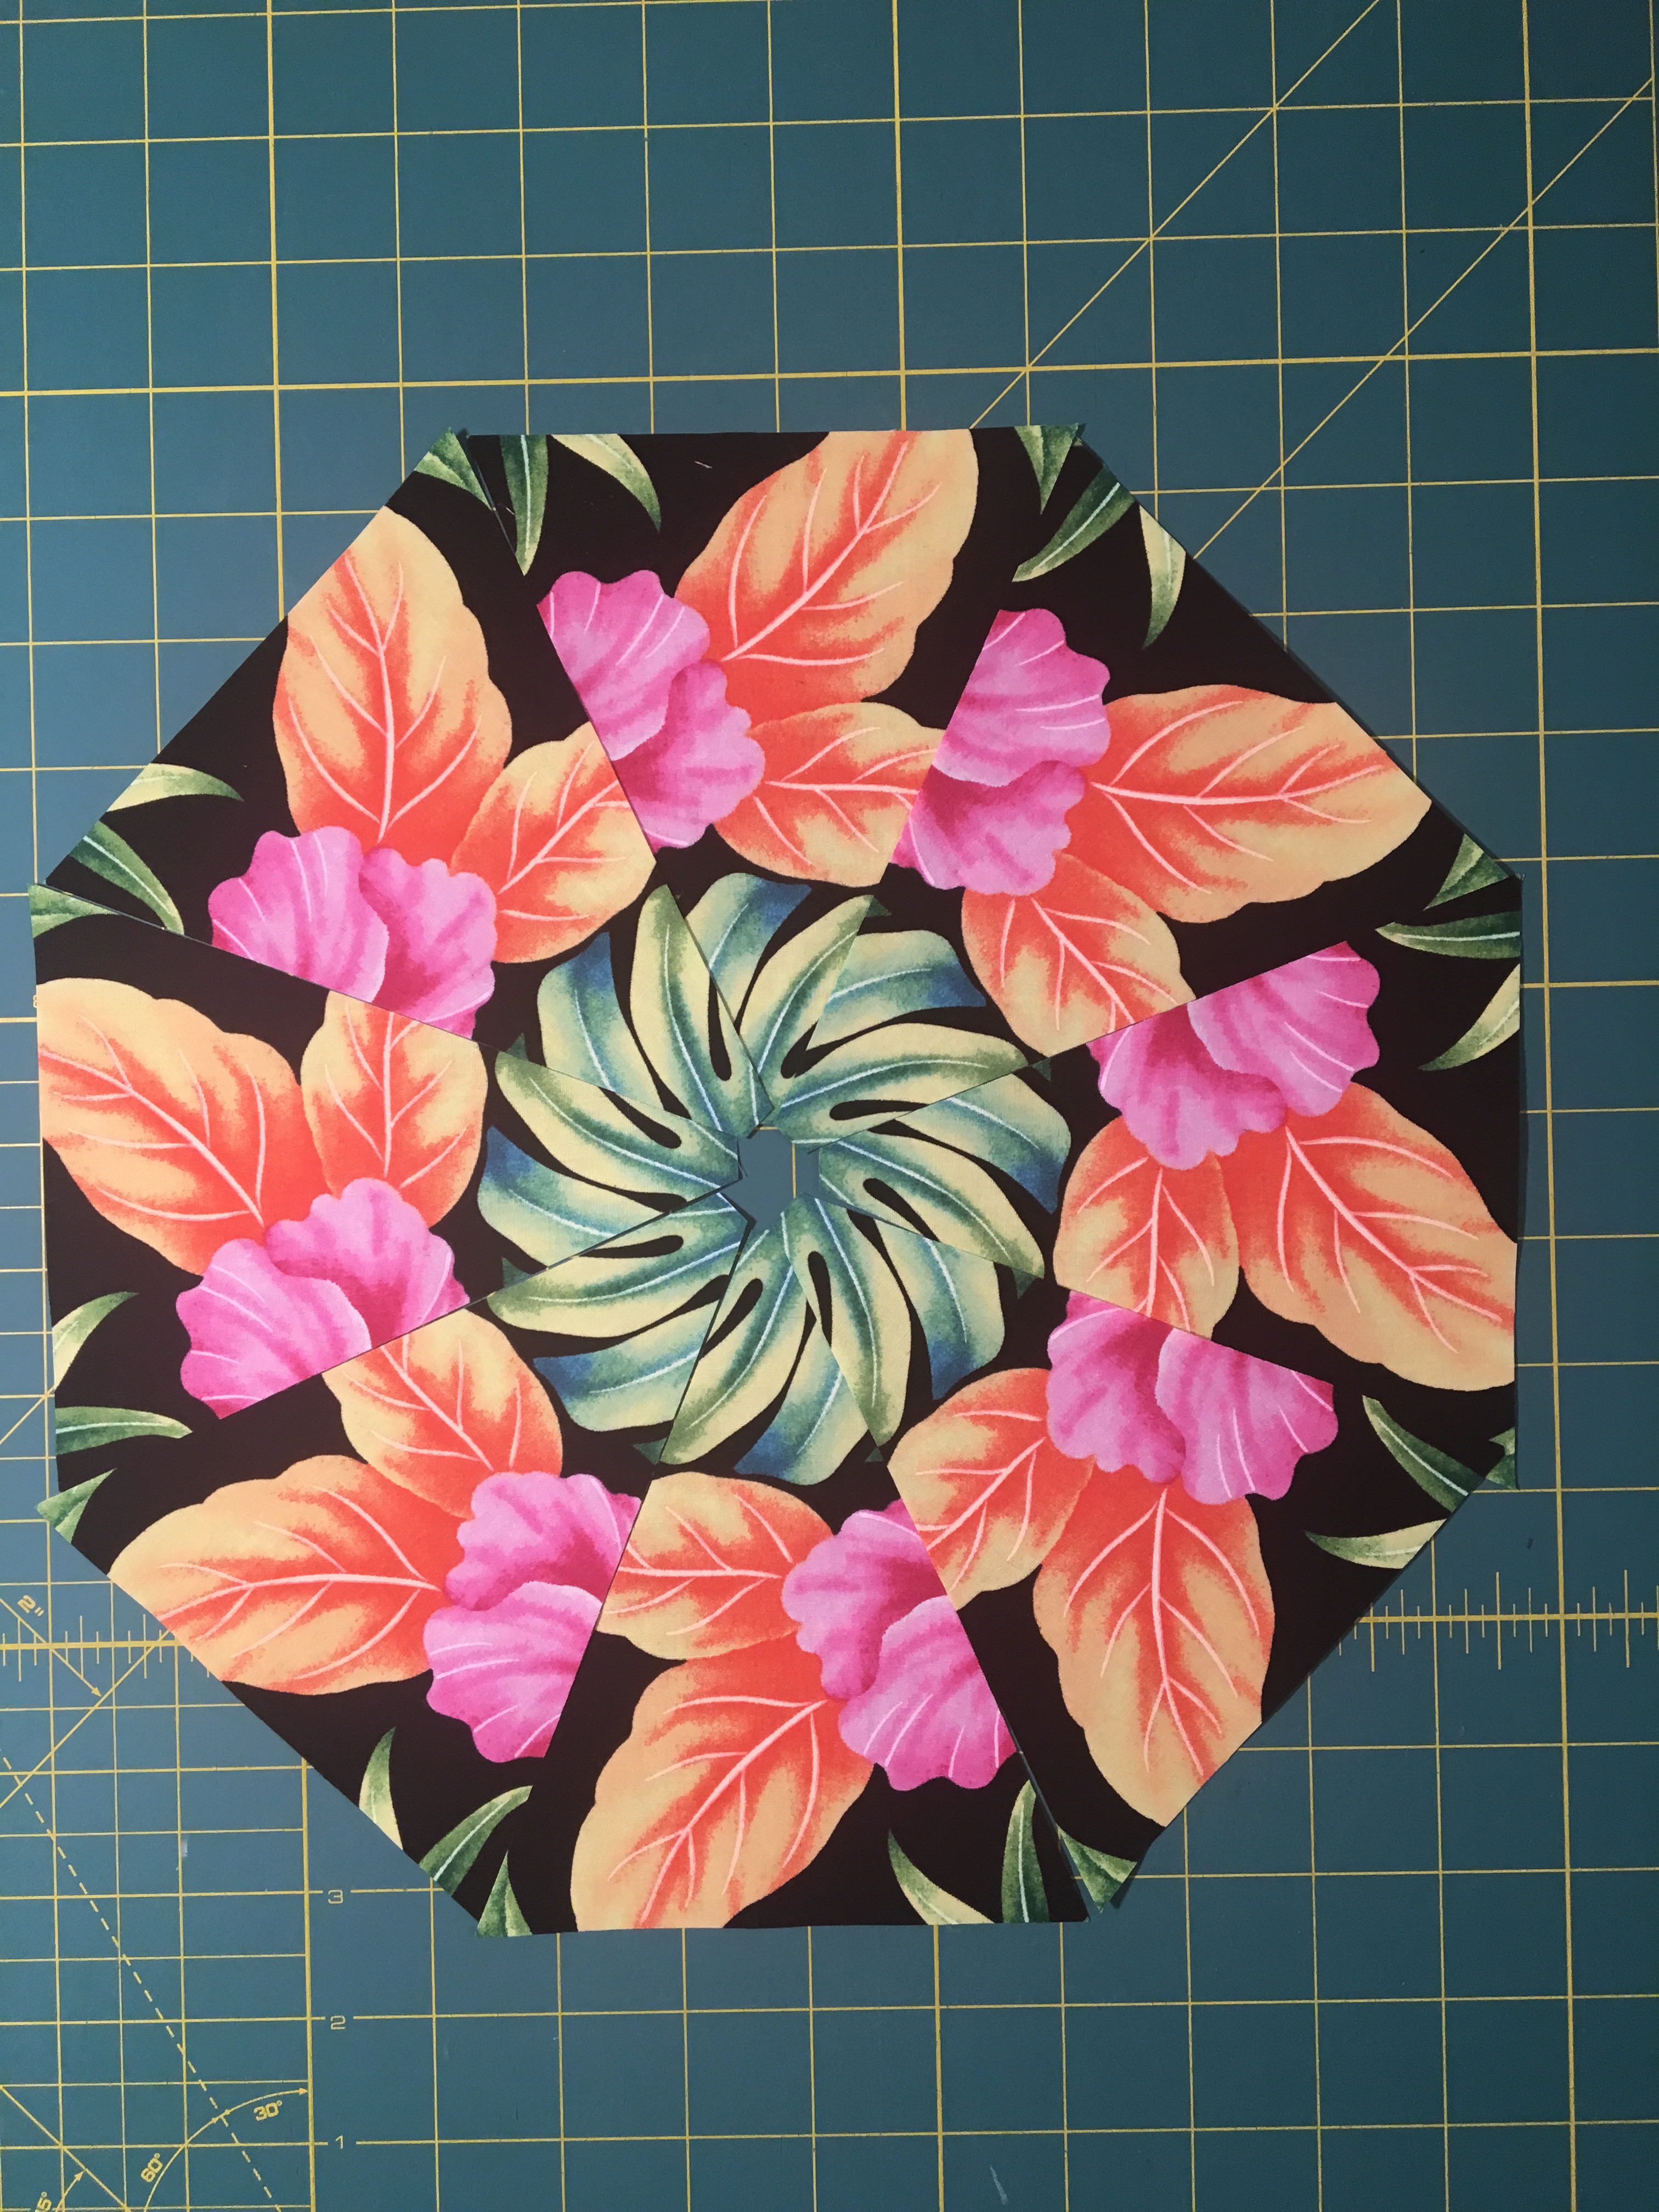
Next step is to sew your triangles together.  First sew four pairs, then two pairs together and then the two halves together.


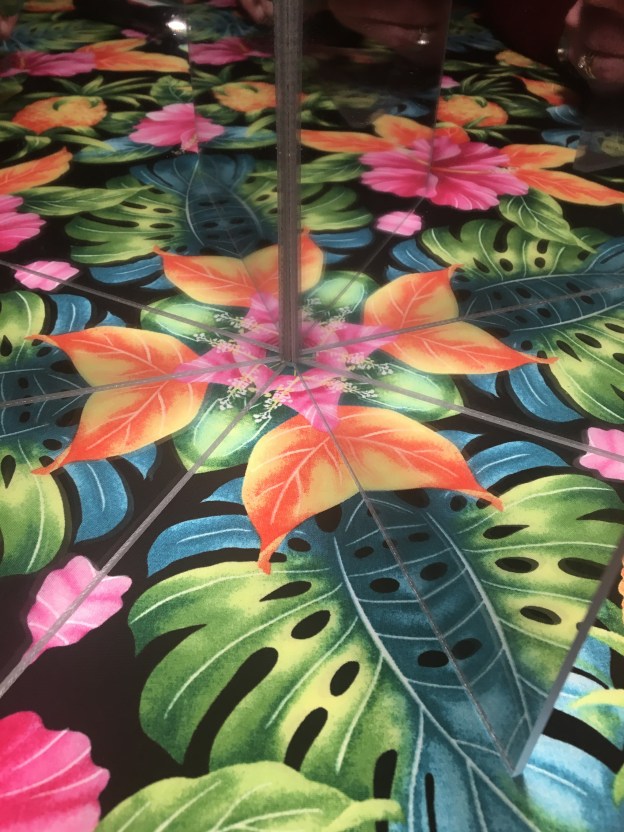
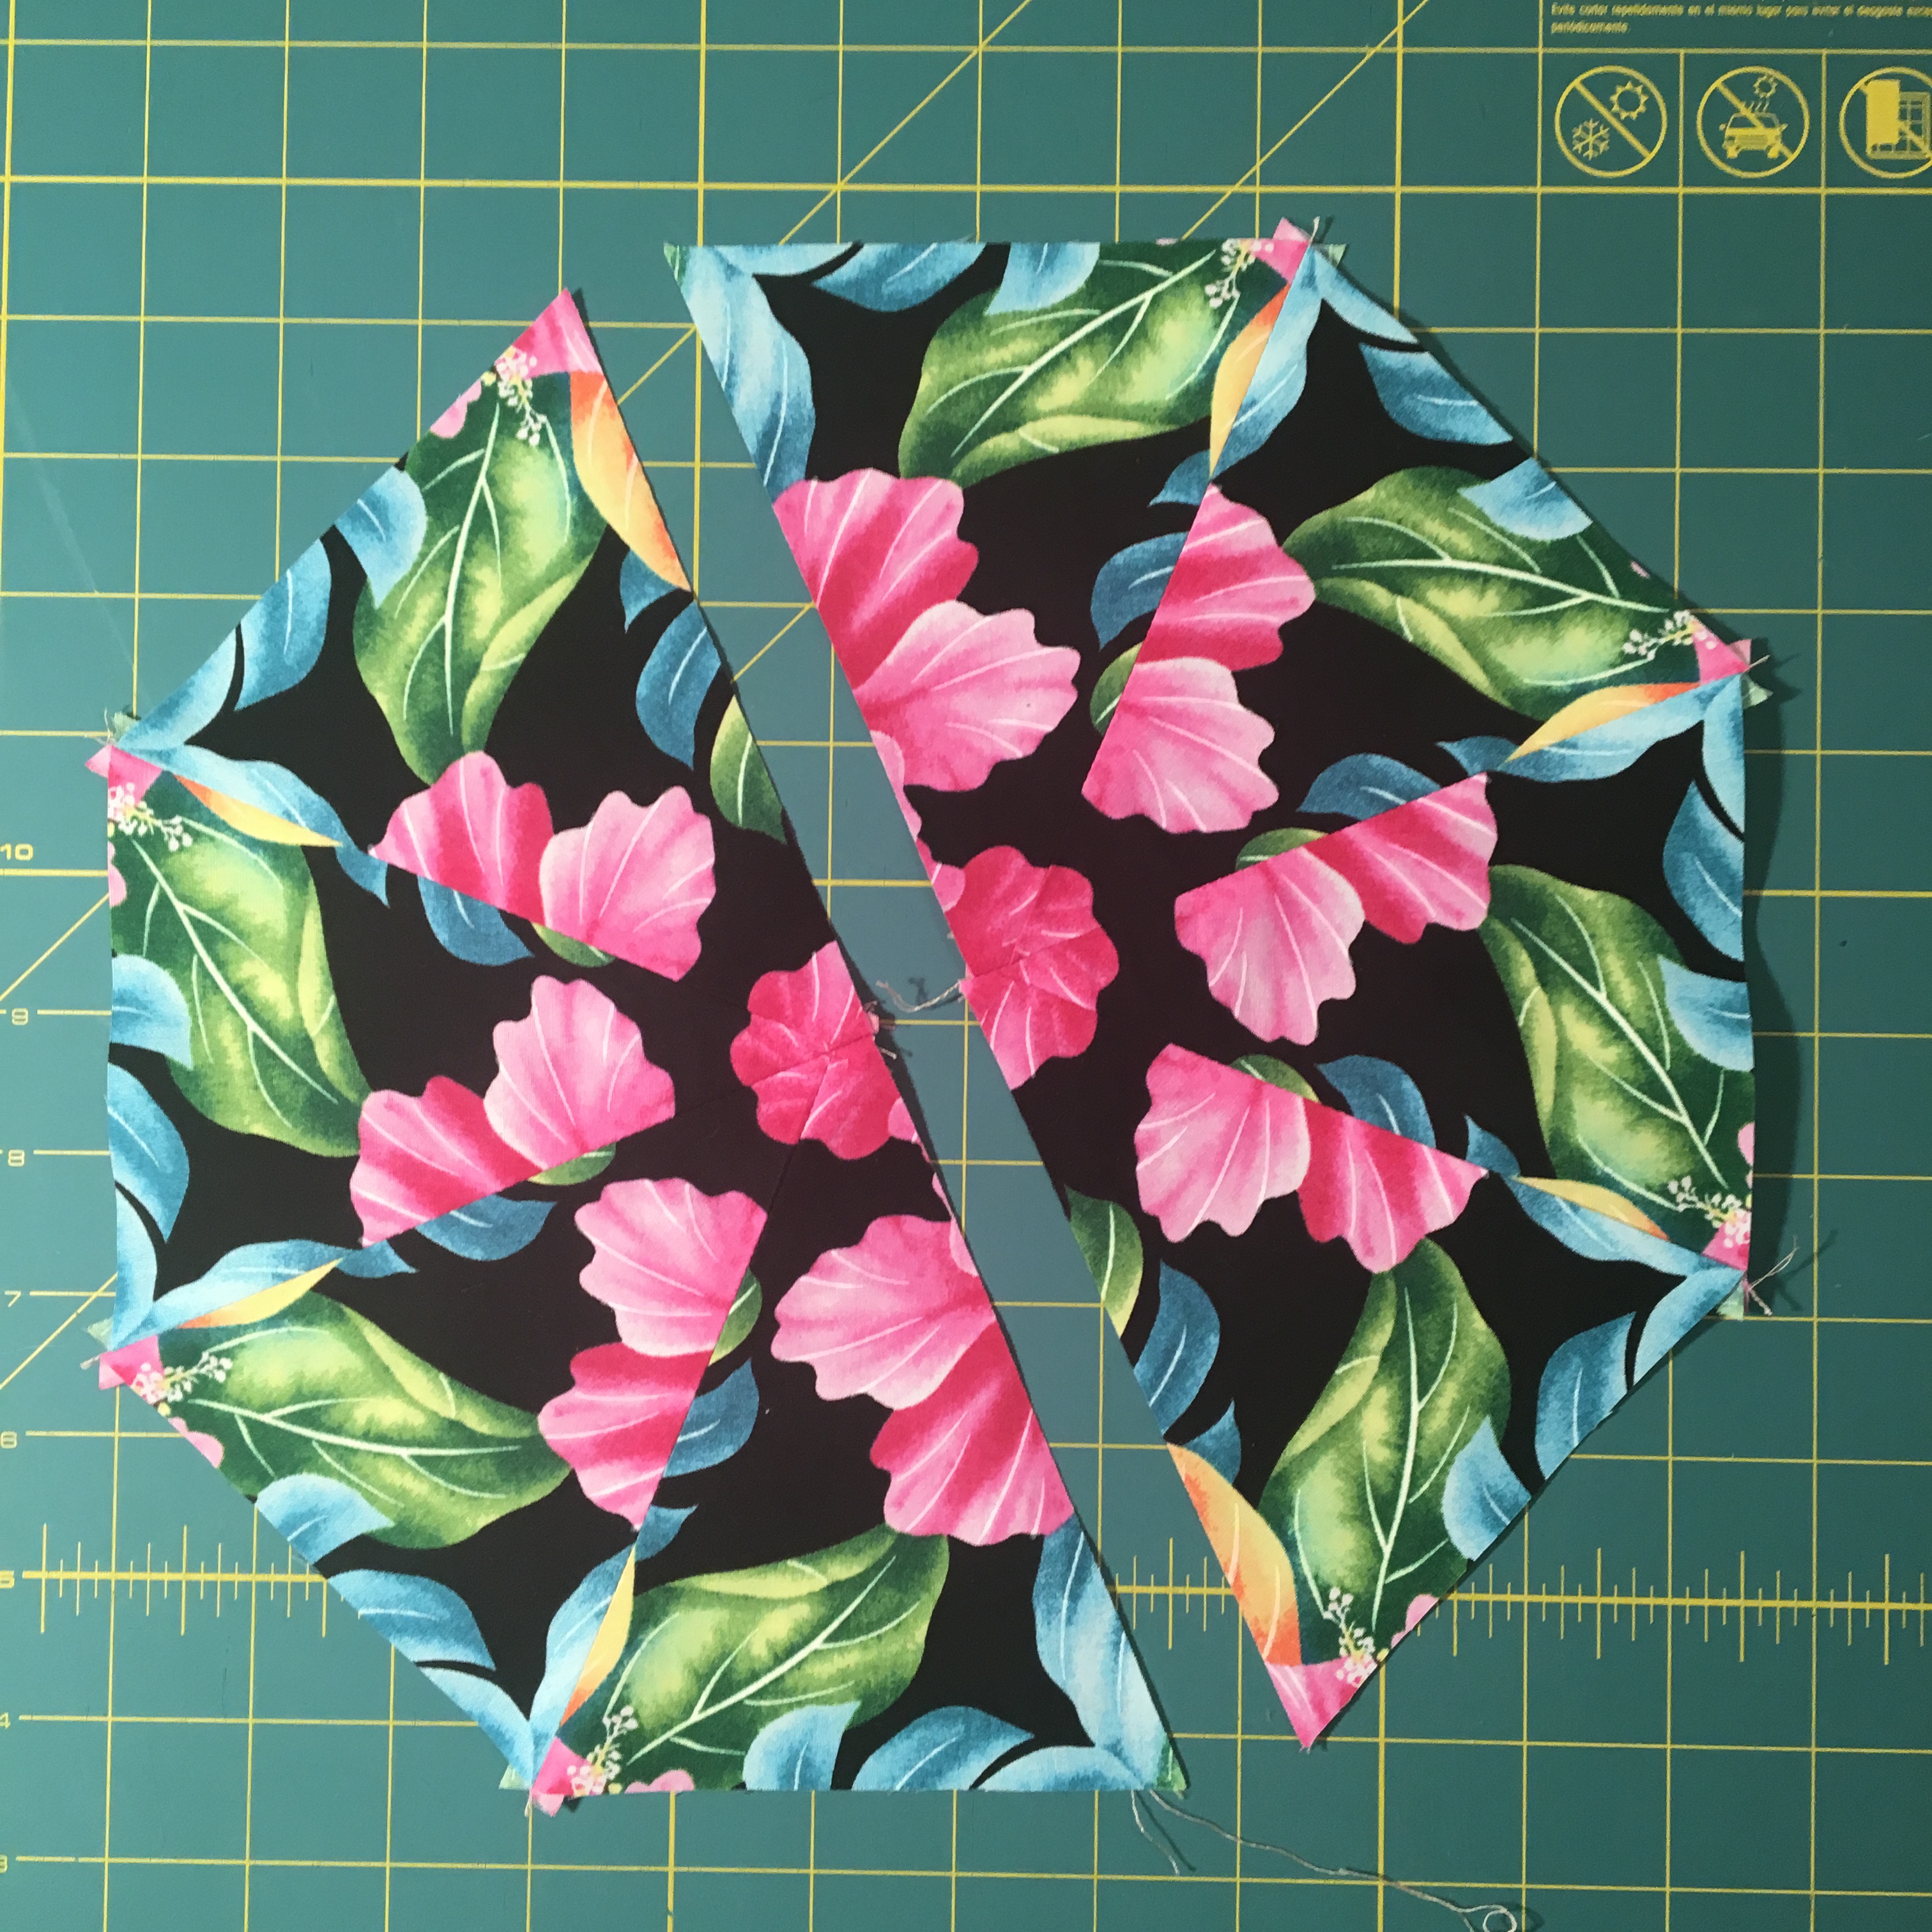
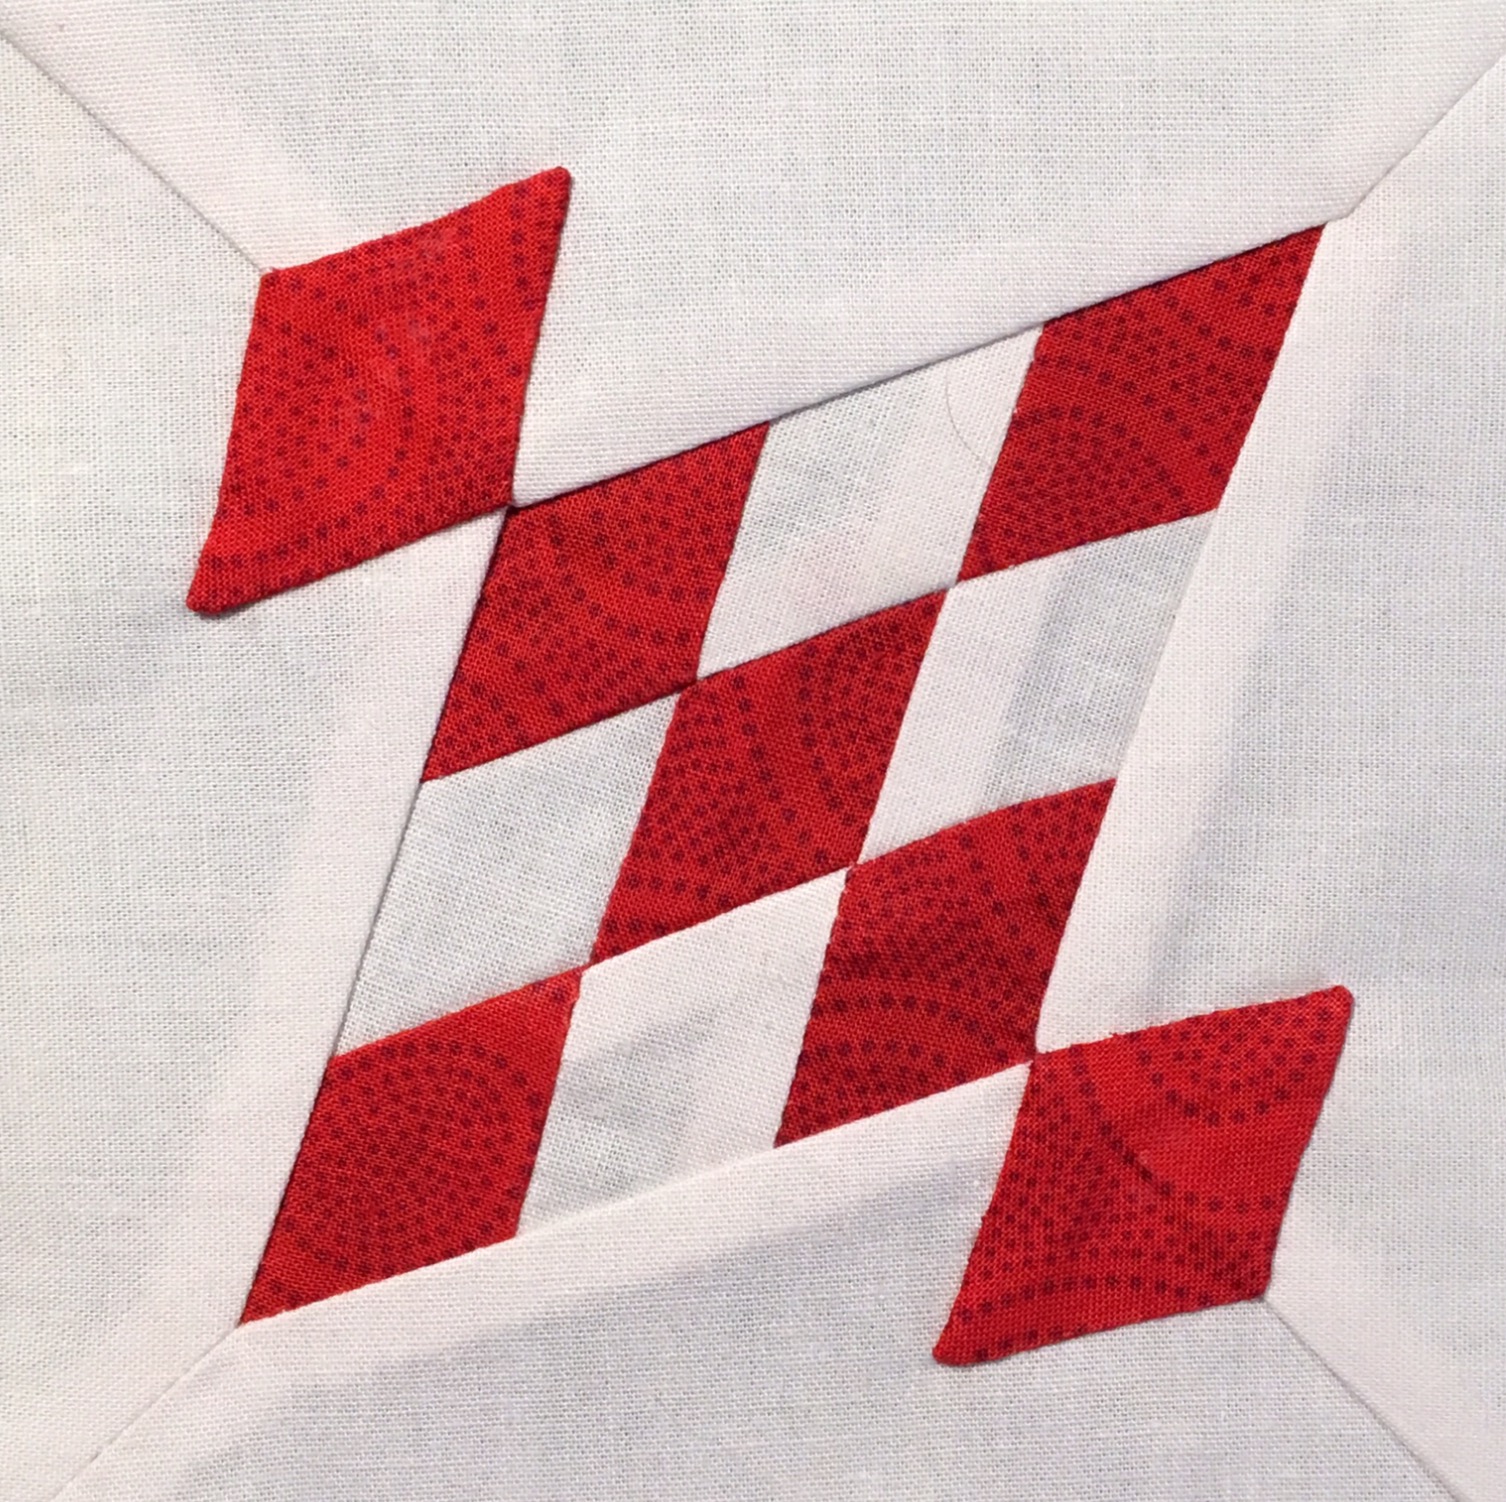
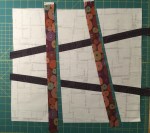
Consider trying this!  If the back of your fabric is suitable you can achieve a mirror effect by alternating the back of the fabric with the front!  To do this sew each set with both pieces right side up.

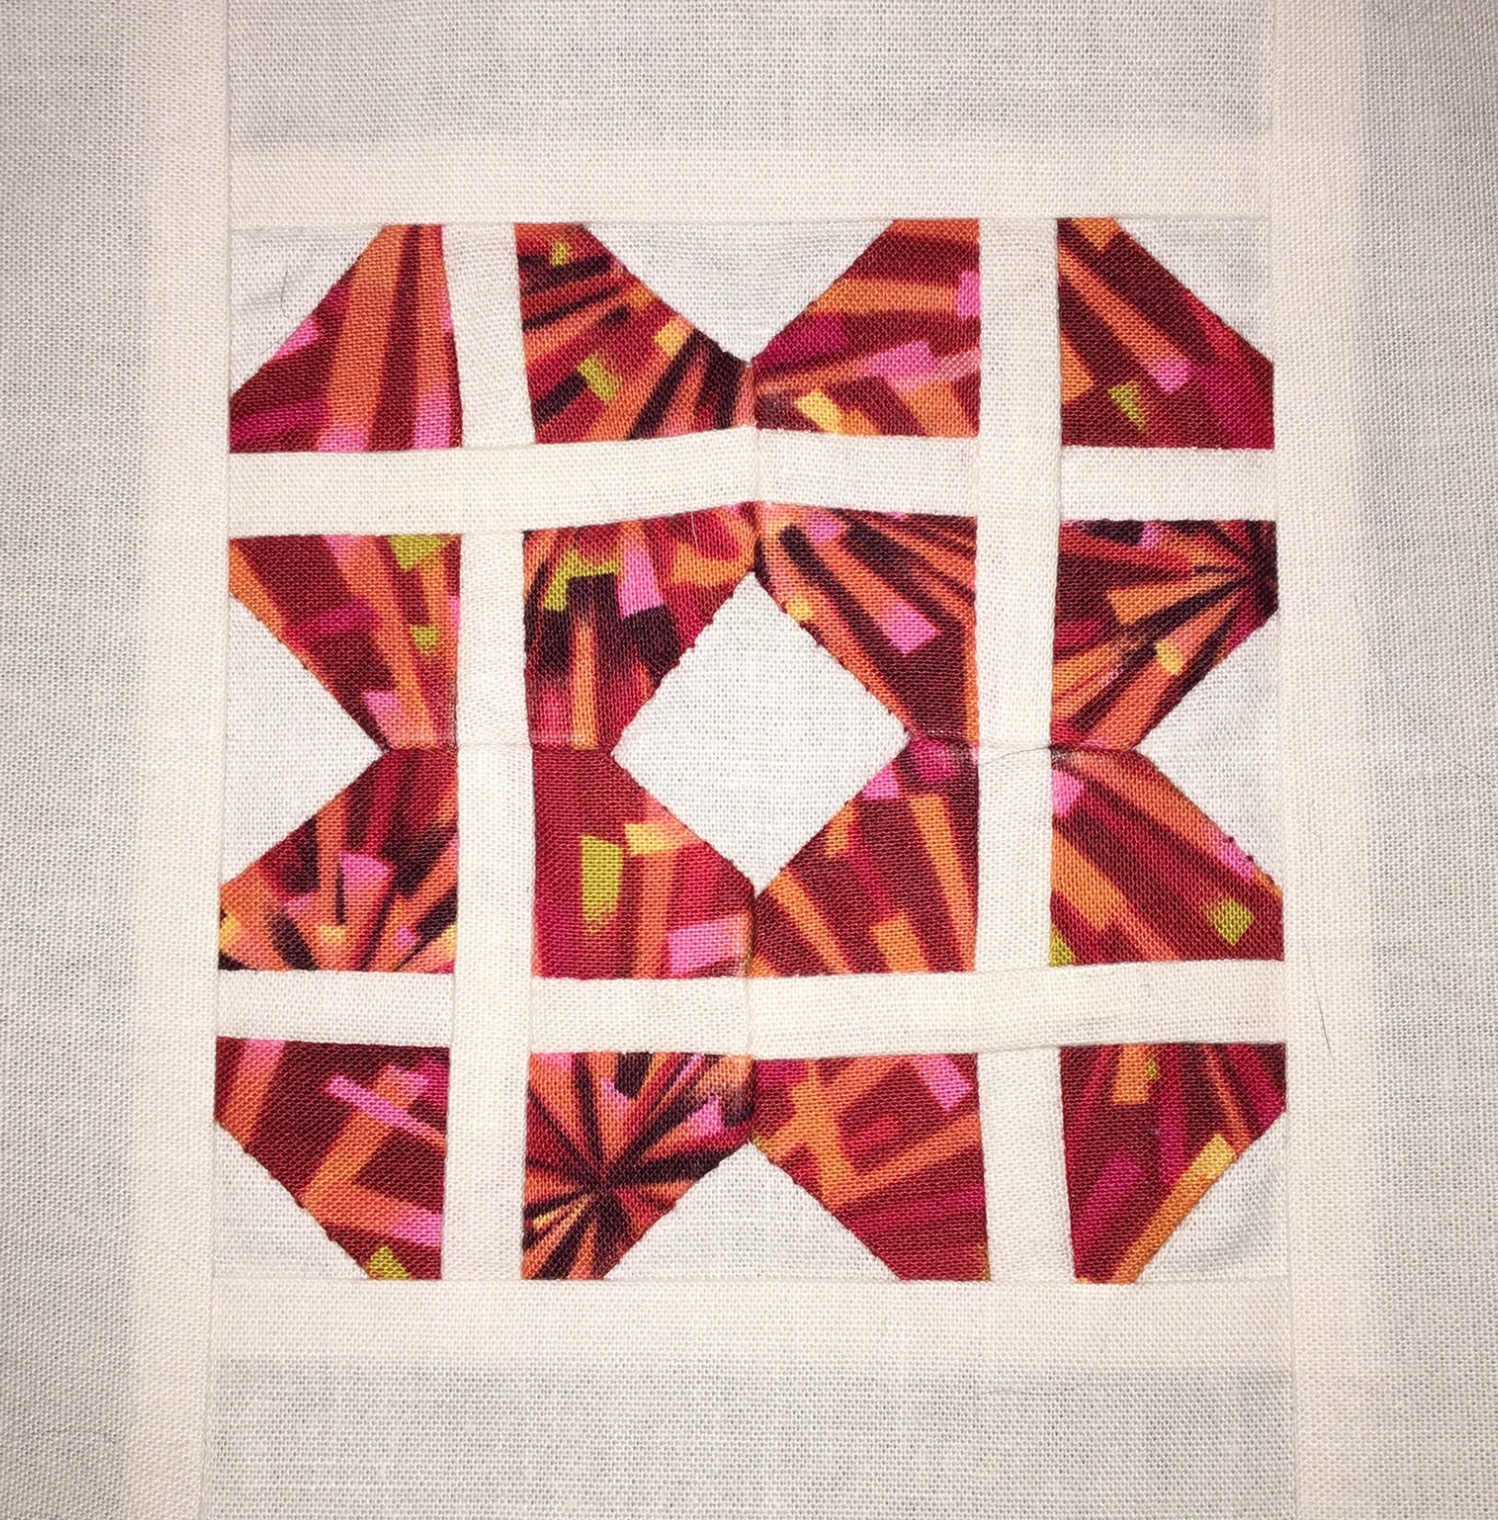
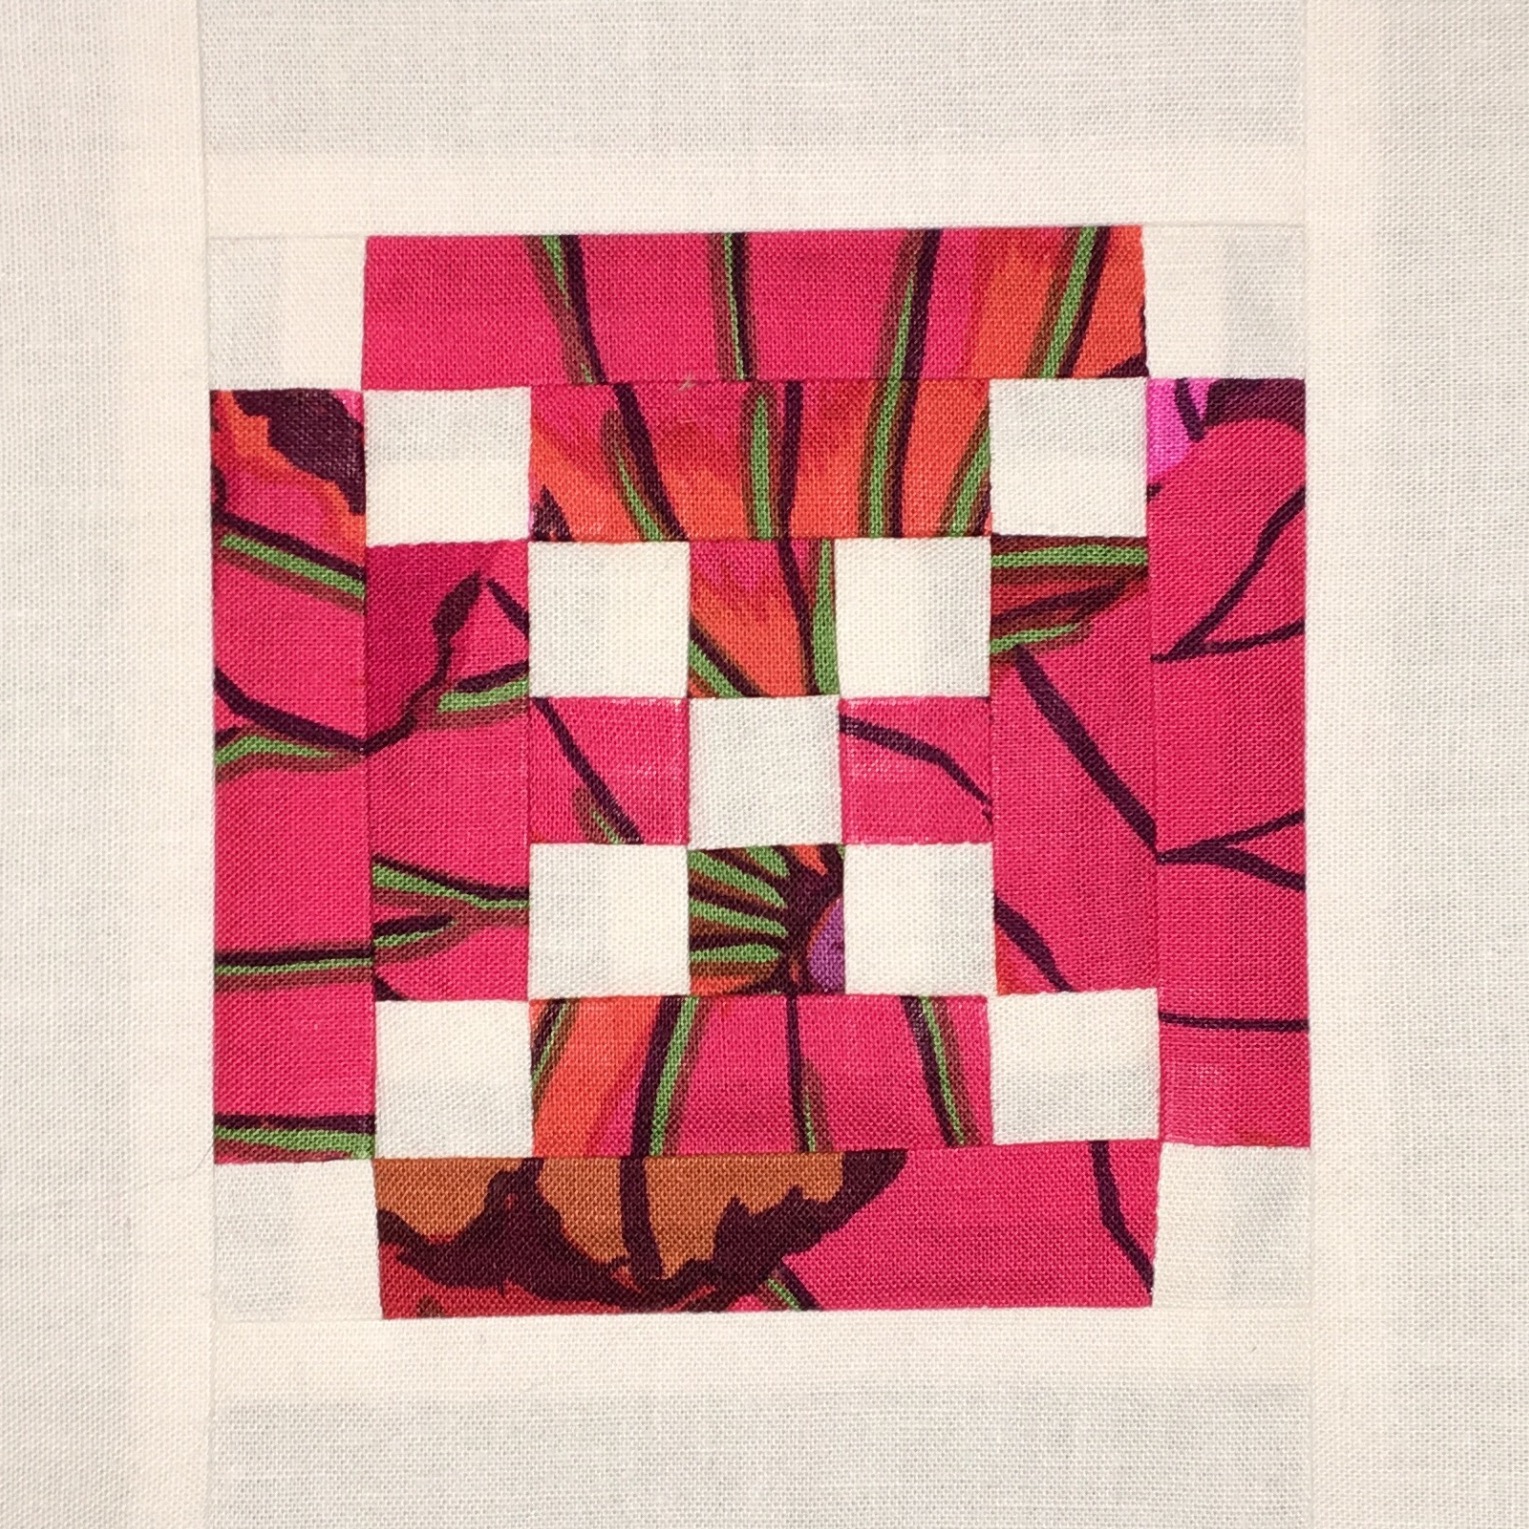
These two photos will give you an idea of the difference between using all of the right side of the fabric and a block with every other triangle with the reverse of the fabric.  The same set of identical triangle pieces were used for both photos.  Both are beautiful!  Which would you use?

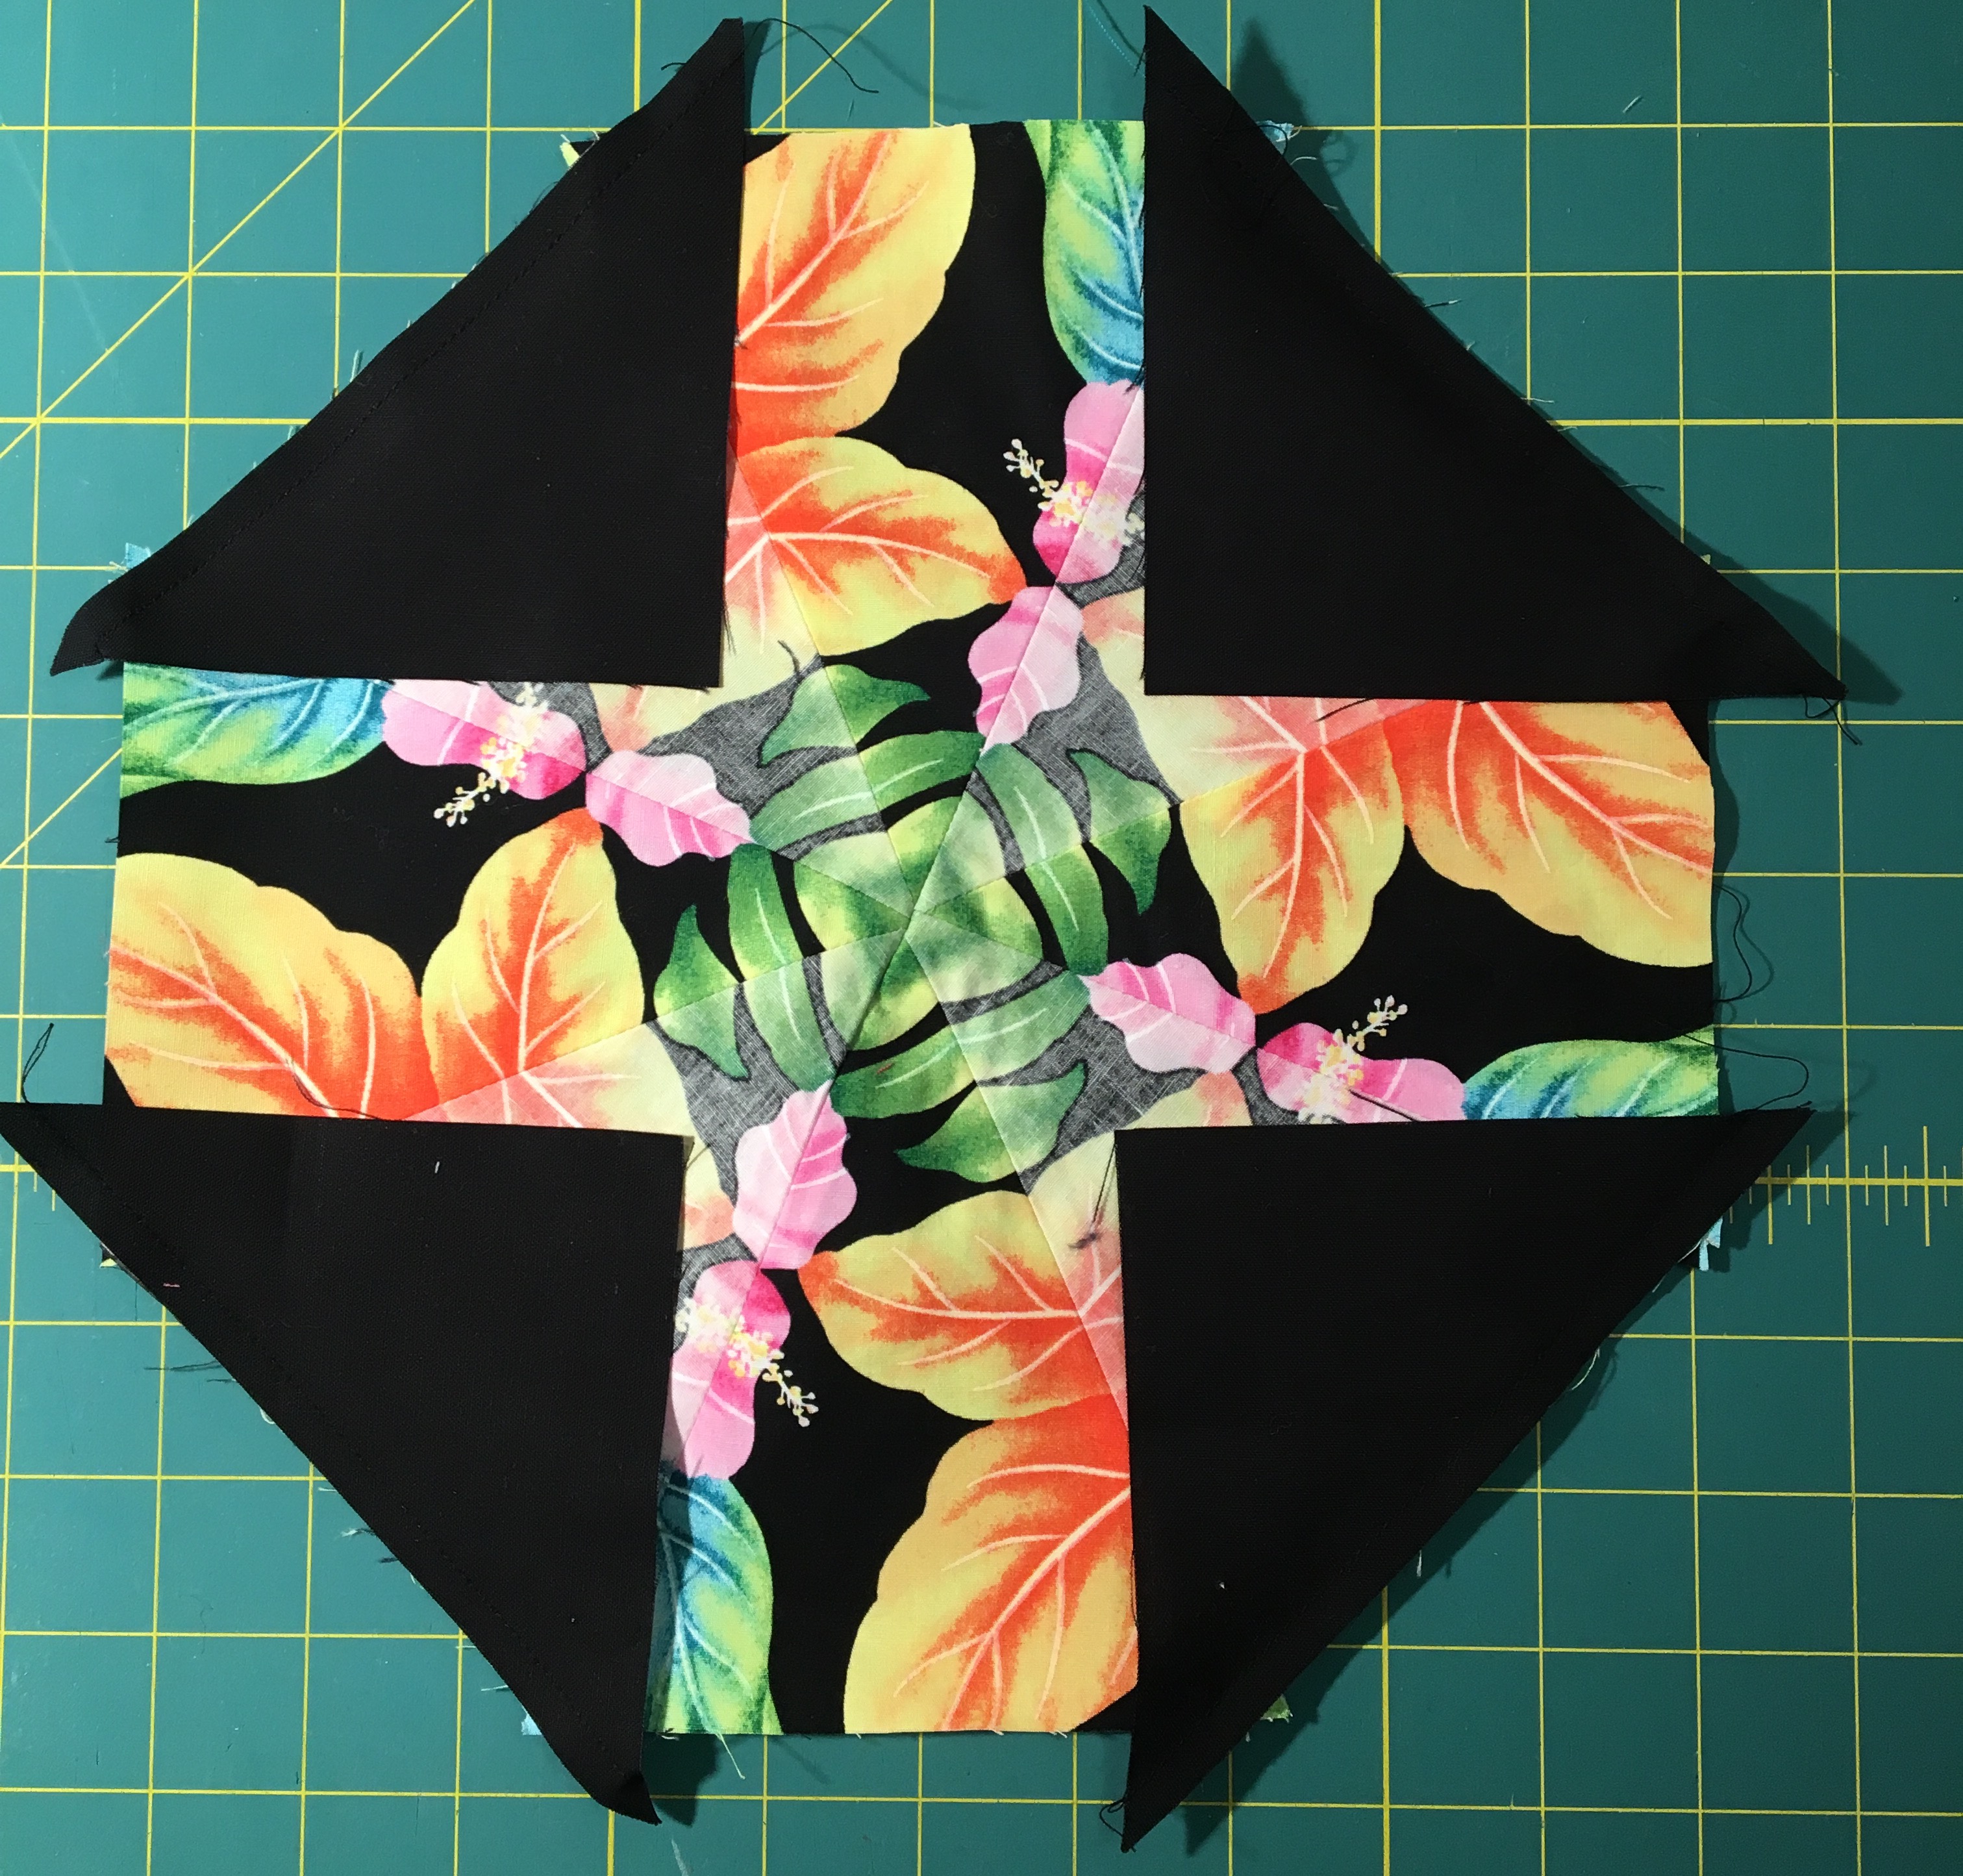
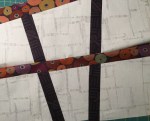
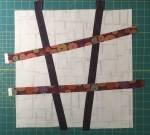
To finish the blocks I cut two  4 1/2″ squares for each blocks and then cut them once on the diagonal.  Then I sewed each half square triangle to the corners of the blocks.  The triangles are over sized so that you can trim the blocks to the correct size.

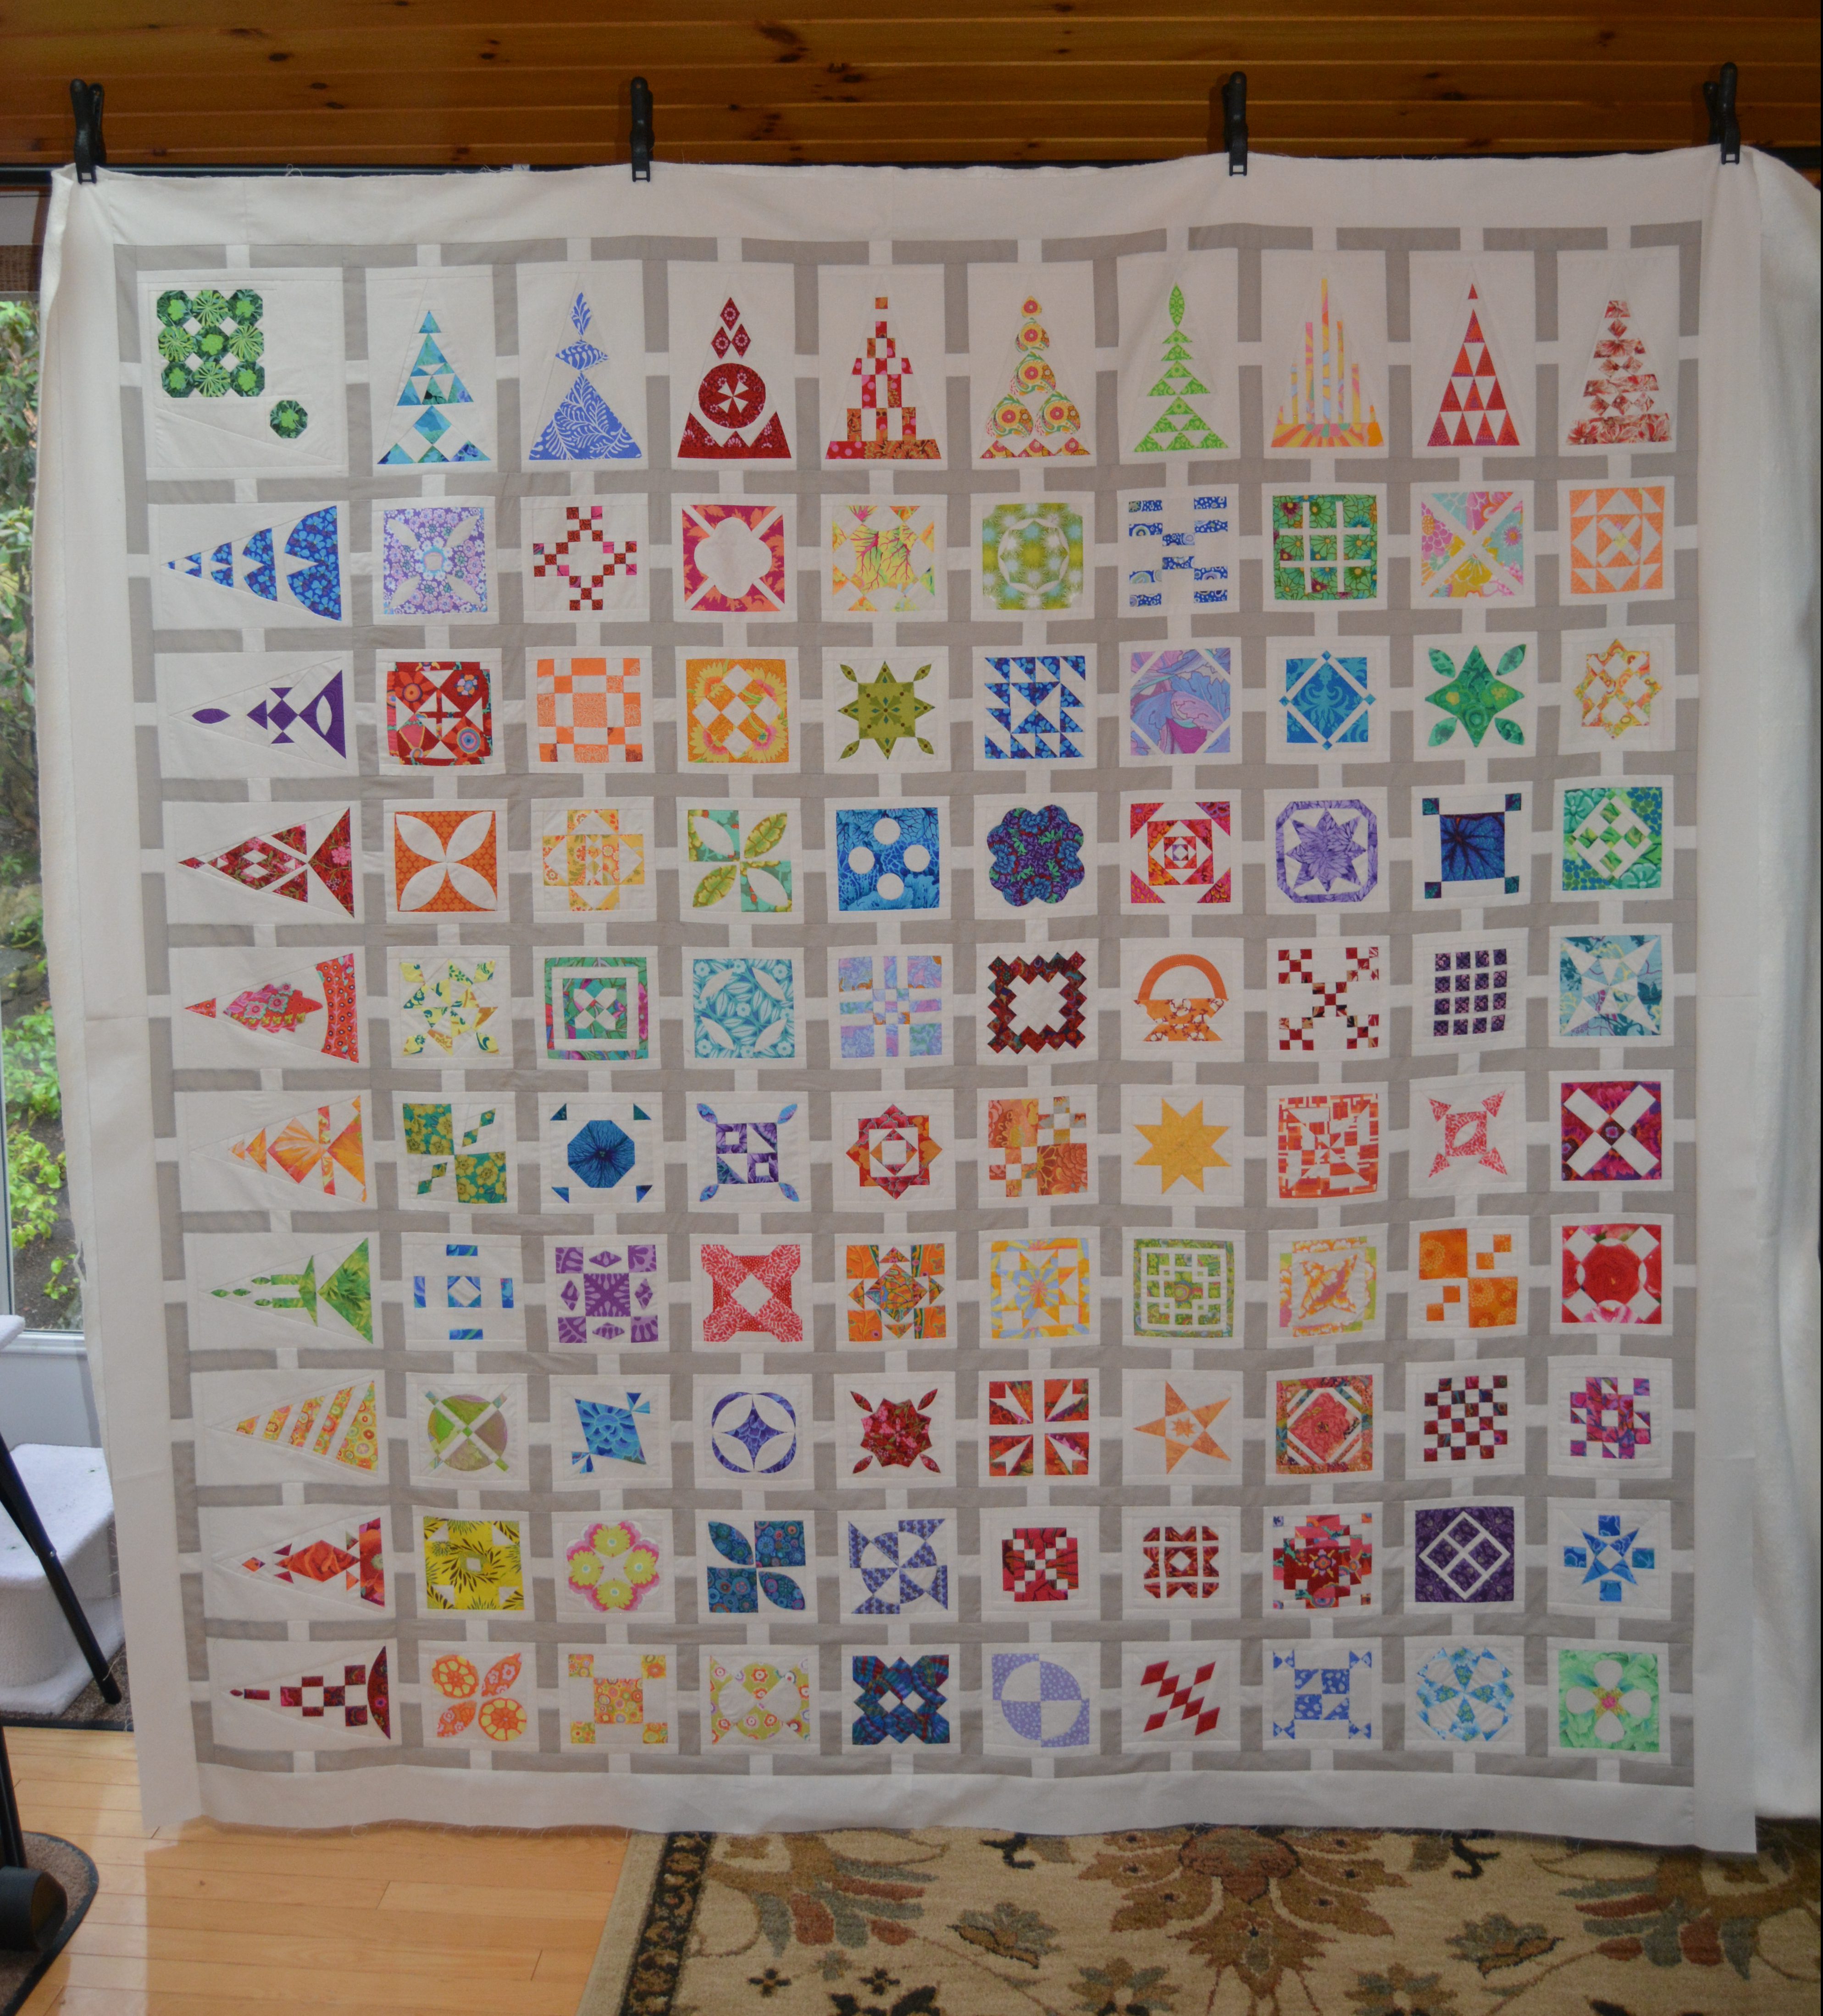
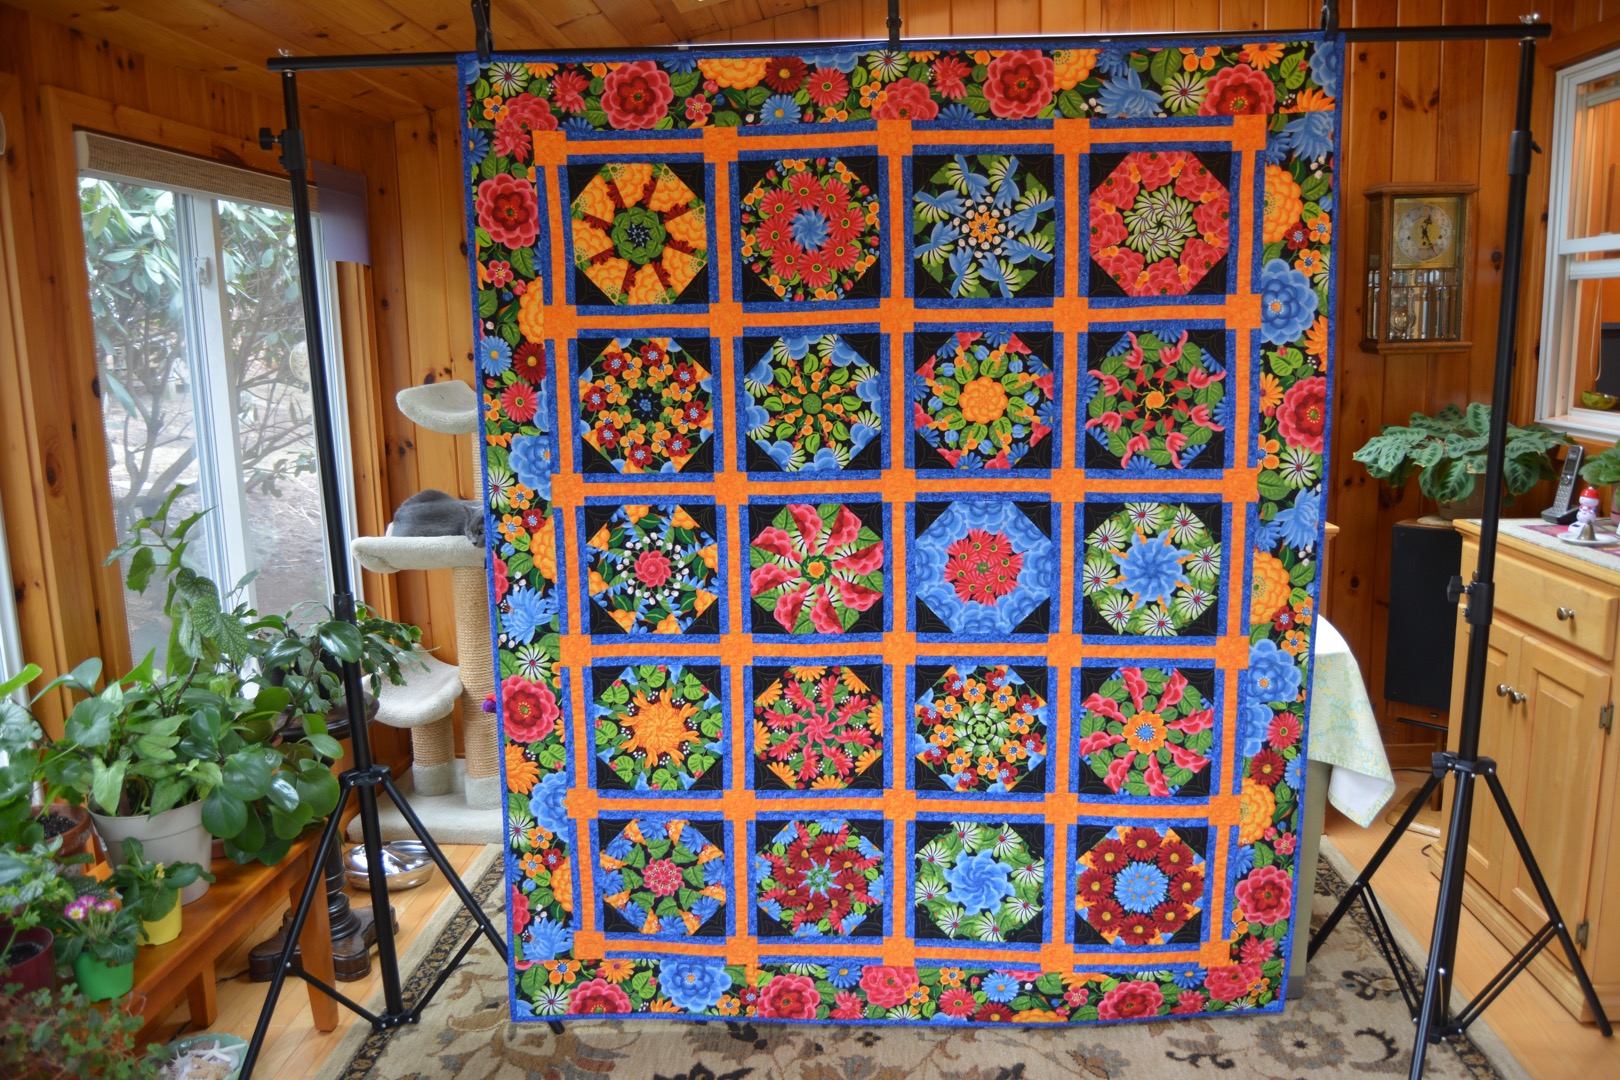
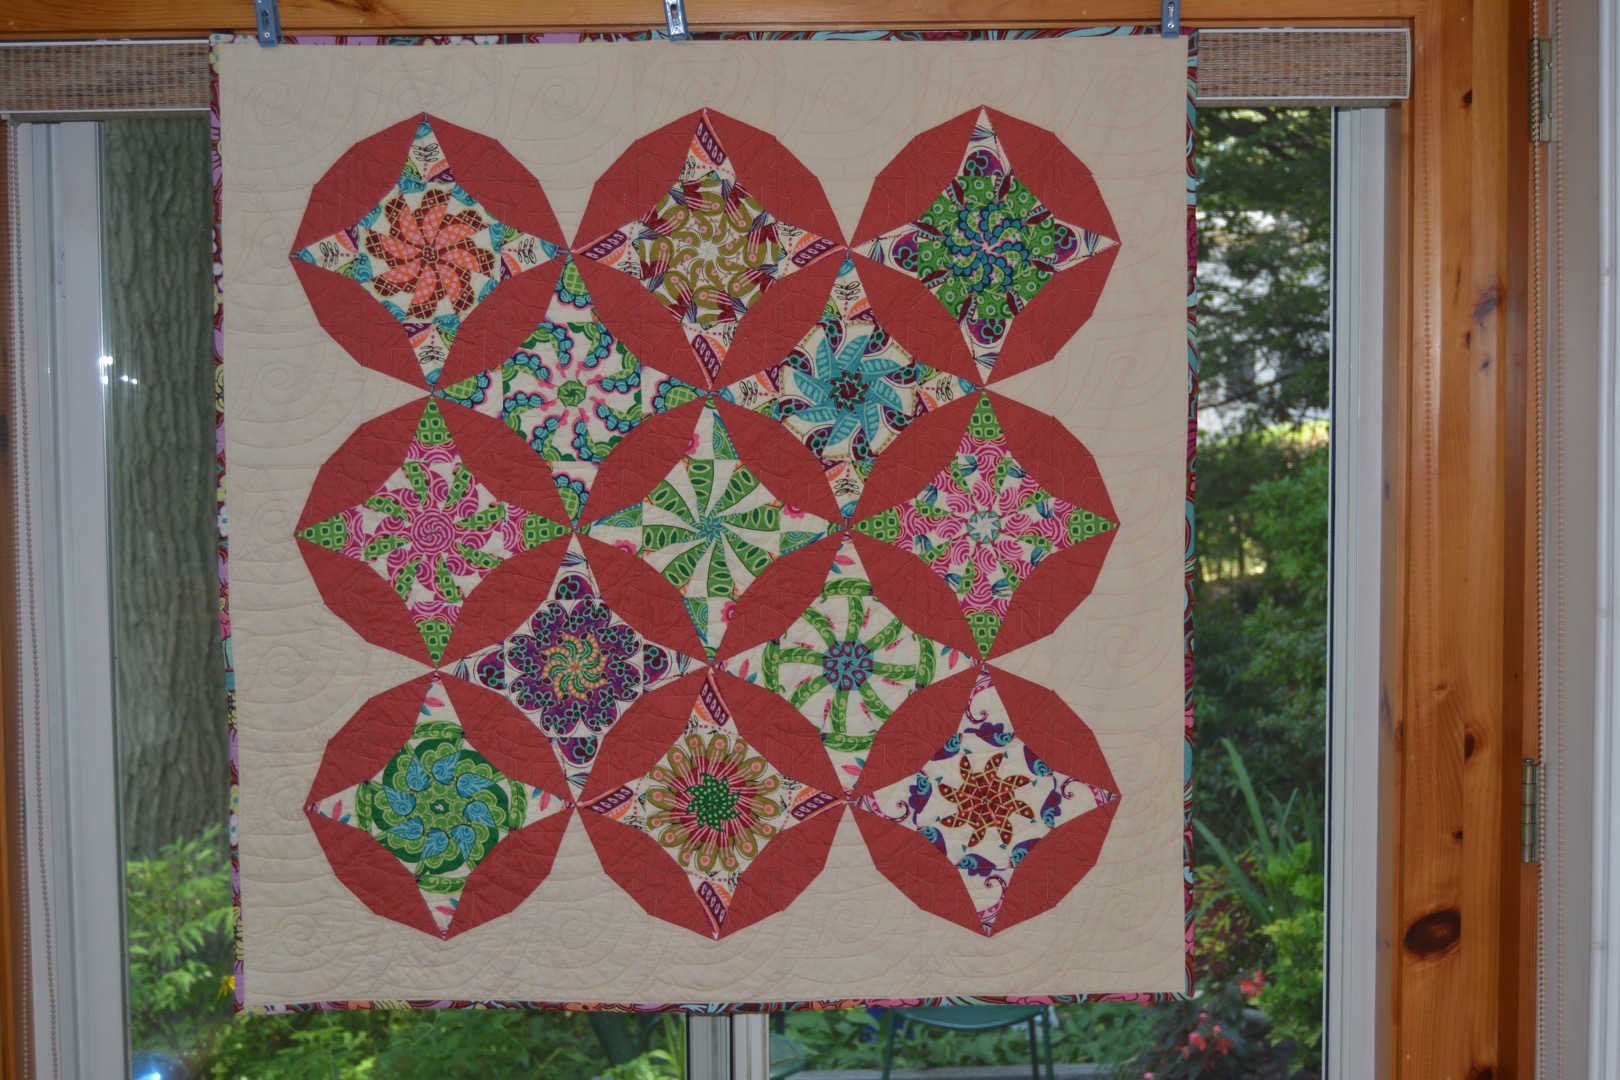
Here is a picture of this quilt in progress:

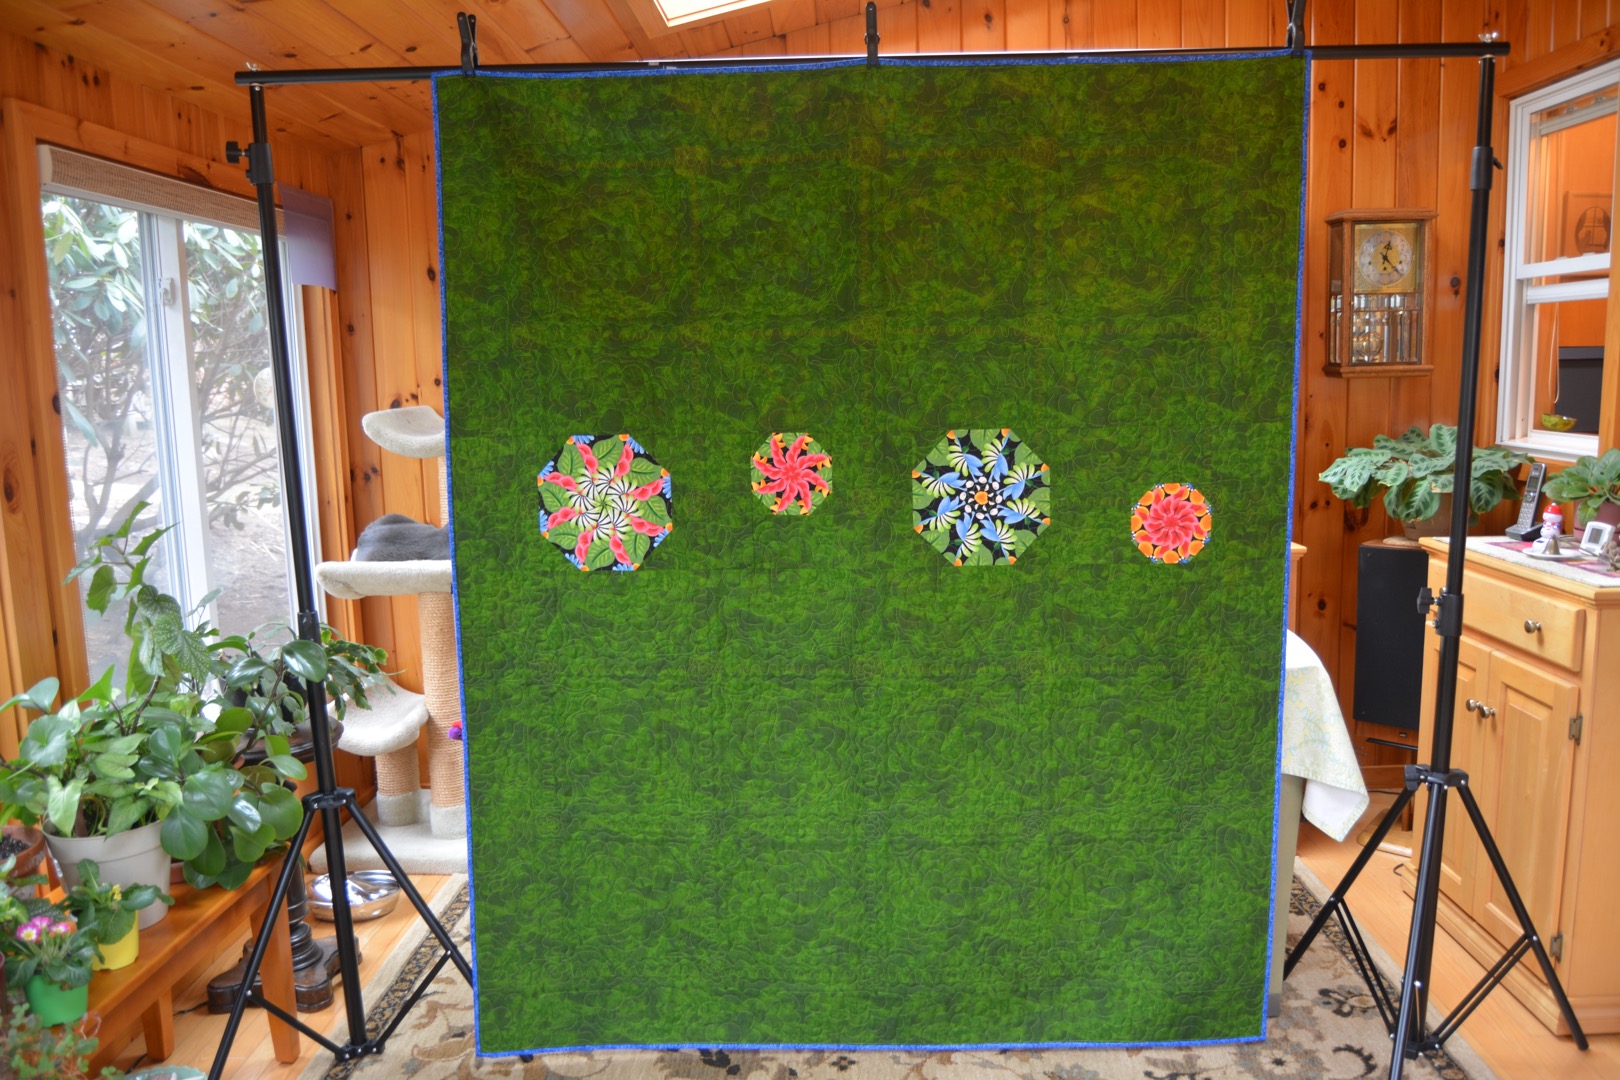
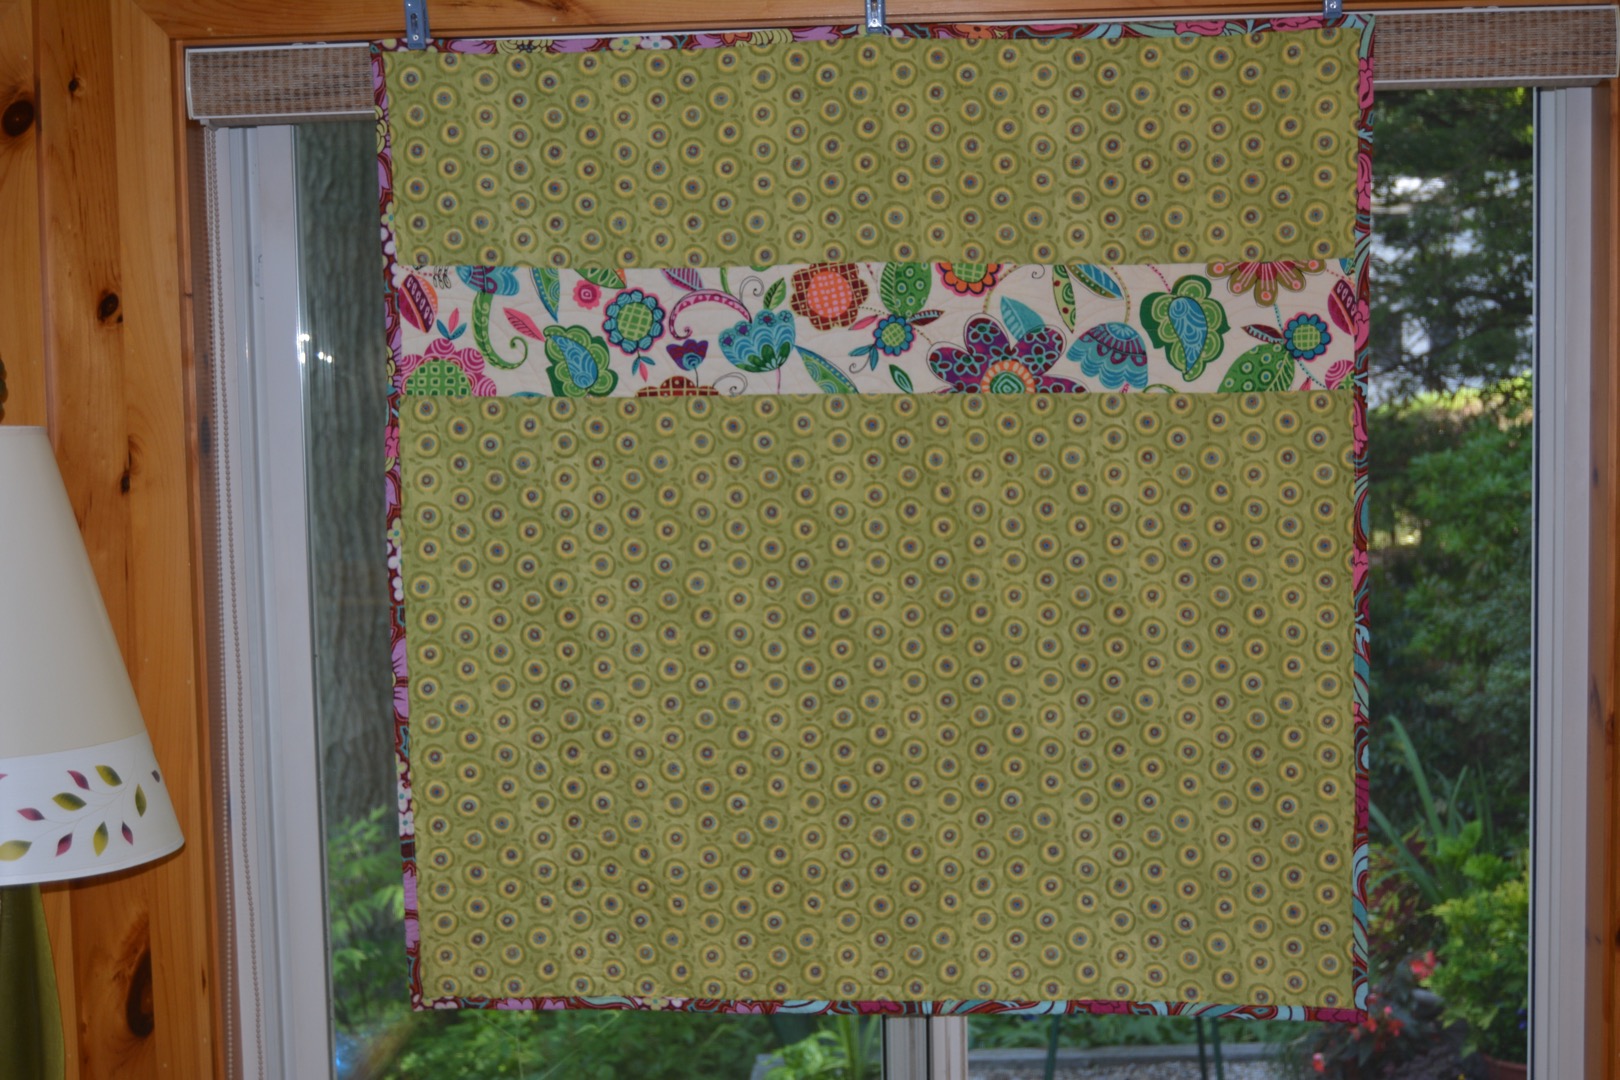
And here is another finished version of the same quilt pattern.  The blocks on this one are all fabric right side up which creates more of a spiral effect.  Pictures show the front and back of the quilt.

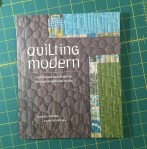
The pattern is available for sale at Craftsy!

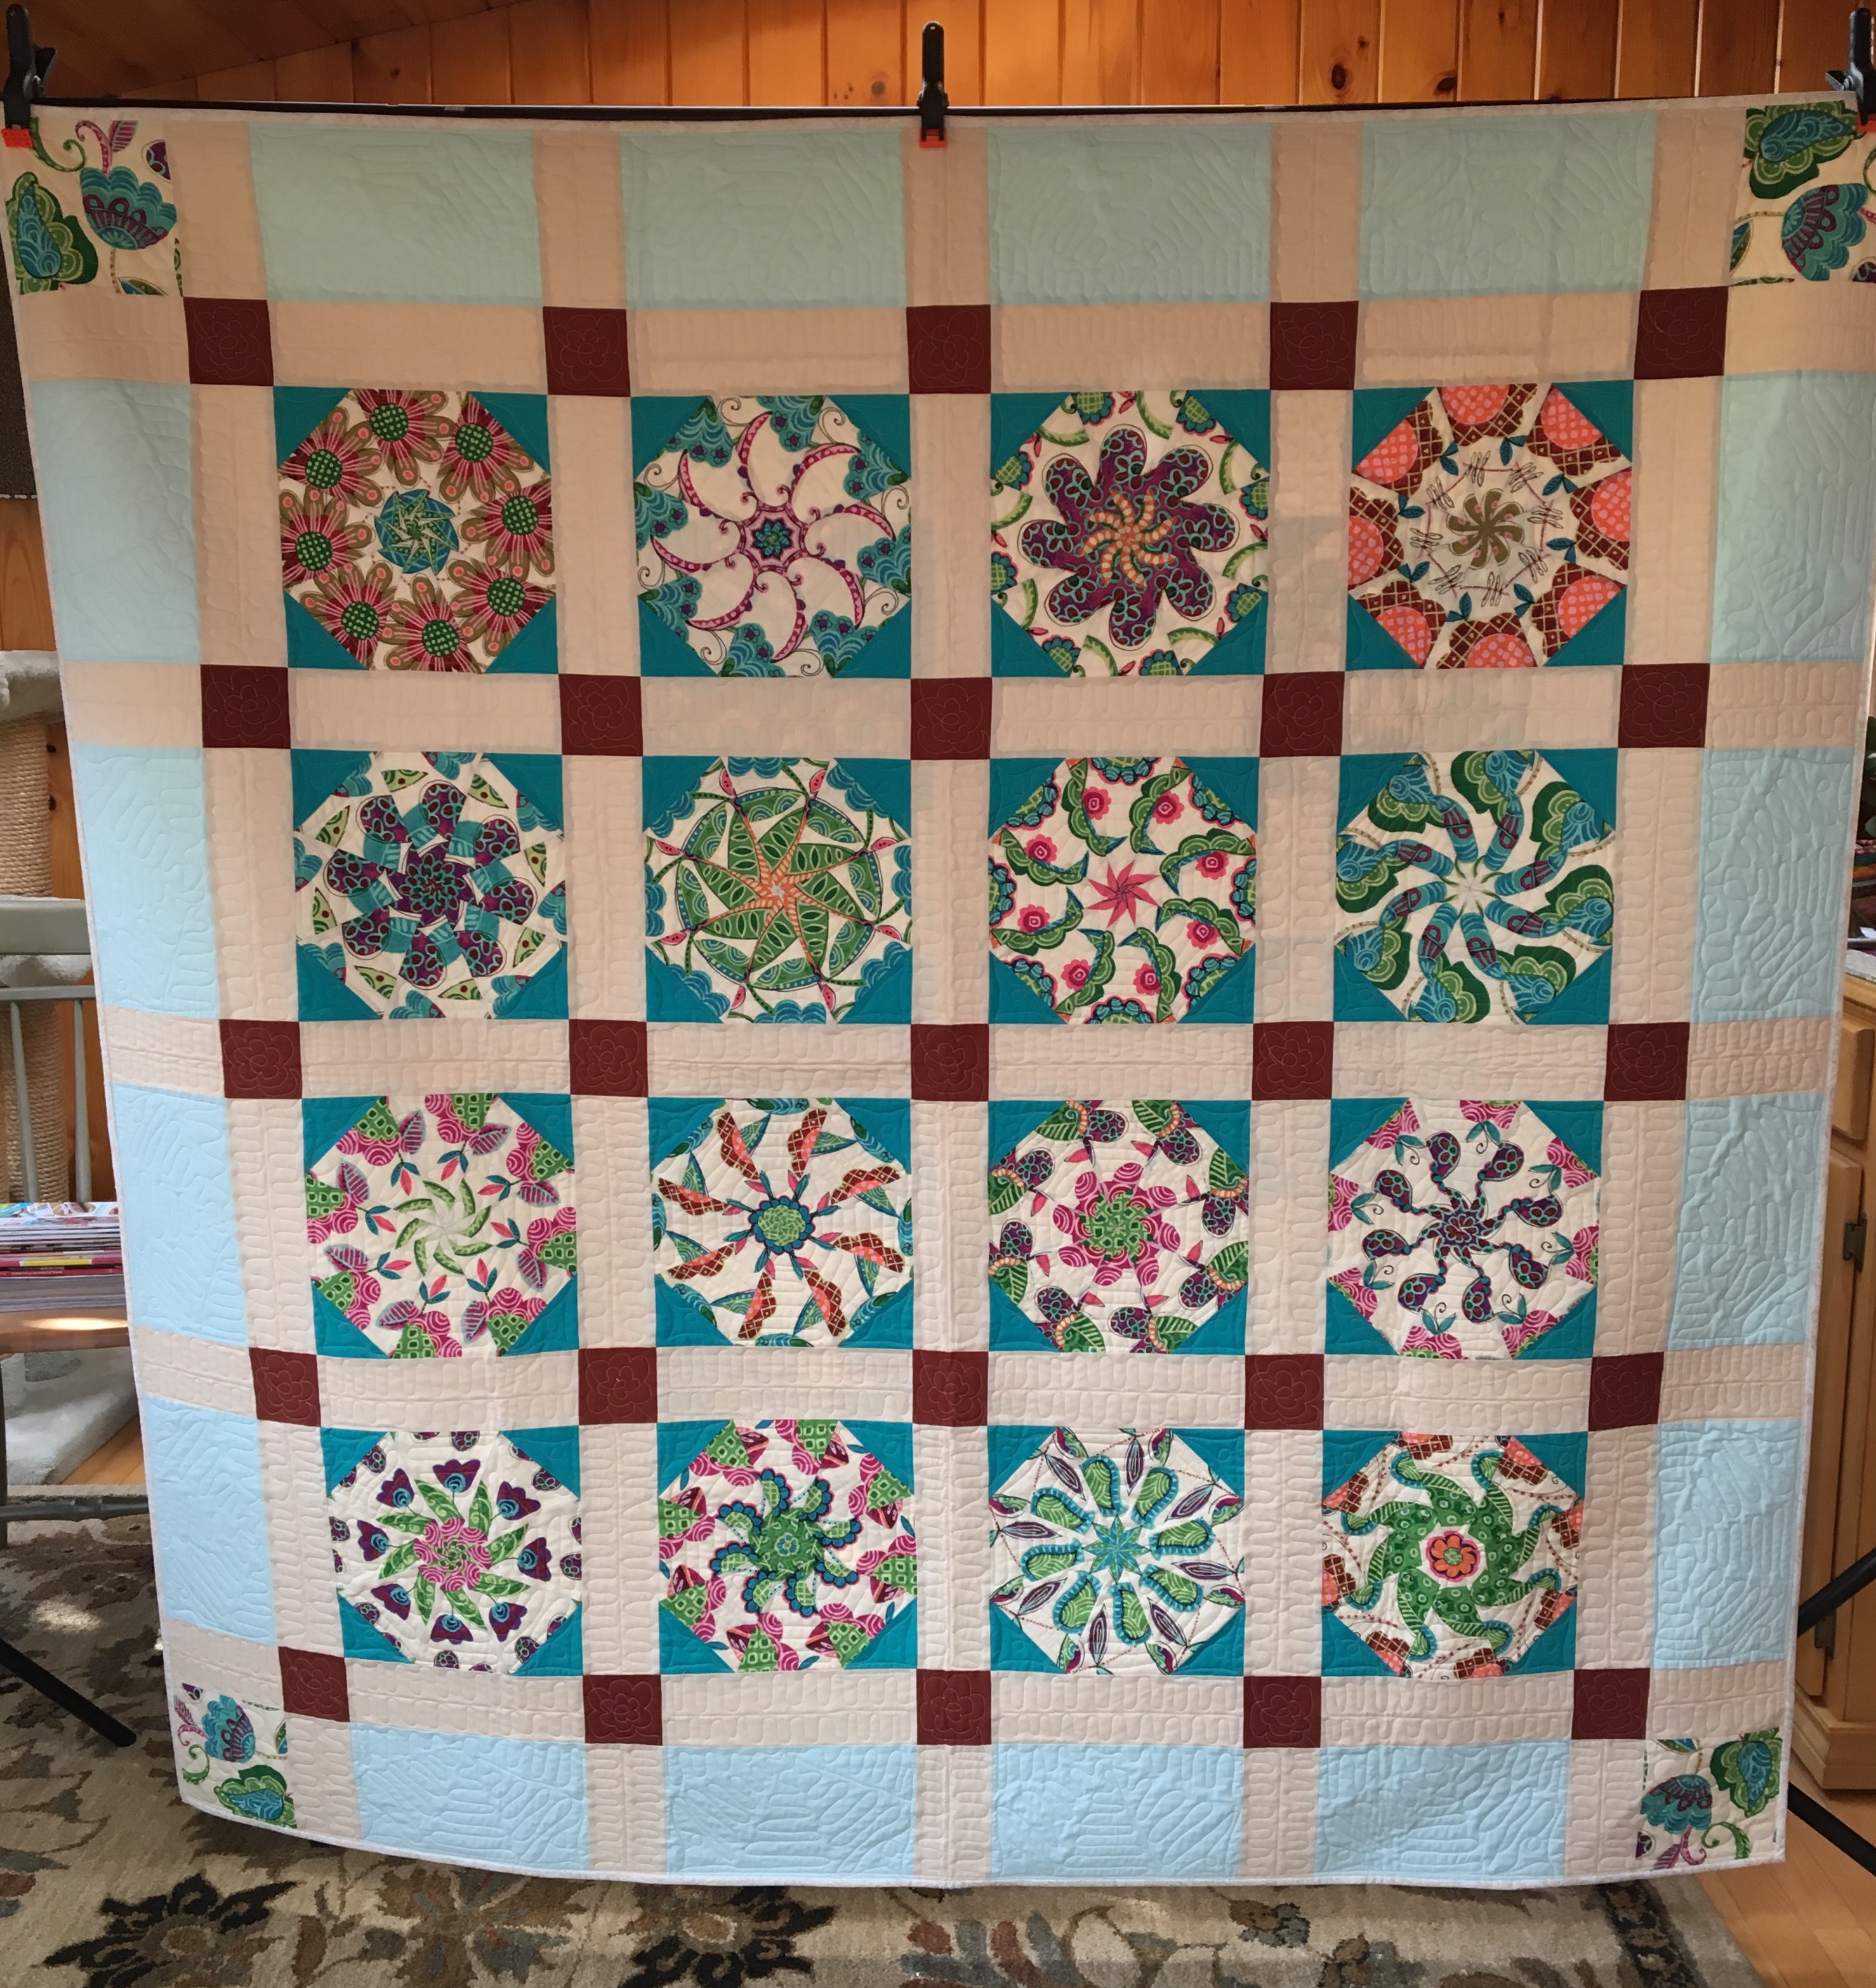
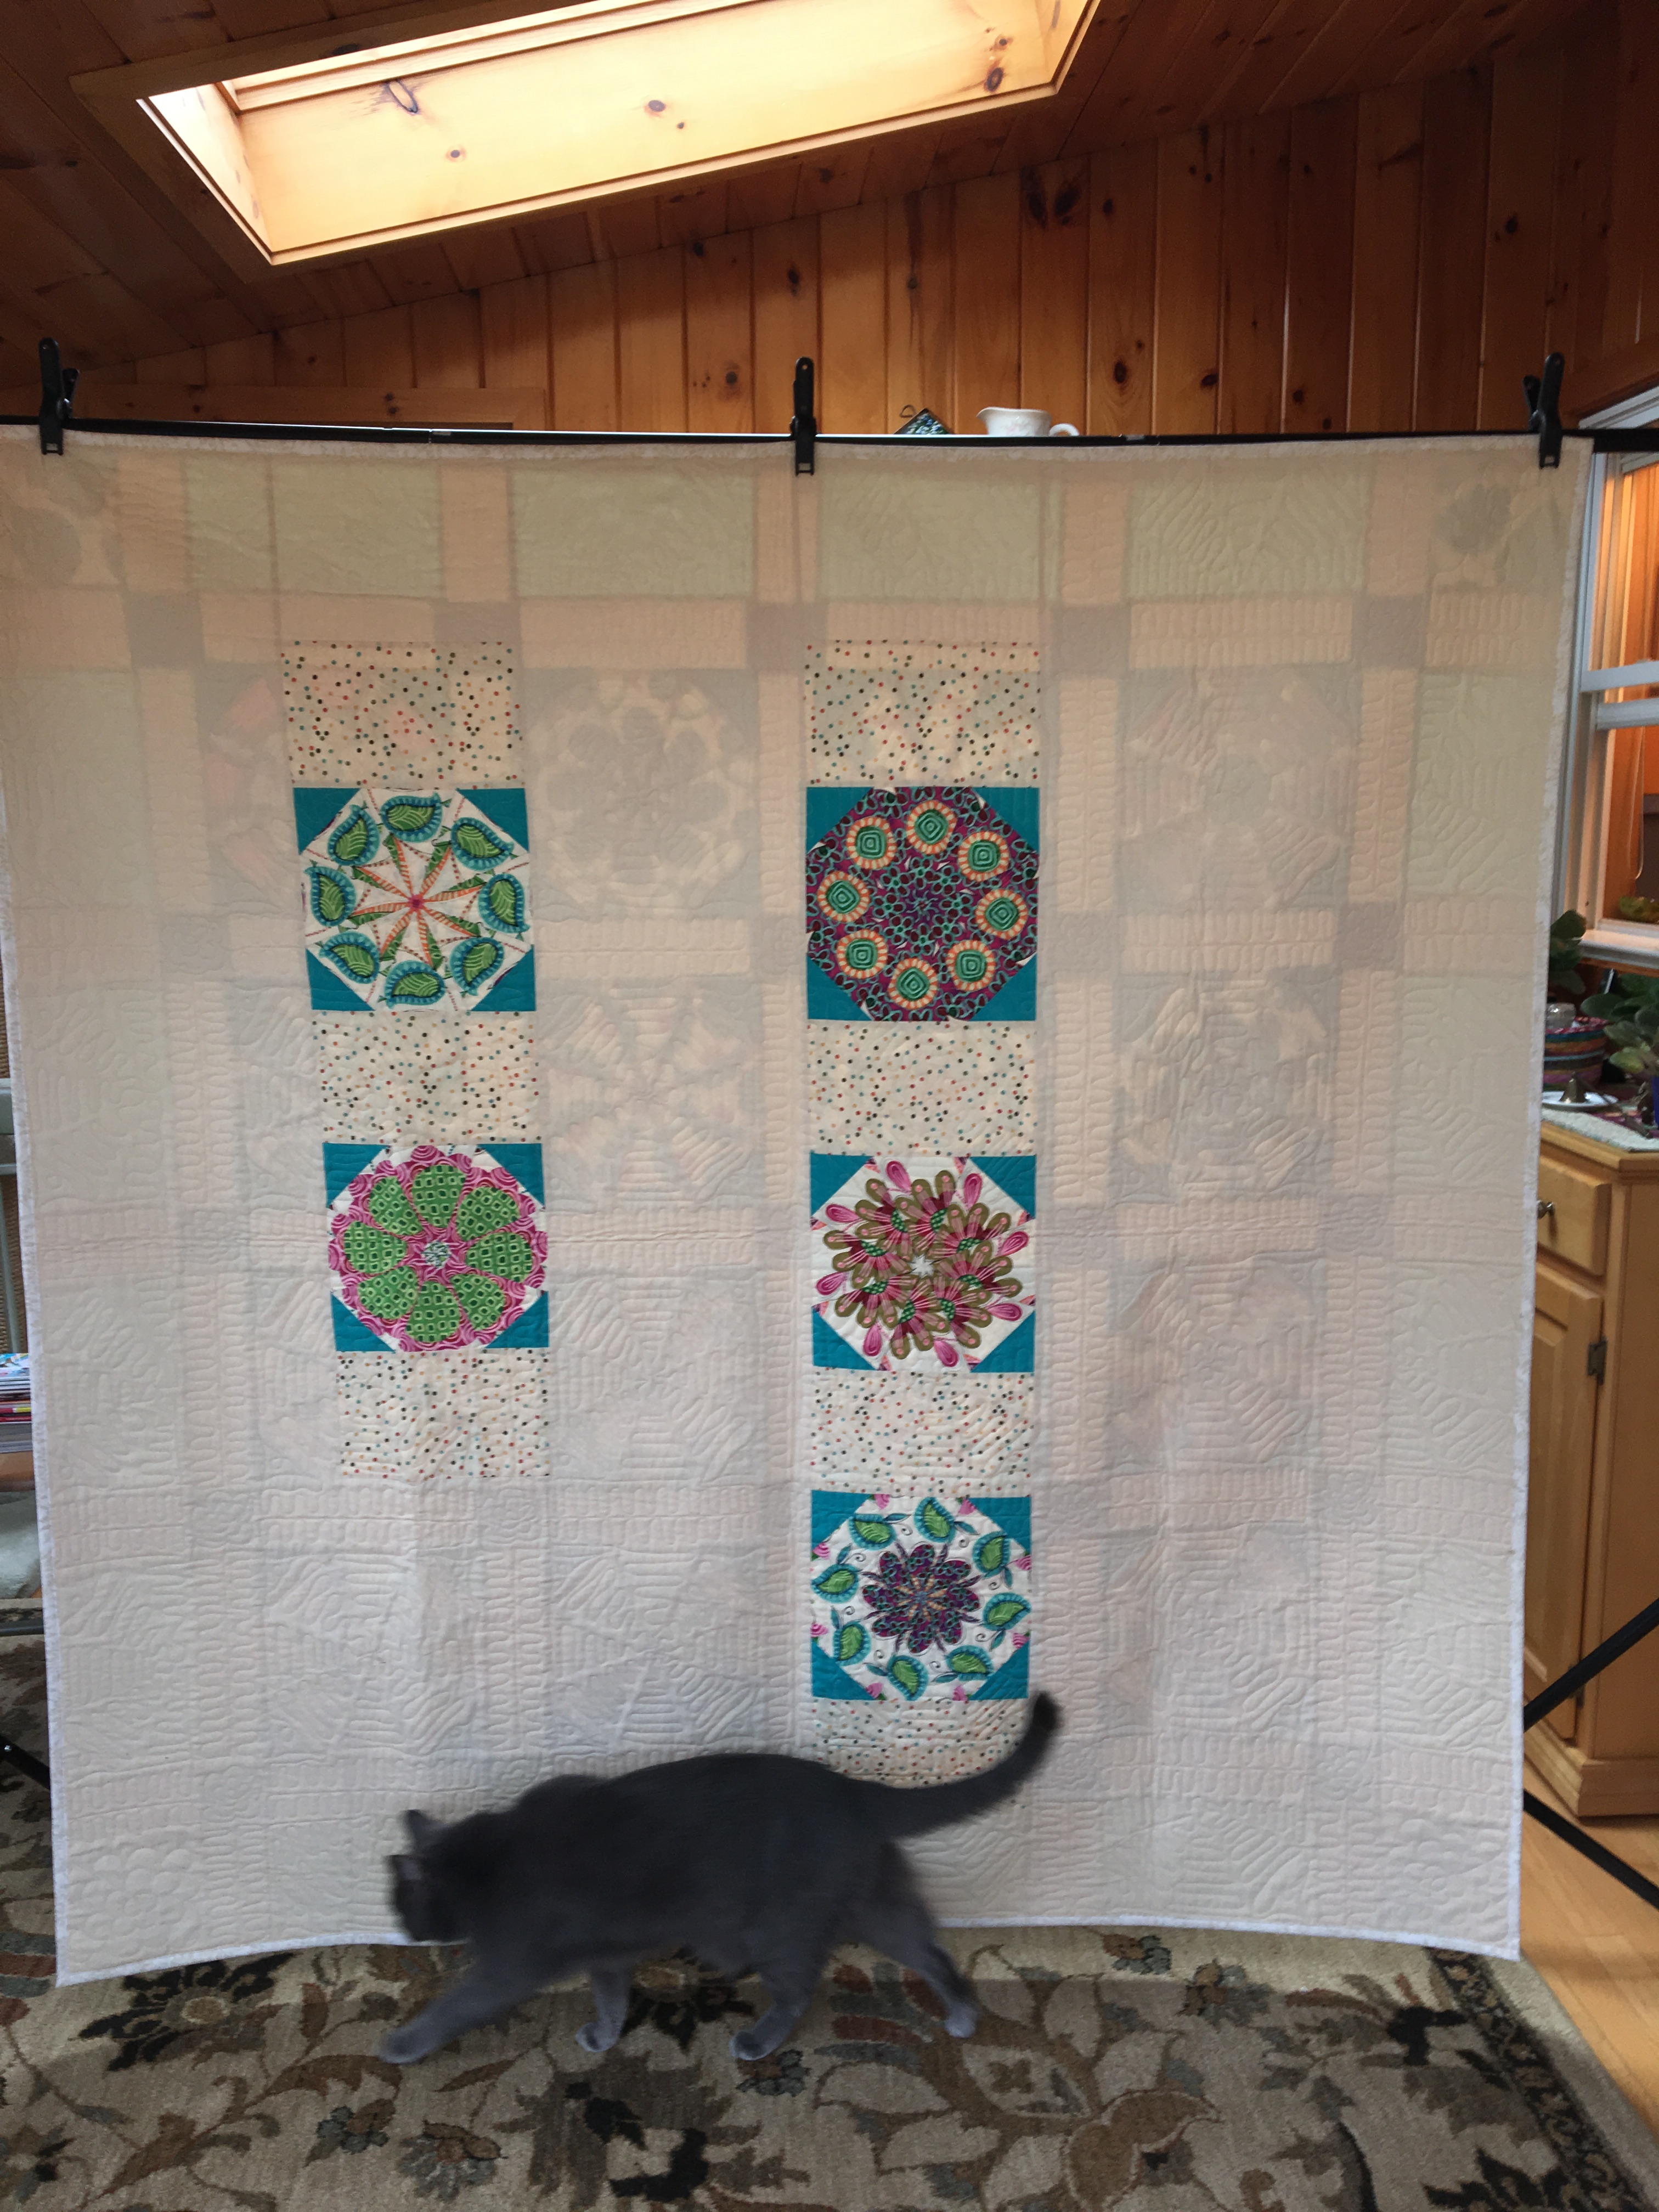
And a couple more finished using the same fabric.

… and one just getting started.  (it’s addicting!)

Reverse Applique for Susie Q

I used reverse applique for the melon on the Dear Jane LS6 Susie Q triangle. It would not be too hard to applique this melon but reverse applique on a seam gives you a very neat finish and this method is great for really small, impossible to applique melons.

The idea is set the melon into a seam so that you don’t have to turn raw edges under at a point.

For this block start with 2 pieces of background fabric that are 5½” by 2”. Sew them together on the long edge twice to reinforce the seam because you will be cutting into the seam for the applique.

Cut out your melon template for reverse applique. Fold the template in half with the shiny side out. Line the fold up on the seam line of the background fabric and press in place without placing your iron on the shiny side of the template that is on top! 😉

Carefully cut out your melon shape leaving a ¼” seam allowance.

Remove the template, open up the background piece and press the seams open. Unfold the template and iron it on the front of the background piece centered over the cut out for the melon. Carefully rip out ¼” of the seam at the points so the seam allowance can be folded back for appliqueing.


For this triangle block place a 3” x 1 ½” piece of print fabric behind the background fabric centered under the cut out. Baste the pieces together and reverse applique the melon. Trim the excess print fabric on the back leaving a ¼” seam allowance. Rotary cut the background fabric at one end of the melon leaving a ¼” seam allowance. Sew this piece to top of your triangle with the melon centered and lined up correctly. For this triangle the rest of the block was paper pieced.

To finish the triangle trim using your Dear Jane Triangle ruler.

I have used this method on a few blocks. When I see a small melon that needs to be appliqued I try to figure out a way to use this method!


Sashing Stash Challenge

I signed up for the Modern Quilt Guild Riley Blake Sashing Stash Challenge this past winter.  The 3/4 yard piece of black and white fabric was given to me in March.  I had until the end of May to put a quilt together.

I went with a combination of traditional blocks and some improvised blocks that used up just about all of the fabric I received.  I have always wanted to make an Ocean Wave quilt, but all those teeny tiny half square triangles!  The Sashing Stash certainly made it easy to put an Ocean Wave block together.

Once I got my blocks and layout figured out I put the top together and then it was on to the final challenge of quilting.  I am very comfortable with my pantographs on my longarm machine, but I want to move on to more free motion quilting.  This was my most adventurous attempt so far.  I definitely need more practice, especially with those little circles, but it was fun and I am excited to do more on the other side of my quilt frame!

image

A Jane Stickle Block Turorial

I used reverse applique for this block. A bit fussy, but I was happy with the finished block.  I have photos from two different blocks since I did not get enough photos with my first block!  The tutorial assumes you have access to Dear Jane Templates from the Electric Quilt software, or you have drawn them yourself.

Cut one 6 ½” square of print fabric and cut twice diagonally into 4 triangles
Cut one 3 ½” square of print fabric and cut twice diagonally into 4 triangles
Cut on 6” square of background fabric

Sew the large print triangle pieces back together to make a square with diagonal seams. This will allow you to reverse applique on seams and avoid turning under raw edges in the corners.

Sew each seam twice to reinforce them because the ends will need to be ripped out so they can be folded to set in the applique.

Center your Dear Jane ruler on the square with the diagonal seams lined up. Draw a line around the edges of the ruler to mark cutting lines for the block. This will allow you to correctly position the corner triangles.

image

Cut out a square and triangle template printed on freezer paper. Cut out on the cutting lines and cut out the center on the seam lines.

Iron the template square in the center of the pieced square. Carefully cut out the center leaving a ¼” seam allowance. Then carefully rip out the seams up to the corners of the template. Finger press the seam allowances to the back.

Line the triangle template up on the seam in each corner to mark cutting lines. The point will go towards the center. The edges on each side of the template should line up with the outside cutting lines drawn on the pieced block.

Press the template into each corner and then draw cutting lines ¼” from the inside edges of the template. Once each corner is marked, cut out the corners on the cutting lines.

Carefully rip out ¼” of the seam in each corner so that the seam allowance can be folded back. Draw the seam lines on the inside and press the ¼” seam allowance to the back in each corner.

Now you can finally applique/reverse applique this piece to the background square!

Baste the print square to the background piece and reverse applique the center and each corner. Once you have finished appliqueing carefully cut back the background fabric diagonally in each corner by lining your ruler up with the ends of the cutting lines on the print piece.

Sew each of the small print triangles to the corners. Trim the block to 5” with your Dear Jane ruler by matching the diagonal seams with the guidelines on the ruler.

Wow! They are both beautiful!! Which one should I use?

Happy Hour Fun

Just wanted to share my Happy Hour Apron and Table Runner.  They feature Northcott’s Happy Hour Stripe fabric.


Peggy Anne sells the pattern I used for the apron on her website and the runner was designed by me and uses scraps of fabric that pick up the colors in the Happy Hour stripe.

A perfect gift for your friend who is throwing a summer barbecue.  The guys may enjoy their craft brews but I prefer a fruity rum cocktail with that cute little umbrella and swizzle stick.

Catching up with Jane

I am perpetually behind on my Jane blocks.  Our group at Quilters Common is assigned 5 blocks each month.  At one point rather early in this journey I became preoccupied with other matters of life to include work and various quilting endeavors.  So, I remain behind by at least 80 blocks and instead of proudly proclaiming that I have completed 91 Dear Jane blocks, I am always lamenting how far behind I am.

No more of that!  91 is awesome and I love each and every block.  Some are more perfect than others, but the wonkiness here and there can be attributed to many things; learning new techniques, or maybe my mood at the time, or the show on TV that I was watching with my husband …. How precise can you be when yet another bummer is occurring on Game of Thrones?

In celebration of my current accomplishments, I am sharing these finished Jane Blocks with you.


The Clothesline Basket Craze

I have been busy playing in my quilting studio all week.  I am in the middle of so many projects and I keep jumping from one to another.  I did manage to get one thing done.  At the BMQG retreat last weekend I watched Courtney demonstrate how to make a rope basket.  I loved the idea, but I was too caught up in my quilt project, so didn’t make one until I got home.

img_0537

I love it!  Now I want to make more, more, more!  I covered some cord with fabric and after a couple of experiments finally made one that I am very happy with.

I got the idea for the fabric covering from Carol McLeod of Aunties Two.  She has a couple of youtube videos to show you how to cover the cord and how to shape your basket.  I covered cord with 40 2 1/2″ strips that were sewn together on the short ends, which was enough for all three baskets.

How to Cover Cord

How to Shape the Basket

Here is a photo of mine showing how I lined the cord up when zig zag stitching it together:

image

I used 1/4″ cotton cording for these fabric baskets, but I used 3/16″ cotton clothesline for my first basket, which can also be used for the fabric baskets.

The plane clothesline baskets go together quickly, so give it a try.  It’s lots of fun.

Slice and Dice Piecing

I am working on a quilt with blocks that are based on a technique in Quilting Modern by Jacquie Gering and Katie Pedersen. The book has some great ideas and illustrations, but I thought it might help to see step by step photos.  The tricky part is matching up the first set of strips after the second set has been added.  I drew a seam line to help line things up when pinning.

My plan is to make a quilt with these blocks alternating with square in a square blocks.


Bread Pudding

What could be better than warm bread pudding with buttery rum or whiskey sauce on a cold day?


Bread Pudding:

Preheat oven to 350 degrees or 330 if convection

2 cups milk
2 Tbsp butter
1/3 cup sugar
1 tsp vanilla extract
1 tsp cinnamon
1/2 tsp nutmeg
1/4 tsp clove
2 eggs beaten
6 slices of bread cut into 1″ pieces
1/3 cup raisins or dried cranberries

Butter a 2 qt. square baking pan.

If the bread is frozen heat it in the microwave until warm.  Heat stale bread in the microwave with a damp paper towel.  Soft bread soaks up the pudding mixture.

Place bread pieces in pan and mix cranberries in.

Heat milk, butter and sugar in saucepan on medium hear until butter melts. Add vanilla, cinnamon, nutmeg and clove. When mixture has cooled add the two beaten eggs.

Pour milk mixture over bread. Bake for 40 minutes or until set. For convection check at 30 minutes to see if set.

Serve with Whiskey or Rum Sauce. Reheat leftover pudding and sauce in the microwave.

Whiskey Sauce

3/4 cup half and half
4 Tbsp butter
1/4 cup sugar
1/4 cup whiskey

Heat ingredients in a sauce pan on medium heat until butter and sugar have melted.

or, if you prefer …

Rum Sauce

Rum Sauce

3/4 cup half and half
4 Tbsp butter
1/4 cup brown sugar
1/4 cup spiced rum
1 tsp vanilla

Heat ingredients in a sauce pan until butter and sugar have melted

Pour over bread pudding.