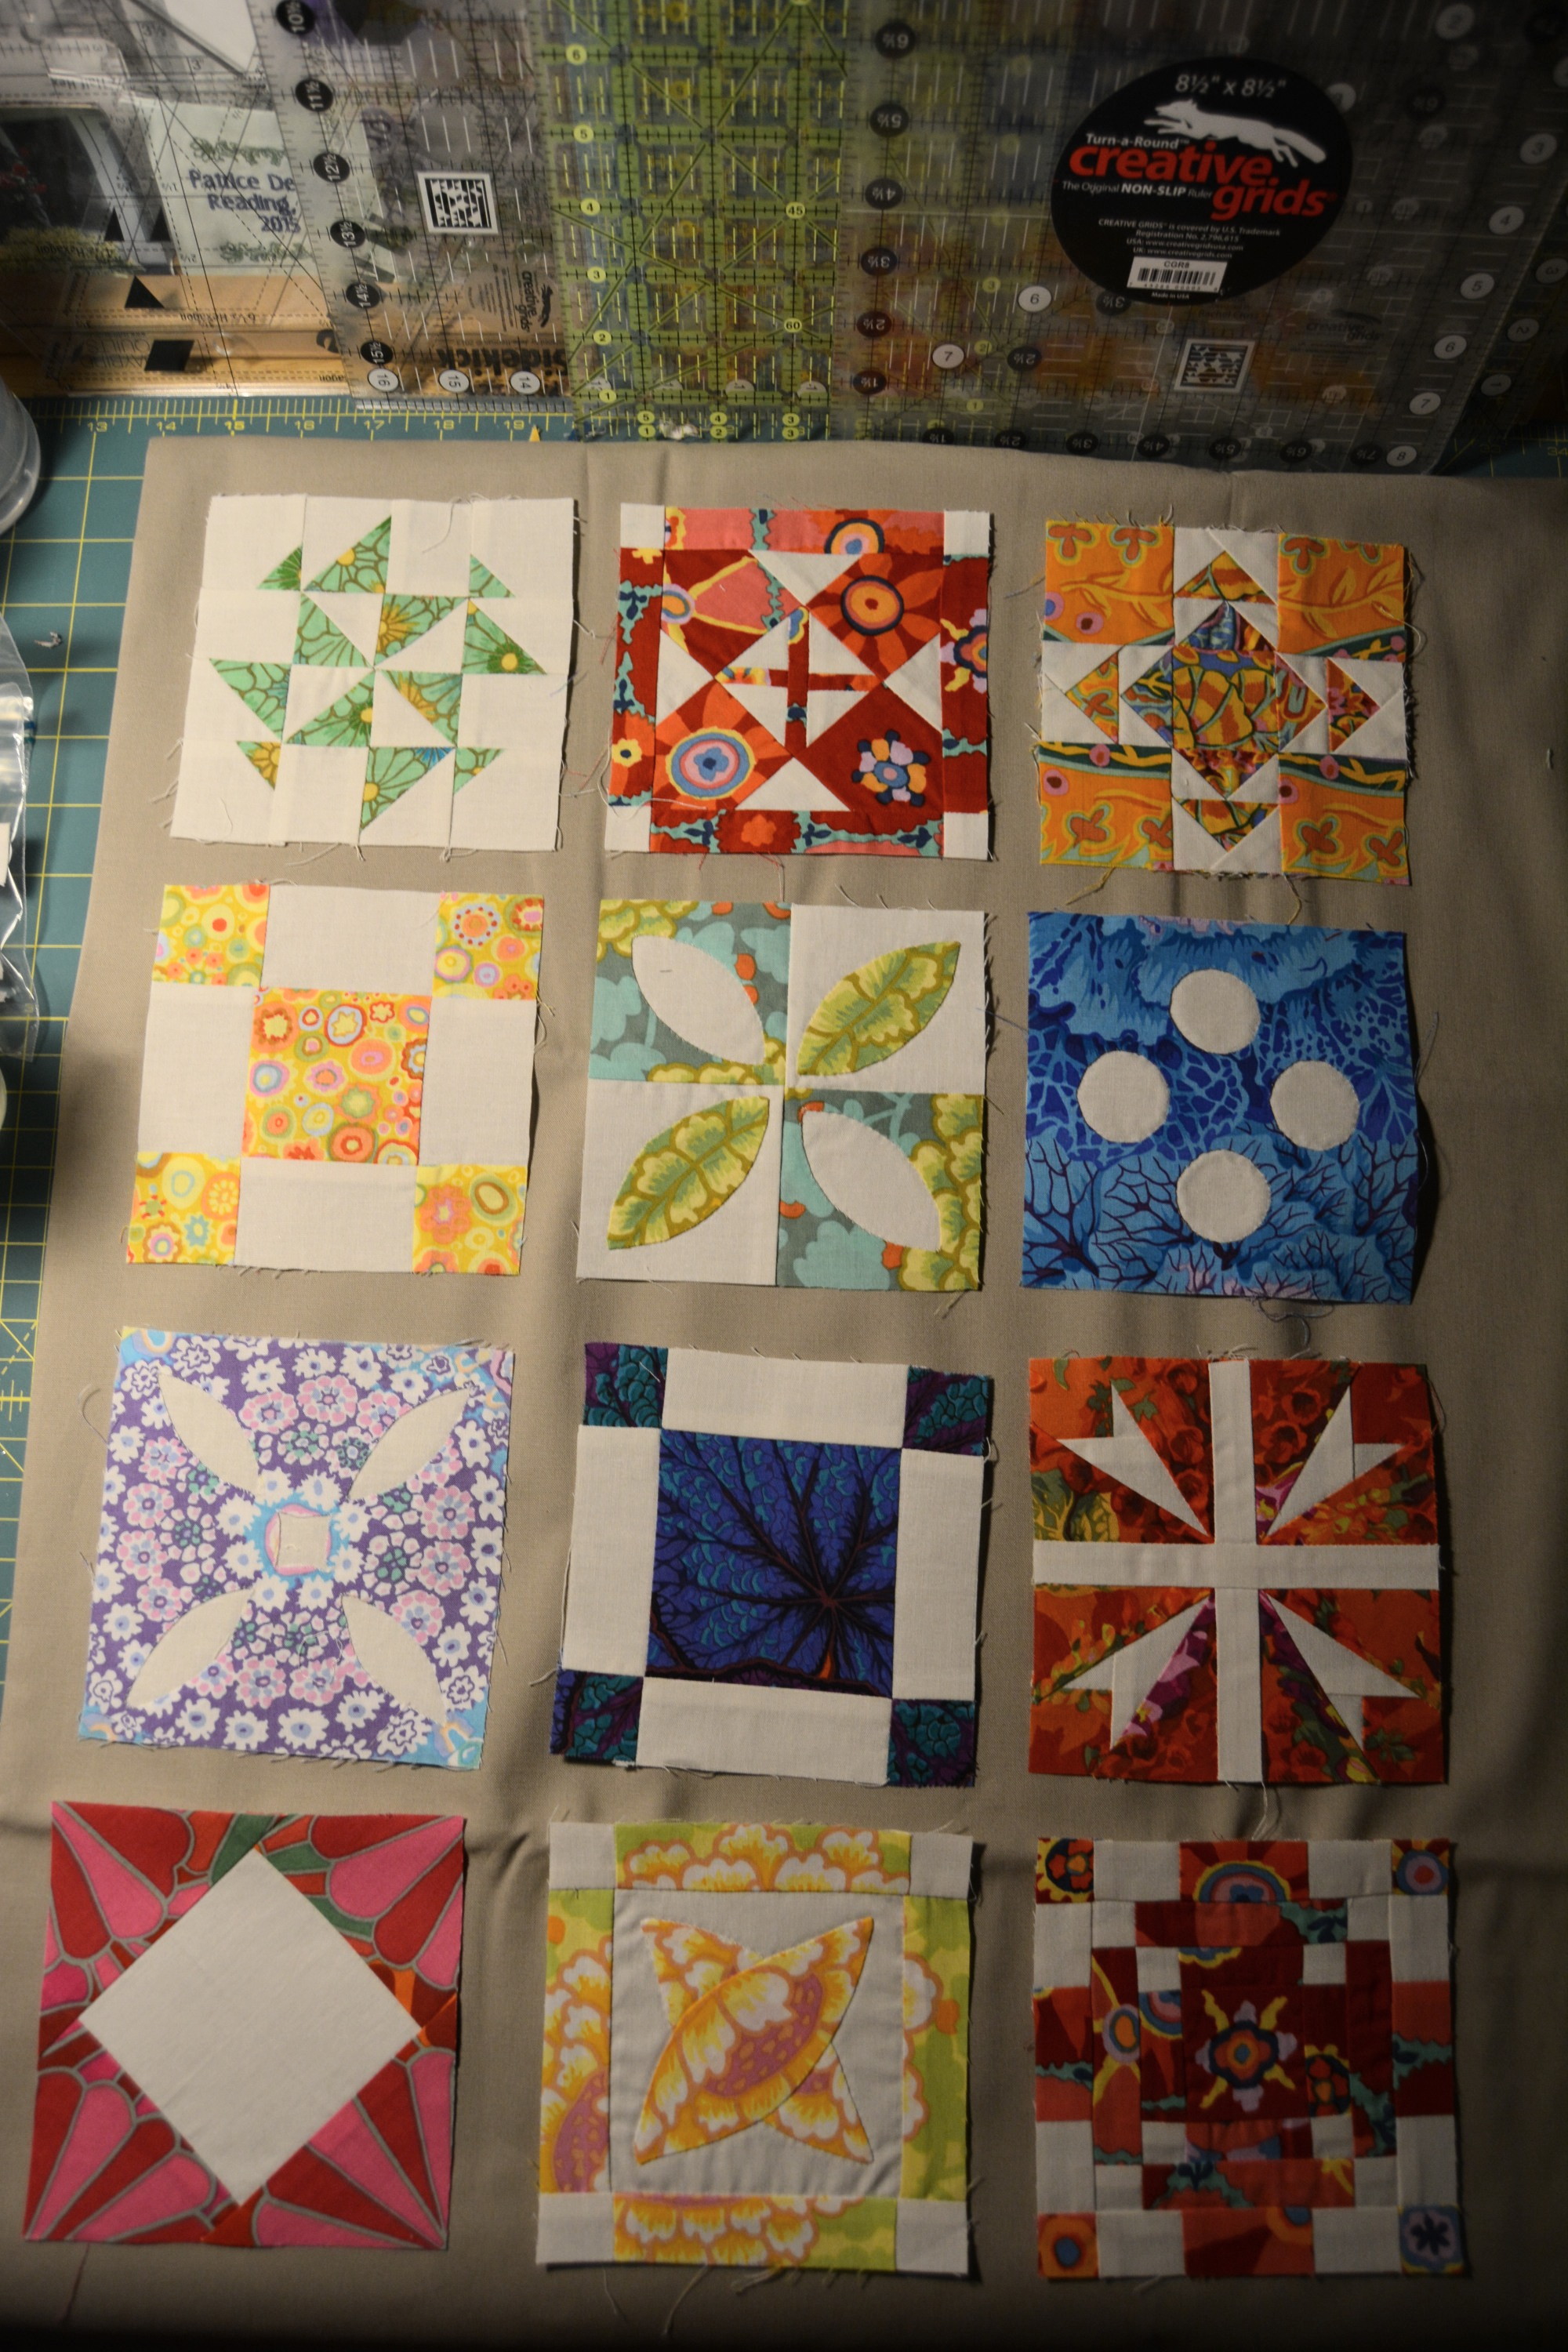
Jane and I are getting re-acquainted. The group I am working with at Quilters Common receives the patterns and tips for 5 blocks each month. Between one thing and another I found myself way behind … a year and a half behind! So, this past month I was determined to get back to work on my Jane blocks. I have established a new goal of 8 blocks a month, which I must meet if I want to have a quilt finished for the groups planned quilt show.
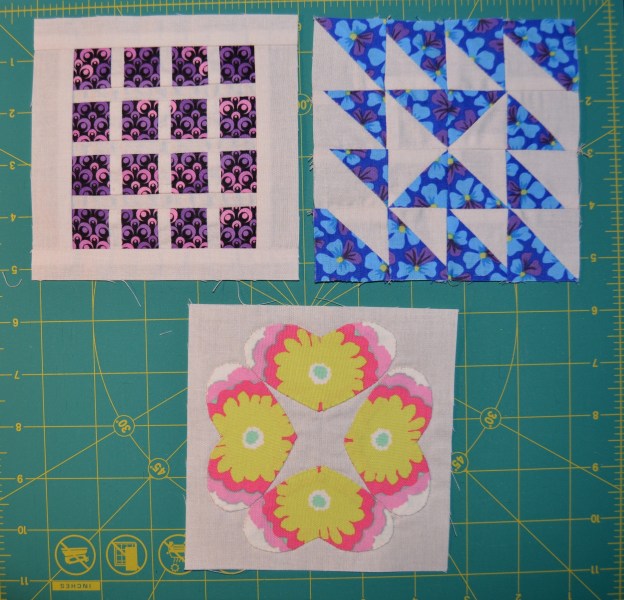
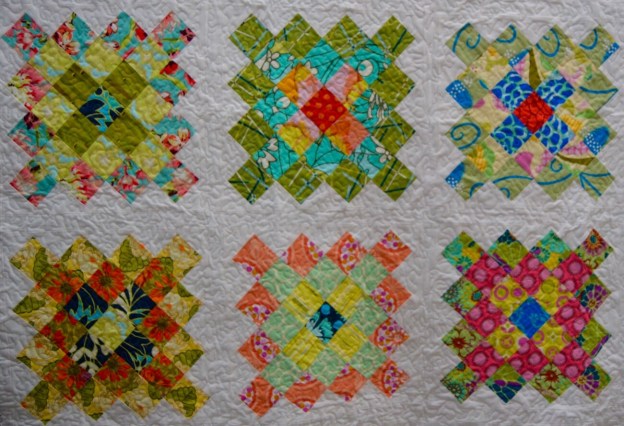
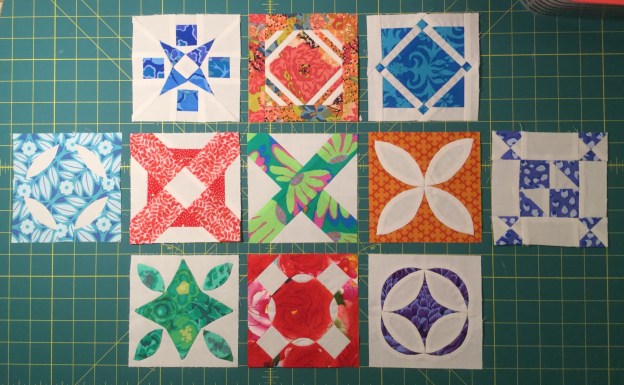
I was quite busy and so far I have 9 new blocks and I also redid 2 blocks. Click on the thumbnails to enlarge these photos. When finished viewing them click on the “x” in the upper left corner of the page to return back to this post!
-

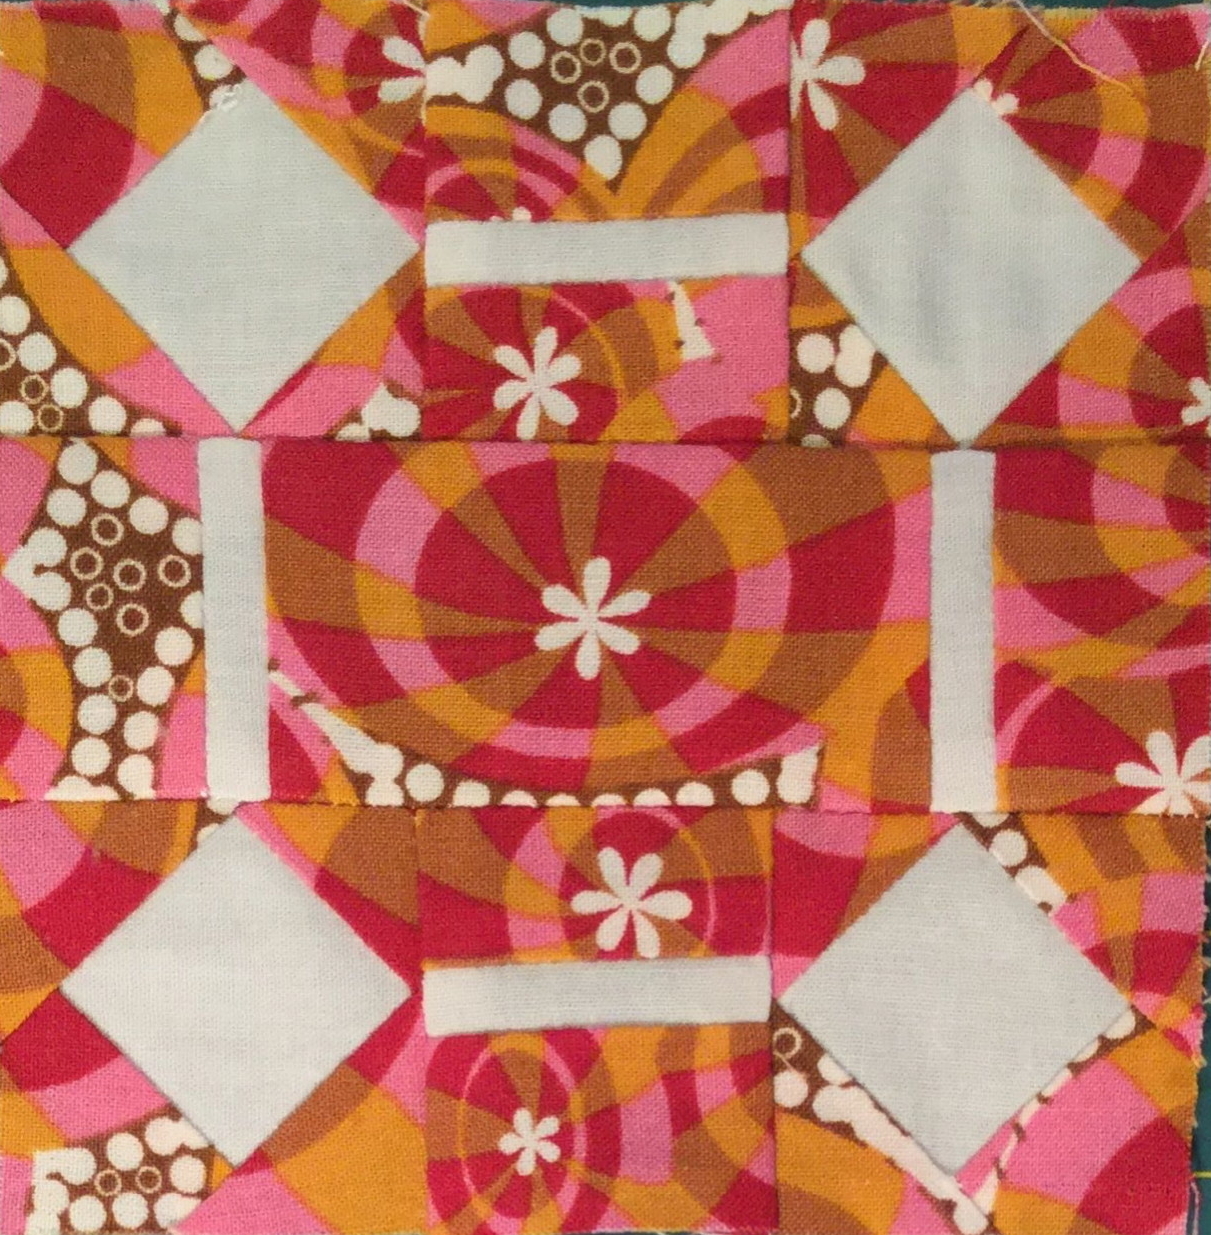
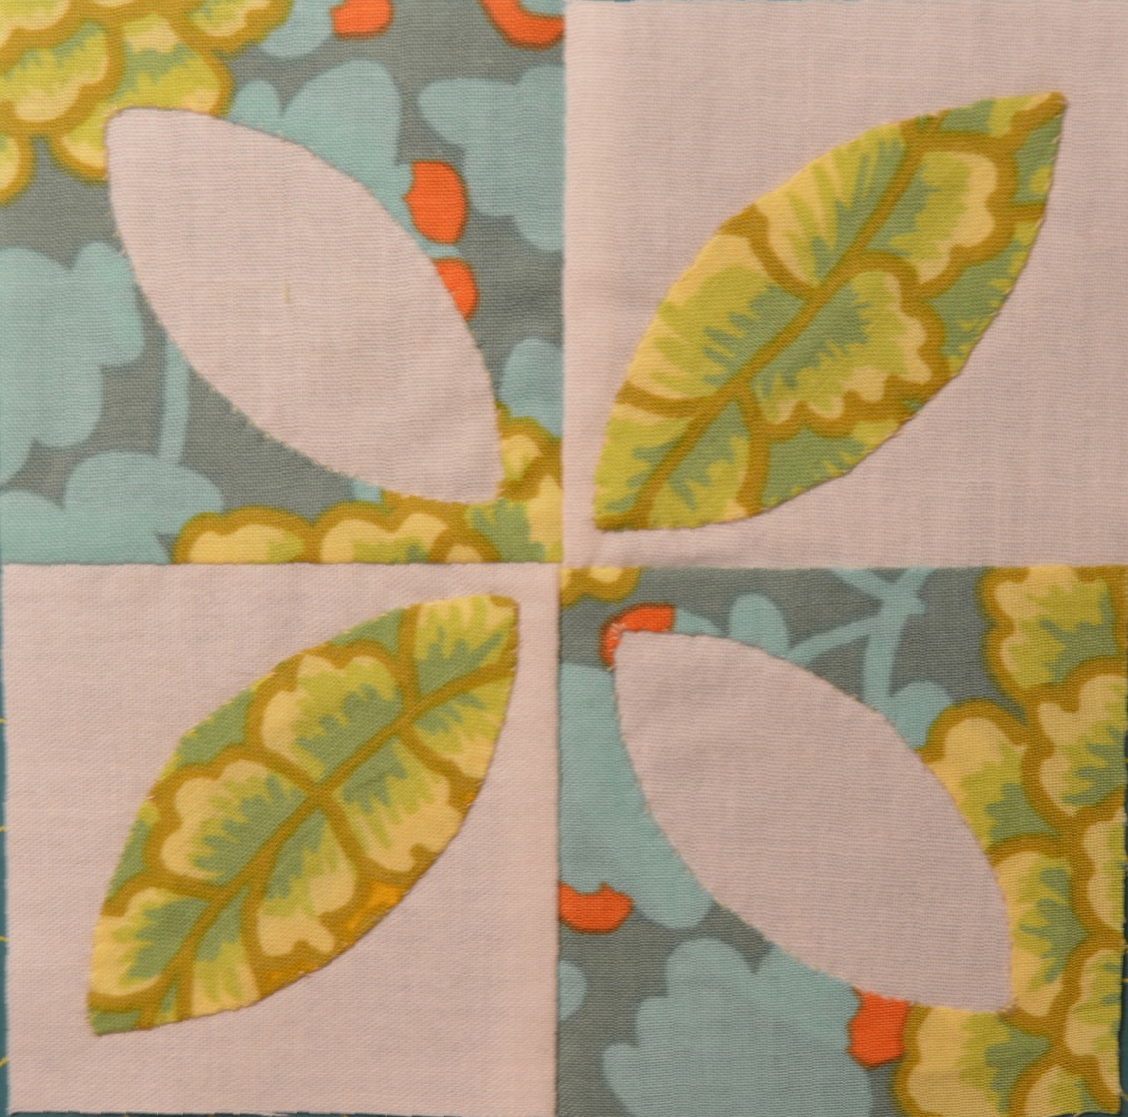
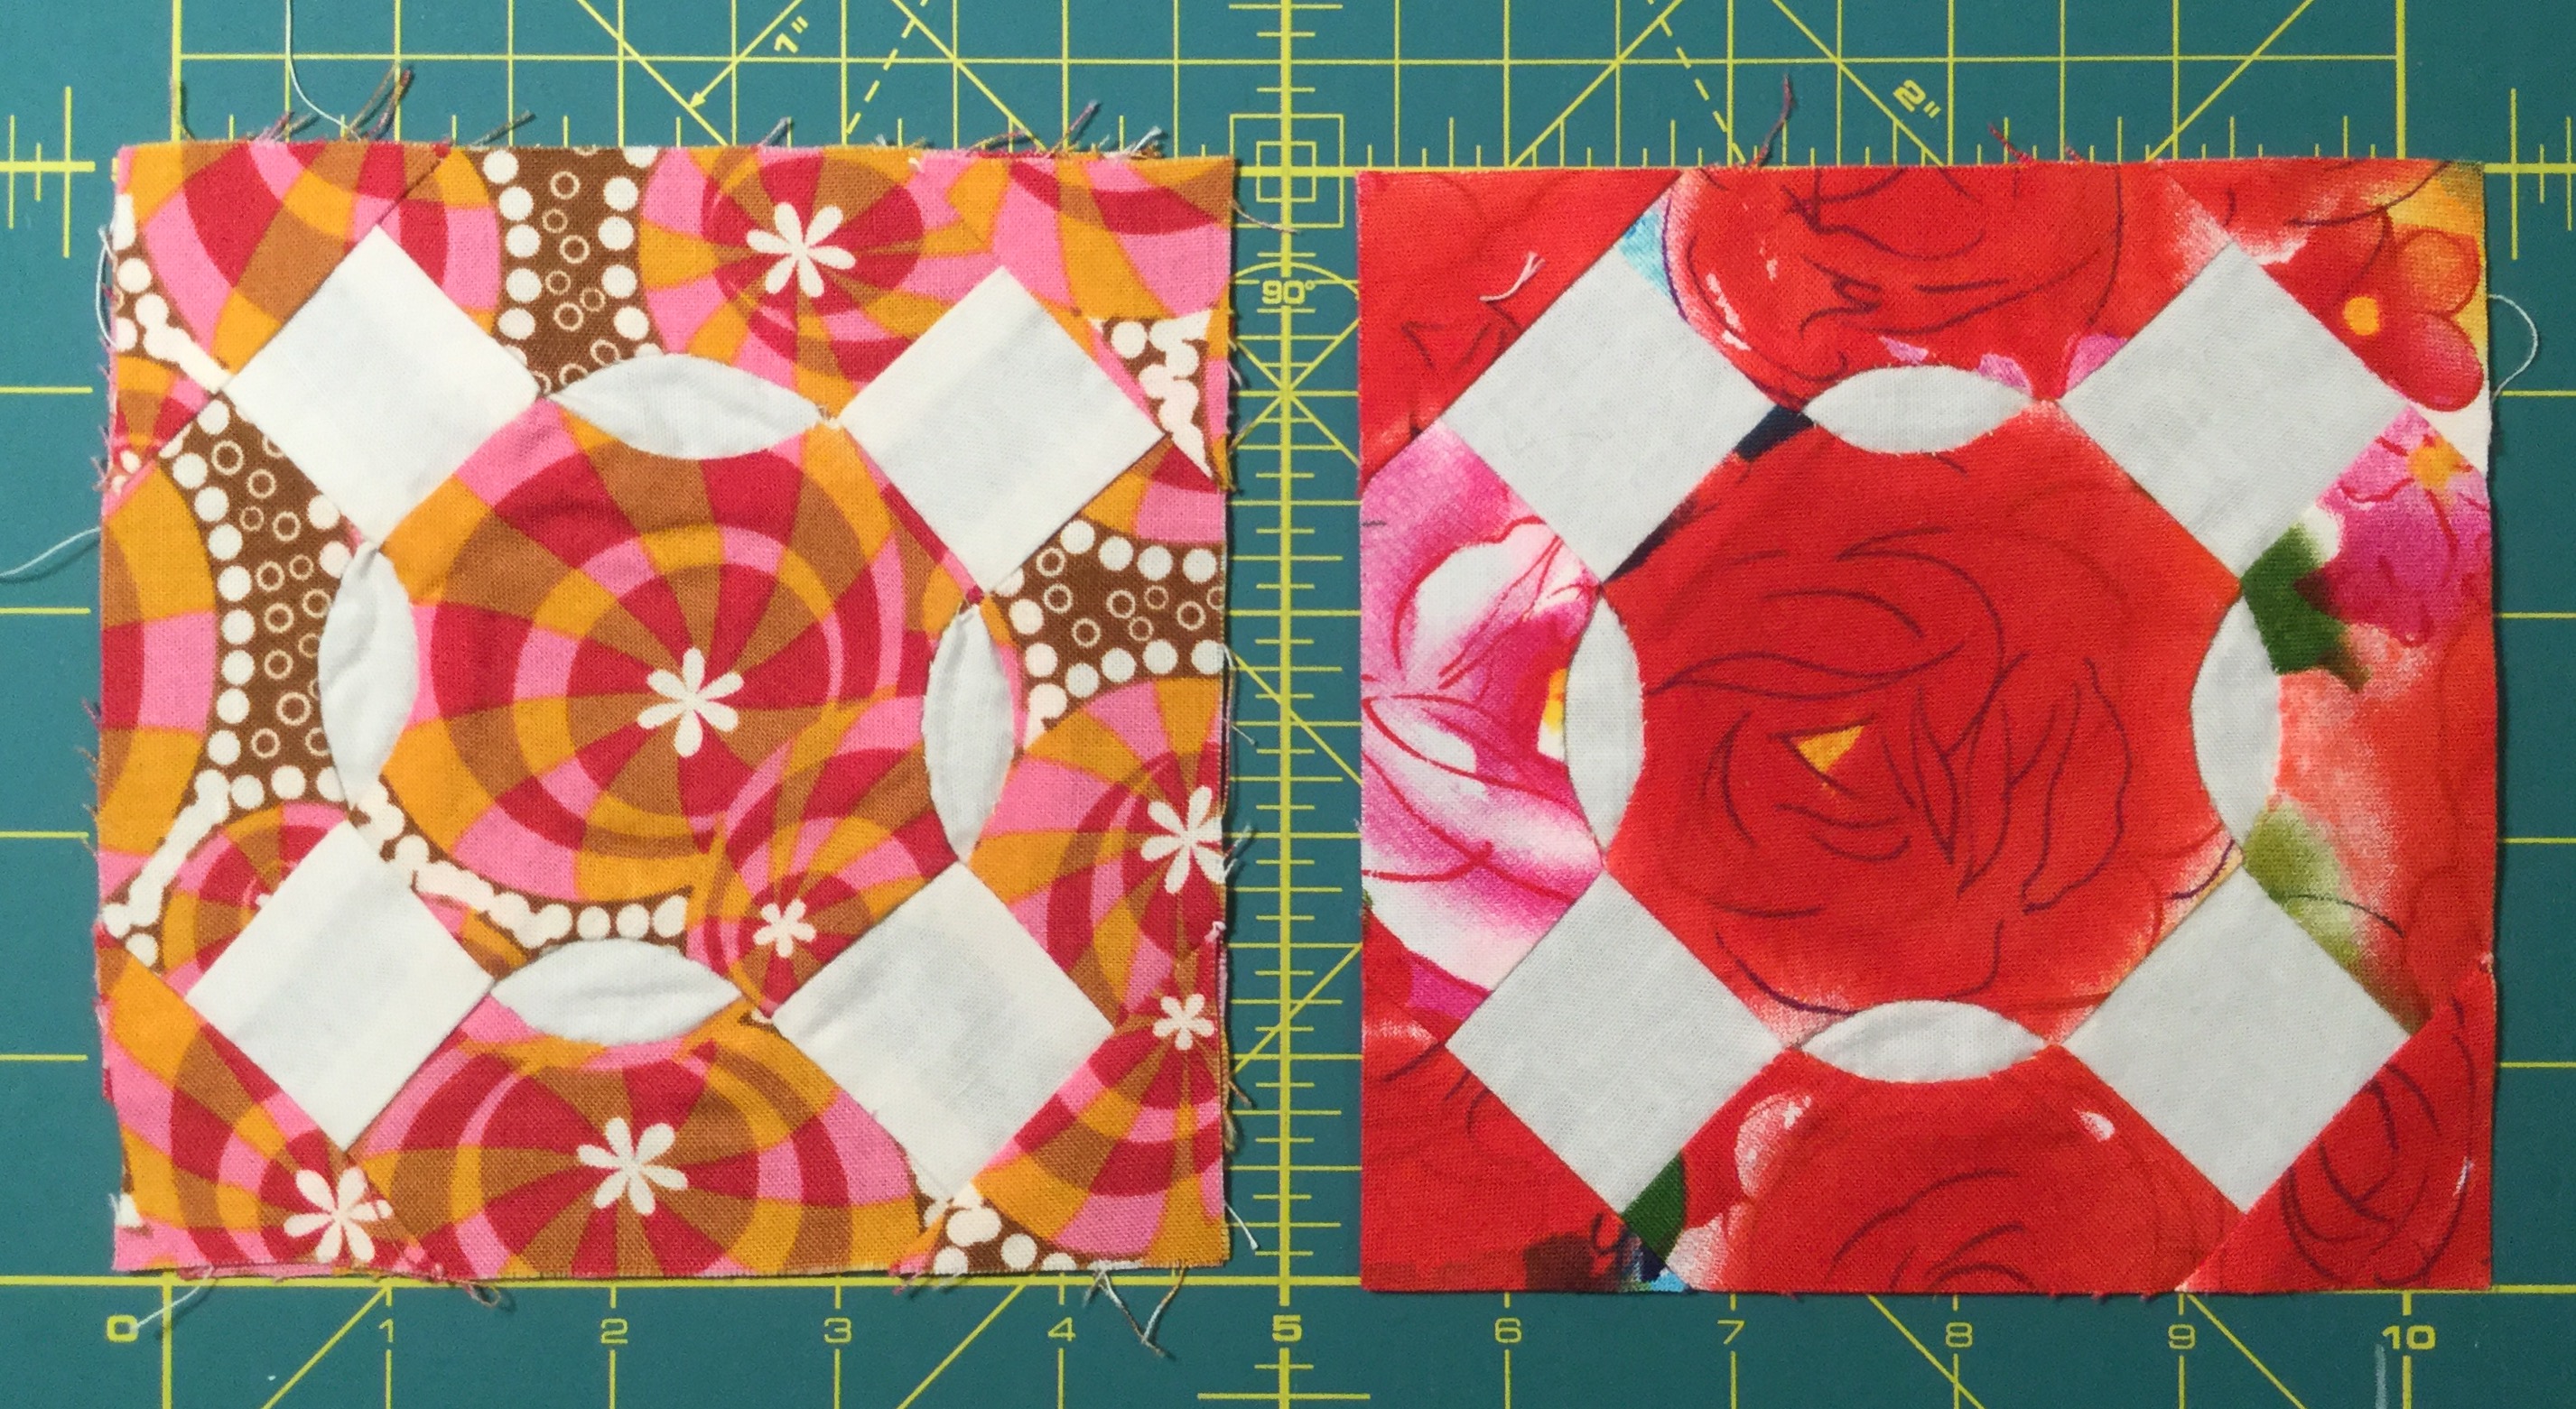
- F-5
-

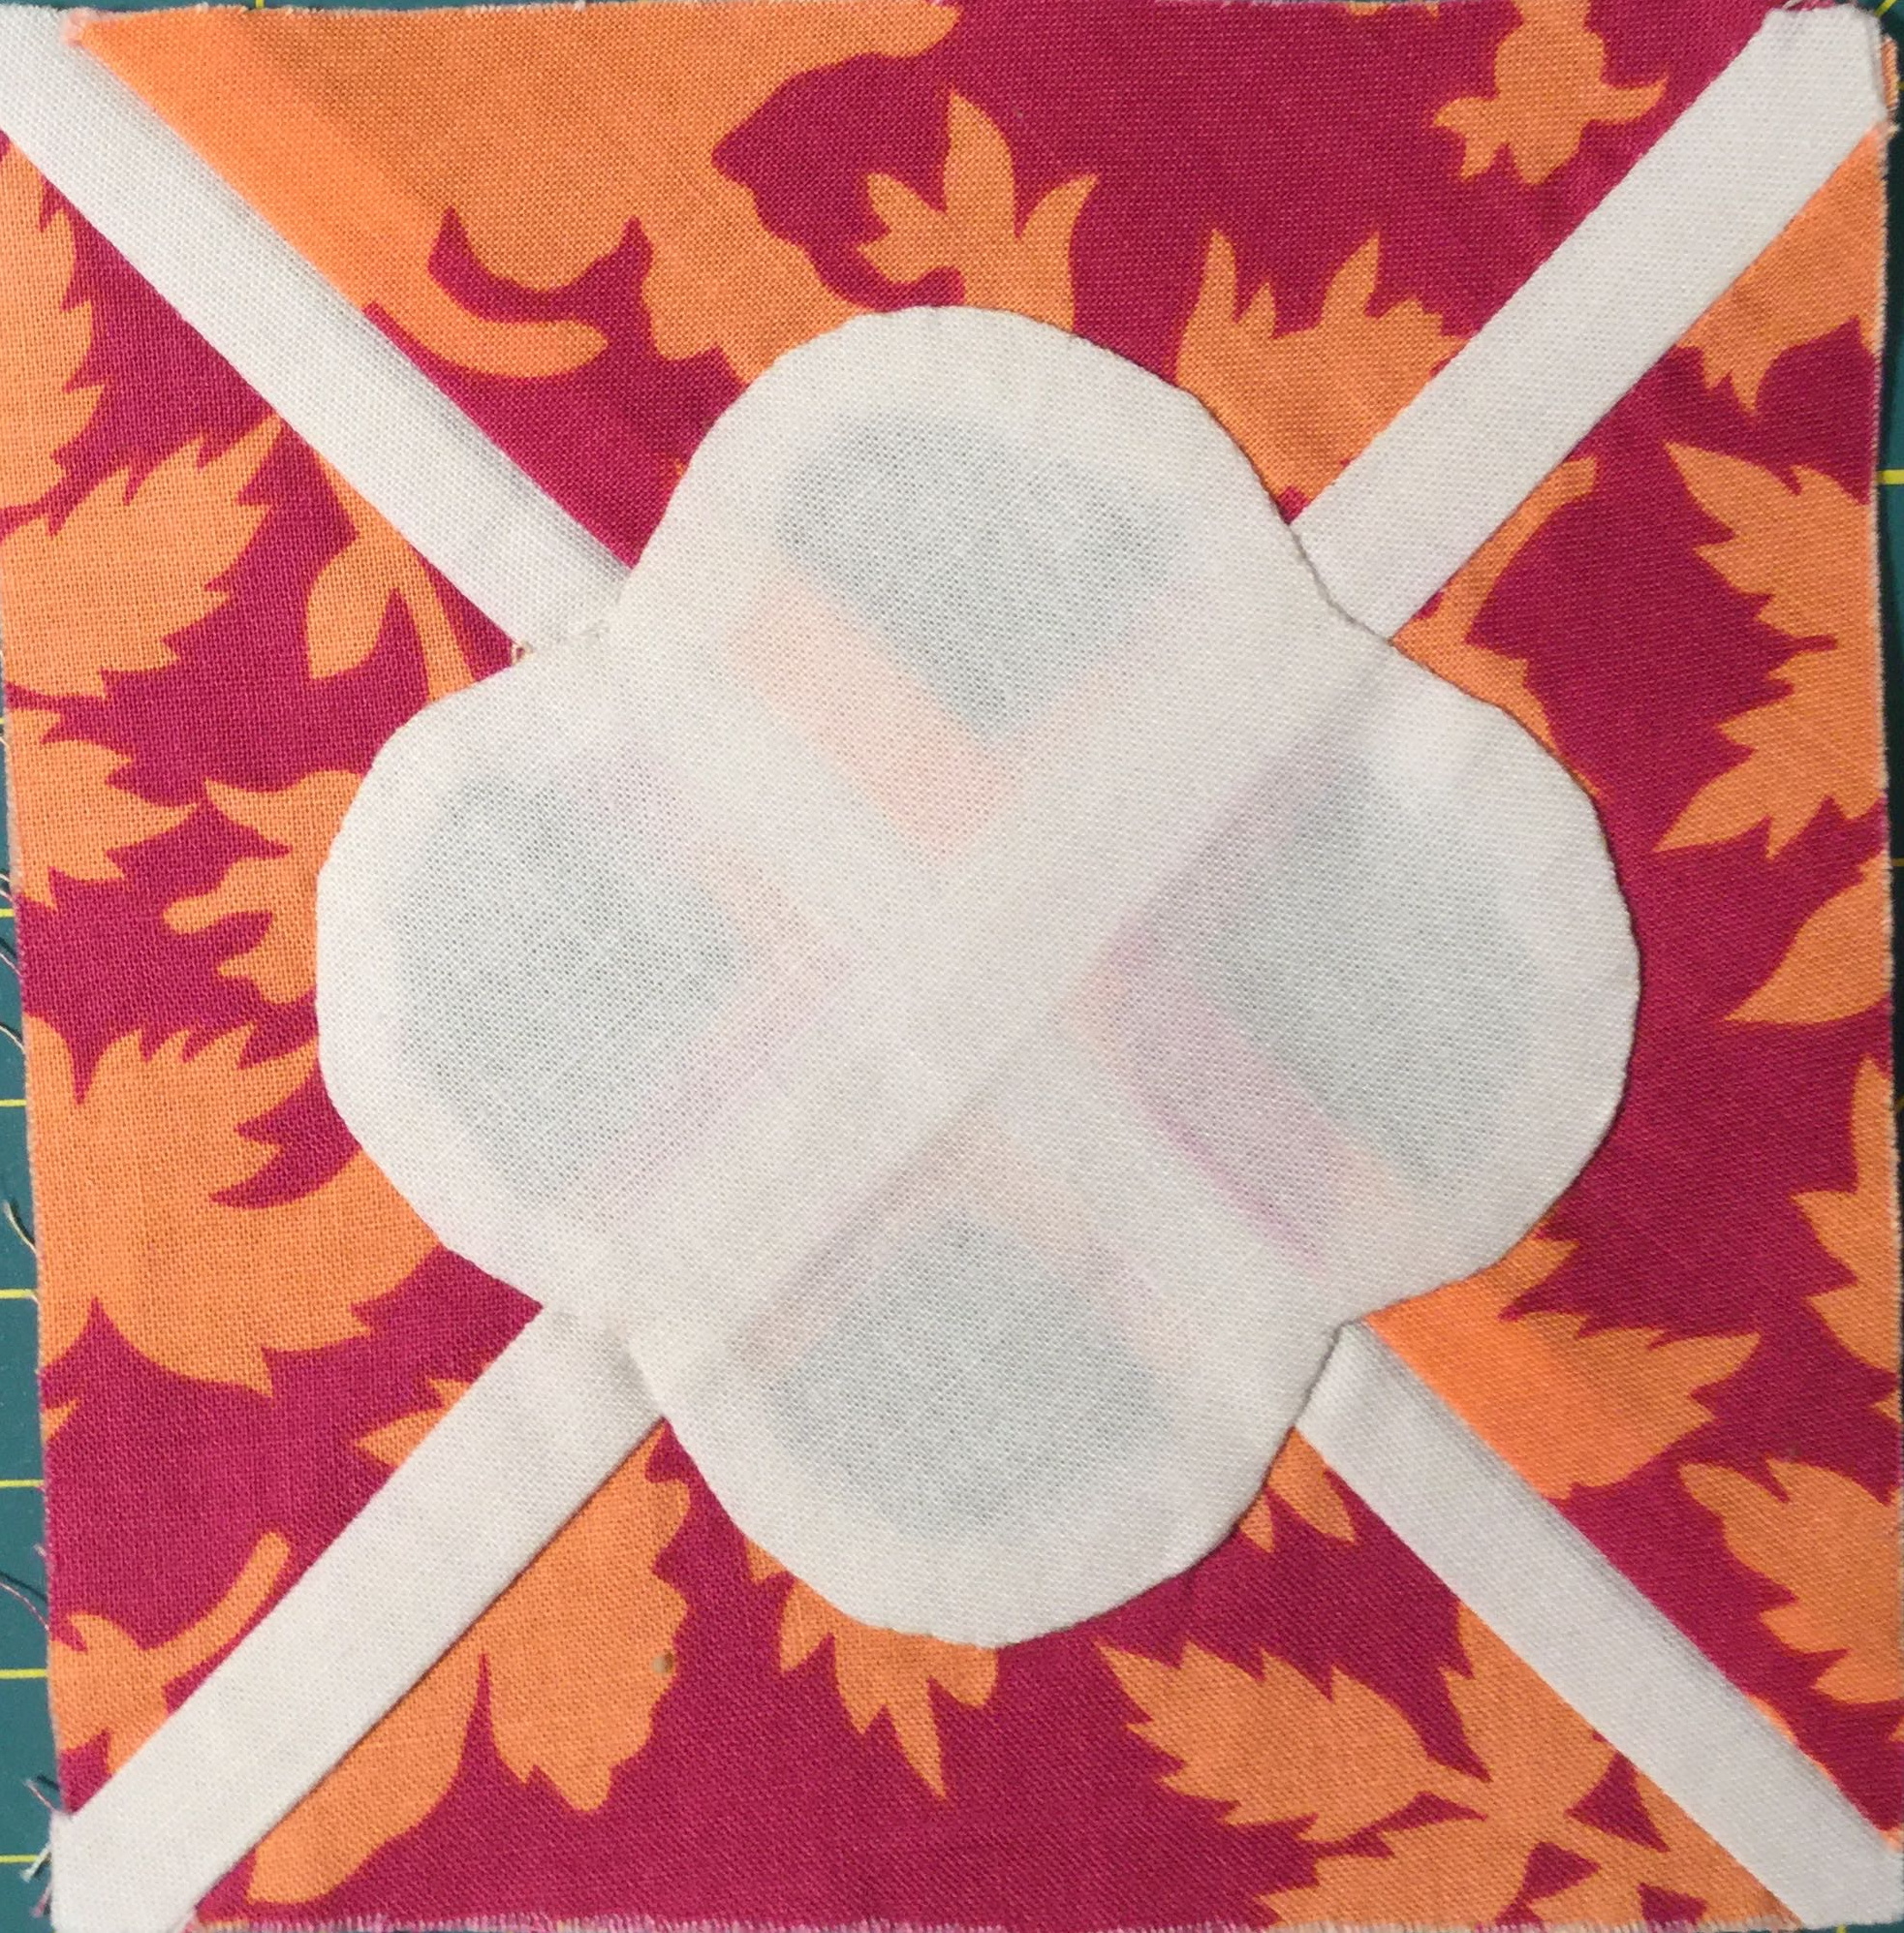
- C-6
-

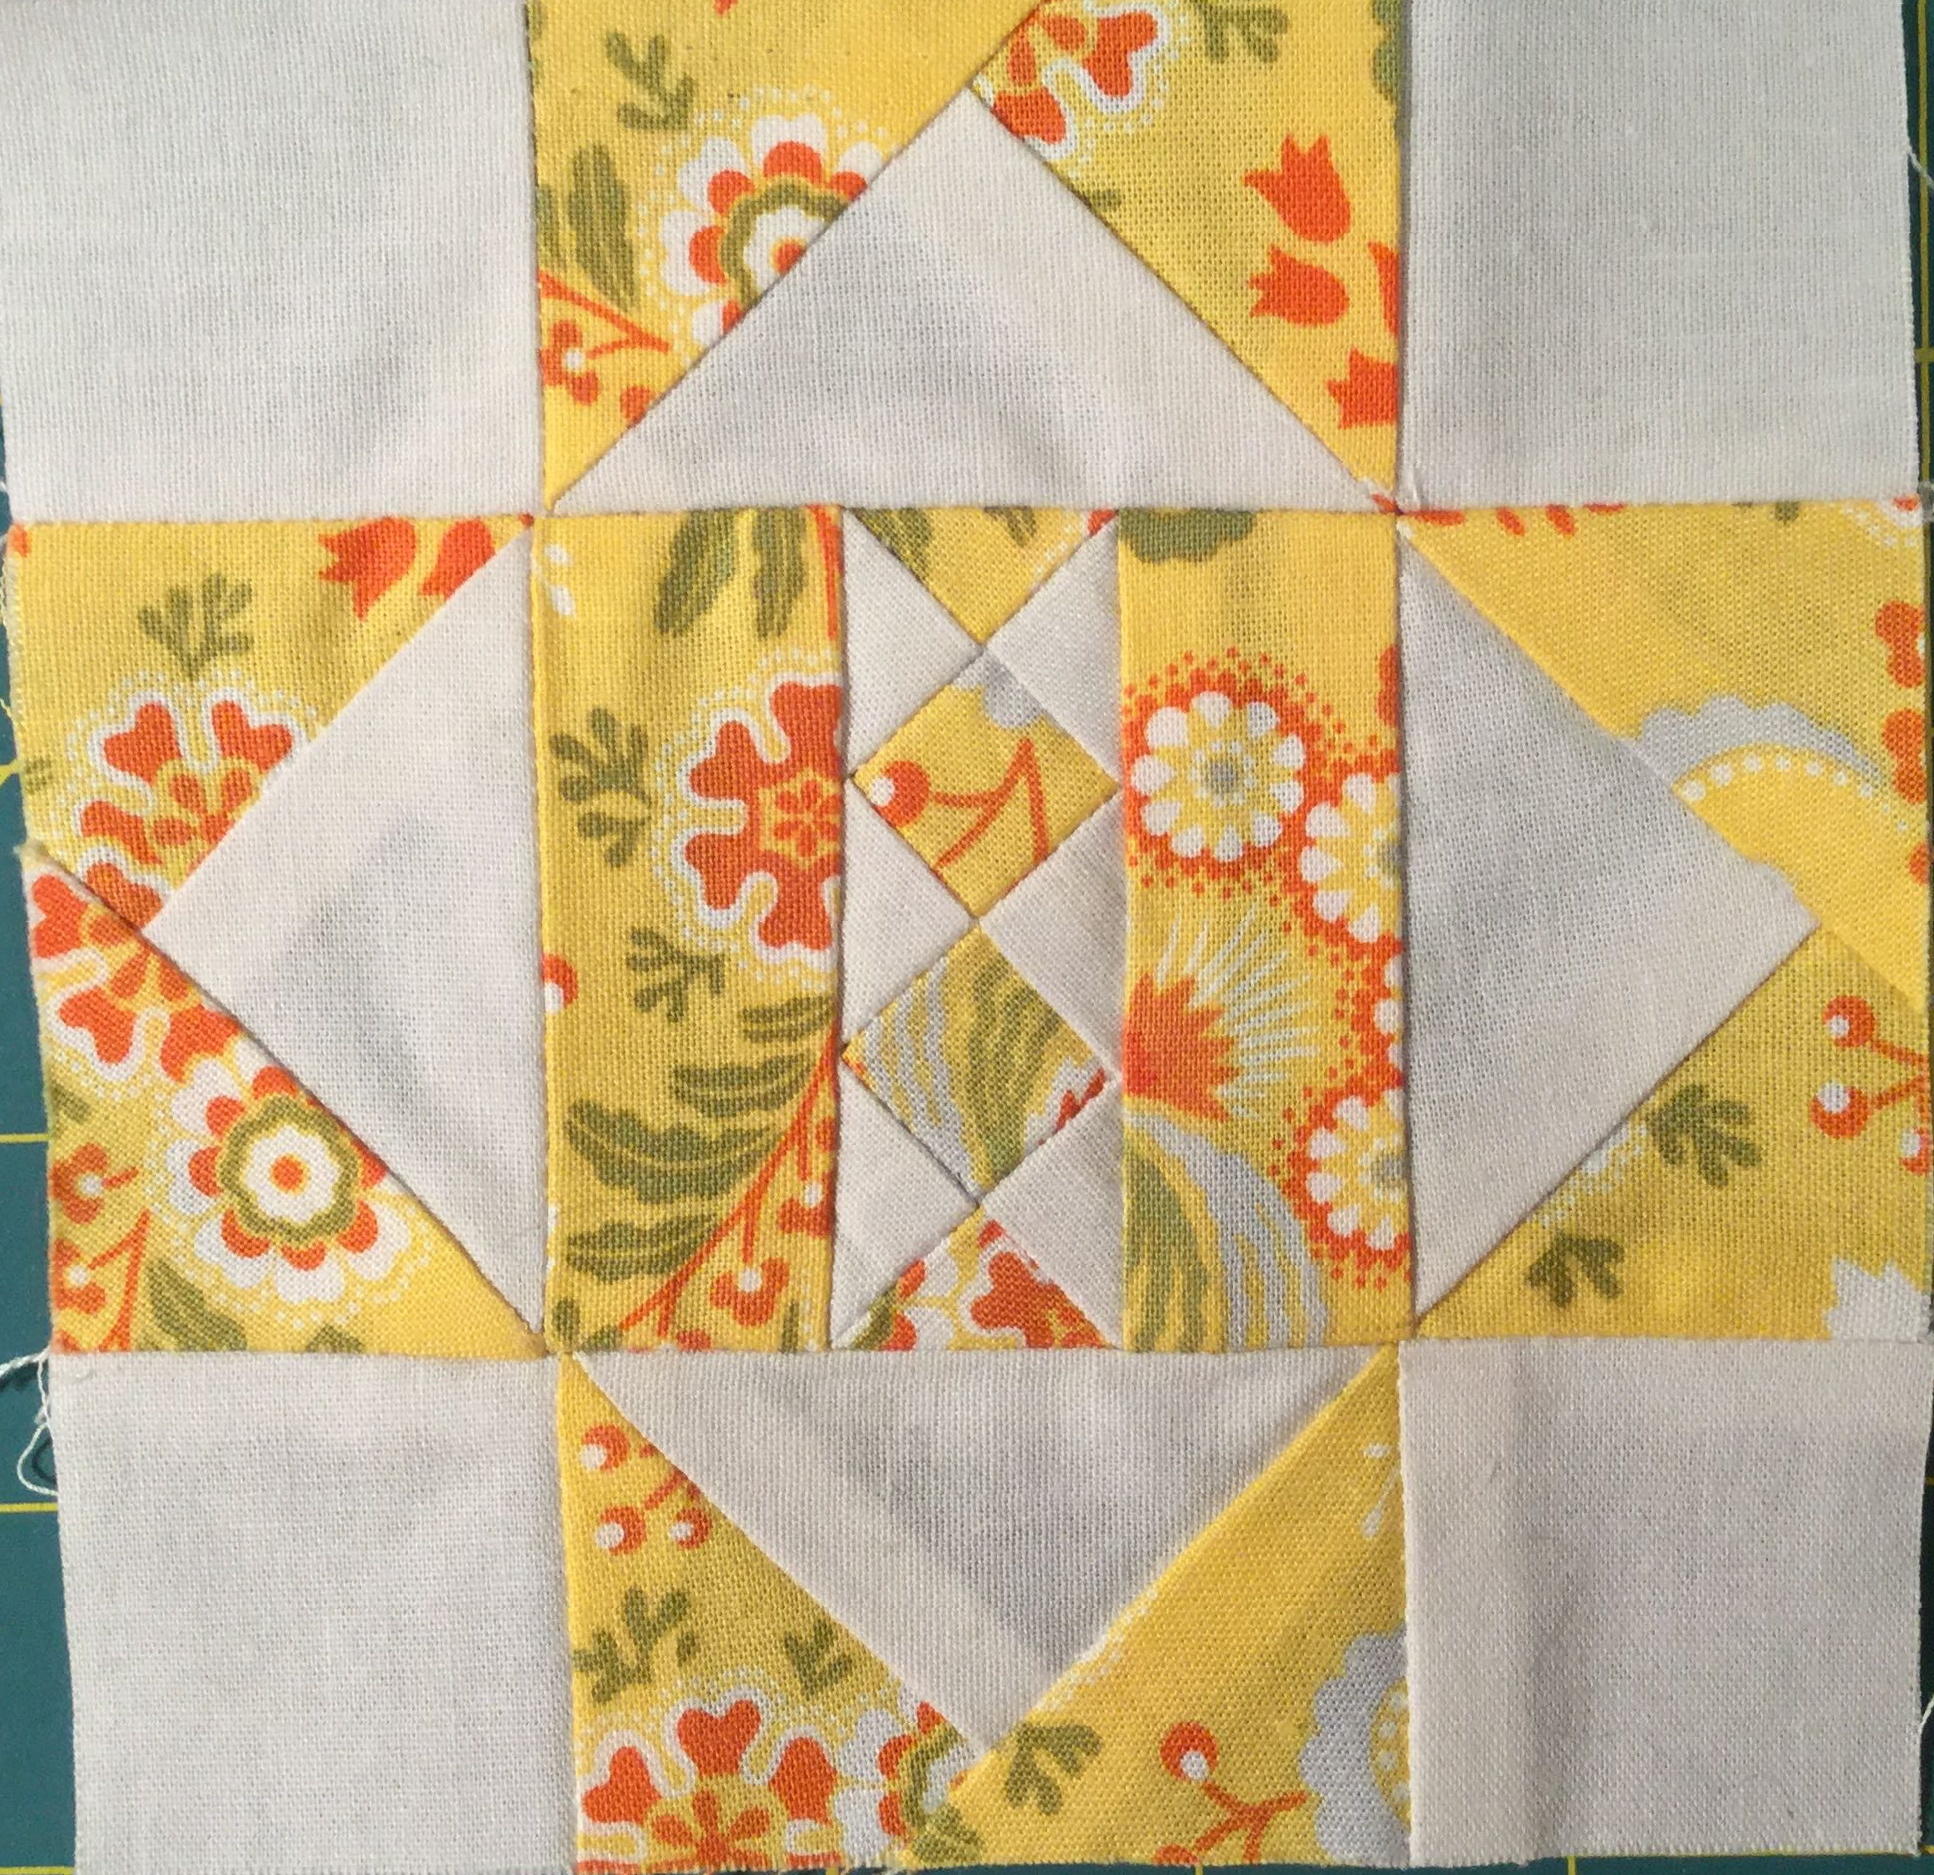
- J-4
-

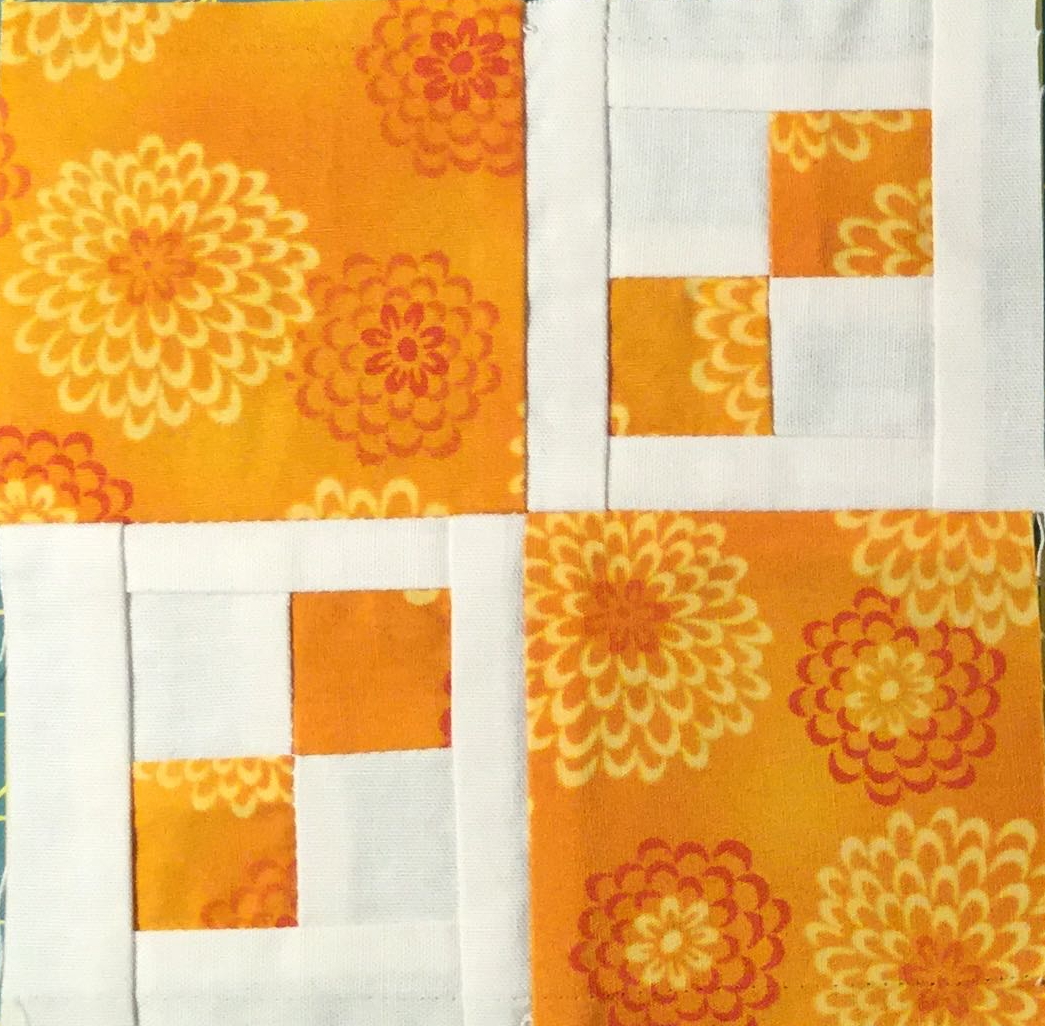
- D-7
-

- I-10
-
- I-5
-

- B-4
-

- D-5
-
- E-1
-

- B-8
-
- H-10
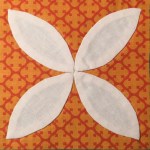
This is my redo of F-5. The original was a combo of machine piecing and hand piecing for the curved “melons”. I was so annoyed with the result that in protest I designed a curve free version of the block which I discussed in a previous Jane post. But, then I came across the “That Quilt” blog and redid the block using reverse applique for the melons. I am now a fan of reverse applique! The difference is very obvious (at least to me). No more wonky squares in the corners!
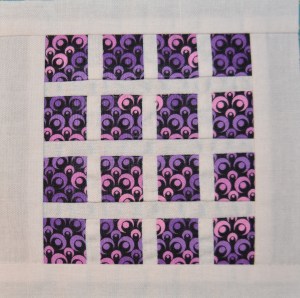
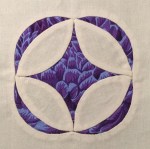
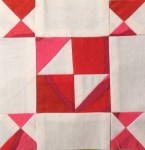
I redid H-10 because the color was wrong. My scheme calls for this to be a purple block, but I did it in red!
-
- H-10
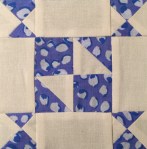
I also came up with my own way of finishing I-10. The sections are paper pieced and then I sewed them together by hand. My method of sewing the pieces together was to treat the block like a very modified nine patch with three rows. I am happy with the result.
-

- 3 rows
-
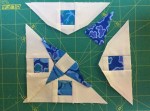
- 1 and 2 finished
-
- I-10
That’s it for now … still planning to finish one more new block by the end of this week!