My Jane Quilt Revisited

I had a comment on my Jane Quilt, which I am now calling “Thank You Jane”, because I learned so much about quilting during my Jane Journey.

The comment was regarding the sashing on the quilt. The sashing was borrowed from Tula Pink’s City Sampler Book, as explained in a previous post.

I have come up with some drawings which should help to explain the dimensions I used for the Trellis Sashing. The first thing I did was add a 1/2″ border around each Jane Block to increase the size from 4.5″ to 5.5″ finished. From there I prepared the sashing as shown in the drawings. The dimensions shown are the unfinished sizes. Cut pieces the sizes shown.


Be Kind Bee Blocks

Hello to my Boston Modern Quilt Guild friends, and to anyone who comes across this blog post. I have put together a couple of block designs for our next Be Kind Bee quilt.

Both of these Blocks finish to 12″ square.

Here are instructions for the X Block:

Fabric and Cutting:  For these blocks please select a white or white on white fabric, a dark solid or dark blender fabric and a medium print fabric. 

White Fabric: You will need to cut 8 pieces that are 1 ½” x 2 ½” and cut 8 pieces that are 1 ½” x 4 ½” or use a strip piecing method as shown below and start with 1 1/2″ width of fabric strips. 

You will then need to cut 4 squares that are 4 ½” x 4 ½”

Dark Fabric: Cut 4 squares that are 2 ½” x 2 ½”

Print Fabric:  1 square 4 ½” x 4 ½”

First I cut out all of the pieces for the block. I just cut 1 1/2″ strips for the pieced 4 1/2″ squares and then sewed the blue squares to the strips before cutting. After sewing the strips on all four sides I trimmed these to 4 1/2″ square. I then arranged the squares into three rows as shown. Complete each row and then sew the three rows together.

Press the seams towards the white squares in the top and bottom rows and towards the print square in the center row.  When sewing the rows together press the seams towards the print square.


Here are instructions for the Twinkle Block:

Fabric and Cutting:  For these blocks please select a white or white on white fabric, a dark solid or dark blender fabric and a medium print fabric. 

White Fabric: You will need 1 Width of Fabric (WOF) strip that is 4 ½” wide. Cut 8 pieces that are 4 ½” x 4 ½” squares.  Cut FOUR of the squares in half on the diagonal.

Dark Fabric: 1 WOF strip that is 1 ¼” wide and 1 WOF strip that is 1” wide. From the 1 ¼” wide strip cut 4 pieces that are 1 ¼” x 6 ½”. Cut 4 pieces that are 1” x 3 ½” from the 1” wide strip.

Print Fabric:  1 square 3 ½” x 3 ½”

Piecing:

Sew a tringle to each 1 ¼” x 6 ½” piece as shown. Then sew another triangle to the other edge of the 1 ¼” x 6 ½” piece as shown.  Trim each of the four blocks to 4 ½” x 4 ½”.  Press the seams towards the dark fabric for these units.

Sew the two 1” x 3½” pieces to the top and bottom of the 3½” x 3½” print piece, then sew the two 1” x 4½” pieces to the sides.  Press the seams towards the dark fabric for these units.

Arrange these pieces and sew together into three rows as shown.  Press the seams towards the solid white squares in the top and bottom rows and towards the solid square in the center row.  When sewing the rows together press the towards the print square.

The thought is that we will create a quilt with this that will end up looking something like this:

Let’s see what we come up with!

Face Mask with Drawstring Fabric Ties

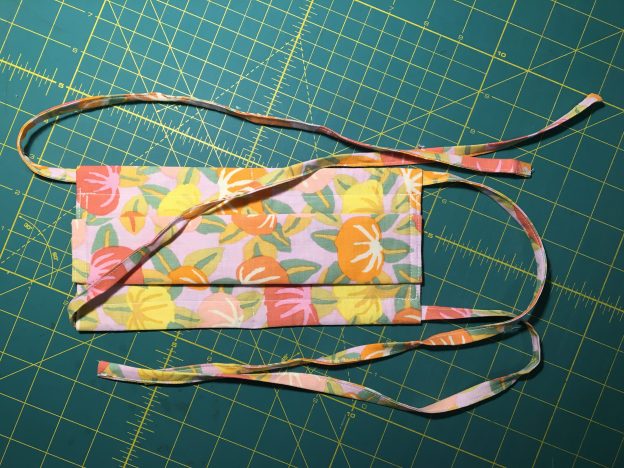
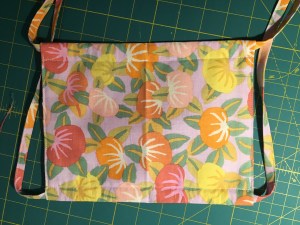
Here is how I am making face masks.  These masks have a drawstring tie along the top and bottom that allow for a tighter fit across your face and under your chin.

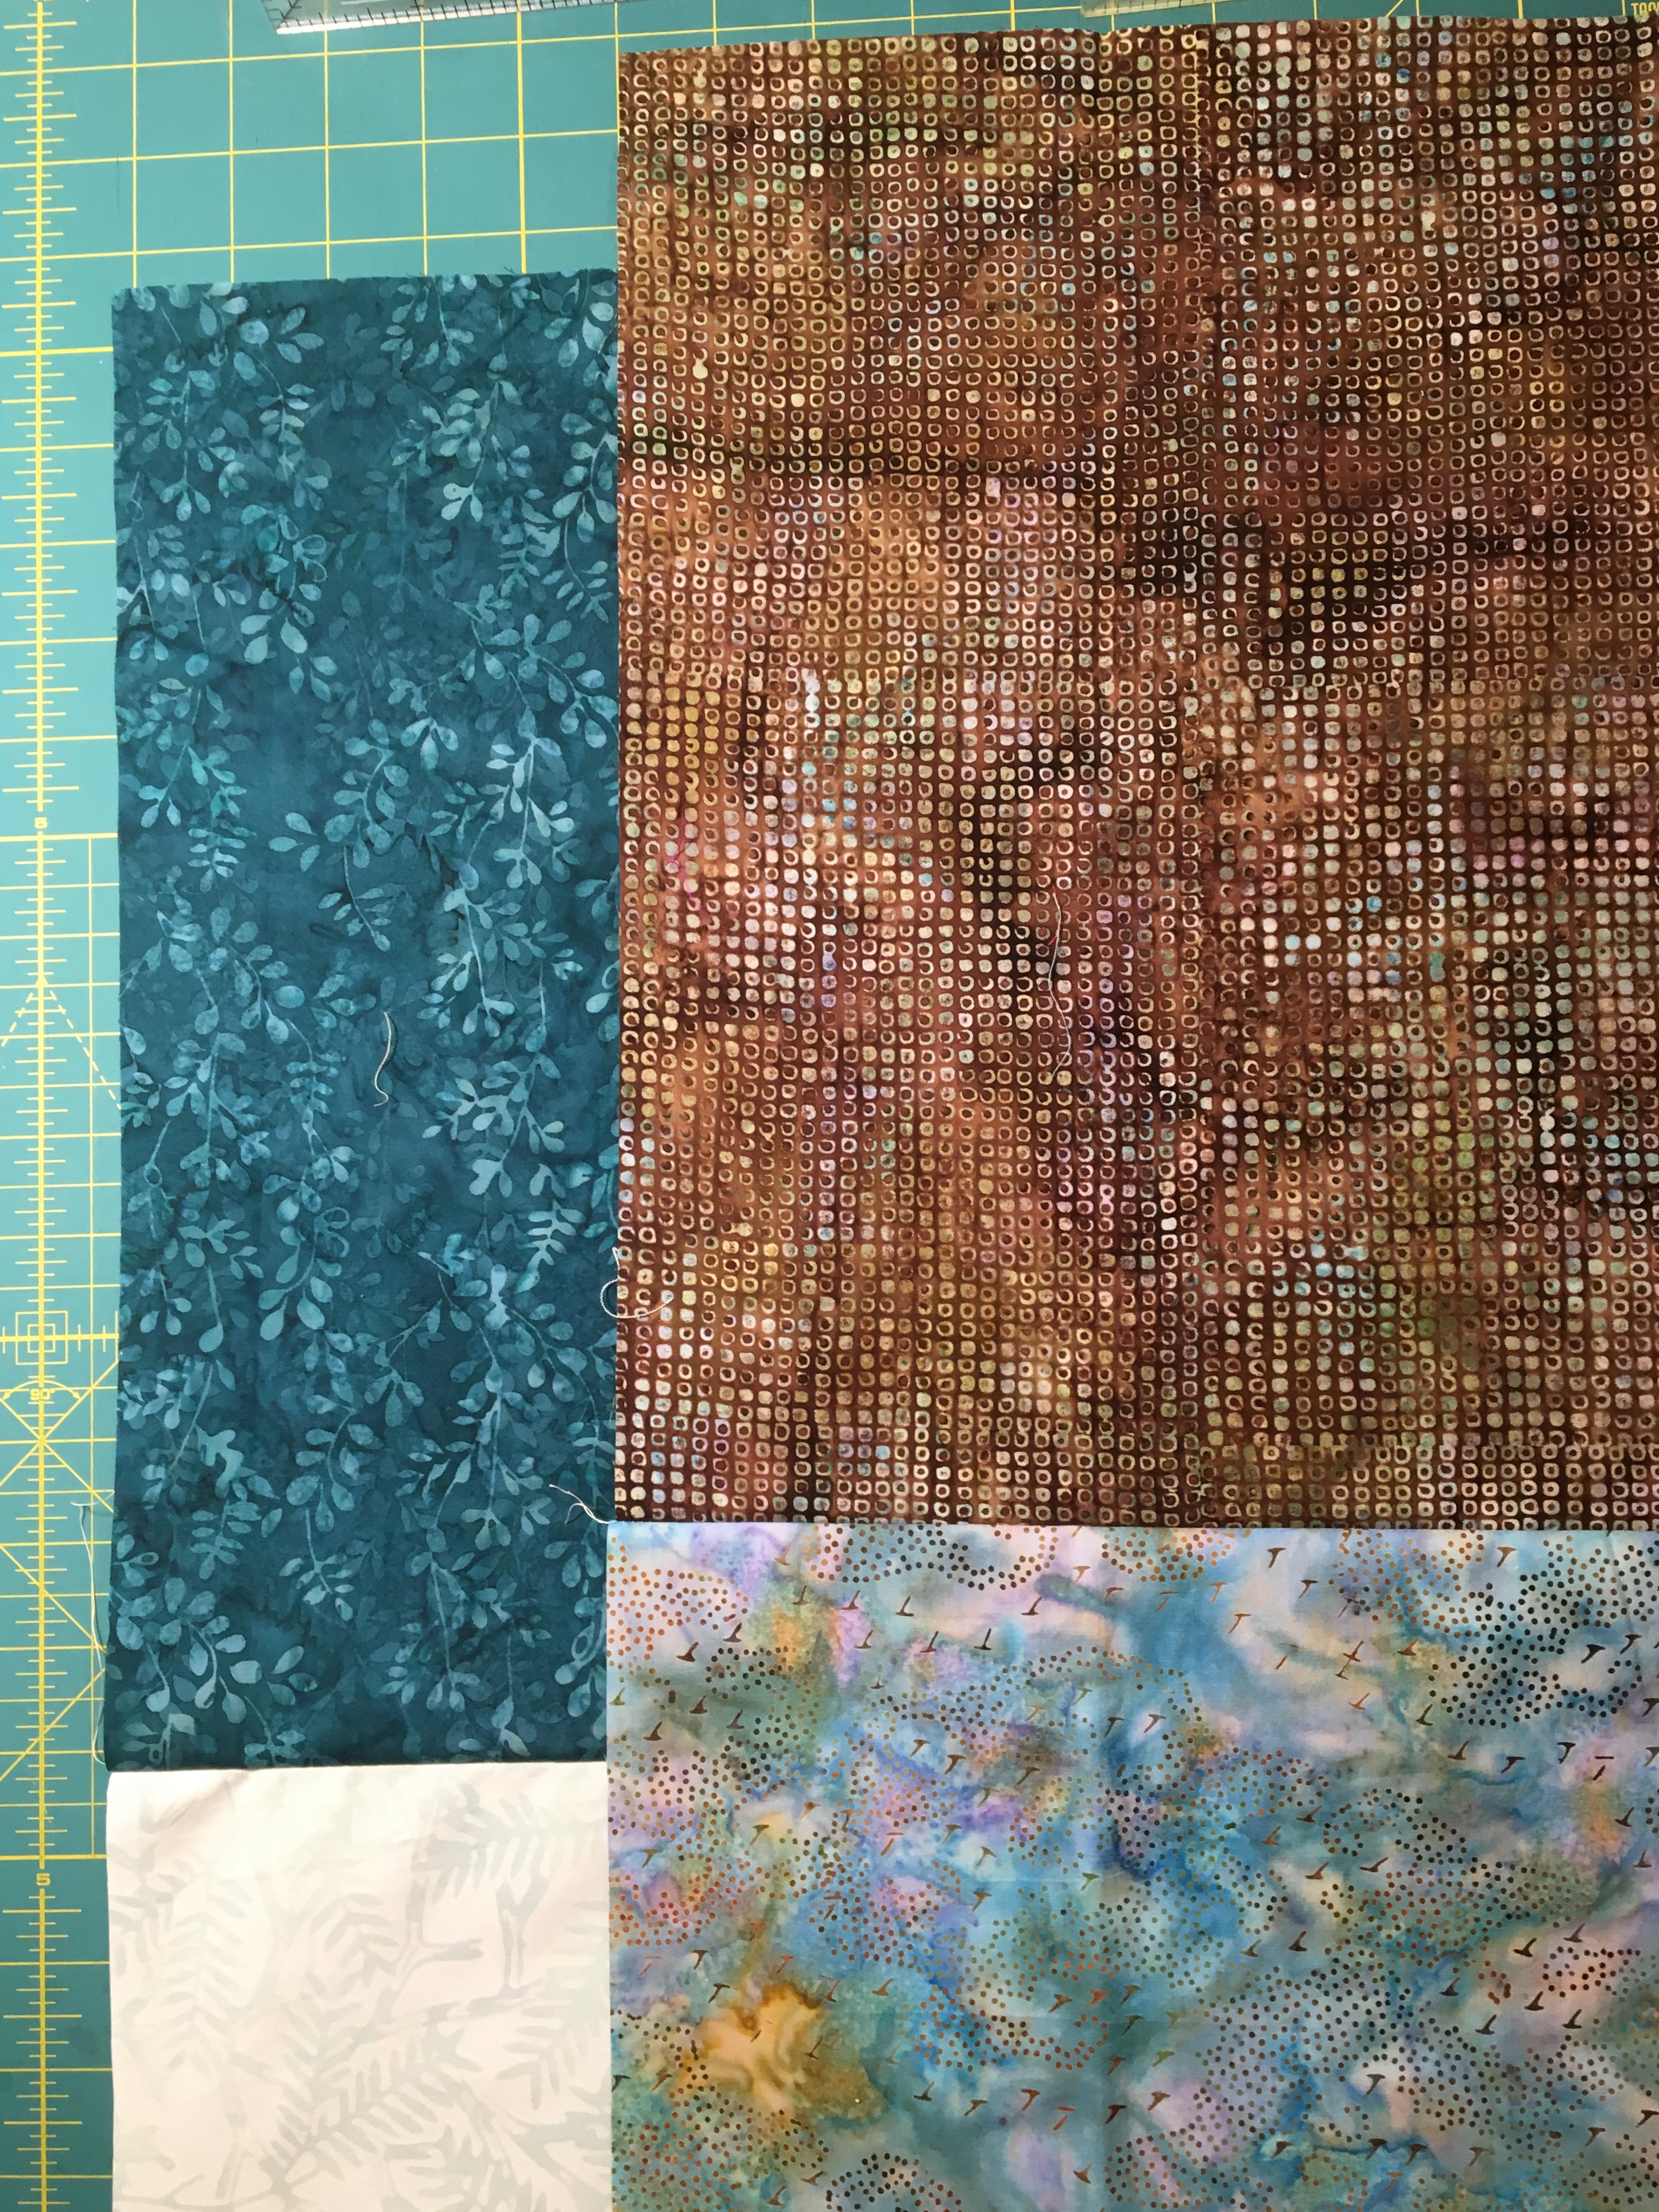
I am using 100% cotton, quilting weight fabric.  A half yard of quilting cotton will make 2 face masks.  I prewash the fabric before making masks, so they will not shrink after they are made.

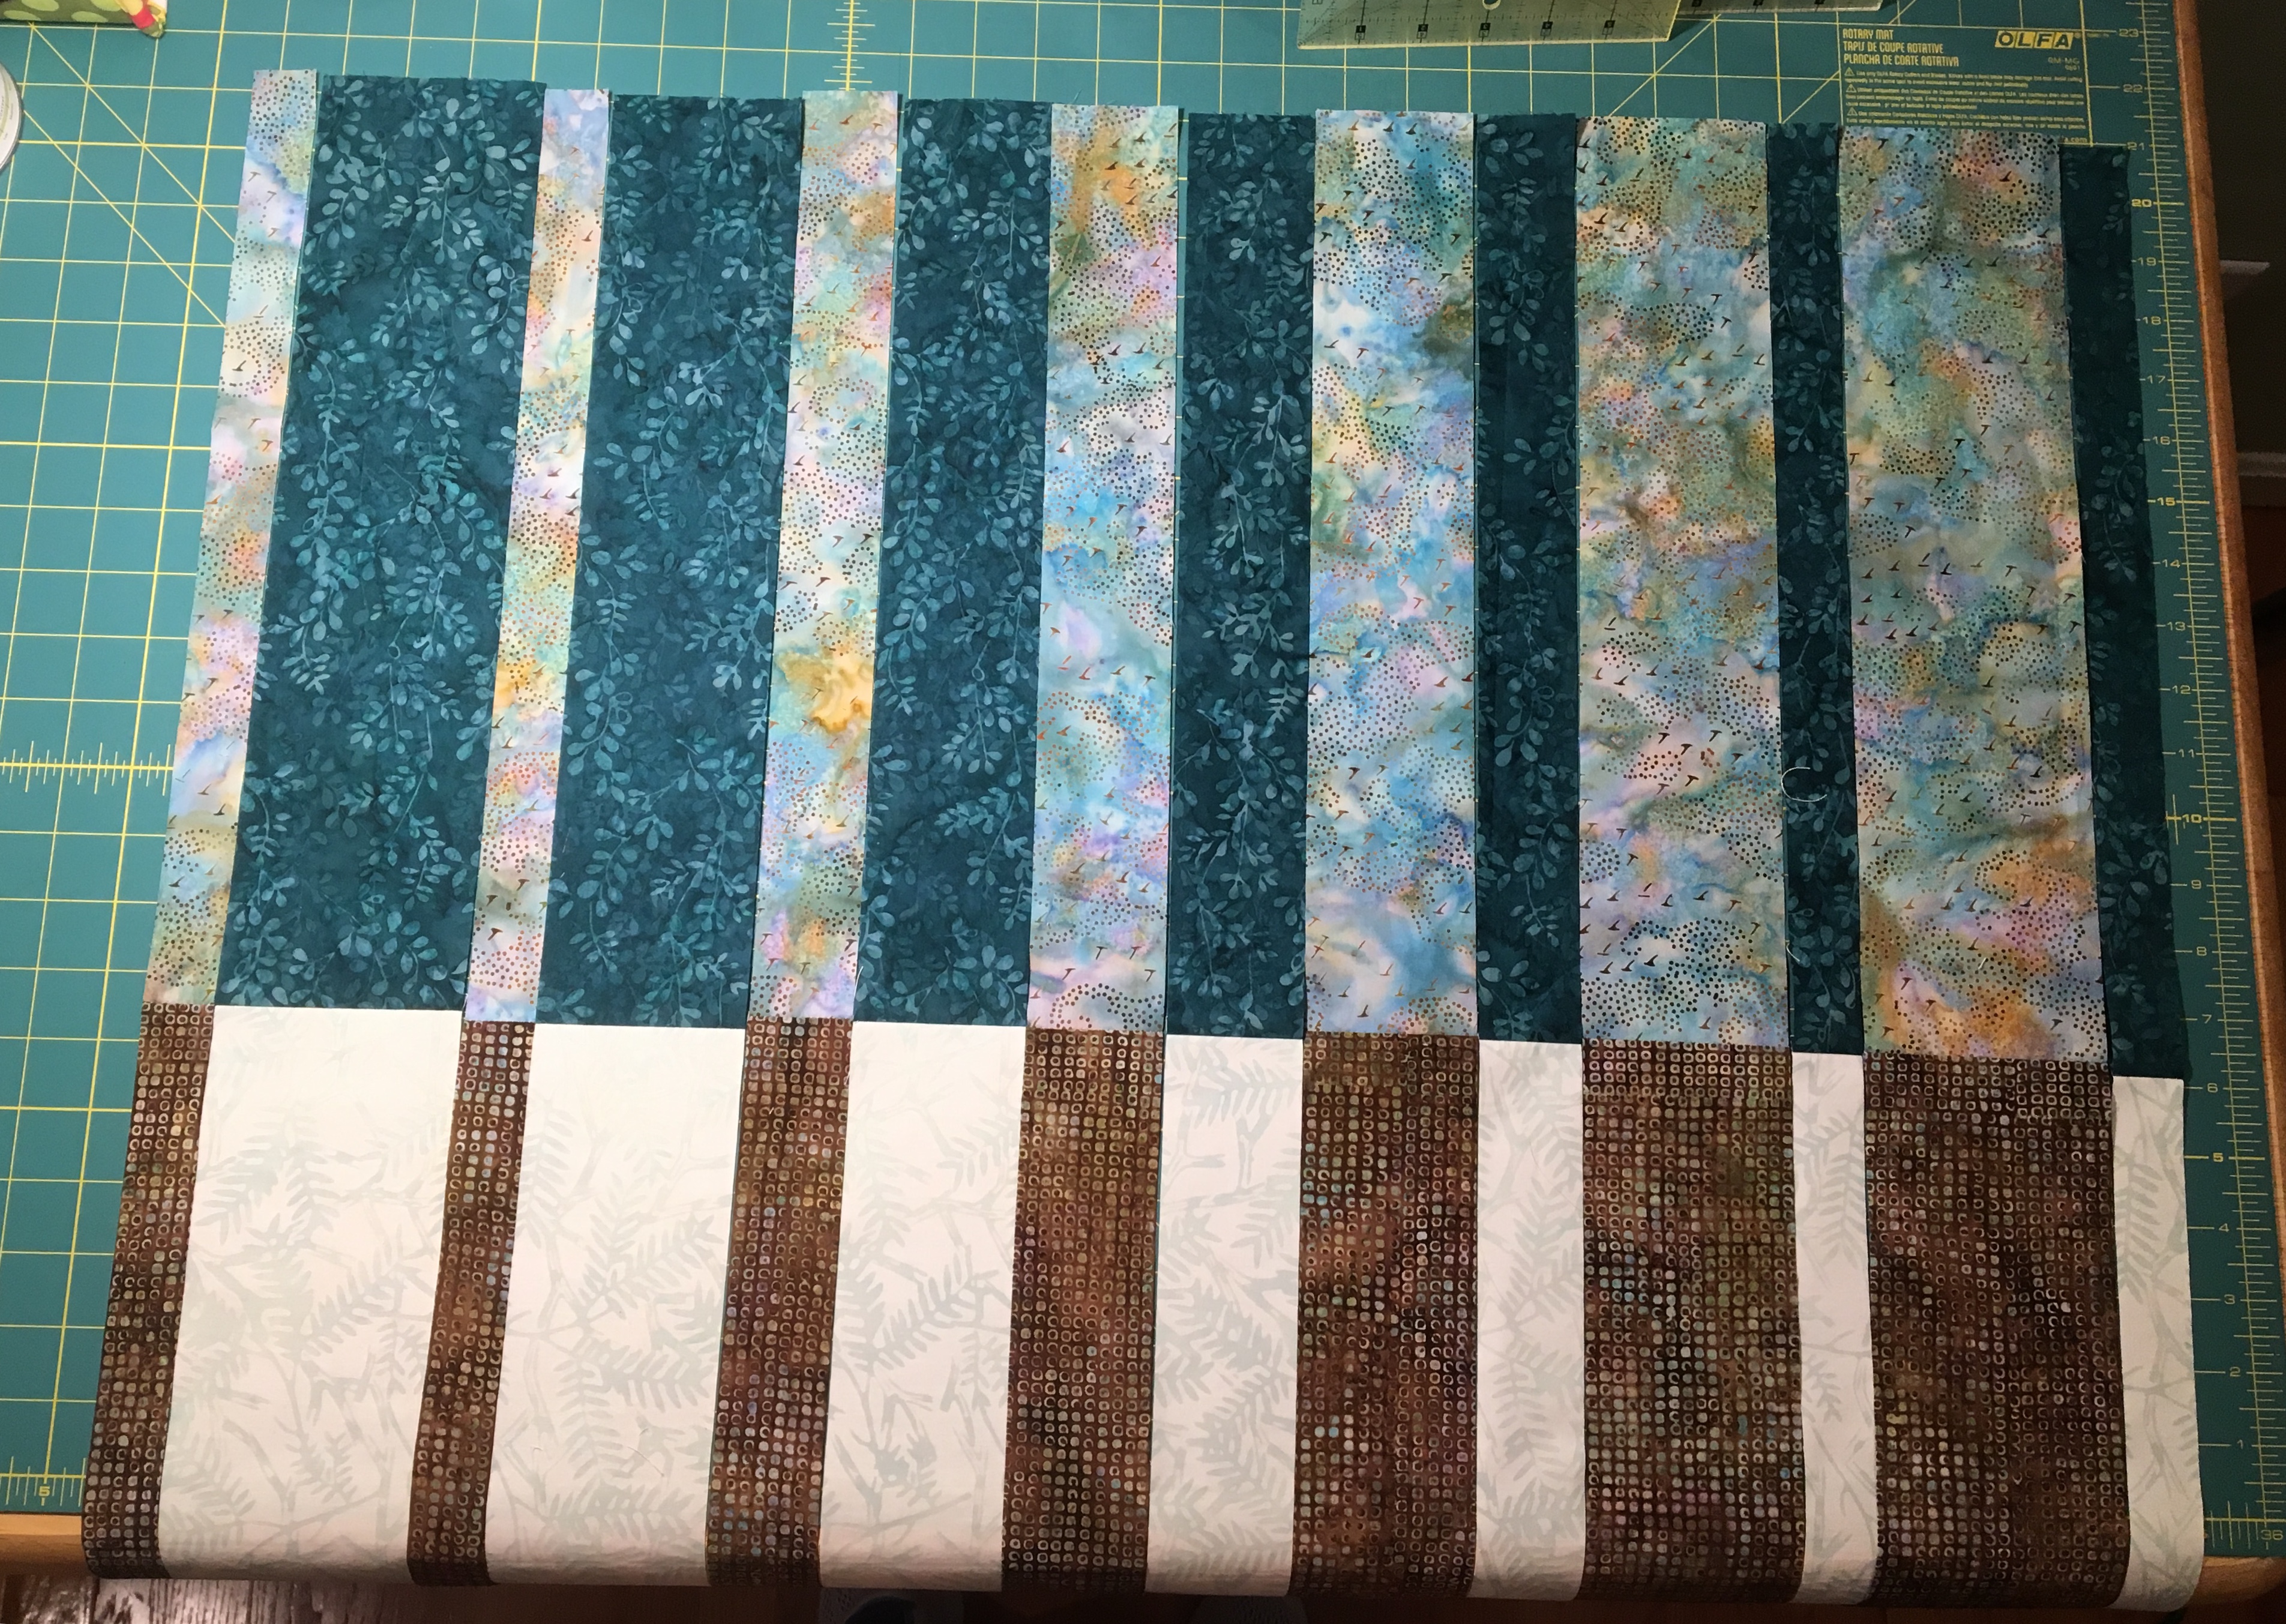
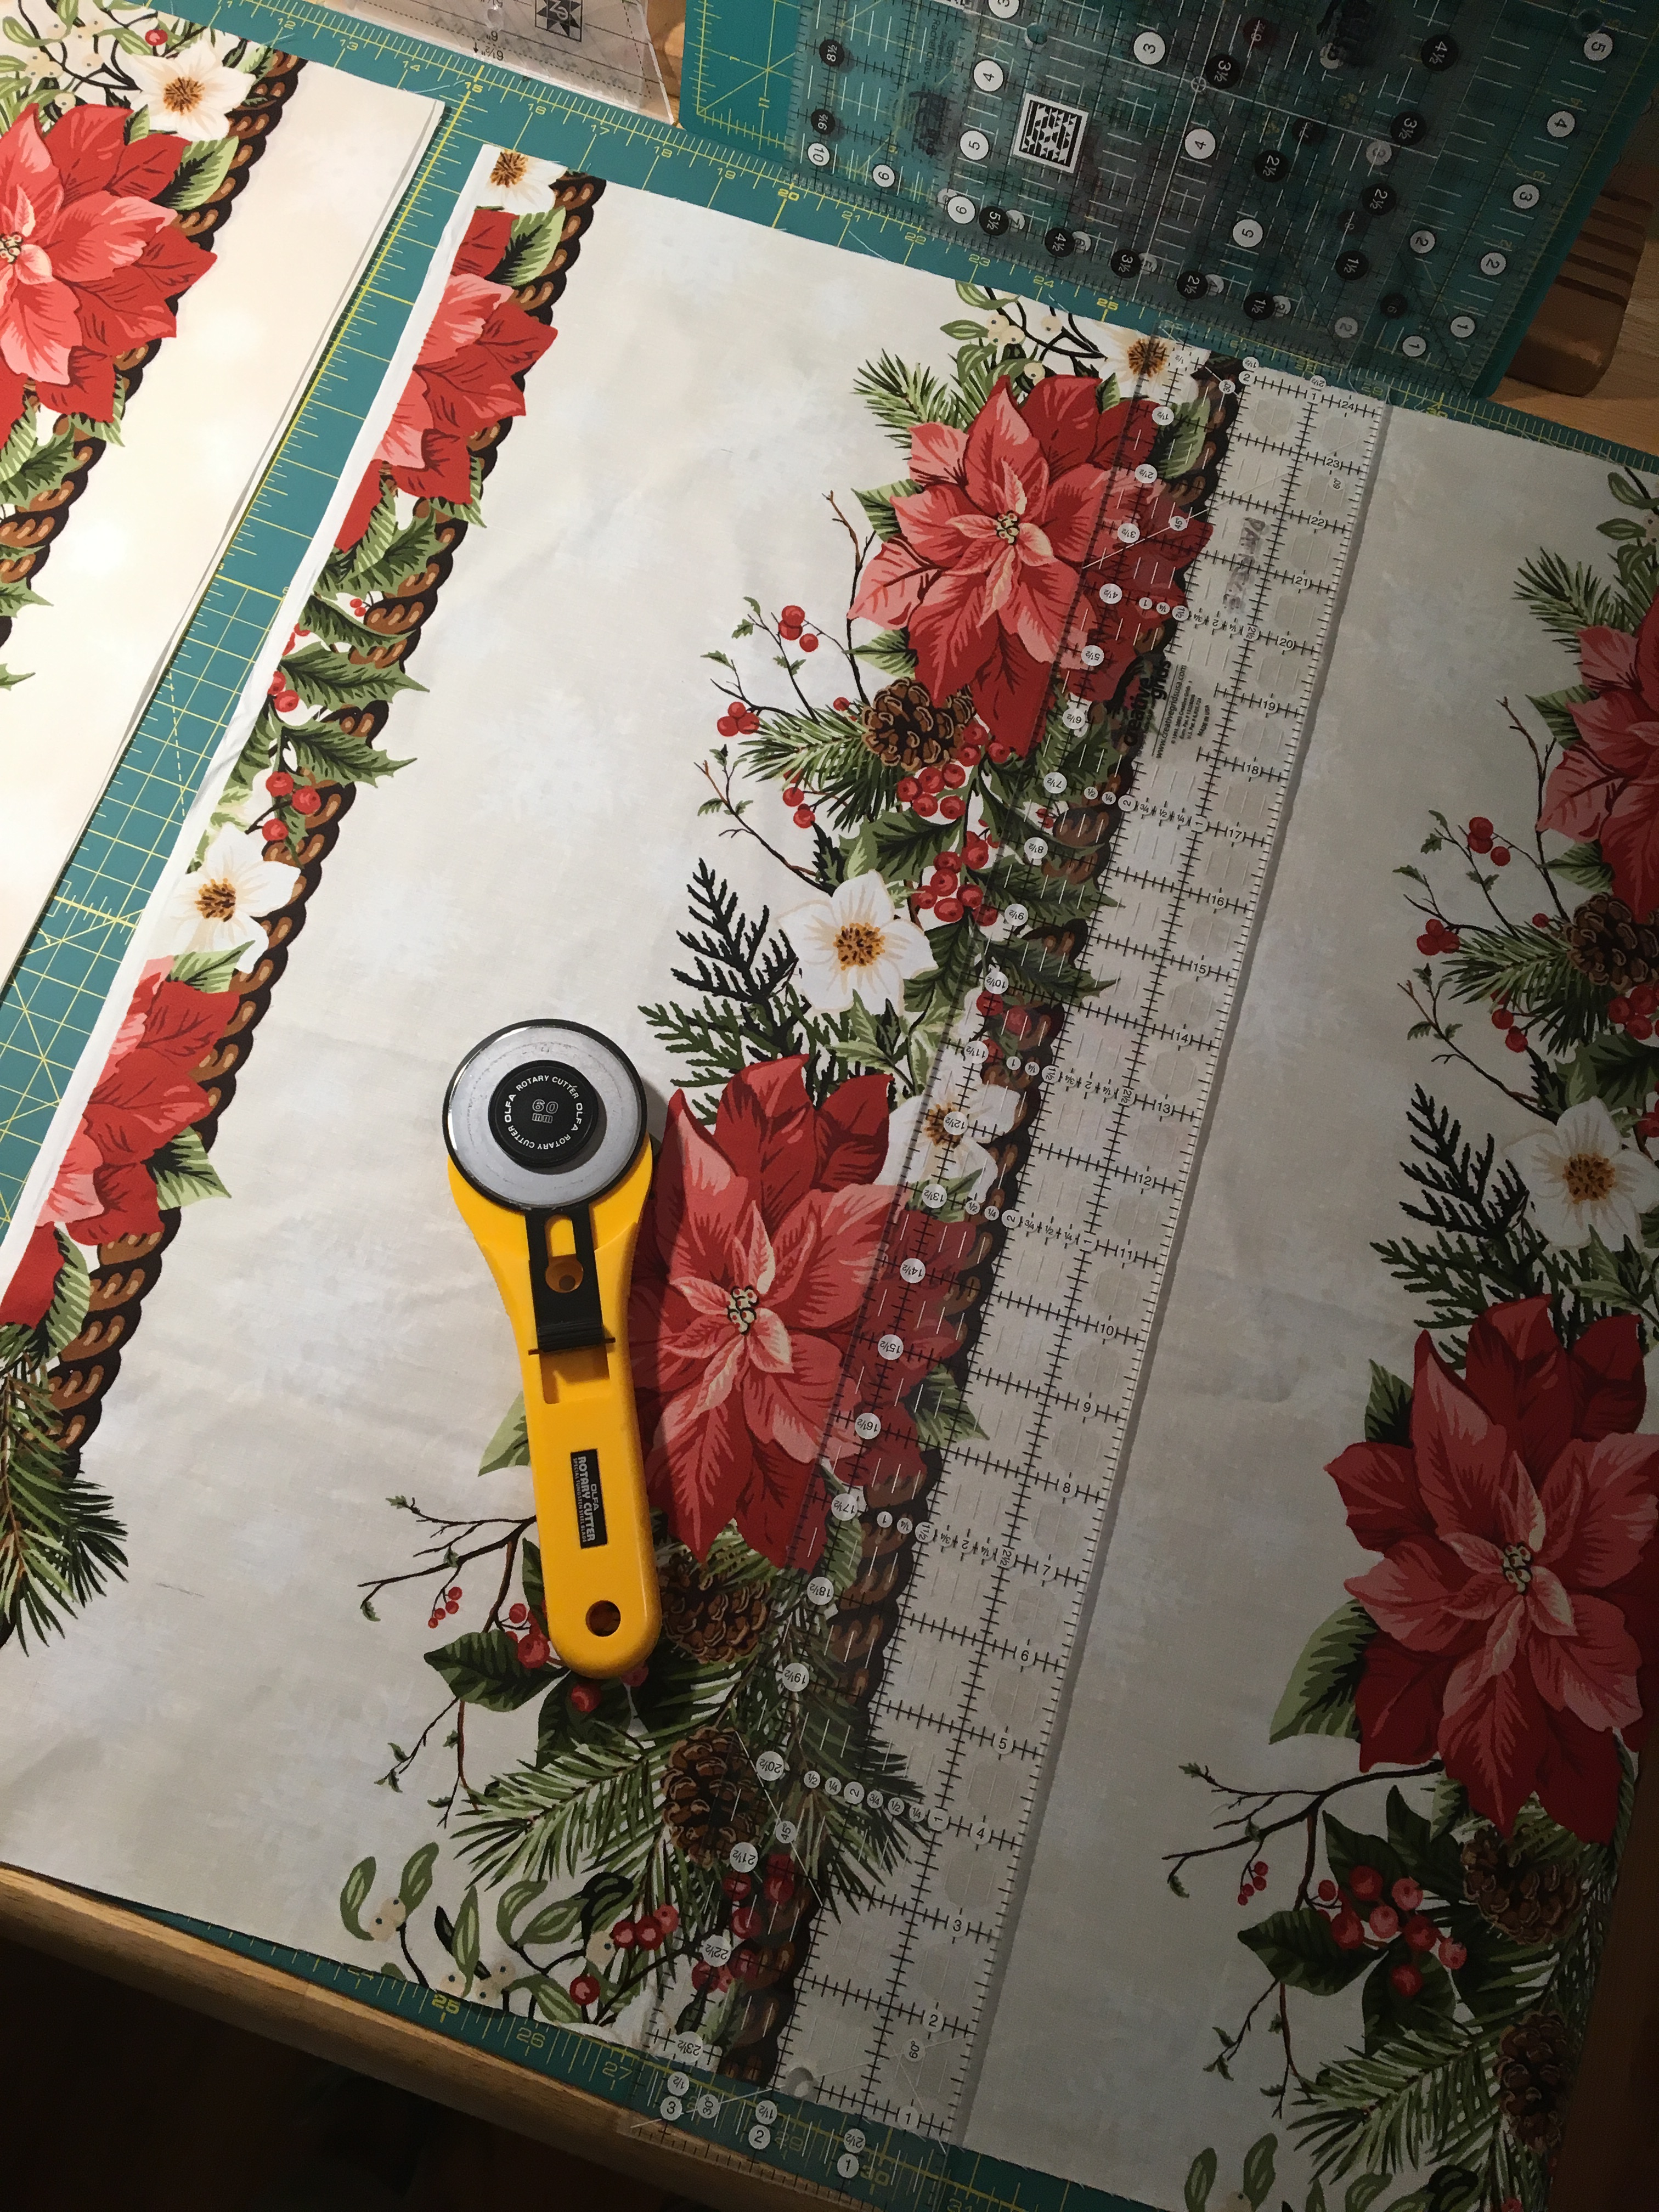
Cut 1 piece of fabric 10″ x 15″

Cut 2 pieces 1 1/2″ x width of the fabric (42″)

If you have any fusible, or even non fusible, light weight non-woven interfacing cut a 10″ x 15″ of that as well.  This will add a bit more protection against viruses.

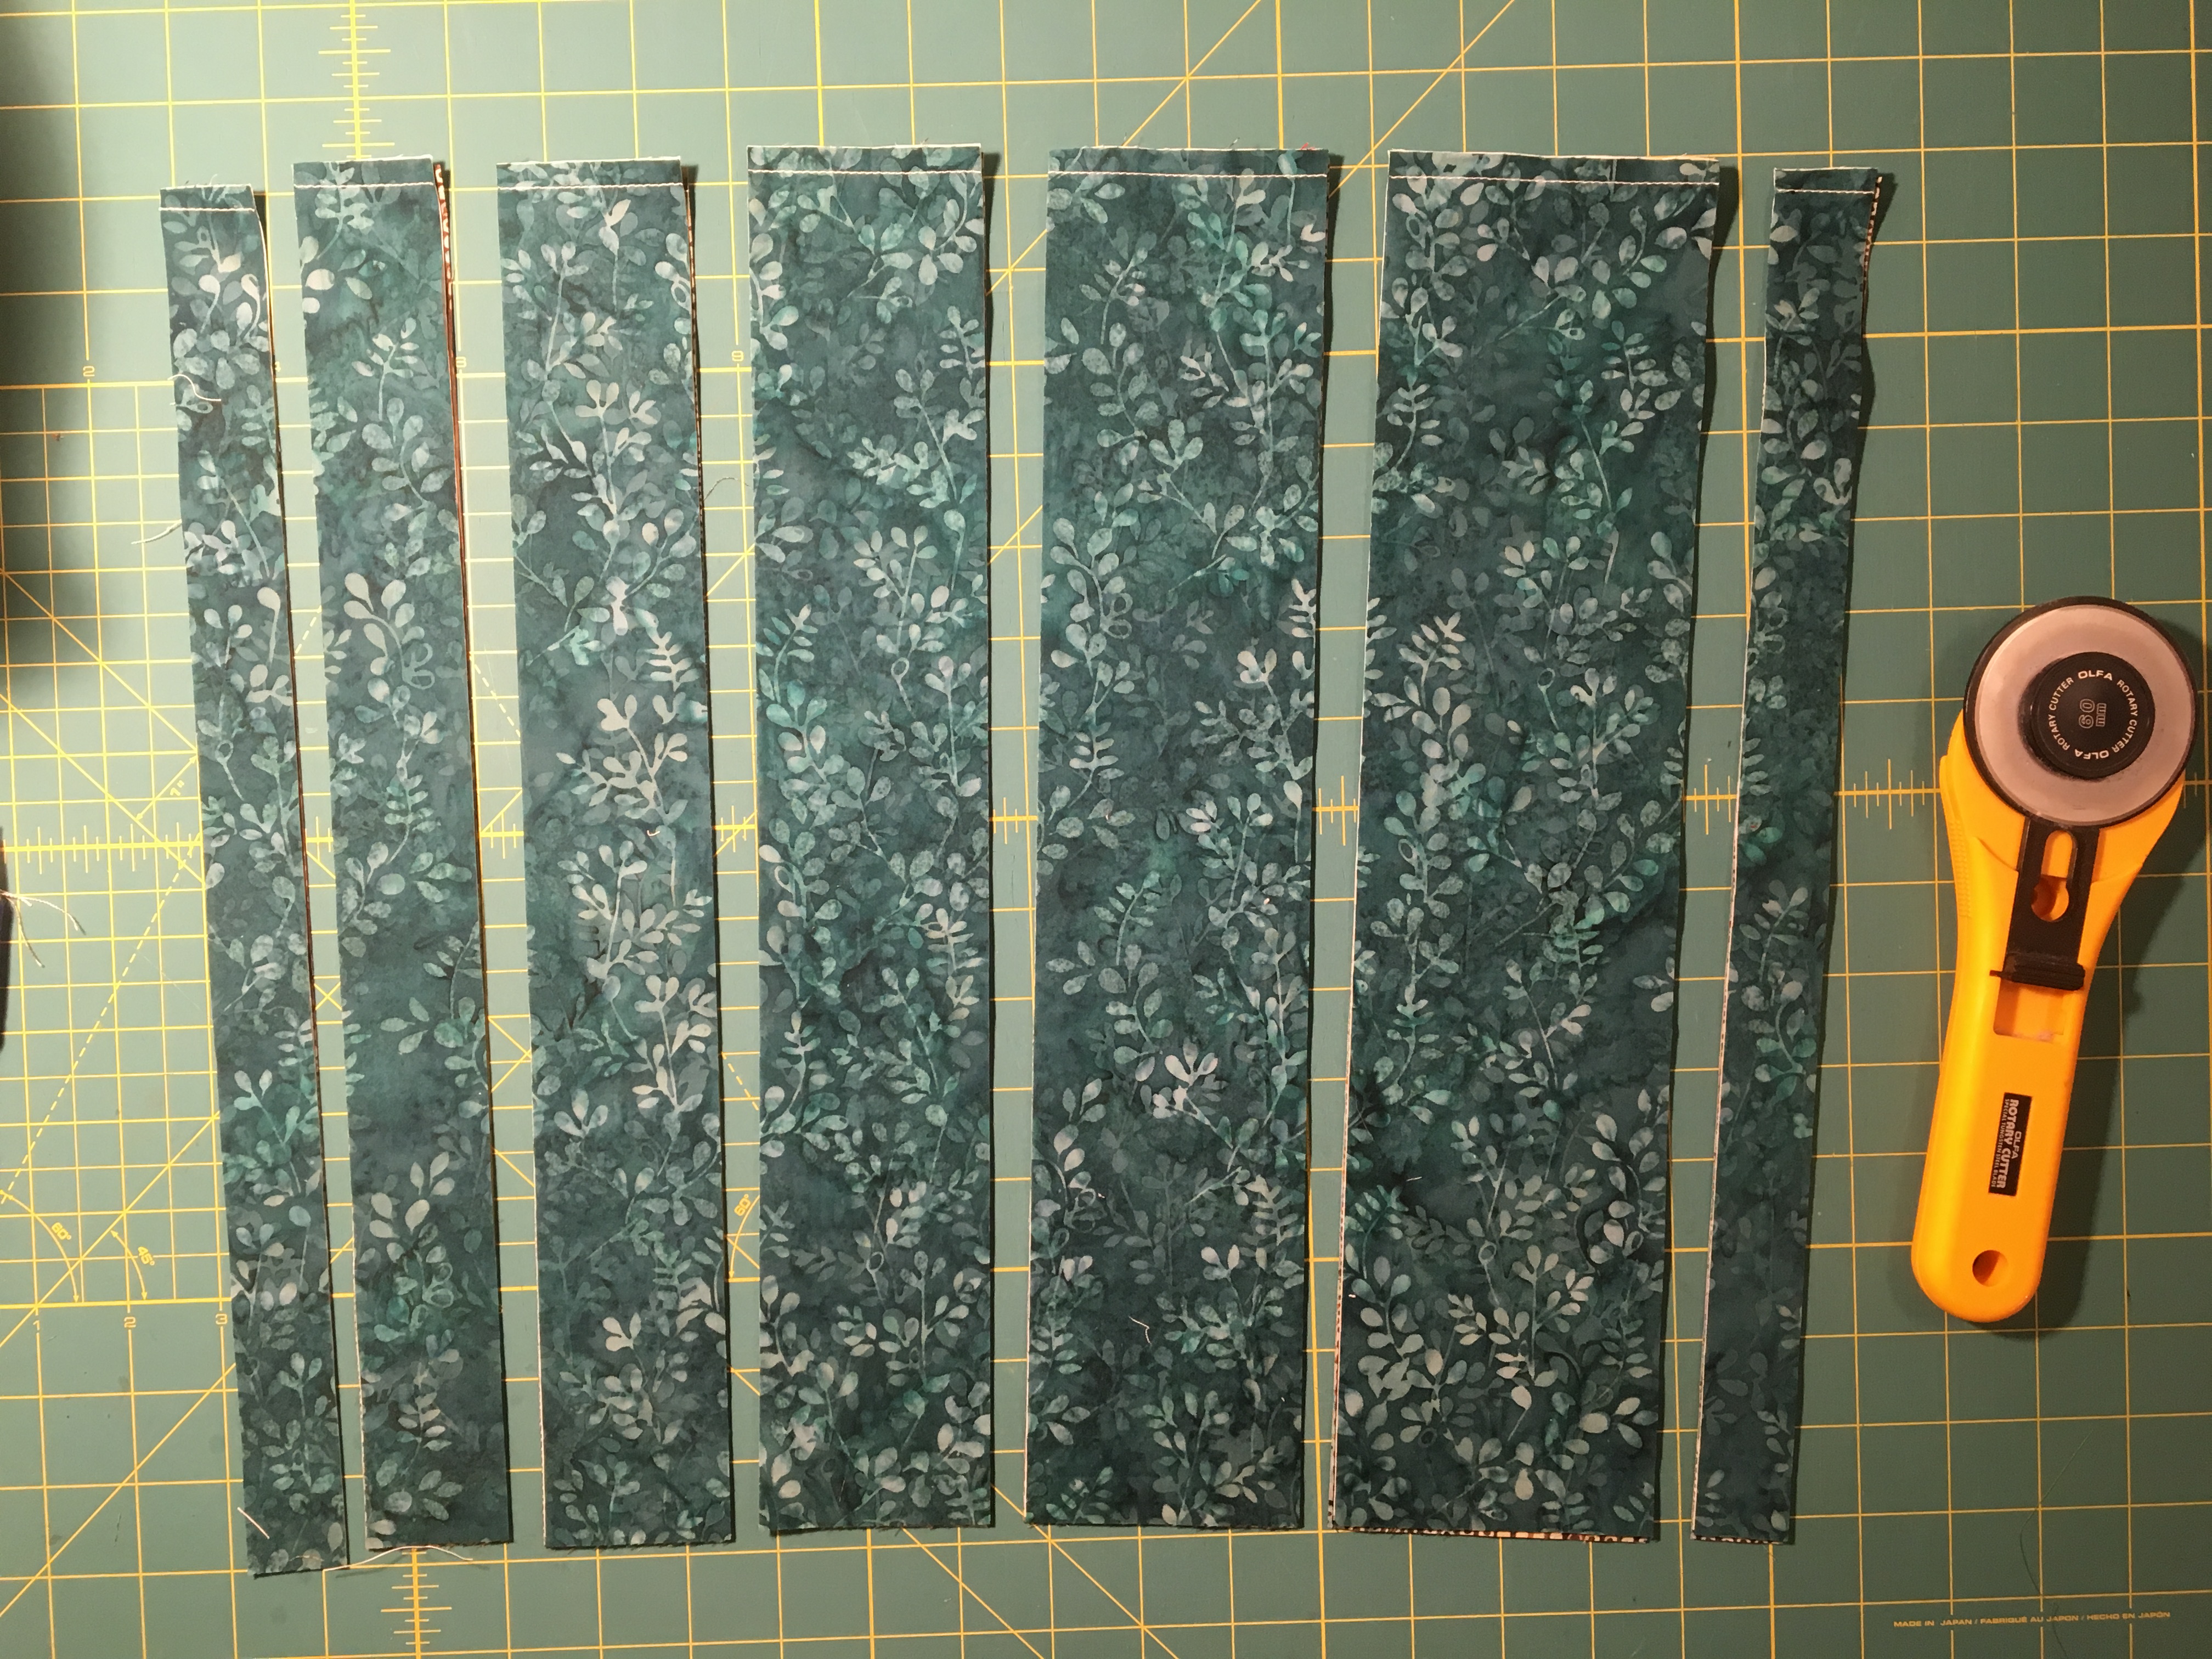
For each of the two 1 1/2″ x width of fabric strips for the ask ties:

Fold and press a 1/4″ of fabric  on each short end, then fold and iron the two long raw edges towards the center.  Next fold the tie in half and press.  Sew a seam close to the edge to finish the tie.

For the Mask:

If using interfacing layer and press the interfacing to the wrong side of the 10″ x 15″ piece of fabric.

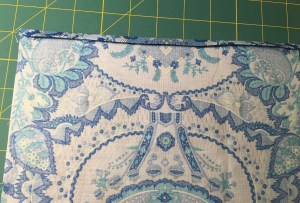
Fold the mask fabric in half, right sides together, so the piece measures 7 1/2″ x 10″.  Sew a 1/2″ wide seam along the long raw edges. Press this piece so that the seam is in the middle of the mask.


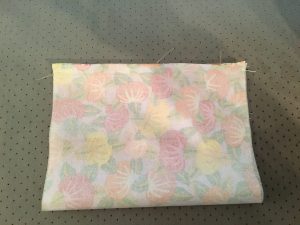
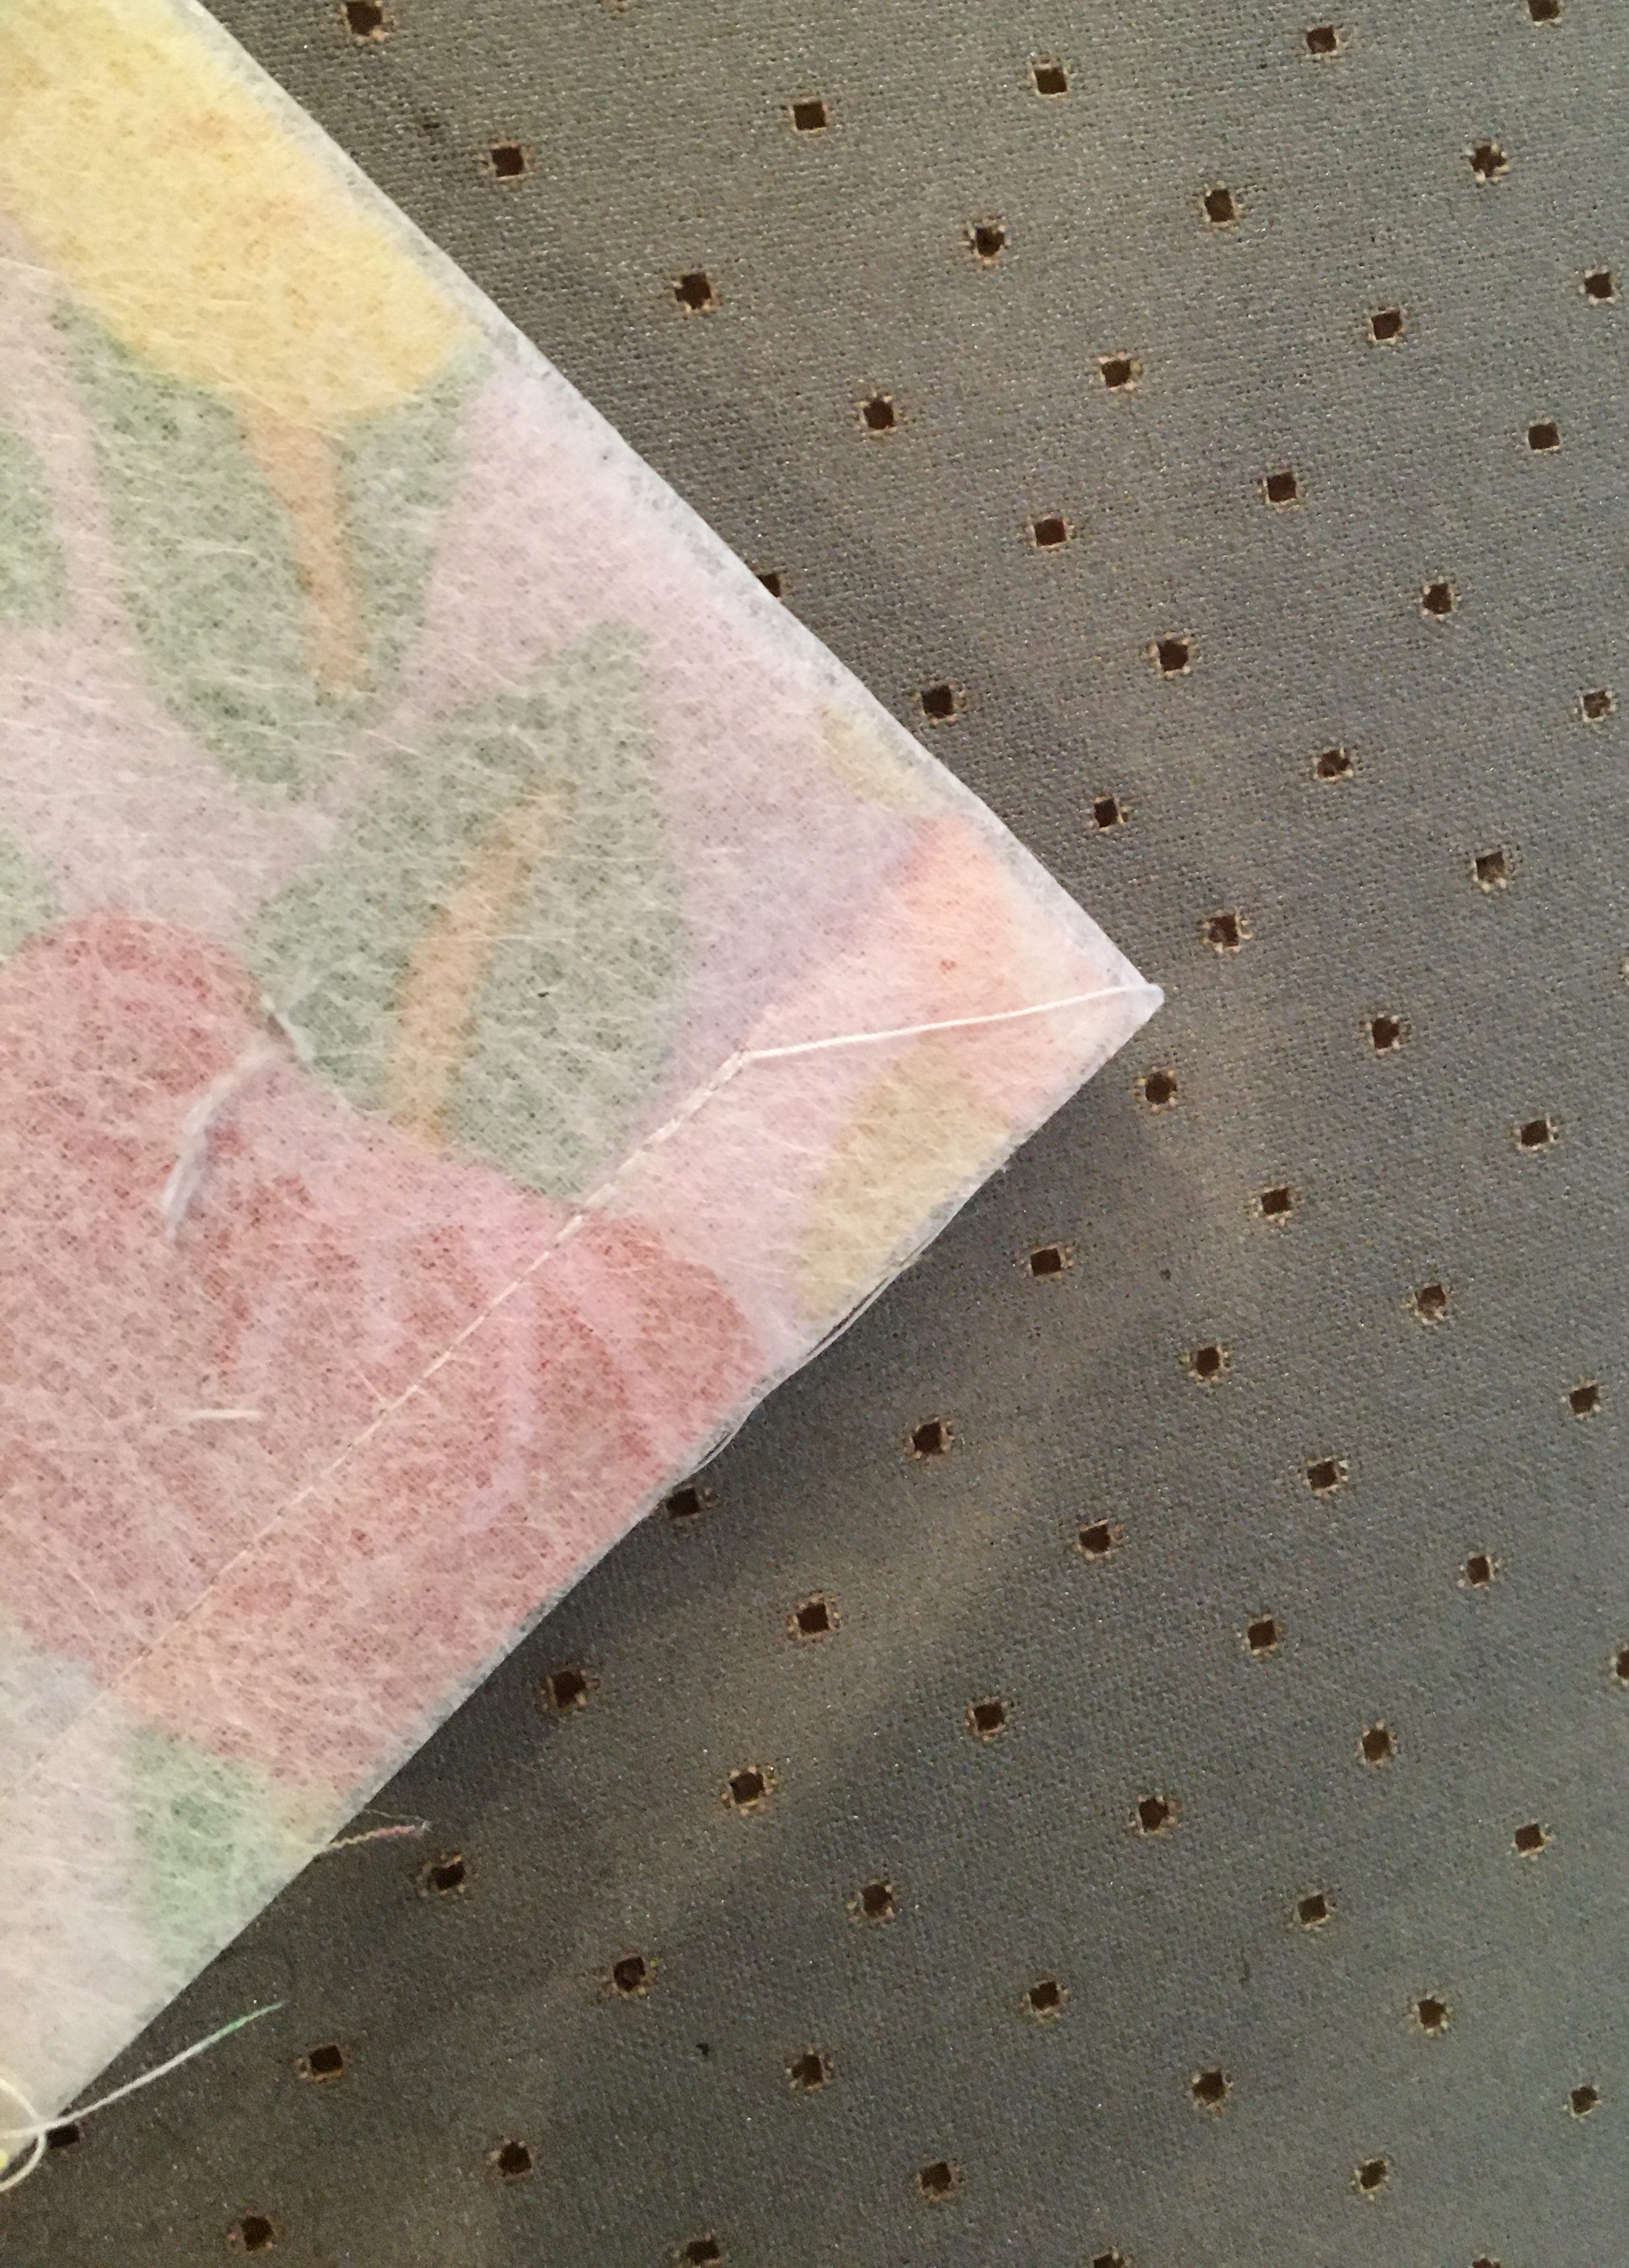
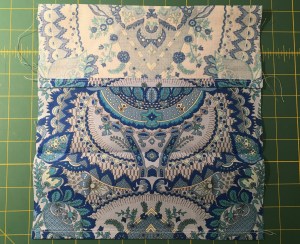
Next sew the side seams.  On one side start 5/8″ from the edge and sew towards the center, stopping about 1″ from the center.  Repeat this on the other end of this side,  Be sure to secure your stitching when you start and stop each of these seams.  You are leaving a hole in this side so that you can turn everything inside out!


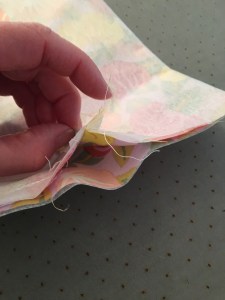
For the other side start your seam 5/8″ in and stop 5/8″ before the end, securing the stitches when you start and stop.  Starting and stopping 5/8″ away from the edges leaves openings for the drawstring casings.

Next pull your drawstrings through the top and bottom openings of the mask.  Use a safety pin to make this an easier task.

Once the drawstrings are in place, make sure they are centered, and then tack them down in the center of the mask to make sure they stay in place when laundered.

Then sew along the edge of the two sides to close the opening and help hold the shape of the mask.  Secure all seams.

Next sew the drawstring channels.  Sew 5/8″ away from the long edge to do this.  Secure all seams.

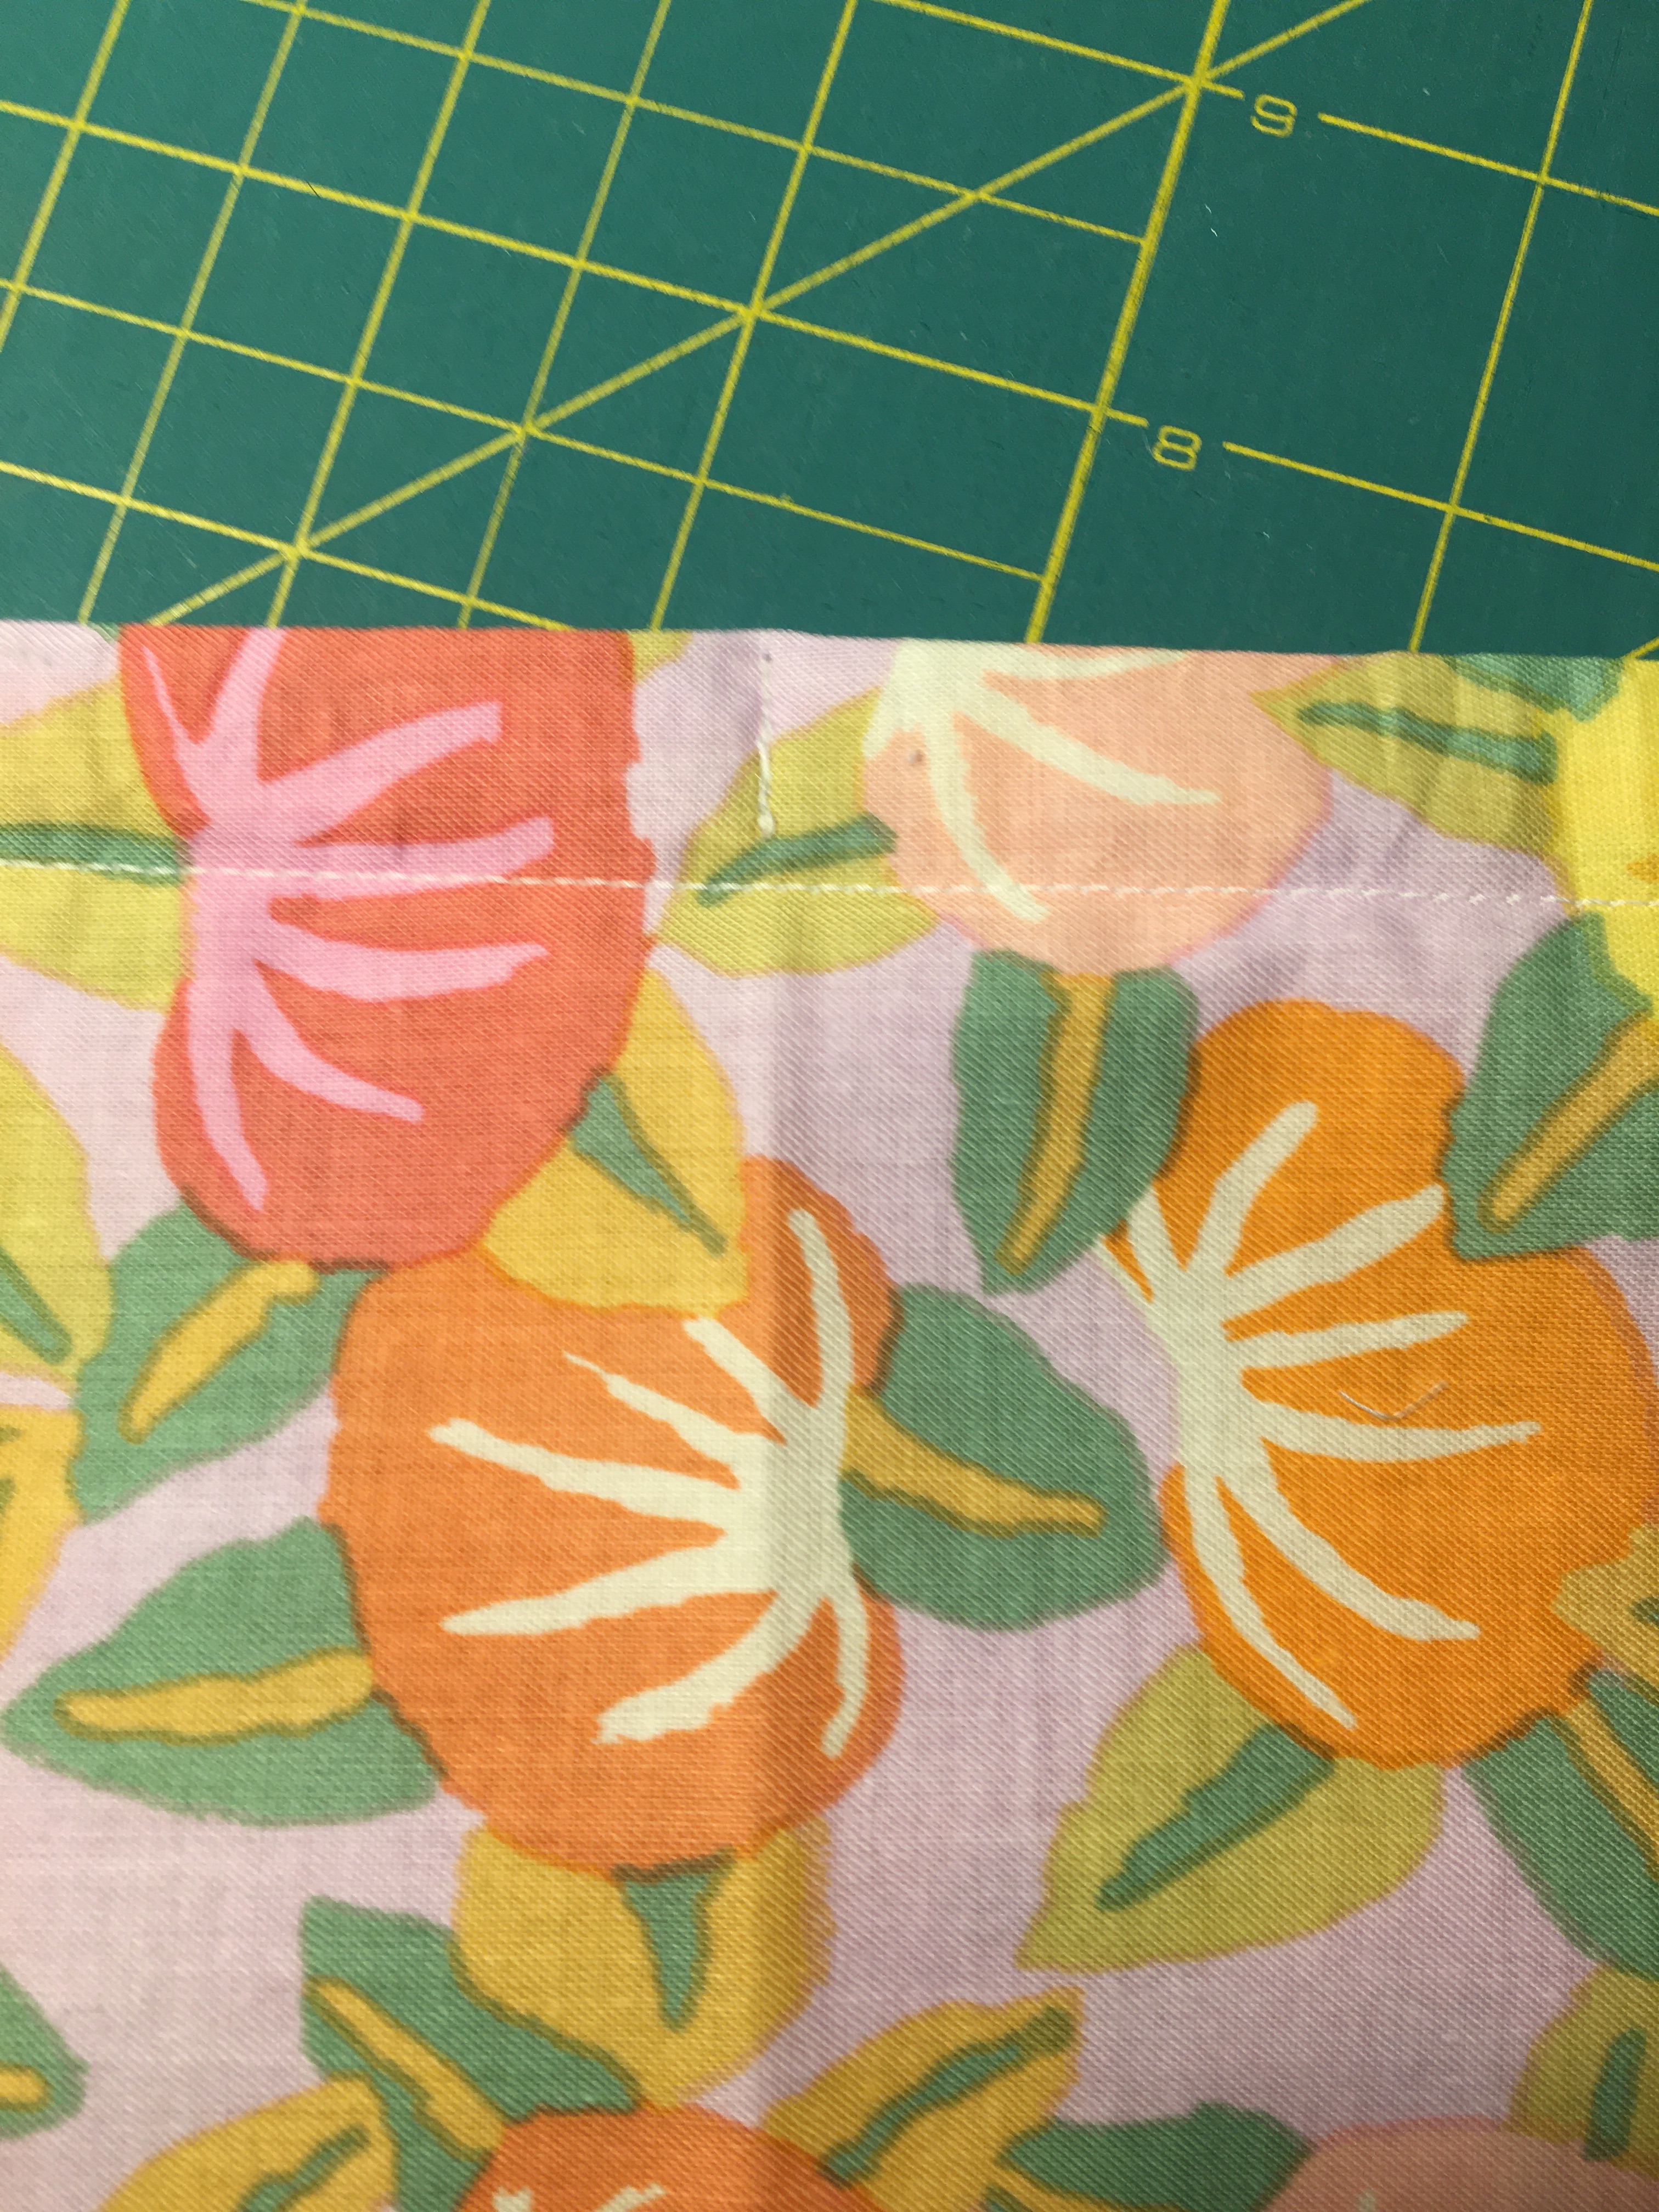
Now press two 1/2″ pleats as shown in the photo.  Make sure the folds are set up so mask will pop out in the front for your nose!  This picture shows the BACK of the mask.

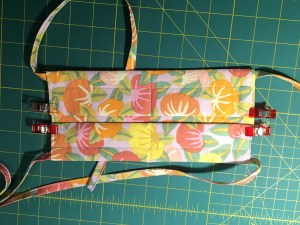
Sew a 5/8″ seam along each side to hold the pleats in place.

You have a face mask that should give you some protection also protect your fellow humans if you are unwittingly walking about with a virus!!

And, if you have a double chin, no one will know!!

I am updating this post with some steps for leaving an opening in the back of your mask to add a filter.  I read an article that says that blue shop towels make a great filter, so here you go:

Cut pieces as above, omitting the interfacing.  For this version you do not need to use interfacing, because you will be using a disposable filter each time you use your mask.

Make the ties as indicated above.  Then sew the mask.

Before folding the mask piece in half, I folded over the 10″ long raw edges twice and then  sewed a seam close to the edges.  Then I folded the piece in half and overlapped the edges.  Next I sewed the sides closed.


After turning the mask right side out, I finished the mask following the same procedures above that I used for the mask with no opening.

Before wearing your mask insert a filter.  I plan to use a blue shop towel.  I cut the towel in half, fold one of the halves in half and then insert it into the mask.

Remember once you have your mask on:  Wash your hands if you touch the mask after being exposed to any germs! Remember to carefully dispose of the filter after each use, and then wash your hands!!

Wash your hands!!!

Do Good Block September 2019

Size: 10” Finished

Please make at least two blocks.

Fabric:

Four 5” squares – Dark Bright Colors – Prints and/or Solids

Four 5” x 1 ½” pieces – Light Pastel Colors – Prints and/or Solids

One 1 ½” x 1 ½” square – Dark Bright – Print and/or Solid

Arrange pieces as shown:

Sew 3 rows:

Sew rows together:

Finished Blocks:

In Praise of Silk

Don’t miss the Silk Exhibit at the New England Quilt Museum in Lowell. My Cube Life Quilt is on display with some really extraordinary quilts by award winning quilters.


I am honored to have been given the opportunity to exhibit my Cube Life Quilt along with these fantastic quilts.

This is the second time I have made this quilt.  Here is the first one made with cotton quilting fabrics.

Pam Weeks saw my cotton version and loved it.  She said if I made the quilt in silk then she could include it in the exhibit.  This was last year some time.  I went about collecting silk for the quilt and finished it in time for the show.

This quilt went together more easily than you might think.  It is pieced in rows, or in this case columns, of paper pieced triangles and diamonds. The colored cubes are shimmering silk; the gray cubes are a more subdued linen. The background fabric is silk noil.

I became intrigued with three dimensional blocks after seeing quilts featured in Jeffrey Gutcheon’s Diamond Patchwork book. The tumbling blocks become more of a cubic space when you add sashing to each diamond and when you consider the color value and placement of the fabrics that you use.

We all spend a lot of time in cubic spaces. Many of us have spent our careers working in an office cube. Why not add a splash of color to your cube? And, silk makes it so much more luxurious!

In Praise of Silk, May 1 through August 4.

Playing with Convergence Quilts

Ricky Tims published his Convergence Quilts book in 2003.  I was brainstorming with Jolene at Quilters Common trying to come up with a good idea for a workshop.  She mentioned that she had seen some Harmonic Convergence quilts on the internet, perhaps Pinterest?   So of course I did some researching as soon as I got home and discovered his book.  I checked a copy of the book out from the incredible New England Quilt Museum research and lending library.  (I volunteer there on Thursdays).  The book has a lot of interesting projects to try, but the trick is finding the right fabric combinations.  I found his original Harmonic Convergence project the easiest to work with.  In fact I found it so easy that I could hardly stop picking out fabrics and making them.  It is fun and easy to put these stunning little quilts together.  Here are the ones I have put together (so far!)

Here is a pictorial overview of the process:

Start with four 16″ squares.  Sew them together is pairs, layer the four squares and then cut strips increasing in size by half an inch from 1″ to 3 1/2″.  For the quilt in the photos there was enough fabric left over, so I cut an extra 1″ strip and used it as a border.

Open up the strips and then rearrange them as shown here (click to zoom in on any of these photos).

Looking at the photos of my finished quilt tops above, I am going to point out that on my turquoise and red quilt the strips are not arranged correctly!  Can you see what I did wrong?  Does it matter???

Once the strips are arranged CORRECTLY, sew them all together.  When I was pressing the seams, I spun the seams so that half of the seam was pressed to one side and the other to the opposite side.  Trust me, do this and it will be much easier to sew the second go round of strips together, because everything will nest together nicely and increase your accuracy.  If you want these to end up pressed to the dark side then remember to press to the light side when you are first sewing your squares together in pairs …. I did not do this in the example … live and learn!

Once the strips are pressed, rotate the fabric panel, and cut strips again increasing in size from 1″ to 3 1/2″, plus the extra 1″ strip if you are including the border,


Rearrange them and sew them together again to complete your Harmonic Convergence square.

I finished one of mine on point, two of the others with borders, and the bright solid colored one is finished with some modern asymmetrical negative space.

I am I the process of quilting these, and finding they are a great way to practice my free motion quilting.

I designed my modern convergence in Electric Quilt 8 and printed an outline of the quilt to draw out my quilt plan.


Squares within Squares

I recently joined the Hope Circle of Do Good Stitches which is a group of 10 people working together to make quilts to be given for charity and comfort.  I joined just in time to be asked to design a quilt for the month of October.  I came up with the idea to have everyone make Squares within Squares blocks.  These blocks all have a center square which is perfect for fussy cutting novelty and floral fabrics.  Here are instructions for making the block.

These blocks are 8″ finished squares.  I used white background fabric(s), a different dark colored fabric for each block and a different coordinating novelty and/or
floral fabric for the center of each block.

For each block cut an exactly 4 1/2” by at least 5” piece of
white fabric and one from one of the colored fabrics. Sew
together on the long edge. Press towards the colored fabric.
Cut 2 pieces from this that are 8 1/2” x 2 1/2”.

Then cut an exactly 2 1/2” by at least 5” piece of the same
white fabric and one from the same colored fabric as above.
Sew together on the long edge. Press towards the colored
fabric. Cut 2 pieces from this that are 4 1/2” x 2 1/2”
Fussy cut 1 square that is 4 1/2” x 4 1/2” from your novelty/floral
fabric.

Sew together as indicated in the photos. Don’t worry about the direction
of your fussy cut square if directional!  Press seams towards the
center block.

Here are six of the finished blocks:

I had a few of design ideas in mind.  These two are 7 x 7 blocks:

This design would require 8 x 8 blocks:

This is what I went with. The sashing is 1 1/2″ and the borders are 4″.  The quilt finishes to 73″ x 73″.  I will update this post to include a photo of the finished quilt.

AND … here is the update.  This quilt was donated to the MassGeneral Hospital for Children.


Jane Stickle I finally finished my quilt

I just wanted to share my finished Jane Stickle quilt with the world.  It took me four years to make 115 Jane blocks.  The group I was meeting with every month was talking about doing a show with our finished quilts.  I really wanted to have a quilt ready for that but there was just no way that I was going to get another 110 blocks done in time!!  Then I saw one of Tula Pink’s layout for her City Sampler quilt and I was completely inspired.

Once I got the top put together I was happy, but, quickly became nervous with the thought of quilting it.  I had some ideas, but was not quite confident enough to dive in.  I made a small Jane with my left over blocks and quilted it.  I was pretty happy with the results, but waited until I had  done some free motion quilting on a few other quilts before I was brave enough to quilt my Jane.

Finally, almost one year later, I put the top on my longarm machine and just did it!  I actually enjoyed the whole process.  I was listening to some music while I quilted which put me in a great mood.  Vertical Horizon and Mood Taxi were a couple of the artists that came up on a playlist that my husband had put together for me.

So here is the almost final result taken before I put the binding on.

Christmas Kaleidoscope Quilt Stack and Wack Method

This is a tutorial for Jason Yenter’s Winter Twist One-Fabric Kaleidoscope Quilt Pattern.  The pattern is available from and uses fabric from In the Beginning.

Cutting Kaleidoscope Fabric:

Cut 6 Repeats of the Fabric.  Each repeat is about 24″ long.

Cut each repeat of the fabric into 4 border strip pieces.  Cut 2″ from the edge of each brown cable.  You will have 24 border pieces that are approximately 24″ x 9 1/2″.

Group these into 3 sets, each with 8 layers of fabric.  Line up the layers in each set by putting a straight pin straight through the same place in the fabric design on each layer.  Run a second pin through all layers next to the first pin to hold the layers in place.  Repeat this process 3 or four more times along the length of the strip.

Trim the strip sets to 8 1/2″ wide.  This is easiest to do with an 8 1/2″ wide ruler.  From each strip set cut at least 3 sets of triangles using a 45 degree triangle ruler with a 8 1/2″ cutting line on the ruler.  Make sure the ruler has flat top at the triangle point.

Make sure to cut 4 sets that have the cable at the base of the triangles and 5 that have the cable at the point.  Cut selectively to get different areas of and colors from the fabric design.  You should be able to get at least 4 sets of triangles from each set so you will have enough fabric for at least 12 blocks.  This will let you pick and choose which ones you want to use and allows for errors in cutting, as well.

Piecing:

Take 4 of the sets of the triangles with the cable at the point of the triangle and separate them into sets of 5 for the side blocks and sets of 3 for the corners.

Refer to the pattern diagrams for piecing the blocks.

For each of the 5 center blocks sew four pairs of triangle pieces together.  Then sew two sets together, and then the two halves together.  I prefer to press all my seams open for these blocks.

You will have four blocks with the cable on the bottom, and one with the cable at the point. This one is the center block.

For the Side Blocks sew two pairs together.  Then sew the two halves together.  To finish sew a fifth triangle to one side of the block.  I press seams open except for the last triangle.  That seam is pressed towards that 5th triangle.

For each of the corner blocks sew a pair of triangles together and then sew the third triangle to one side of the block.  Press the seams open.

Cutting and Piecing the Block Corners:

To make it easier to piece the corners I cut oversized pieces and then trim the block afterwards.

Cut three 6″ strips.  Then cut 20 6″ squares from these strips.  Cut each square in half on the diagonal.  You will have 40 triangles for the block corners.

Refer to the pattern diagrams for piecing these corner triangle pieces.

After sewing these corner triangles you will need to trim the blocks.  Leave a 1/4″ seam when trimming.  A 16 1/2″ square ruler makes this much easier to do.

You can trim the side and corner blocks before you sew them into the quilt top.  Be careful!  Make sure to leave a 1/4″ seam.  I used a 24″ long ruler to make this cut.  For the side pieces: Place the block with outside triangles to your right. Line the bottom edge of the  block up on the 45 degree line on your cutting board or on your ruler and cut 1/4″ past the center and through the triangles on the ouside.  Pictures work best ….

Corner Blocks:  line the longest straight edge up on the 45 degree line on your cutting mat.  Line your 16 1/2″ Square ruler up so that it is 1/4″ away from the center of the outside triangles and cut.

Once all the blocks are prepared arrange them and sew them in diagonal rows as explained in the pattern.

When matching the seams as you sew the blocks together you can fold back the seam to see if you are lining things up correctly.  Pin in place when you have the seams matched up.

If you cut the corner blocks before piecing the rows please be careful to piece the ends so that you leave a seam allowance for the border.

Borders:  cut the remaining yardage into four 8 1/2″ wide border pieces that are each the length of the remaining fabric.  Start by cutting 1/4″ away from the cable design for each of the four pieces.  Then trim each to 8 1/2″ wide.  The best way to manage the fabric is to roll it up and unroll as you cut along the length of the fabric.  Be careful!

Follow the pattern instructions for sewing on the borders.

I pressed the border seams away from the border, but you will have to press the corners towards the border when cutting the mitered corners, then press them back towards the blocks after sewing the corners together.  Here is a photo showing how to trim the ends of the borders.

Please note that becuase of the larger size of these blocks they are not going to be very flat.  The triangles are on the bias and stretched no matter how much best press I used!  My sewing machine cooperated and I was able to ease the fullness into the seams when piecing, but you can see puckering at the seams.

Let’s see how this looks after the top is quilted!

Finished Quilts!!

I have some finished quilts!  There are posts about these quilts so I need to share with everyone.

This is a Block of the Month quilt designed by Antoinette at Quilters Common 

I was working on this in my Modern vs. Reproduction post, but it is decidedly  a Contemporay Quilt.  I am still working on the reproduction version, which is probably still too brown for some people! 😉

Next up is my Kaleidoscope Magic Quilt.  This one has Kaleidoscope blocks where every other piece is the back of the fabric.  Can you see what I mean?


And did I ever show you my finished Slice and Dice Piecing quilt?

Ofcourse I have still not quilted my Dear Jane quilt.  I am thinking about it, though!