Author Archives: pmegio

One Kite and Three Triangles

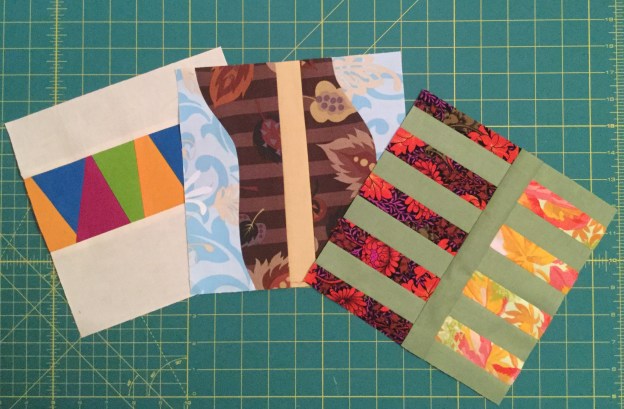
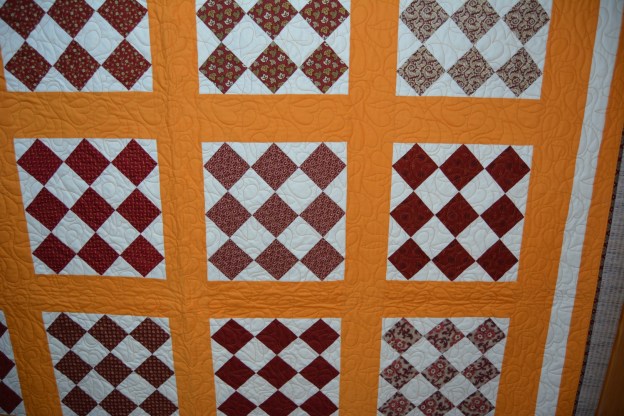
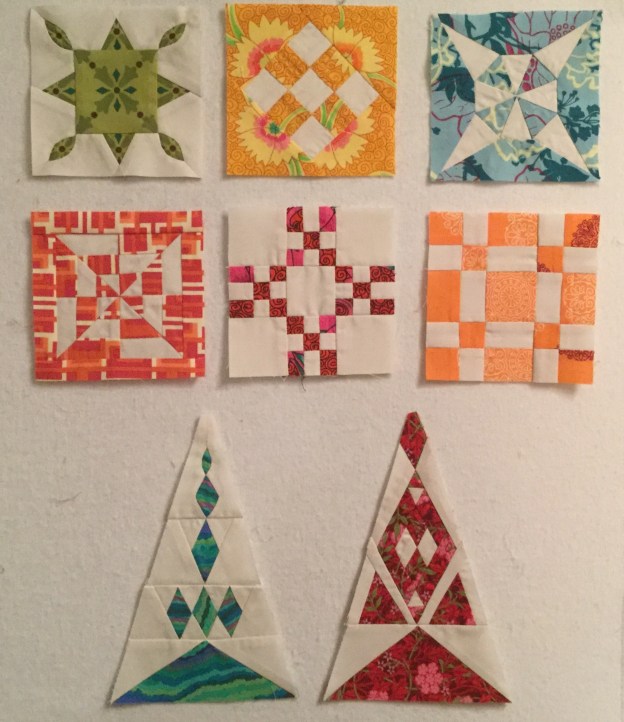
Here is the latest on my Jane Blocks.
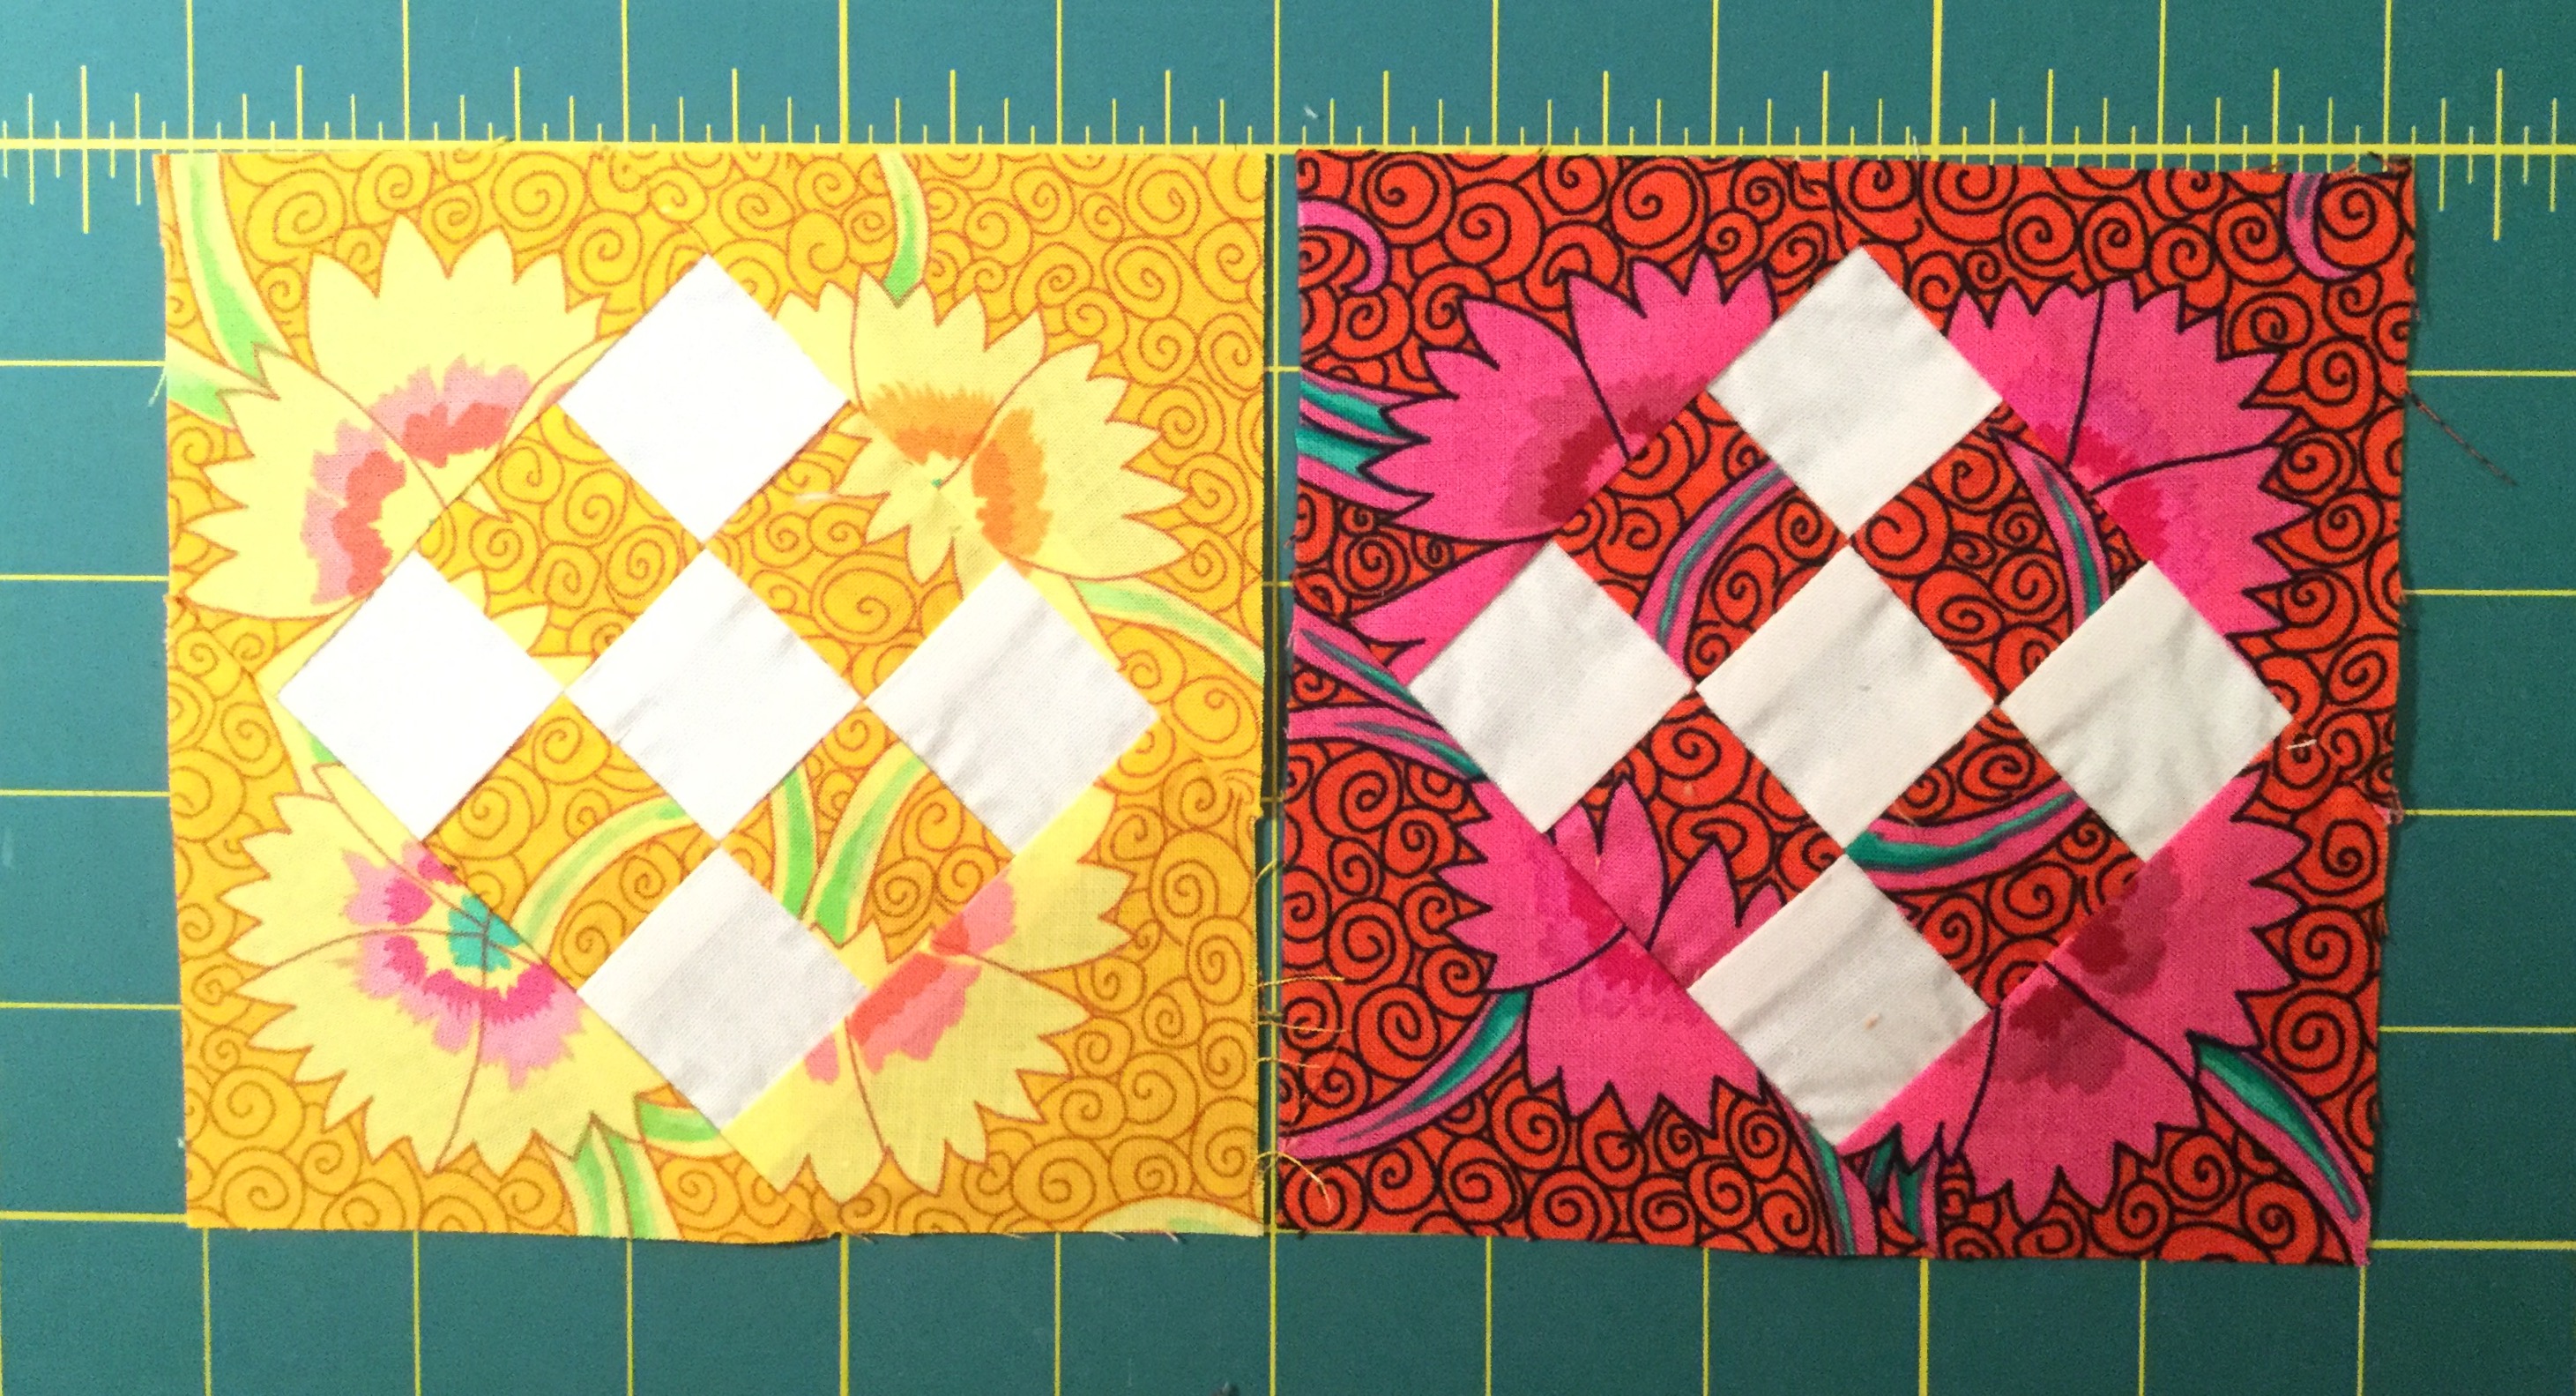
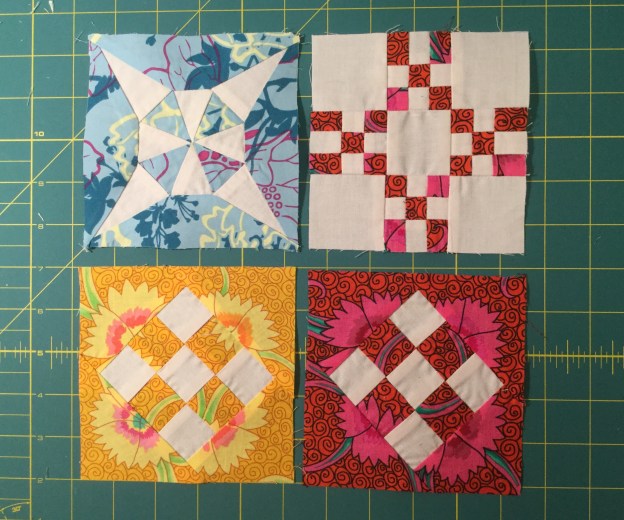
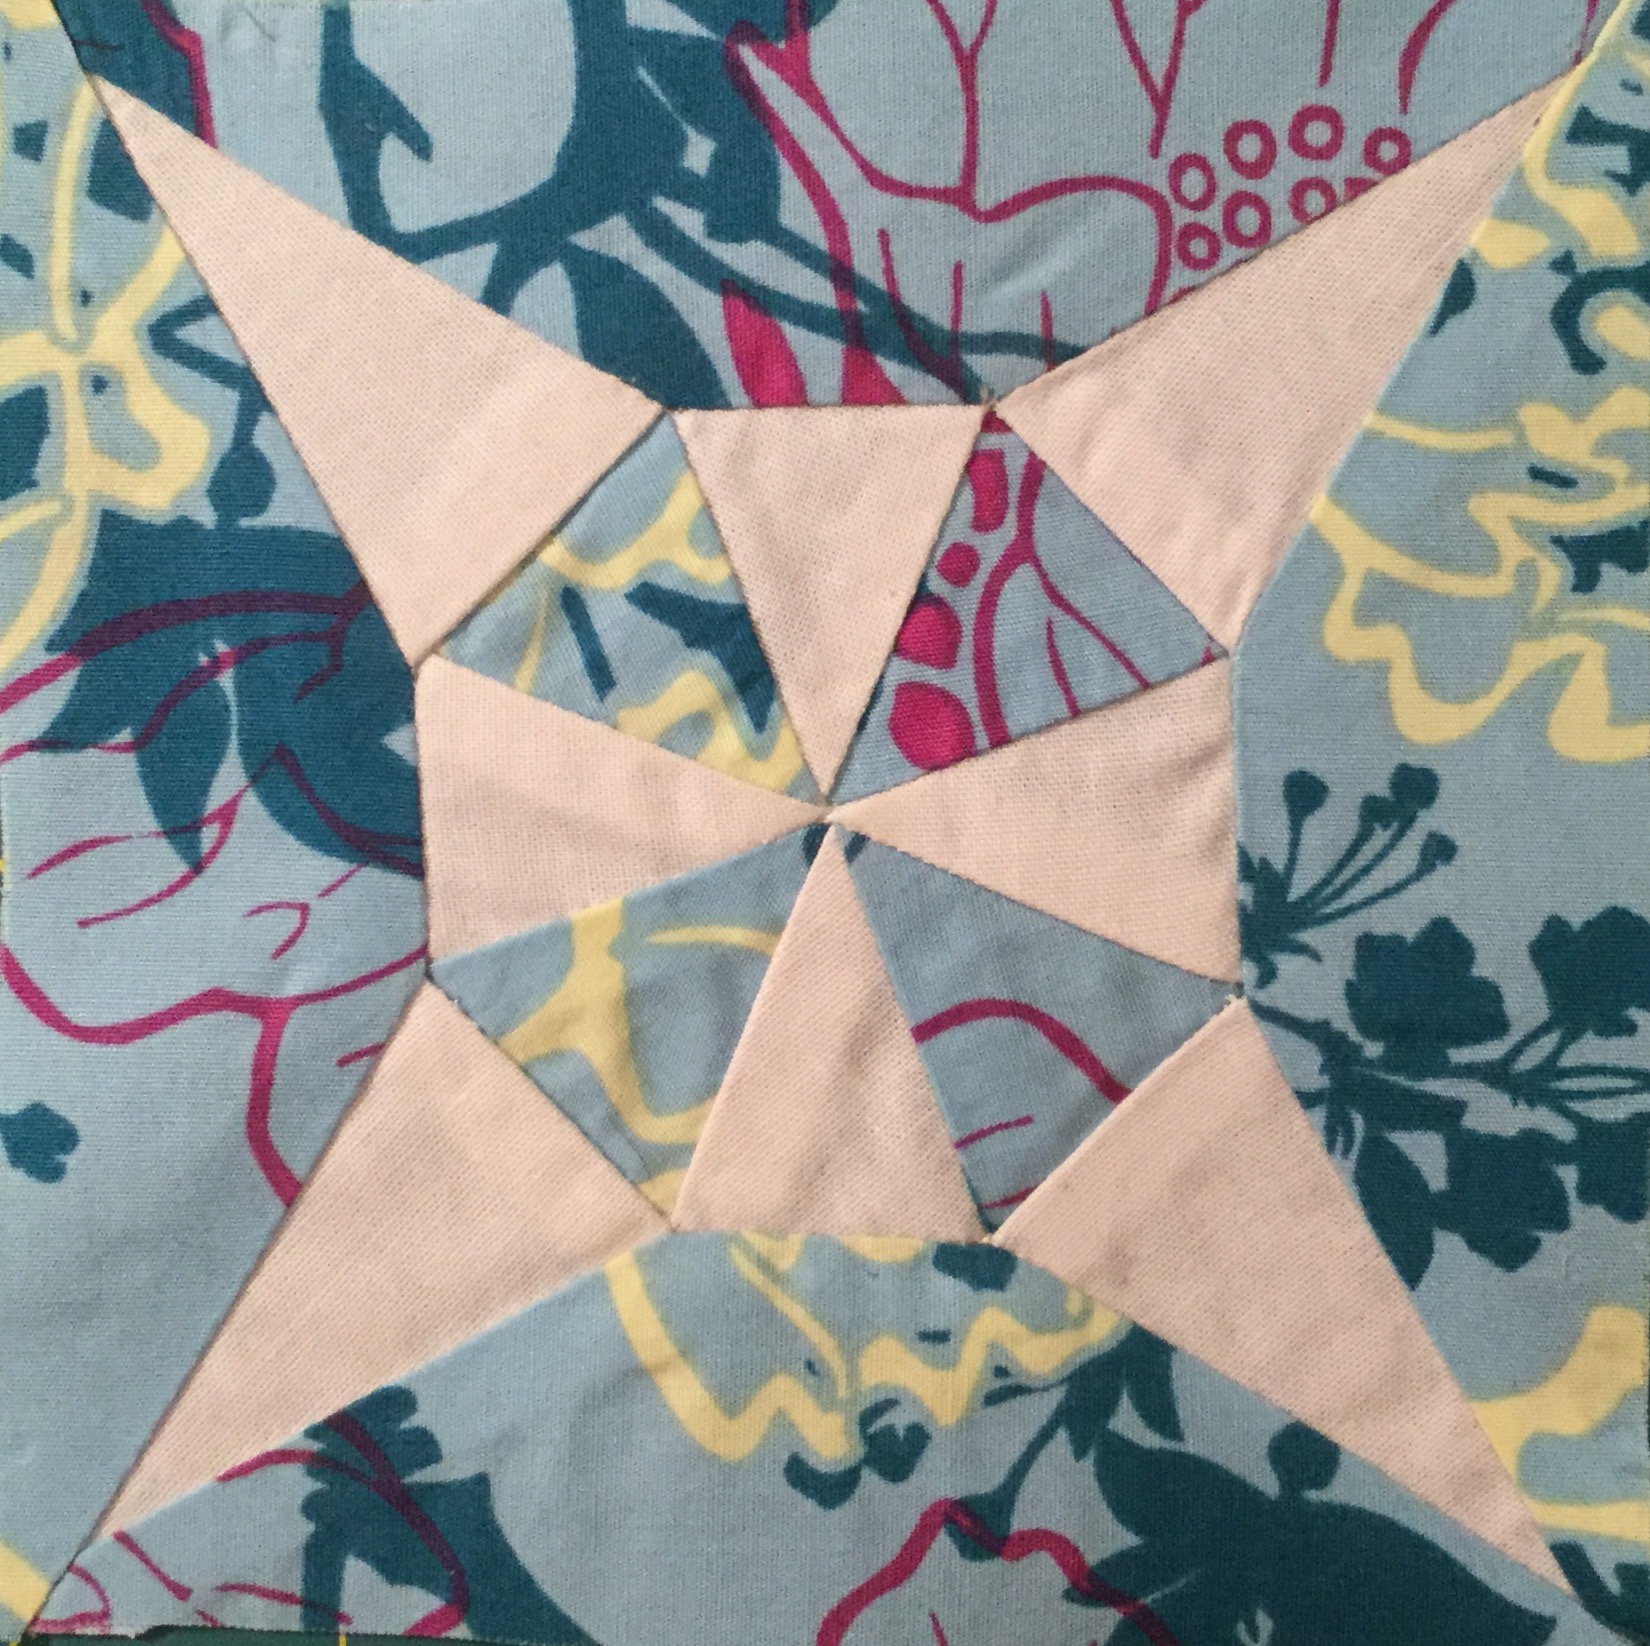
I finally decided to do one of the corner kite blocks.  My thinking is that I have enough triangles finished to justify this accomplishment.  A wonderful reward!.  This block has octagon pieces.  I glue basted the seam allowances to card stock templates, then used Best Press to set the seams before removing the templates.  The octagons were then hand pieced together and appliquéd to the background.  I am happy with the finished block.

The three triangles all have some hand piecing as well as machine piecing.  BR-9 needed to be adjusted because I cut the points off of the curved background pieces, so the bottom section is wider than it should be.  This happens sometimes when you cut out the Dear Jane templates exactly as printed from the Electric Quilt software.  I am not too upset about it and am not planning to redo this one.

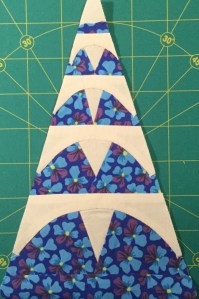
My color scheme for the quilt has yellow for this block.  I used a yellow with pink to add some color, so the hearts are not as obvious.  The seams for the hearts were also glue basted to templates before setting the seams.

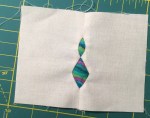
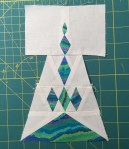
The next block was quite an adventure.  First the diamonds and middle triangle at the bottom are appliquéd to a 6.5″ x 8.5″ piece of background fabric.  The center circle started with a 6.5″ pinwheel block.  The melons started as 3.5″ squares with just the inside curve cut on one side of each square.  The curved edges were appliquéd to the pinwheel block resulting is a 6″ square for the center.  Then the block was reverse appliquéd over the center piece.  It was not my idea.  Pat K. from Quilters Common came up with this fabulous method and it is just about the same as the one used on the That Quilt blog.  It is time consuming but was not frustrating. I am happy with this one, too.

Piecing with Improvisation

Here are three quilt block tutorials that I put together for the Boston Modern Quilt Guild BOM.

These tutorials all have improvisational techniques, but they also let you be a little precise if you want to be.

This tutorial lets you practice curved piecing: Curves Ahead

Curvy

Curvy

With this one you can try paper piecing without worrying about things being too perfect: Playing with Paper

image

And this tutorial lets you improvise with strips of fabric: Fenced In

October

This is a Reproduction Quilt

A few years ago I kept seeing this bright orange and red quilt top on eBay.  I am always drawn to orange quilts!  Finally I took a closer look at it.  It looked like it might be a turn of the century quilt top, but the description just said it was an old quilt top.  The starting bid was low so I went for it and won the auction.

I was pleasantly surprised when I received the top.  It’s in great shape, and some of the fabrics look more like mid 19th century, civil war, or even earlier, to me.  I love the fact that it looks contemporary or possibly even a bit modern.  But, if you are familair with antique quilts you know that the cheddars, reds, and greens were very popular with the Mennonites of Pennsylvania and Ohio in the late 19th century, so it is not surprising to see these colors together in an antique quilt.  The block is a traditional block called Chimney Sweep and each is about 13″ square.

There was little information in the eBay listing regarding the provenance of this quilt, but the quilt has the following written on the back: “Miss Eliza Duttons Quilt” and the quilt was shipped from New Hampshire.  After doing some research I discovered that a young woman named Eliza Dutton, who was born in 1850 and lived in Milford, New Hampshire, wrote a diary.  She describes making a quilt with her mother.  While this is just a top, could it have belonged to the same Eliza Dutton? Perhaps it is one that was made by Eliza or given to her by her mother.  I can’t know for certain, but it is a quite possible!

I was originally going to quilt and use the top, but I want to preserve it in its antique state, so I decided to make a reproduction of it.  I collected some 1/4 yards of red reproduction fabrics and found a nice cheddar and cream solid fabrics.  Now I have a version of this quilt that will hold up better to day to day use!

They do look very similar.  Here is the original quilt top:

And my reproduction quilt:

Modern vs. Reproduction

I am in the middle of a Block of the Month at Quilters Common in Wakefield, MA.  Antoinette is offering 3 colorways: Blues, Brights, and Traditional.  I love reproduction fabrics, so I went with the traditional colorway, but I am also digging into my stash and making a set of blocks with my modern/contemporary fabrics.

This is what I have so far.  I have set up both colorways side by side on my design wall with the setting squares for a comparison.  For those folks who think traditional/reproduction is all browns and boring … guess what … it is not!!  Old quilts are often brown because the dye in the fabrics has faded.  The reproduction fabrics have brought back all the glorious colors that were in your great great (great?) grandmother’s quilts when they were new and they compare quite well with the modern fabrics.  Both quilts will be full of color.

My plan for both quilts is to use half blocks for an inner border and also a 9″ outer border.  The finished quilts will be 90″ x 90″.

Quilt Plan

Here is a 48″ x 48″ portion of what the tops will look like.  Notice two of the star blocks are the same pattern? I did not like the first one, so I made a second one. The top one will go in the quilt.  The other may end up on the back of the quilt.

image

These will be WIPs for quite a few more months, but I’m glad I got a head start on the setting blocks!

The November Jane Wrap-Up

You have already seen some of my November Jane Blocks and my cool way to Reverse Appliqué Melons but here are the rest of blocks I finished for November:

And, yes, I did use my Reverse Appliqué method again! Twice in one month!

Zipper Pouch Inspiration

The Boston Modern Quilt Guild will occasionally have a swap.  In November we were asked to bring a zippered pouch to the monthly meeting. I started checking out Pinterest and Google images for ideas.

I found this lovely Lavender Pouch at Pretty by Hand, but alas no pattern!  But then I found this neet Tutorial at Sew Like my Mom.  I combined the two and came up with my own version that includes a pocket on the back.

Too bad I didn’t get a picture of the bag after I added the turquoise ribbon!

Jane Blocks and Color Contrast

So far this month I have one triangle and three more blocks done for my Jane Stickle quilt.  See my Last Post for a look at the triangle and to see how I am managing those pesky little melons.

I started cutting fabric for one block and realized I had grabbed the red fabric meant for another.  I have a color scheme set up for my blocks and I am staying with the block arrangement that Jane used so I needed to switch to yellow for the block.  I went ahead and made both the red and yellow thinking I could add it to my extra blocks for a Baby Jane quilt.  The result is that I really like the red block better.  Much better color contrast.

Yellow and Red Contrast

Here are the other two blocks, H-11 and J-7 … Click for a full size look at them.

 image image

Reverse Applique on Seam Lines

I have discovered that reverse appliquéing Jane melons in the middle of a seam is much easier than regular reverse appliqué and certainly much easier than appliqué, especially for those annoying teeny tiny melons! It’s much easier because you don’t have to manage the raw edges at the points; you are stitching up to the folded seam. I came across this method in the That Quilt Blog Tutorial for Block F-5.  Once I realized how neat the melons came out I decided to use this method whenever possible, even modifying blocks to add seams if necessary.

Here is how I modified the TR-6 triangle to use this for a very small melon and a diamond:

I replaced the top triangle piece with two rectangles sewn together which will be trimmed at the end.

If you find an opportunity to use this method try it. I bet you will like it.

Barbados Bag

I am so glad I found time to take a class at Quilters Common yesterday.  Thank you Pat for doing such a great job of guiding us through the process of making the Pink Sand Beach Designs Barbados Bag.  We all had great success getting our bags put together during the class.  The pattern has lots of pictures and step by step instructions, but it always helps to get confirmation that you are doing the right thing when there are so many details.  And, I discovered how to put tabs on the ends of the zippers, which makes for a much more finished look. Can’t believe how easy it is to do!

If you get this pattern the only suggestion I have is to prepare the tabs for attaching the D rings to the bag separately rather than cutting them from the strap, and don’t use the fusible fleece for these tabs.  Use the durabond on both sides.  This makes it easier to fold the ends over.  Also, I used hardware to make my bag adjustable for wearing over the shoulder or cross body.

It’s a well written pattern and makes a versatile little bag with just the right amount of structure to it.  I am already thinking of other fabric choices for a second one.